
Pictures made of flasks of fabric are a relatively new kind of needlework, which is called kinusayga. The word has a Japanese origin, since this creativity originated there.
Kinusayiga is divided into several directions: patchwork, patchwork sewing (quilting, quilt). Combines their material - flaps, and distinguishes the technique of execution.
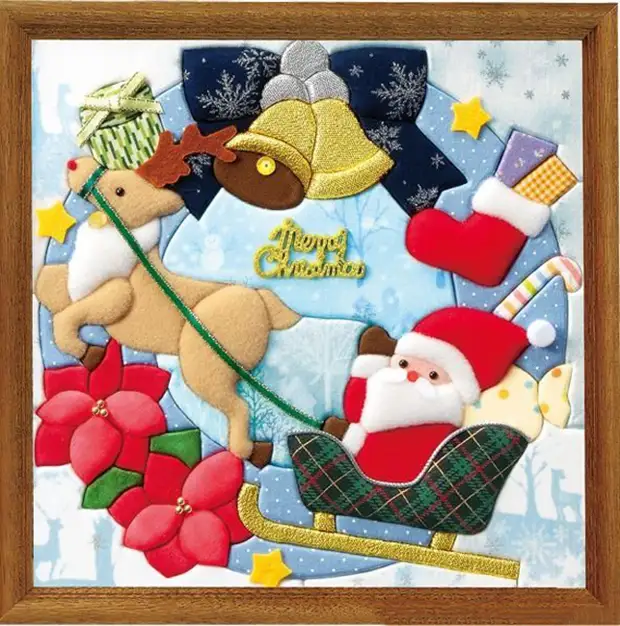
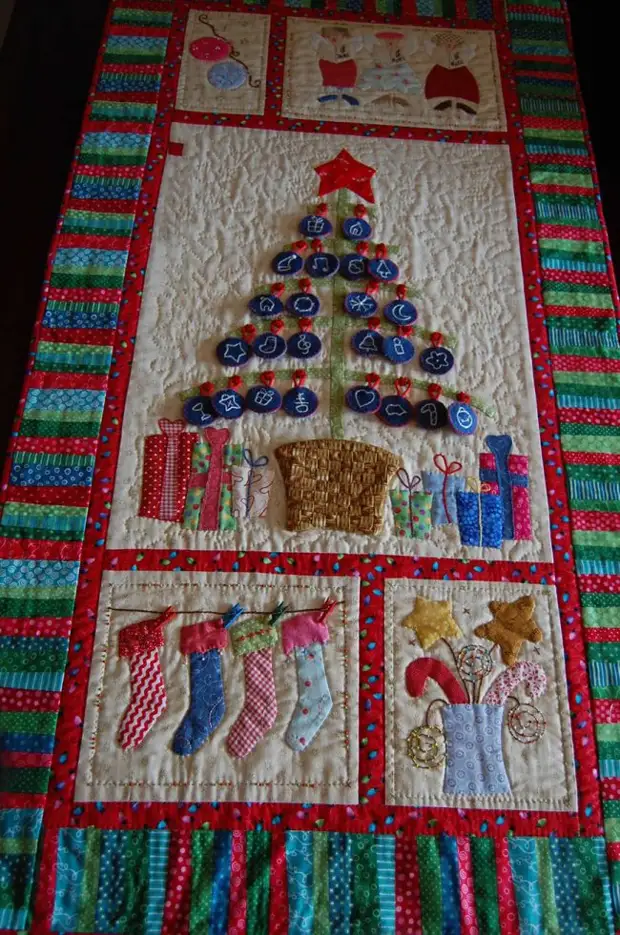
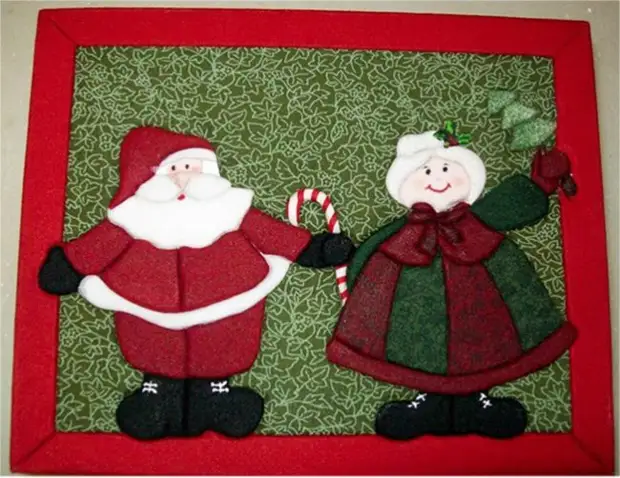
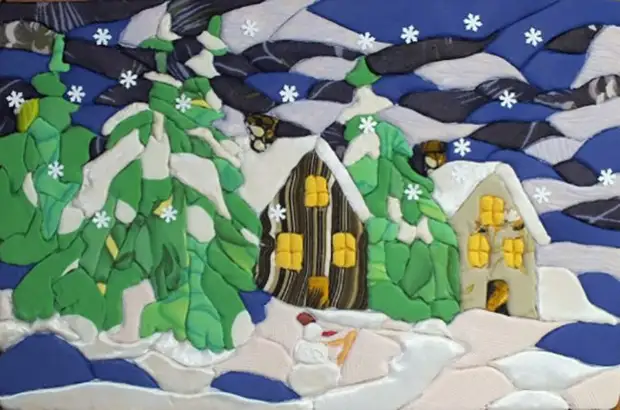
New Year panel on the wall of flap
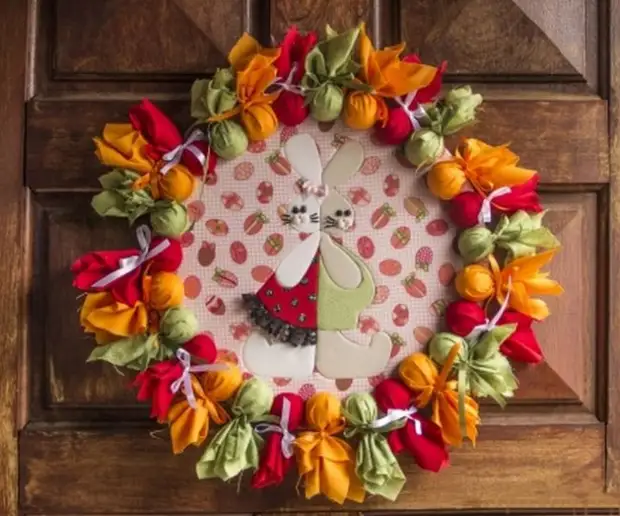
Festive wreath on the door of the flap fabric
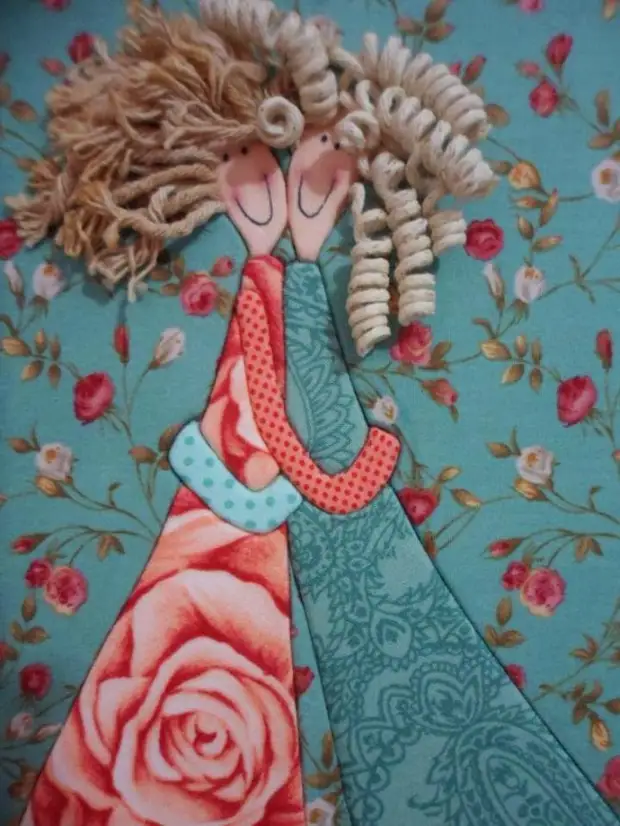
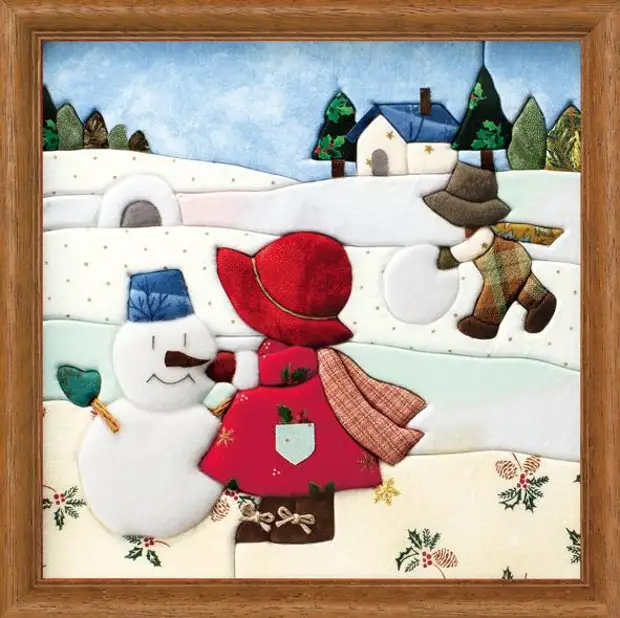
Picture of flap with adding knitting threads
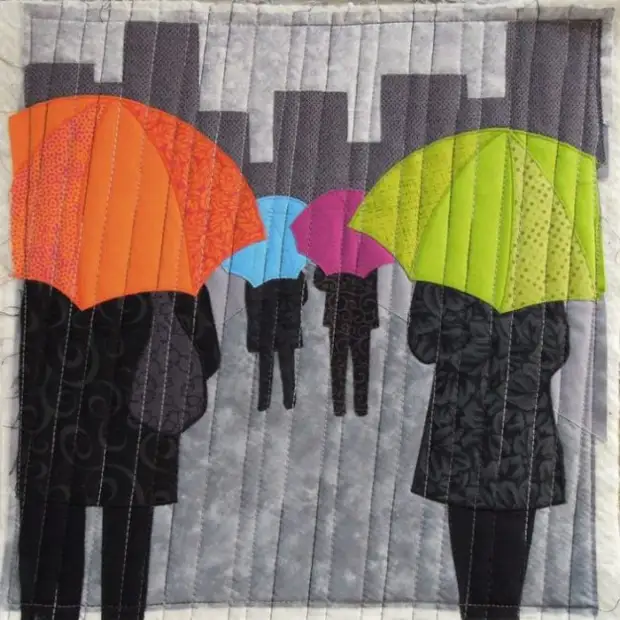
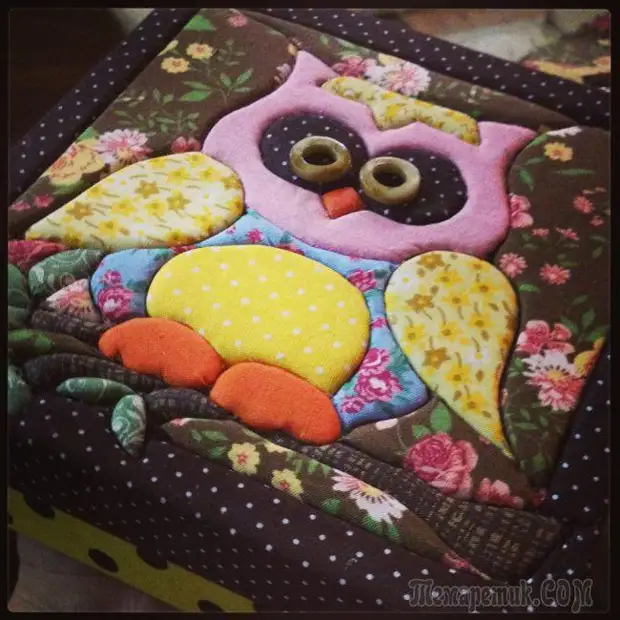
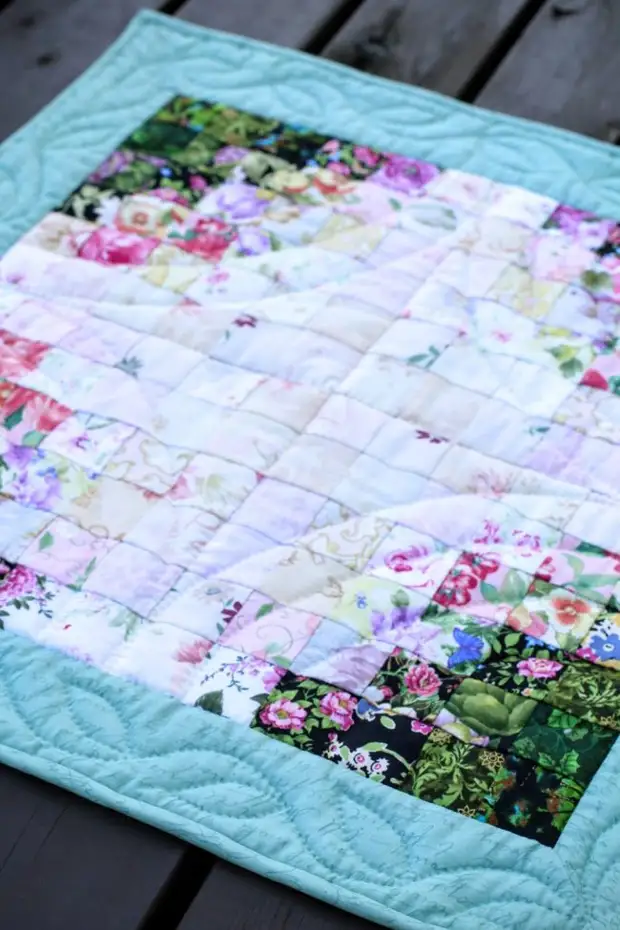
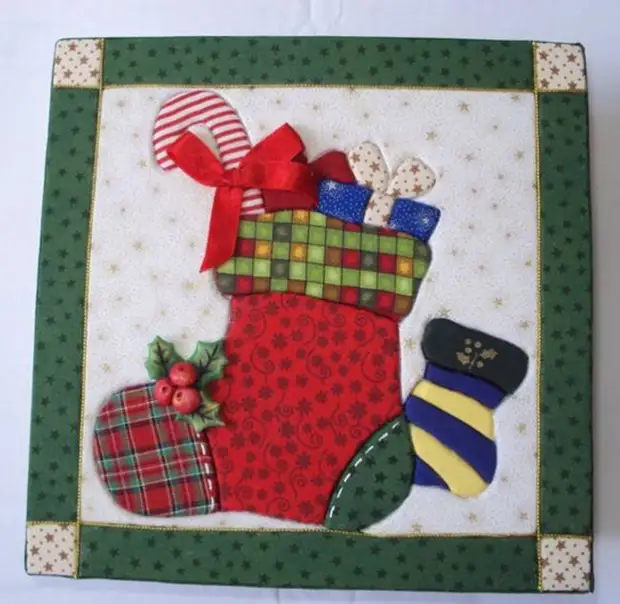
Picture sewn in one of the technician Patchwork - Quilt
In this topic, the reader finds out how to make paintings from the flap of the fabric with their own hands, the schemes of which can be downloaded and print from the Internet.
Fabric paintings will become an excellent color accent in almost any interior
Meet: Patchwork
The uniqueness of the Patchwork technique is that fabric flap paintings are created without the use of needles and threads. And the advantage of the patchwork is a relative simplicity of execution, so you can create real masterpieces even a novice master. Pictures of flap fabric:
Panels from colors in kinusayig technique
- are a worthy decoration of the interior in the style of country or Provence.
- Will be appropriate in any kitchen.
- They will be a good gift to relatives or friends on the occasion of the newly skid and another celebration.
- Do not require the acquisition of expensive materials (everything that is needed in any house).
- Performed quickly (3-4 hours).
- Possess 3D effect.

New Year's picture with your own hands
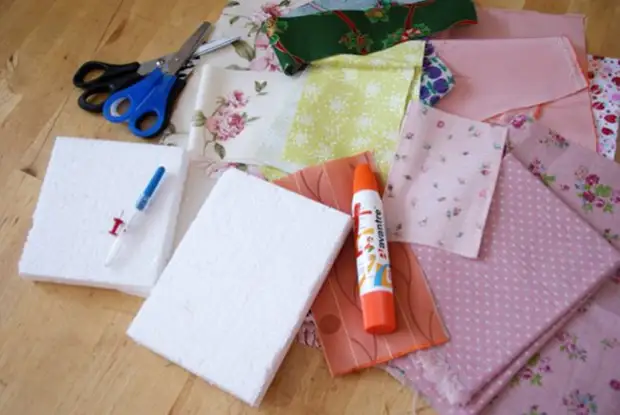
Before you start, you need to prepare materials and tools so that they are on hand all the time.
- Foam sheet with density 25, 2-2.5 cm thick. You can use pieces that pack techniques at manufacturers.
- All sorts of multicolored flaps of different sizes. It is desirable that the fabric is fine. Rough and dense matter for small parts is not suitable.
- PVA glue (superlock does not fit, he smelves the foam).
- Scalpel and stationery knife (one can one thing).
- Scissing manicure.
- Splicer of seams that can be purchased at any needlework store. Some craftsmen use a nail file; It is also possible, but the first option is more convenient.
- Pictured on paper sheet diagram.
- Feltaster or copied.
The most necessary tools for creating Patchwork painting
Tip! With cutting foam, and during operation, small white balls will necessarily crumble and create trash. Therefore, it is better to work in the room where there is no high vors carpet so that it is easy to clean up.
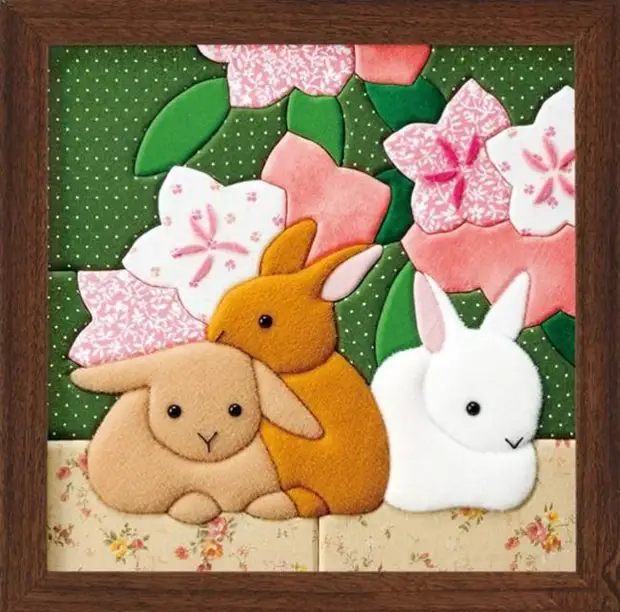
Cute fleece rabbits in a picture made by kinusayig technique
Step-by-step execution of a picture of fabric flap. Master Class
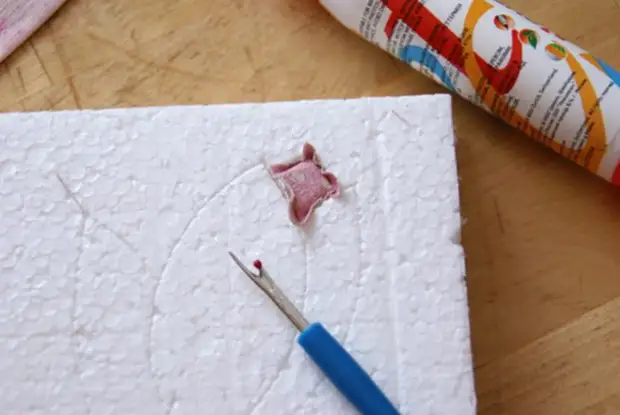
In the absence of the printer, the drawing can be drawn independently by hand or by cells. The drawing must be transferred to the foam with a copy-step or draw it with a marker. The picture must have a frame, so the work begins exactly from this element.
To create a picture with a beautiful bouquet need a gentle sitherium
The foam can be a square or have a rectangular shape - it all depends on the drawing itself. From each edge of the foam fragment you need to draw the fields of 2-4 cm - this is exactly the width of the frame.
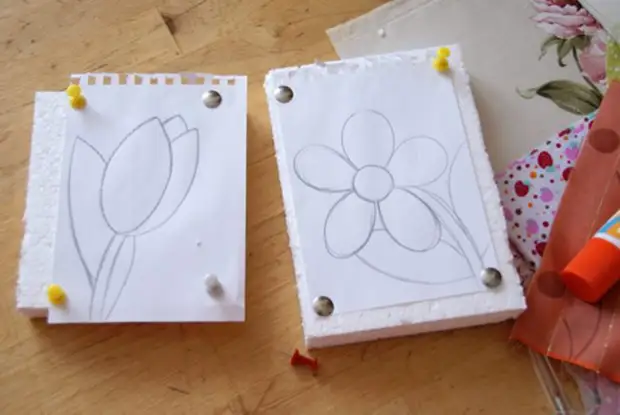
In order to make it easier to carry the drawing on the foam, secure it with the buttons
It is time to take a scalpel or a stationery knife. With any of these tools, the grooves are cut down with a depth of 0.5-1 cm. Deep downward slits will lead to a different basis, and this cannot be allowed.
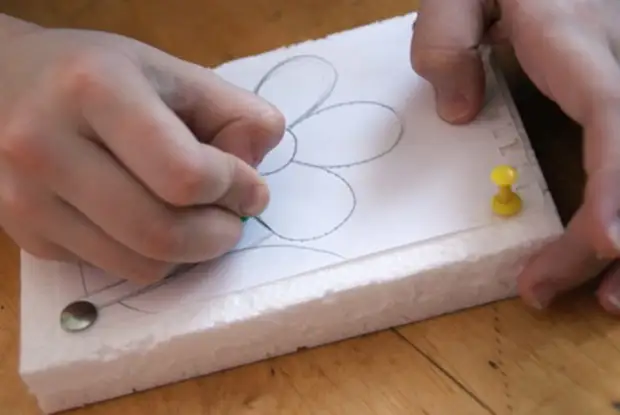
Put the contour button
Now you need to take a fabric. It is best to work with knitted flaps, they stretch well and do not jump out of the slots. It is recommended to distribute flap in advance: which which goes.
Unpastener either insert the edges of the fabric in the slits, then cut the remnants and hide in the foam to the end
- PVA glue is applied to the selected fragment of the pattern.
- Applied to this place a commensurate piece of fabric.
- With the help of a sawmother or decompressor of seams, the edge of the flap is refilled in the slot.
- The edges of the fabric remaining from above are cut by manicure scissors.
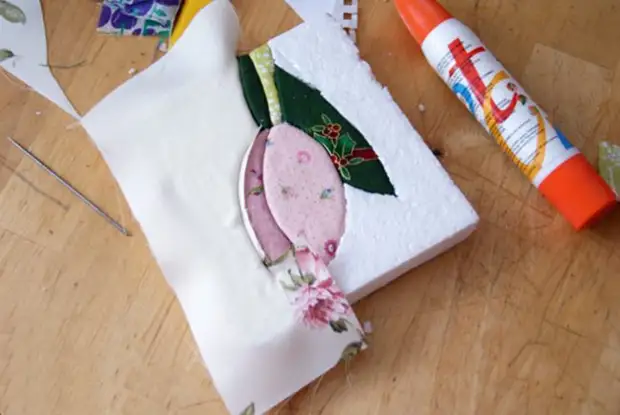
Finish our picture, leaving some fabric on the edges
First, the frame is made in such a technique. Free edges wrapped on the opposite direction and attach to foam buttons or stapler. Next, the whole drawing is performed.
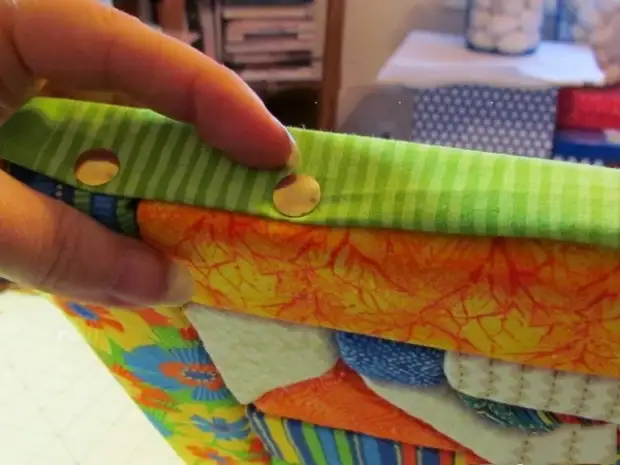
Fix the buttons on the edges of the tissue residues
A hook is attached to the back wall of the picture or sewed a loop, by means of which the man-made masterpiece is hanging on the wall. Since the foam is very light, it can be glued to the wall with tiled mastic.
The technique of patchwork is performed both separate drawings and modular compositions. For picture blocks use a cloth with a large print, cutting it into parts.
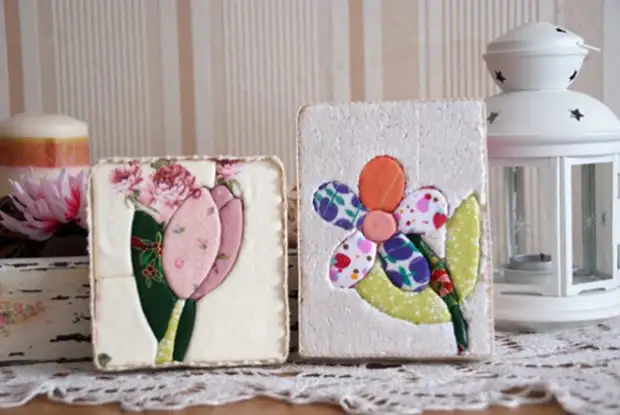
Cute decorative paintings will decorate your home
Tip! Pictures of flap fabrics for beginners should not be complex and curvilinear. At first, it is recommended to choose simple images in which there are no minor parts, and the lines are mostly straight. Over time, when experience comes, it will be possible to take more complex compositions.

Cute simple painting in kinusayig technique
Quilt - Patchwork Sewing
Another kind of needlework, which is used to create original paintings filling the interior with warmth and homely comfort. The essence of the procedure consists in crosslinking three or more layers of tissue (using a sewing machine or manually), as a result of which the surface forms a three-dimensional embossed pattern. The picture performs the impression of the 3D effect.
"Quantittention" is a borrowed foreign word, this needlework is simply called patchwork. This technique appeared a long time ago, it could be observed in the interiors of the village houses of the last century. Our grandmothers, collecting all sorts of loskutka fabrics, sewed multicolored blankets, bedspreads, pads.
Original Picture of Fabric Loskuts will decorate any interior
Similar products can be found today. They are characteristic of the interiors in the style of Country and Provence, identified with rustic life. All these things are currently playing the role of scenery, rather than are subject matter.
Somewhat later, using the patchwork, the cleverly began to produce pictures into the light, and some of them are made so skillfully that they amaze imagination. Quilt can be some abstraction or transmit a specific plot.
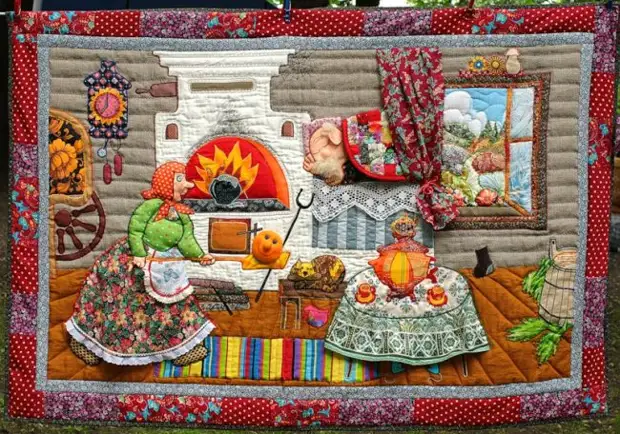
Fabulous panel of flaps in bright colors
What do the layers in Quilting differ from each other?
- The first layer is a lining, for which, as a rule, cotton trimming fabrics are used. For the creation of the second layer take batting or syntheps. It is this layer that it is necessary to give the volume. The layer (upper) is decorative. It is combined with appliqué, collage, embroidery.
The layers are definitely sandwiched with a seam.
Home Painting with New Year's Mood Flap
Decorating panel walls with flowers
People who are engaged in handmade use a variety of materials to create masterpieces. Loskutka will be found in each apartment. To create an original decorative panel with floral motifs, even the smallest pieces of fabric will rise, which takes place the hostess, and folds into a separate box.
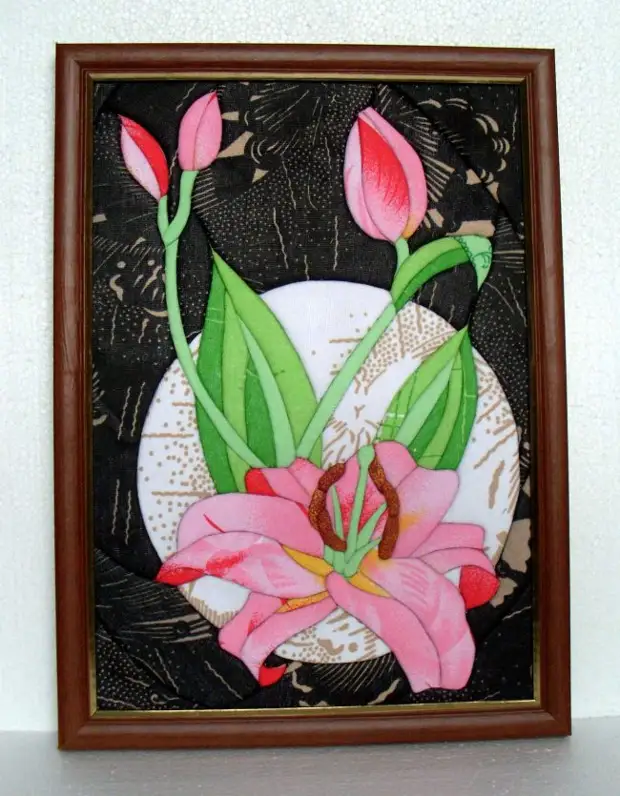
Beautiful bright panel in a wooden frame with flowers
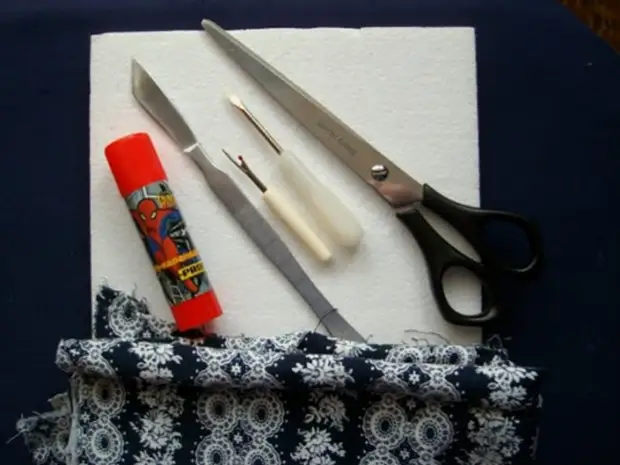
To perform a flower panel, which will take no more than 2 hours, you need to prepare:
- The scheme that can be selected on the Internet or invent yourself.
- Multicolored bright flap.
- Cardboard templates - they are needed to cut the petals.
- scissors.
- Beads.
- glue.
- needle and threads.
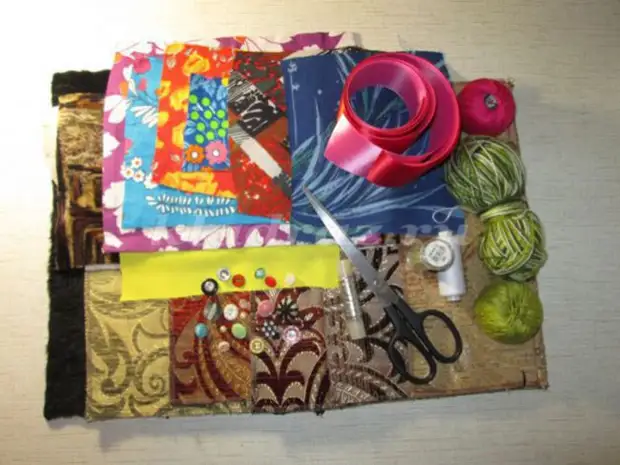
Necessary tools for creating a masterpiece with their own hands
First, on the flap with the template, they draw round billets of different sizes. Cut circles are collected by a pyramid, down are bare and reach the smallest. Grab the stack of blanks with a thread, and in the center of the flower it is fixed by a bead.
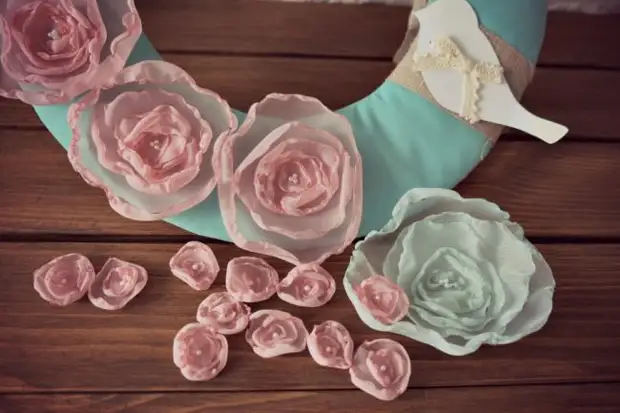
Gentle roses from transparent fabric
To give the edges of waviness, the flower slightly burn the candle flame. Then cut from green tissue fine blades of different lengths and collect them for the basis using a machine line. The canvas is attached to any frame or stretch on the frame and sew flowers to it. The smallest details are fixed on the main canvas with the help of glue.
That's all, wall panel is ready! It can be hung in the kitchen, children's, hallway, or give friends.
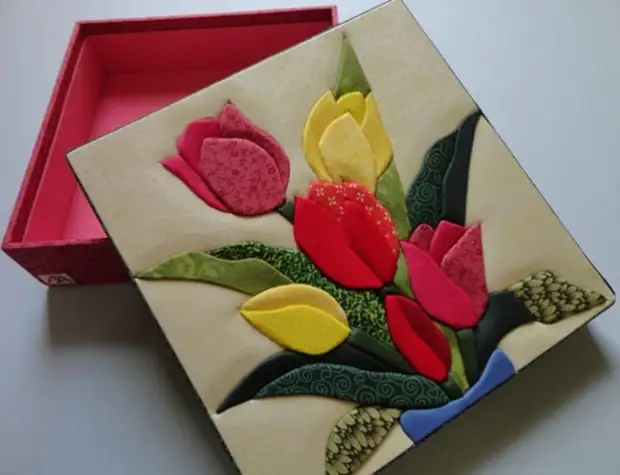
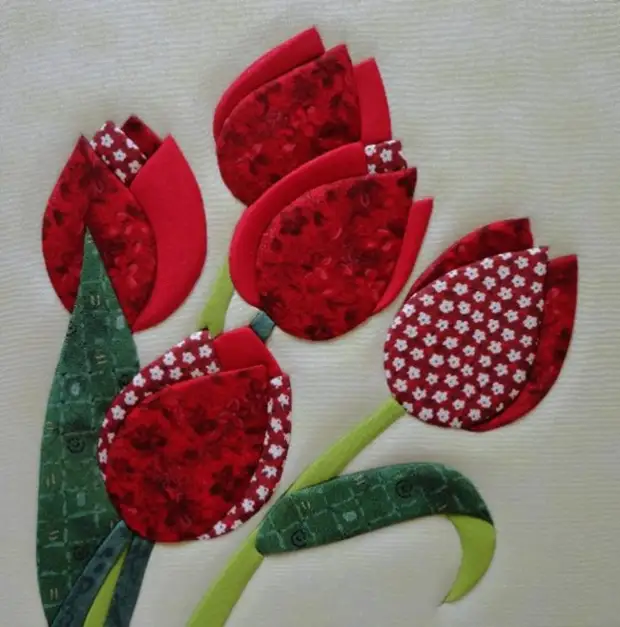
Colorful bouquet of tulips that can be decorate a gift box
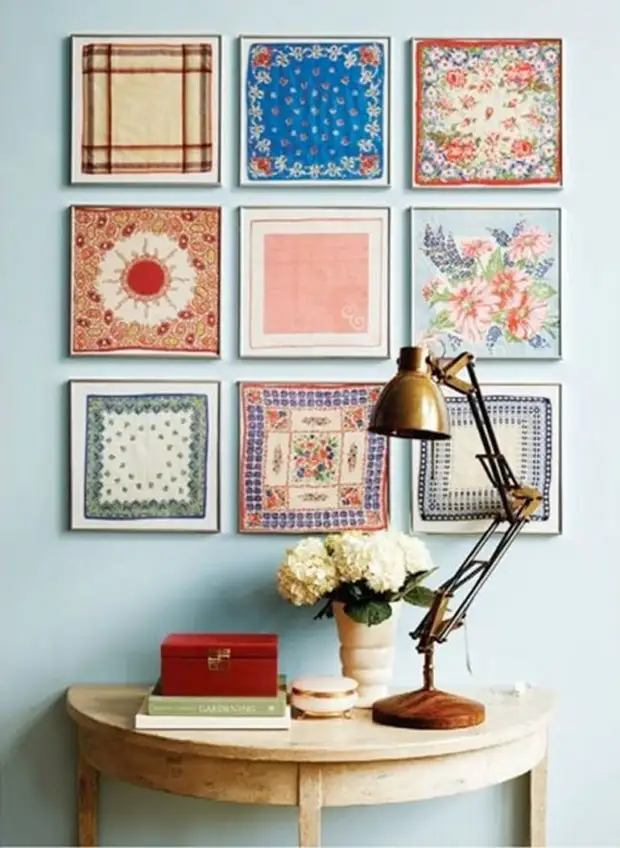
Tip! Instead of the frame, you can use small wooden hoops. They cost inexpensively and sold at any shop for needlework. On the chains the fabric stretches tight, so the picture looks very neat. Having bought the hoops of different sizes, you can create a whole floral composition - several paintings hang onto one wall at different heights, but close to each other.
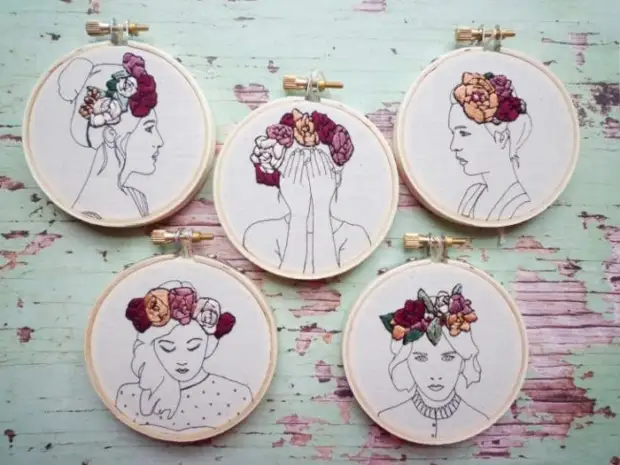
Wall decor with homemade miniature paintings in the chambers
New Year paintings made of flavors for beginners
New Year's troubles are very pleasant, but there is no financial opportunity to present gifts to everyone who wants. However, there is a way out - make your own hands a New Year's picture from pieces of fabric.
New Year's atmosphere in the house creates small items symbolizing holiday
Since the new year, then the subject, respectively, the New Year:
- Santa Claus.
- Dressed Christmas tree.
- Stubbing with deer.
- Colorful bag with gifts.
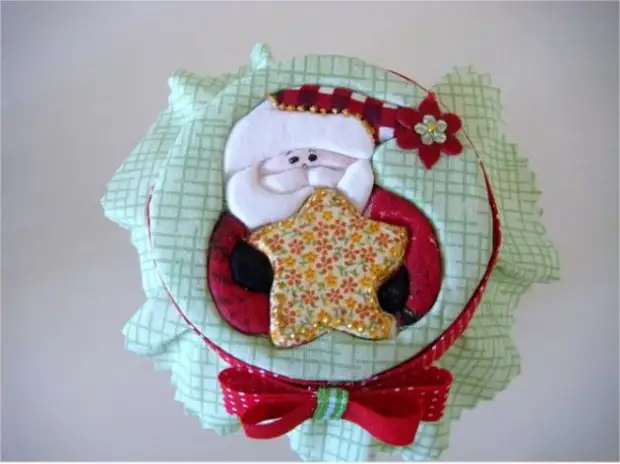
A small Christmas painting in the chambers, made by hand
You need to stock tissue and thin skin with pieces. Colors: Red, White, Blue, Golden, Green, and for the face of Santa Claus, it will take pink flap. An ordinary cardboard is tightened by the Citz. If the main background is snow, you should take a white or bluish fabric.
New Year's motifs in home wall scenery
Next, from the same cardboard, figurines of animals, Santa Claus, Snow Maiden, Christmas trees are cut, depending on the conceived plot. So that Santa Claus's beard looks natural, the cloth for it needs to be cut into a fringe. Matter with silver tump is best suitable for Salan. The Christmas tree is collected from several types of fabrics with different shades of green.
Children can also quickly learn how to create such pictures.
Tip! Bourge fruit and christmas fragments need to hold over a burning candle. Thanks to this trick, pieces of fabric will gain volumetricity.
When all the details of the paintings are prepared, you can begin to gluit. Made with your own hands. New Year's panels from the girlfriend will please not only the master itself, but also the one who receives him as a gift.
New Year panel will raise the mood and set up for a festive way
The technique of making pictures from the flap is not difficult. Materials do not need to buy, they will definitely find in any house. Despite the low cost of the finished product, it will delight the eye at least than the landscape or still life, worth a lot of money.
