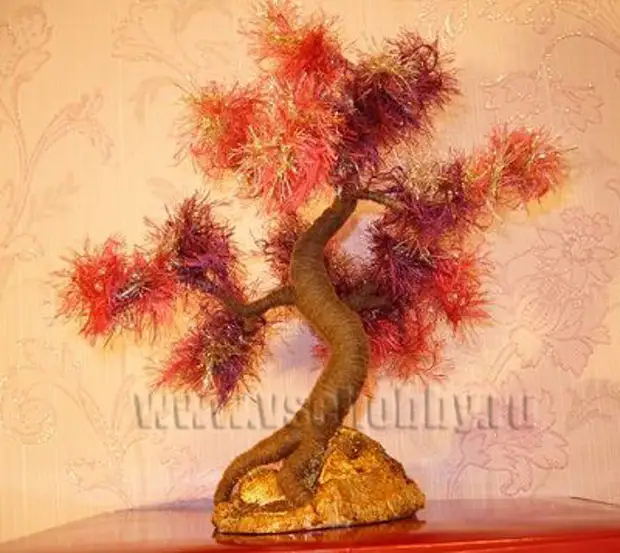
Manufacturing technology with their own hands very beautiful Decorative trees using yarn "The grass" shared Olga.
Idea The creation of such trees seemed so interesting to me that I decided to release it and in a separate article on the site.
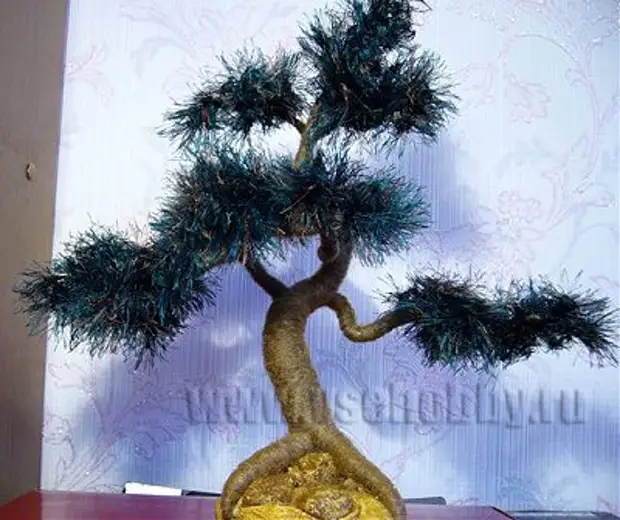
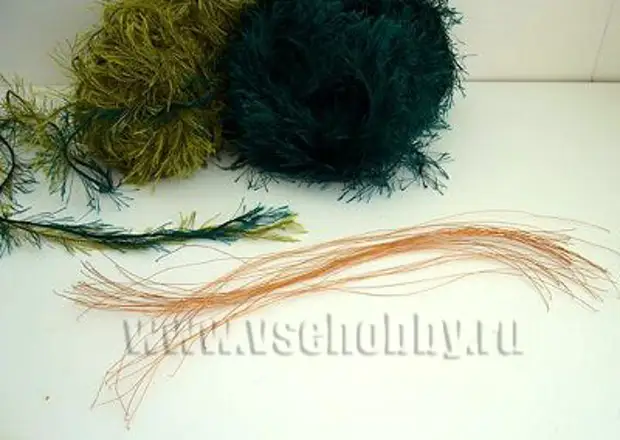
So for the manufacture of such Decorative Handmade Tree We need:
1. Yarn "The grass" of two shades of green (or other) color
2. Wire copper with a diameter of 0.4 mm - approximately 15 meters
3. Wire Copper diameter 0.8 or 1.0 about 2-3 meters
4. Knitwear, fat yarn in general, anything for the thickening of the barrel (knitwear "sleeve". I cut on a spiral on a strip 2-3cm wide.)
5. Yarn any (acrylic, wool) under the color of the trunk
6. Alebaster or Gypsum
7. Decorative elements (pebbles, windows, etc.)
8. Furniture varnish
9. Scotch usual or greasy (quite a bit for fastening wire)
Making balls from yarn
Basic throughout this Decorative tree - This is the so-called "balls" for the crown.
A wire with a diameter of 0.4 mm is cut into pieces of 20-25 cm, you need to be 35 - 40 segments.
Take the first segment of the wire, bend in half.
We take the tip of the yarn "The grass", we work with the tips from two tangles at the same time. It is not enough: the wire-yarn is a wire. On photo of pink yarn for clarity.
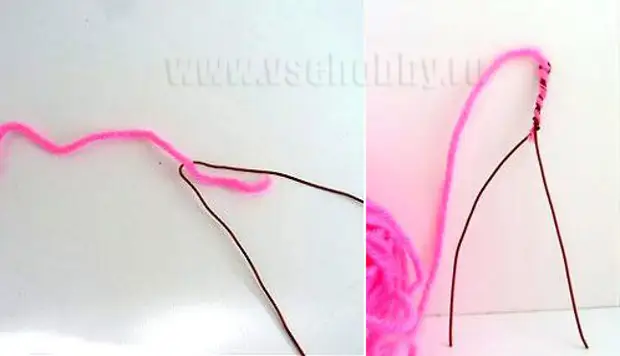
We connect, twist together the wire and yarn about 1 cm.
The resulting element is put on 2 fingers of the left hand and make 5-6 turns (revolutions) around your fingers, having every turn between the wires.
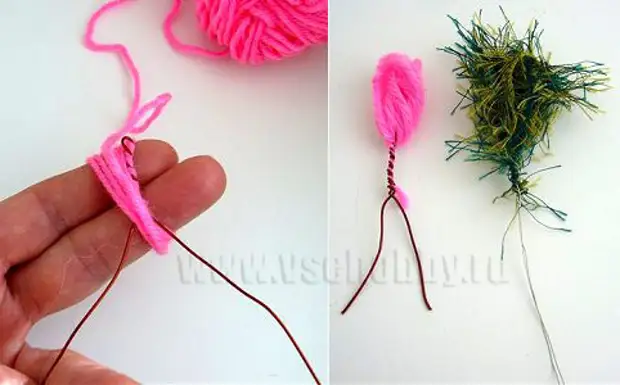
Without cutting the yarn, we have the same: the wire-yarn-wire spin approximately 1-2 cm, cutting the thread, not leaving the tip.
Such "balls" must be made 35-40 pieces.
Production of branches and tree branches
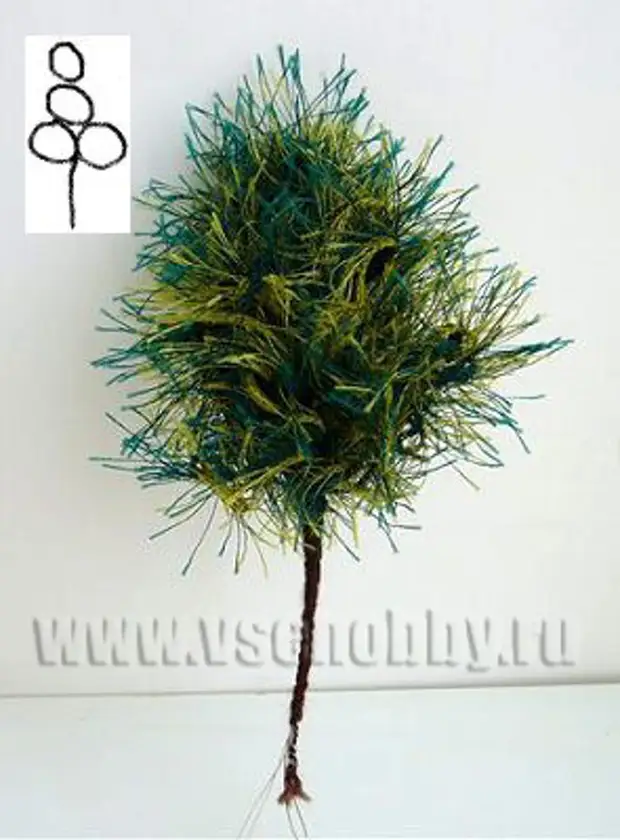
For the manufacture of Decorative tree It is necessary to connect in the twig of the balls of 3 and 4 pieces.
A twig consisting of four balls is as follows (in the left corner of the photographs and a scheme of such a twig is shown):
And such it turns out branch , collected from three twigs with a previous photo.
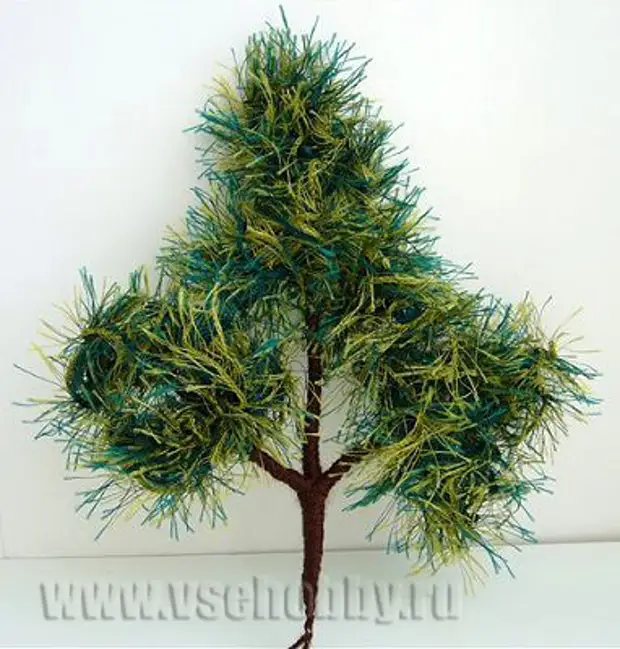
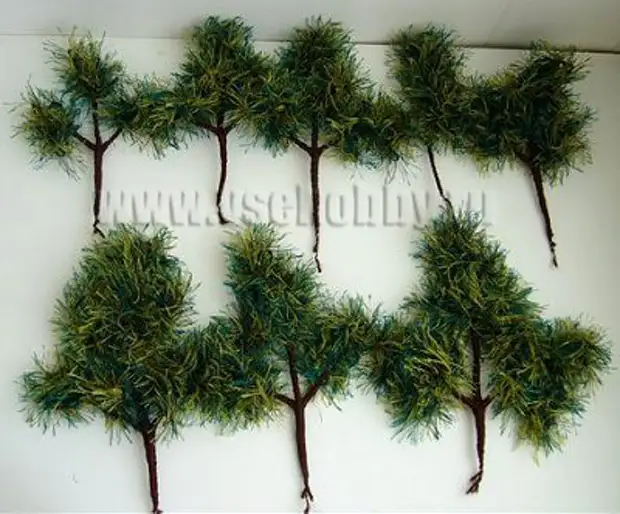
Such branches must be made no more than 2-3 pieces, it will be the lower branches of the tree.
It is clear that on the top of the tree the branch is less voluminous (at the very top - a branch of three balls) than below.
Production of trunk and tree roots
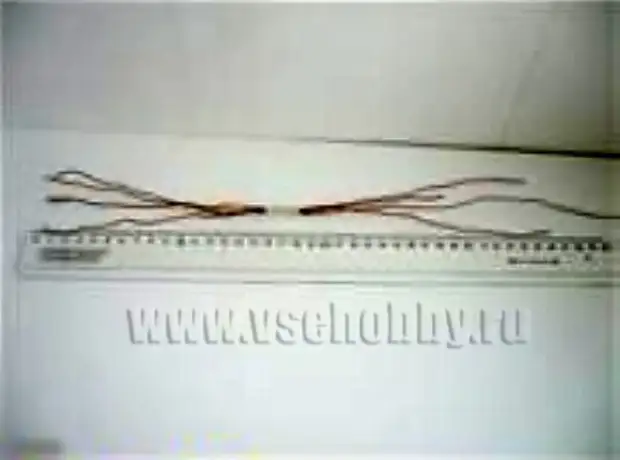
The wire with a diameter of 0.8-1.0 mm is cut into pieces of 20-25-30-35 cm, all will need 4 segments.
We fold together all 4 pieces, fasten with painting scotch.
15 cm is the roots, the rest is a barrel of 20 cm.
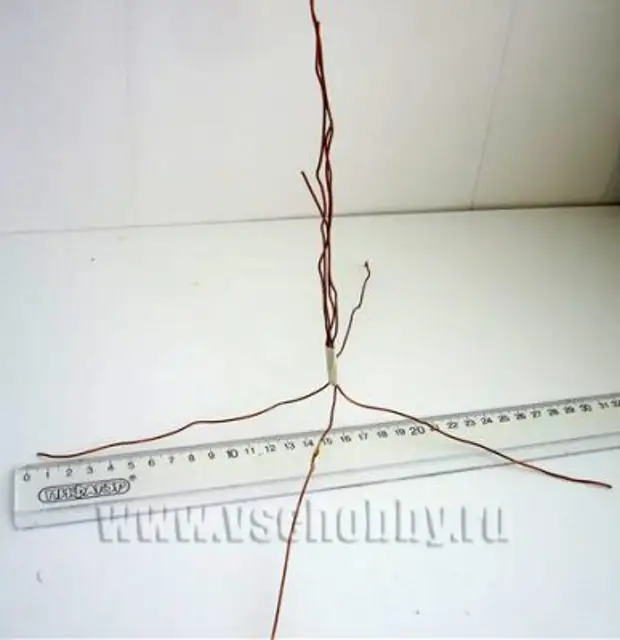
Take a knitwear or what you think of replacing it, start thicken Barrel and roots as the next photo.
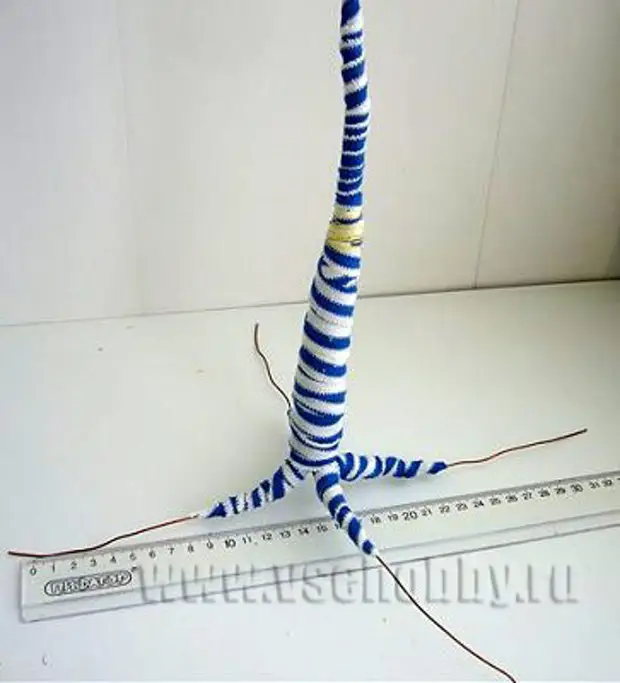
Take yarn Under the color of the trunk and wind the trunk and roots.
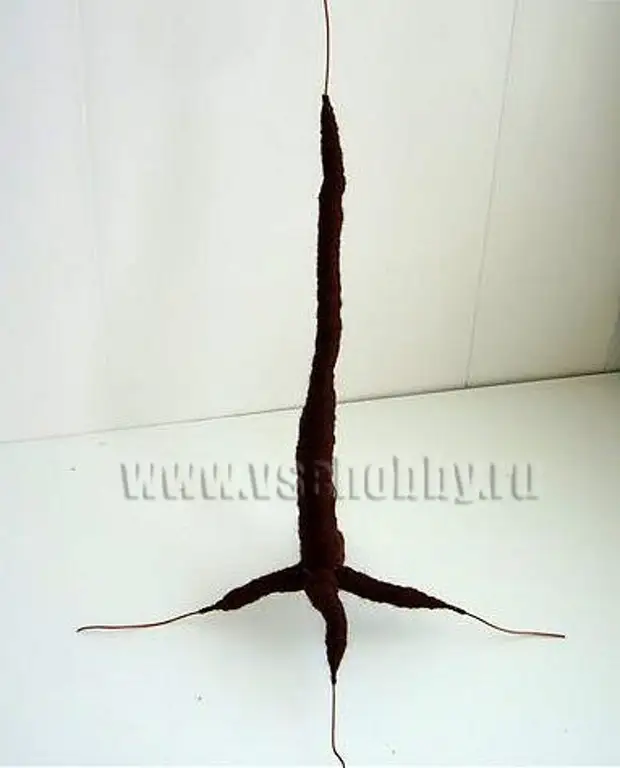
Fold the trunk ending on the top, because Things Let's start tyring from the top of the tree.
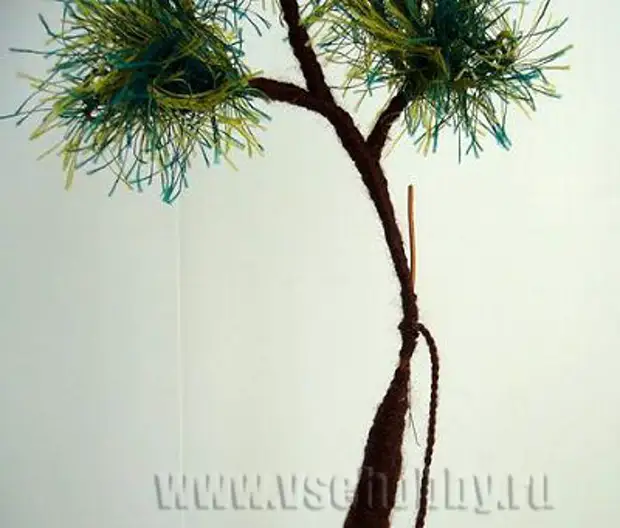
Follow the gradual thickening of the trunk.
Of course, you can wrap the trunks of decorative trees by any threads: and x / b, and silk, just immediately with 3-4 coils.
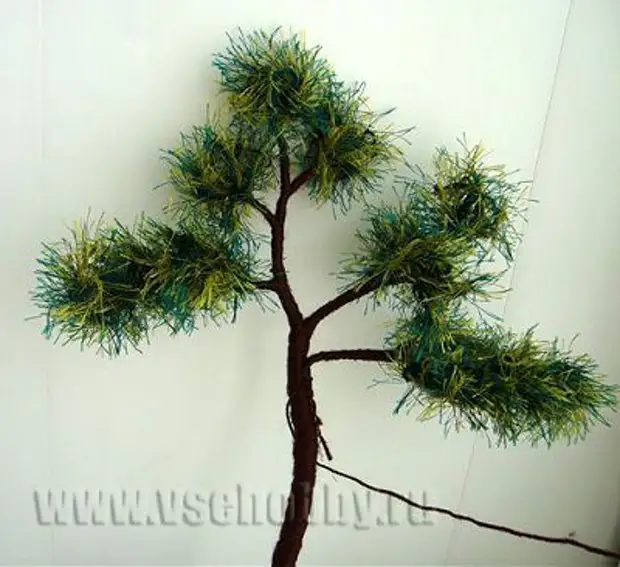
Making the branches, pay special attention to the branch of the branch with the barrel, thickening in this place.
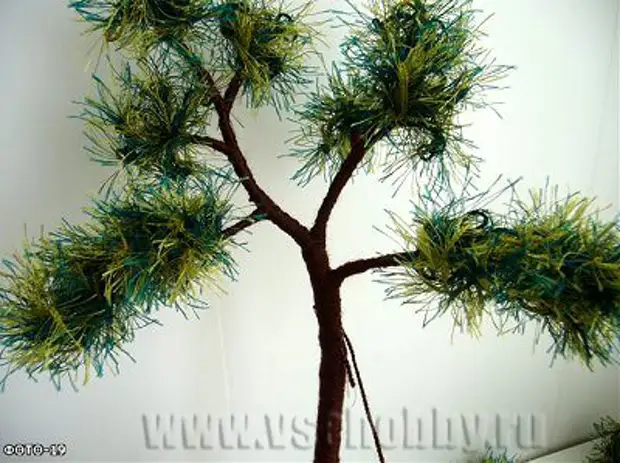
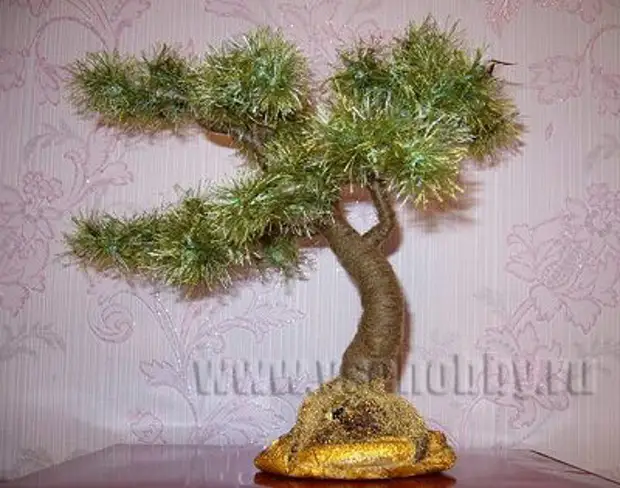
That's what happened as a result of painstaking work.
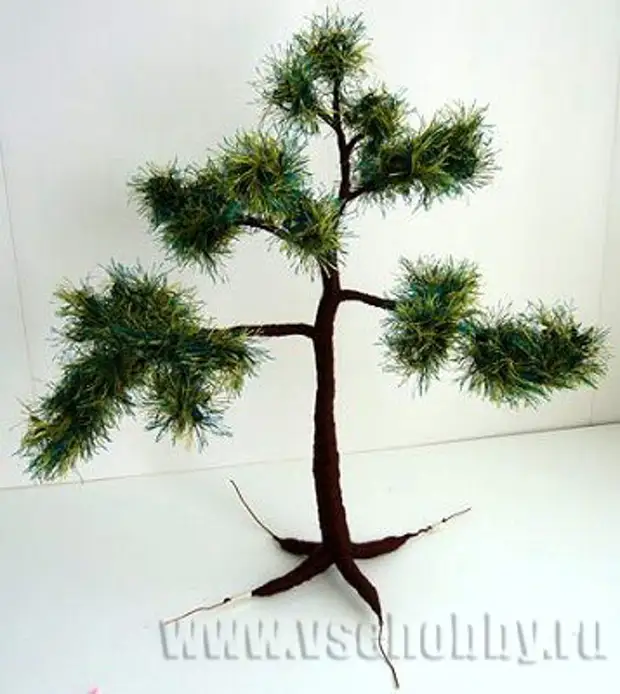
Gypsum base for wood
It remains only to set the tree in Plaster-based . To do this, 2 - 3 tablespoons of gypsum mix with water to the state of thick sour cream, and put the entire mixture on polyethylene.
From above in the resulting cake, press a few pebbles. In addition to the three pebbles, I pressed the coffee grain.
(All actions described above in this section can be excluded if you have a suitable beautiful stone on which your decorative tree can be consolidated).
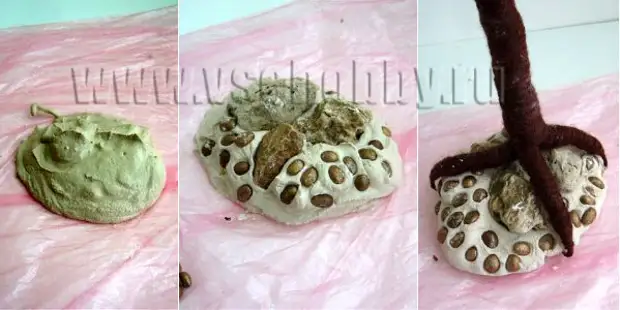
After 20-30 minutes, it is necessary to remove the frozen plaster from polyethylene, (or take a ready-made stone) and "attach" a tree on it.
Roots (i.e., the wire, from which they are made) it is better to make long to connect them at the bottom of the base or stone and even twist, then they will be better to stay (I did not work).
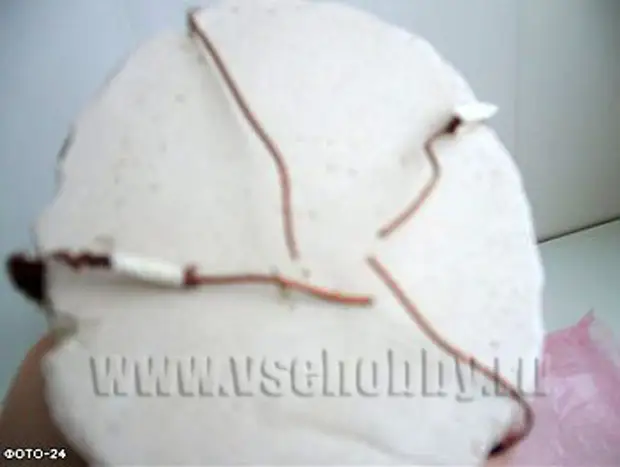
Again, we take 2-3 tablespoons of plaster, mix with water to the state of thick sour cream.
On polyethylene lay out the resulting mixture and we put the tree from above.
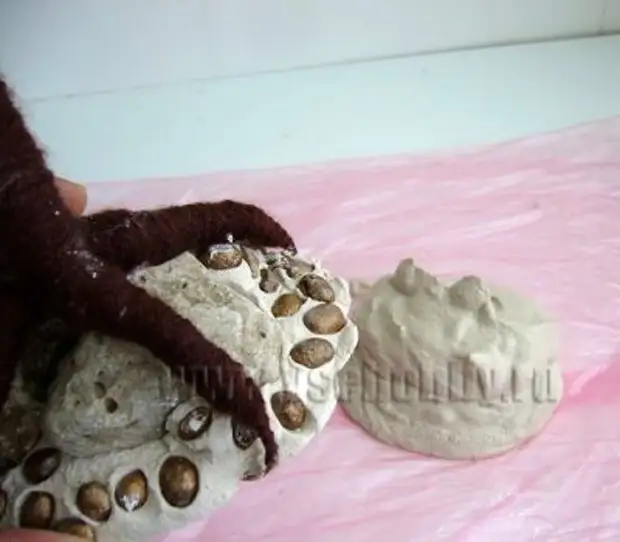
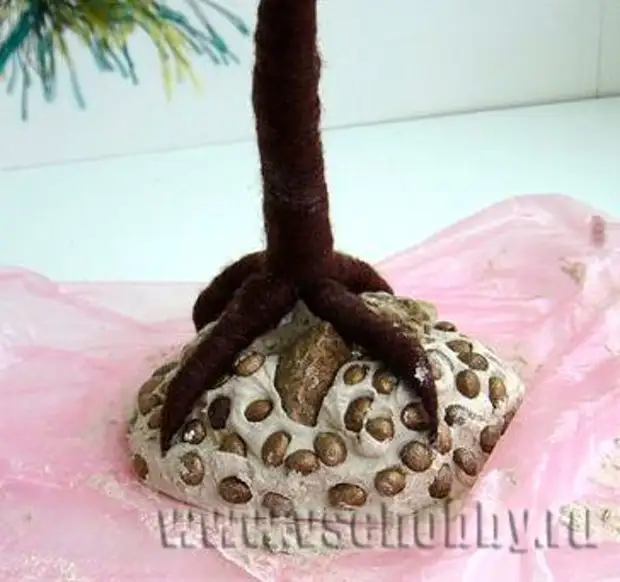
Barrel and branches are beautifully curved and soaked (without spare) Furniture varnish , the same lacquer is painting a gypsum stand.
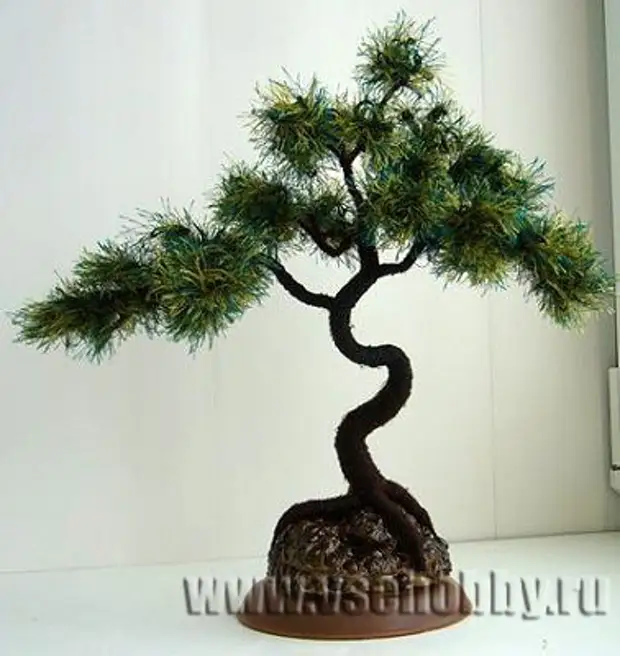
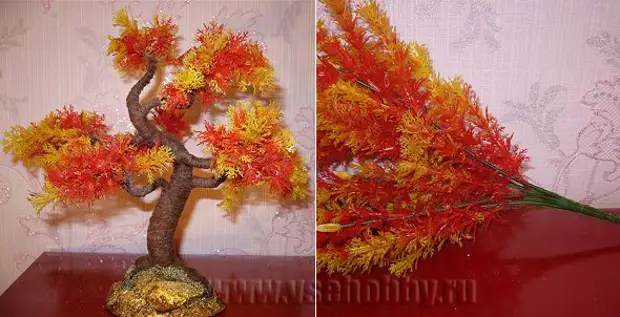
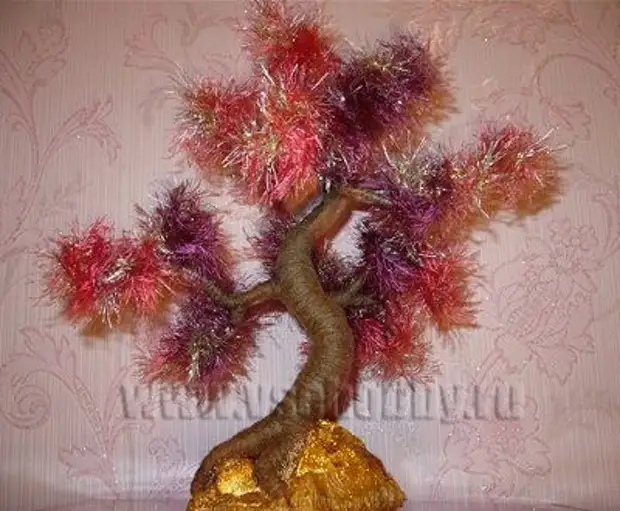
Olga herself invented making trees from yarn "grass", but if you do not want to engage in twisting balls from yarn for the crown, you can use and ready Plastic flowers As a semi-finished product, as she did in the manufacture of a tree, which you see in the photo below.
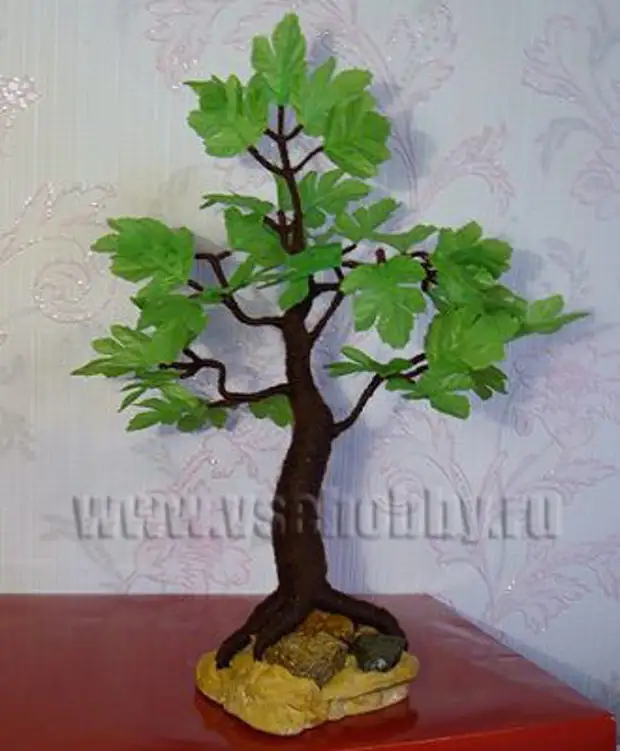
In addition, the crown of wood can be done from Artificial leaves , breaking artificial Lian.
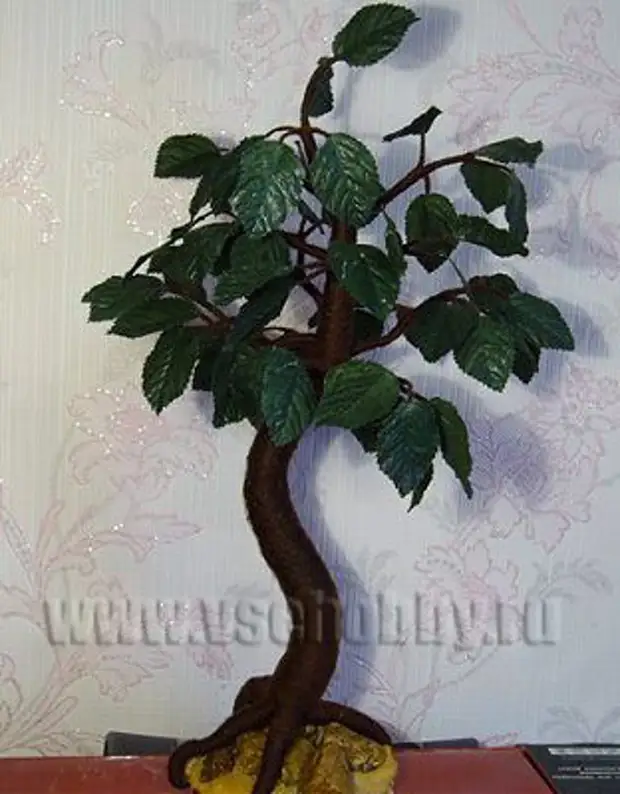
I think idea worthy of your attention.
A source
