
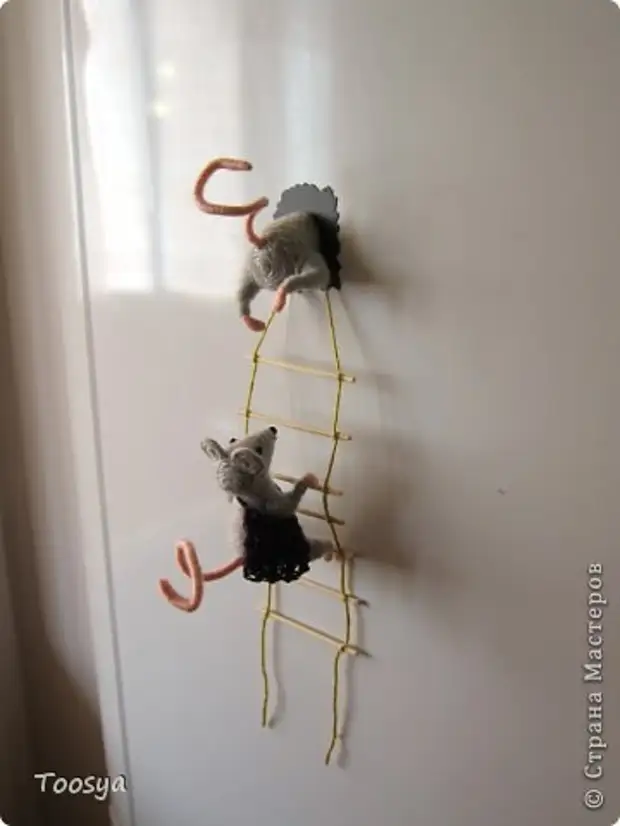
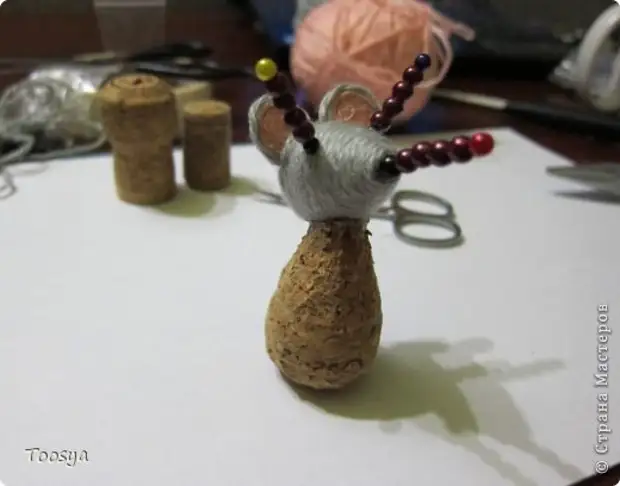
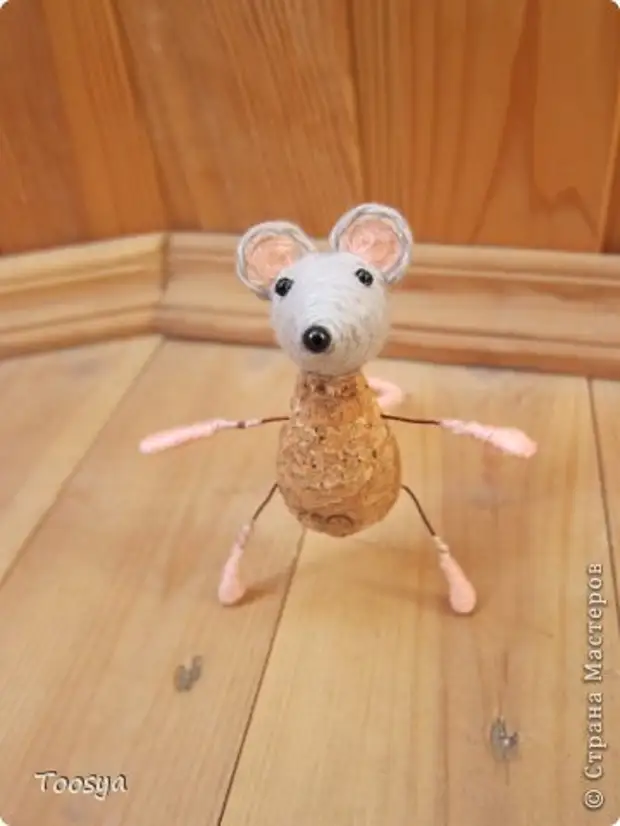
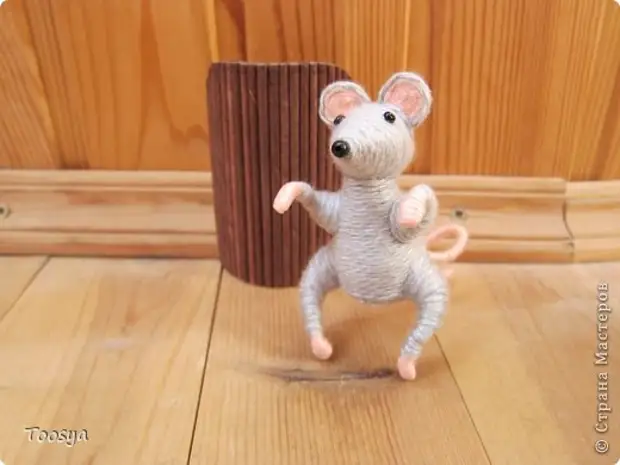
Walking on an Internet somehow stumbled upon the site of the masters, their address in the photo, there found so many interesting crafts that I want to repeat from the trash. Masters a huge respect. Bring ...
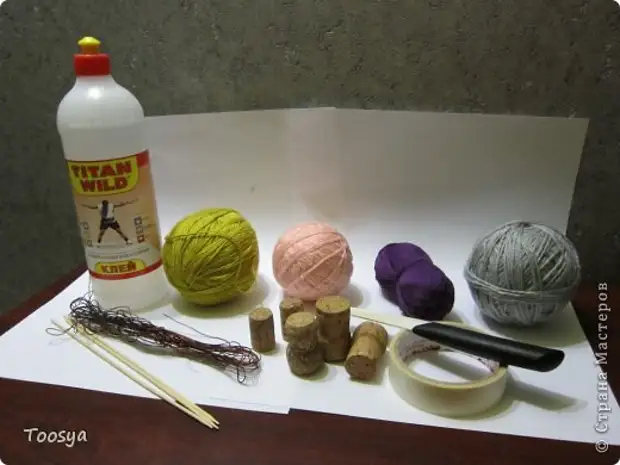
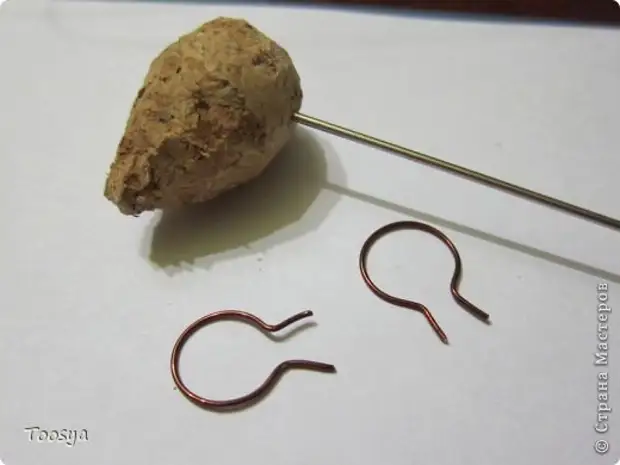
Here is almost everything I use. The base of mice - corks from champagne and from wine.
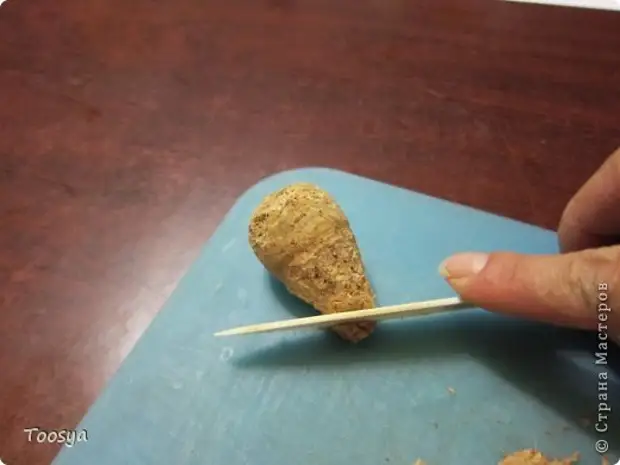
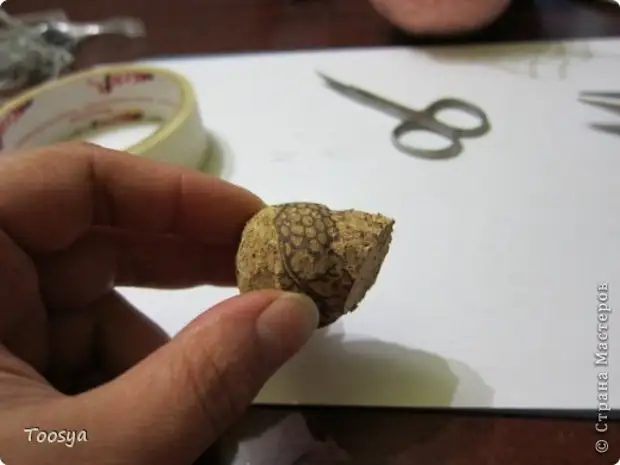
Let's start with the body of a whole mouse. At the tube from champagne a little curding a wide part so that the ass turned round.
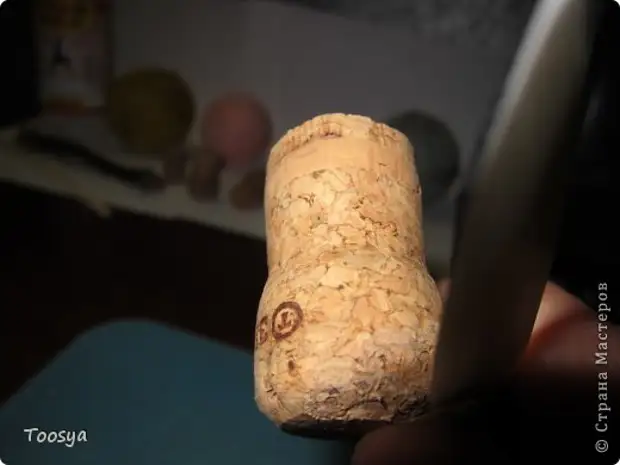
Then the upper part of the body is then pointed. It is necessary to cut carefully, entangle all the resulting faces
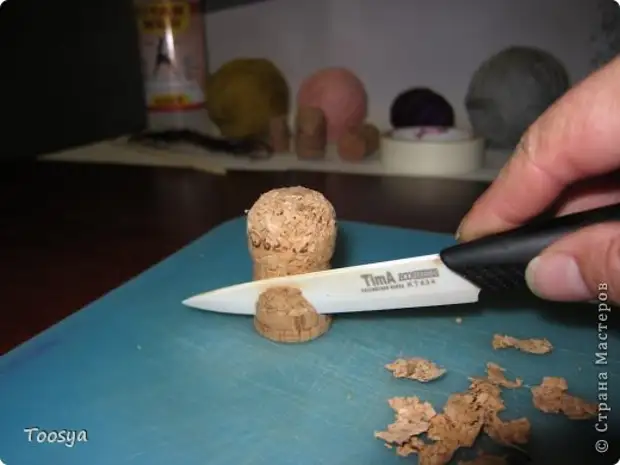
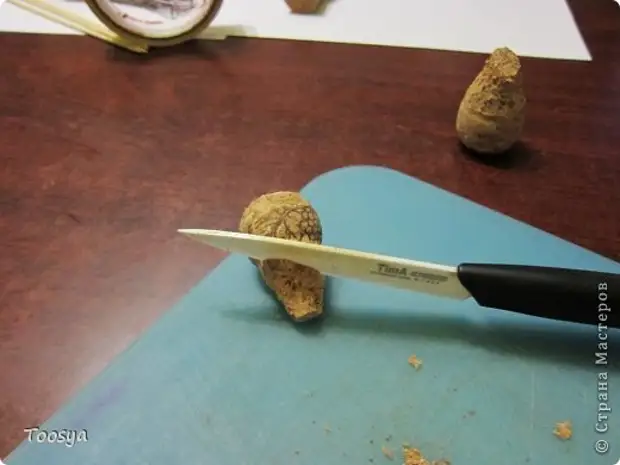
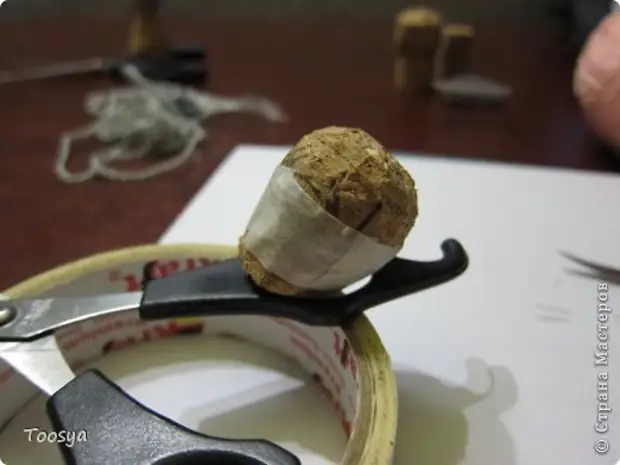
In order for the mouse to watch up cut off the base for the head.
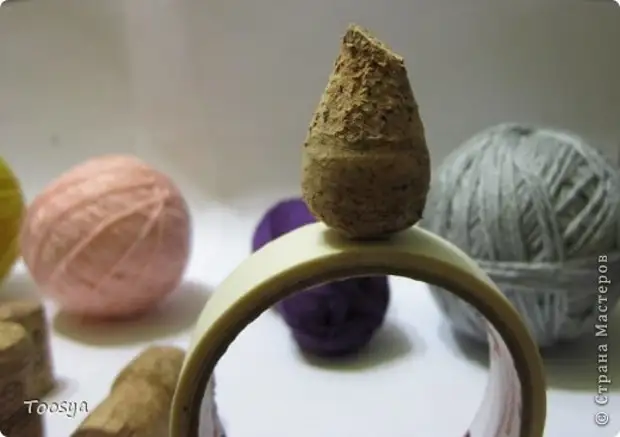
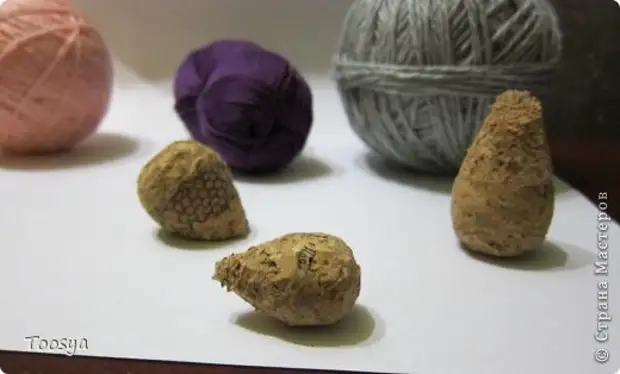
Here is such a blank of the shoulder of the bottom mouse.
For the top of the mouse we need only a fillet part, so we also twitched the ass, fanning the base and cut off half the cork.
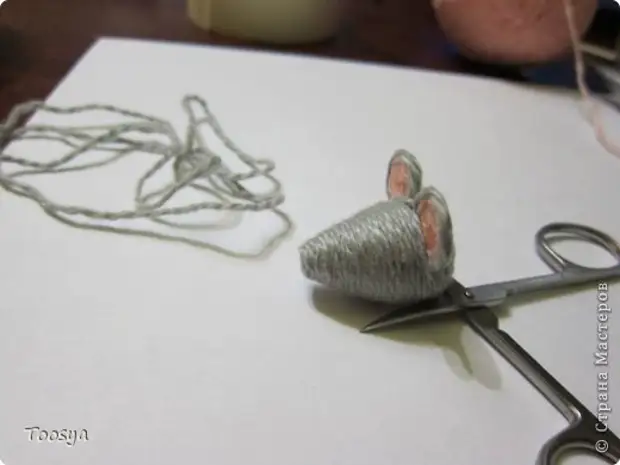
For the head I take a tube from wine and cut out the muzzle. With cutting through the traffic jam finished.
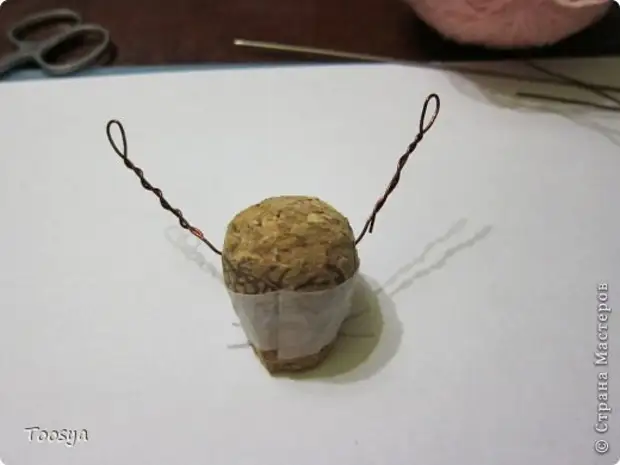
Now I will do my head. For ears from the wire, I make two round blanks with "tailings", they will stick into the head.

Two future ears. I have a finely thin, soft, so I pre-need a hole to do holes and incur in the "tails" ears, fasten with glue.
That's what happened. Although I have already conceived that if I still do such magnets, I will make the ears more and farther from each other.

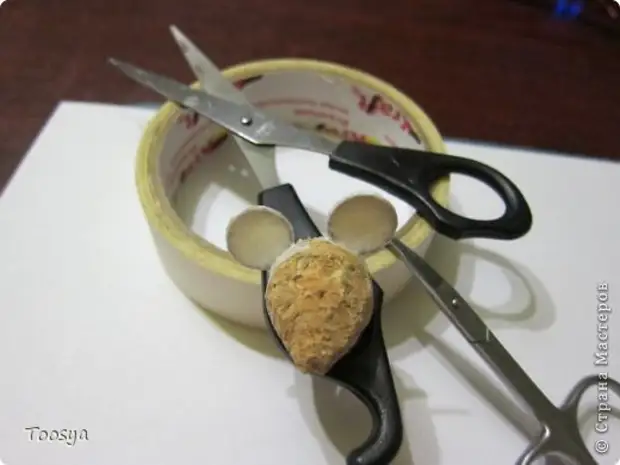
Now we put the ears with painting scotch. Scotch slides a little on both sides, which will additionally hold them.

Cutting the surplus of the scotch along the loop loop.
Now the most for me is not a favorite process ... I miss the titan of ear on one side and ripping the pink thread in a circle. I only have a pink color in this option - multi-trial, so painfully lay the coil to the turn, and the glue will dry quickly.
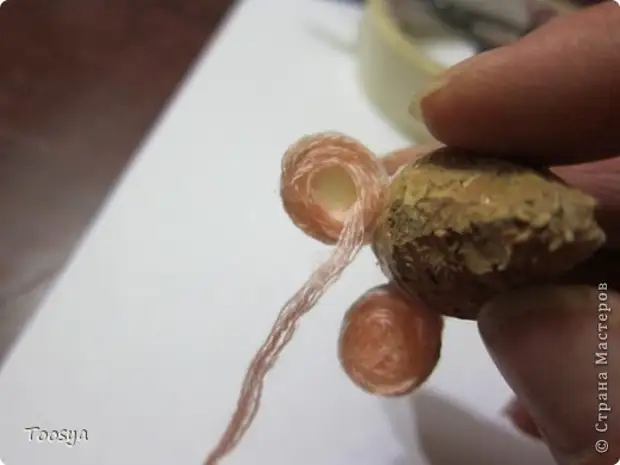
The opposite side of the ears are made in the same way, only with a gray thread.

sixteen.
I make the first round with a gray thread at the end of the ear - closes the cut and front of the ear look pretty.
17.
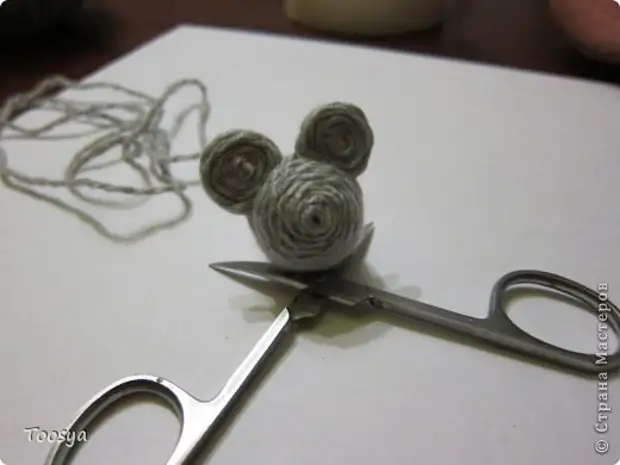
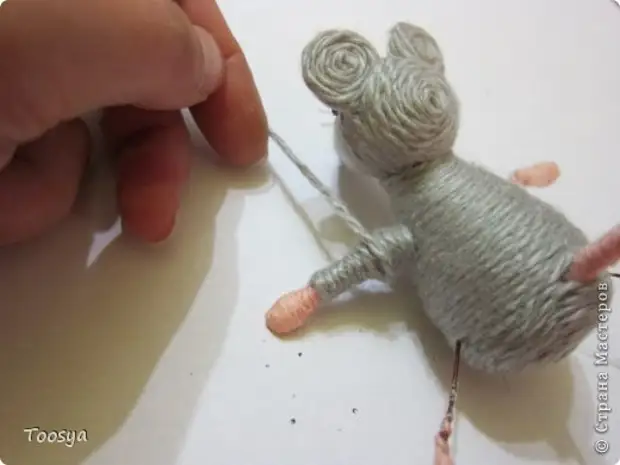
Cover the head with glue and wind up the thread starting from the tip of the nose. Between the ears I spend a thread twice the cross will increase after a full turn.
eighteen.
This is how the head looks like the end of the winding.
nineteen.
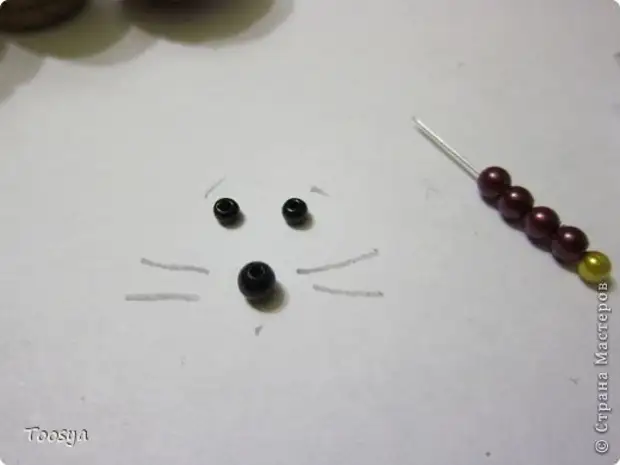
Beads - eyes and spout. To glue well, I press them with a pin for a while. To make the pin to do not drive into the head for the whole depth pre-ride additional beads on it.
twenty.
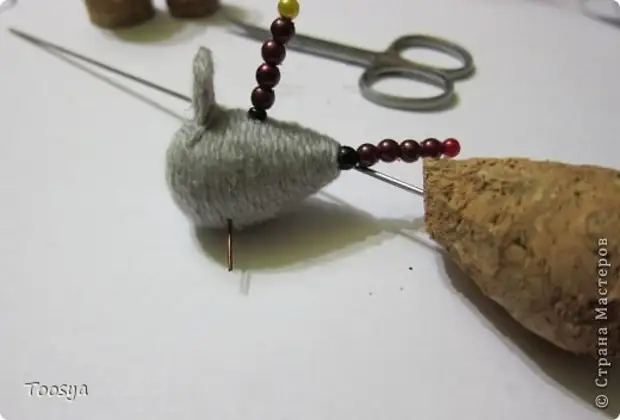
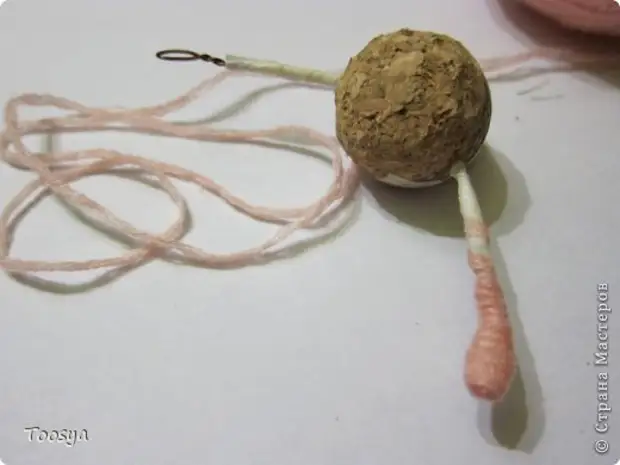
In the head, insert a piece of the wire (I first feed the needle), in the neck I also make a puncture, the base of the neck is missing titanium and collect my head with a torso).
21.
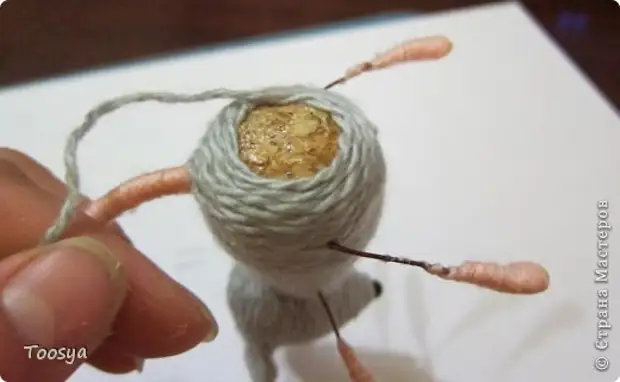
Now let it eat it all. I make the upper mouse (more precisely her half.
22.
In this traffic jam, there was deep development, when the threads are winding, it will be noticeable.
23.
Therefore, we put the failure of a painting scotch.
24.
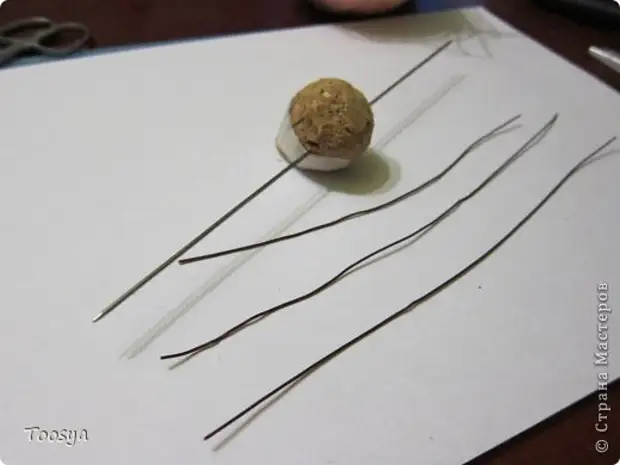
I cut off the wire three pieces - two pairs of legs and a couple of hands. I pierce the plug through and swaying the wire.
25
Forming your paws.
26.
A little sloping the tape in the main part of the paw, so that less than the layers of the thread are then cheating. And with pink threads, wind the tips of the paws.
27.
Gray threads starting a cut from a cut.
28.
I pierce the needle, gluing the wire, waking up with pink threads.
Then wander the paw threads. Starting from the side of the body, to Niza and back. Once again to the "knee" and back. And once again a little above. So it turns out a pleasant roundness to the thigh.
29.
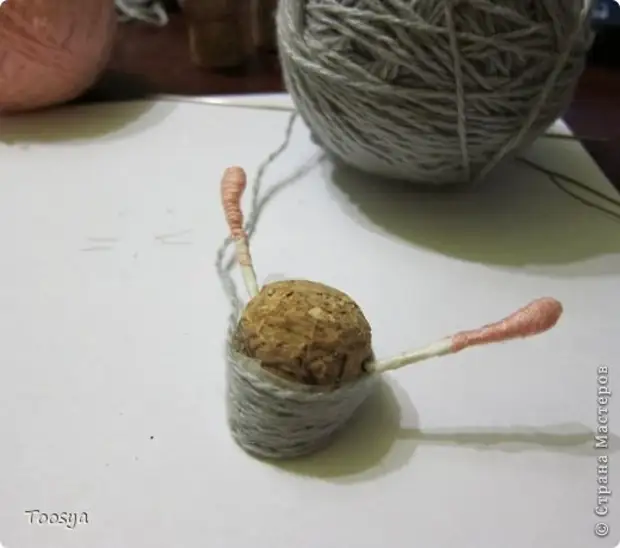
Return to the bottom mouse. I insert the wires - the paws. Winding pink tips.
thirty.
The torso is starting to shook threads from the neck.
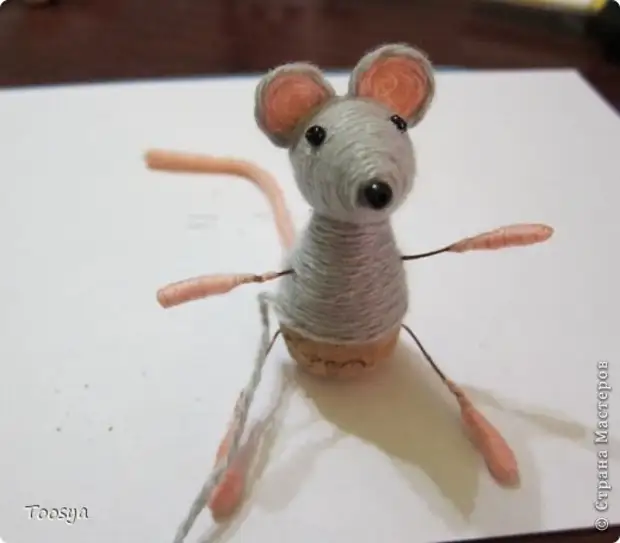
31.
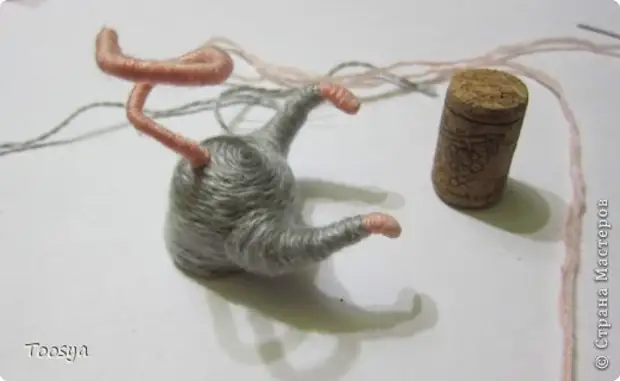
Completion ass.
32.
Paws legs.
33.
Well, here is the main job!
34.
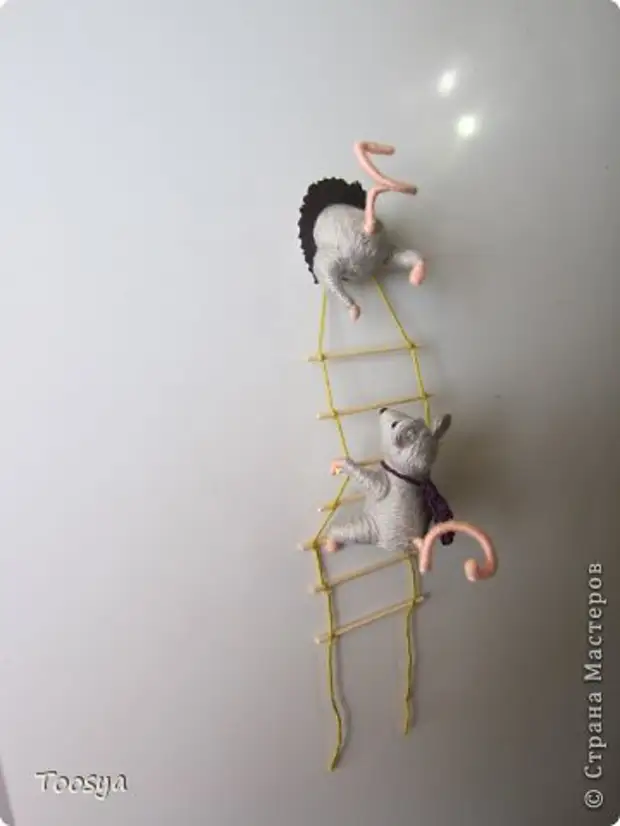
Charges camping on the fridge - I do a staircase. From the spedes I cut off the steps and I associate a thread. So that the nodules do not crawl - I squeeze every bit of titanium.
35
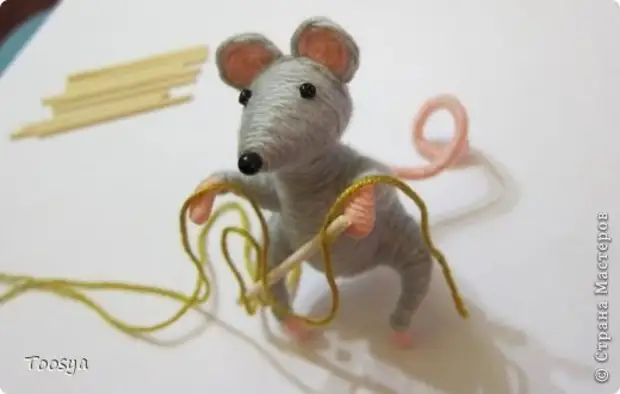
In the paws do not take a lot, knitting a handbag. You can sew, knit, loss, backpacks - it all depends on fantasy.
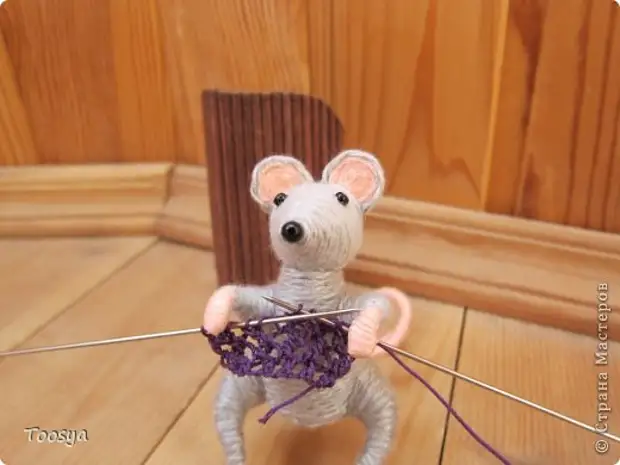
36
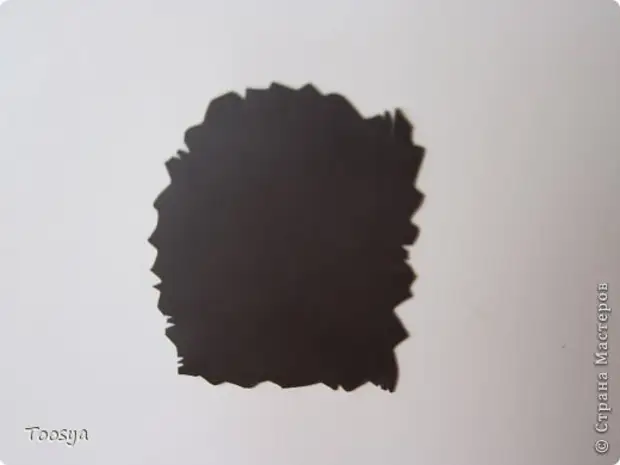
Almost at the goal, I make a "hole".
I really like the option when the magnet is covered with white cardboard (?) And sticking the petals, it looks much cooler. But I did not hold it with this option. Found such a way out. From the magnetic canvase, I cut out such a klyaksu and in some places with double tarts imitating traces of teeth).
Yes, now I have already acquired a magnetic cloth, but the first pair of mice was made on a magnet from the purchase magnet. I had a double, so let the doublest duplicate. Torn the laminated layer. Mocked with water and scalked cardboard. There remains a sticky adhesive layer, it is easy to remove with a cotton disk, moistened with vodka, let me forgive me lovers of this drink for waste.
37.
And here it is happiness - Food Refrigerator !!!! At the bottom it looks like I love to sweat something delicious, especially at night.
This is so big, it may be too detailed MK turned out.
A source