
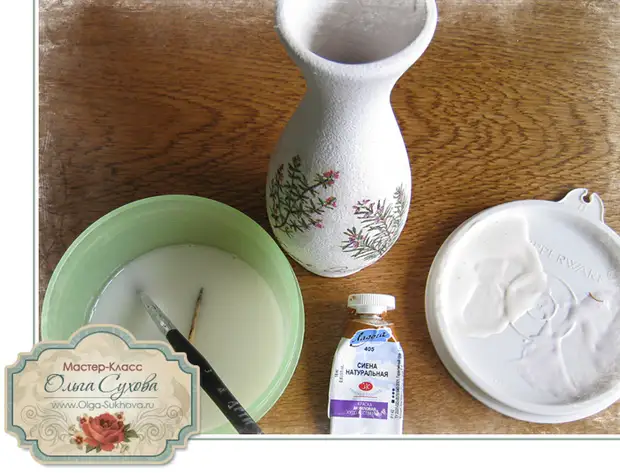
You will need:
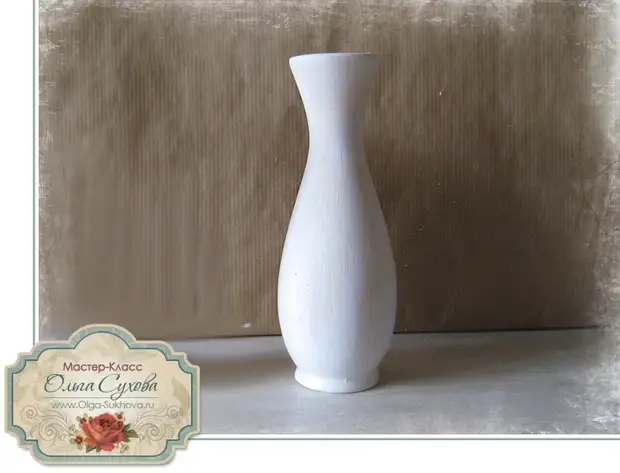
- clay vase
- White acrylic paint,
- Napkin for decoupage,
- PVA glue (or decoupling glue),
- Tassel for glue,
- acrylic paint black and color - under the color of the napkin background,
- Skister-sandpaper
- urine for tinting (or patina, bitumen, etc.),
- Toothbrush,
- toothpick,
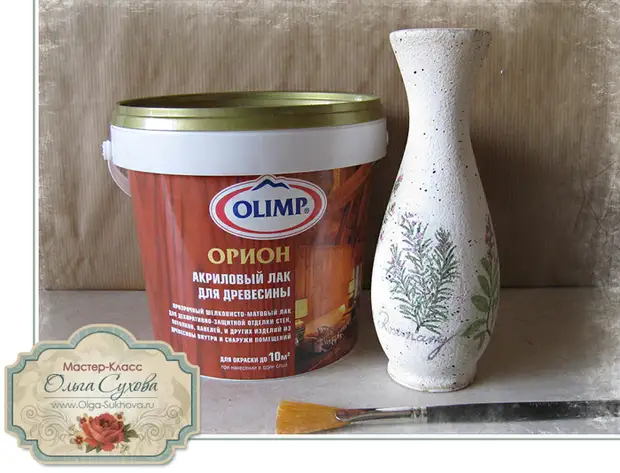
- matte acrylic varnish
- 2-step crustaceous varnish,
- Pigment - grout for cracks,
- cotton pad,
- foam sponge,
- wet cloth
- Tassel for varnish.
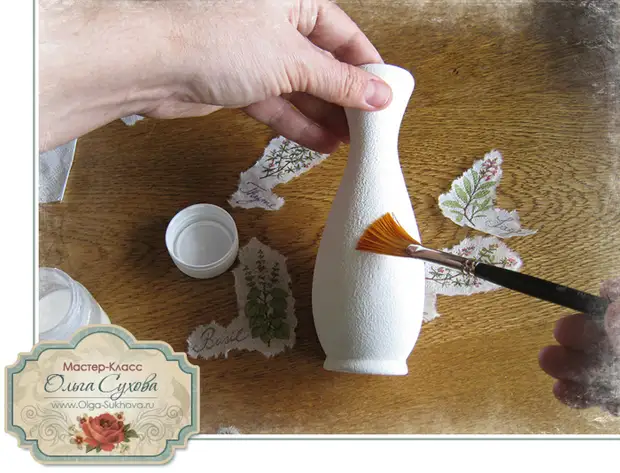
VAZochka sand, if necessary, and then mine carefully - degrease (it is easiest to do with the help of Fairi).
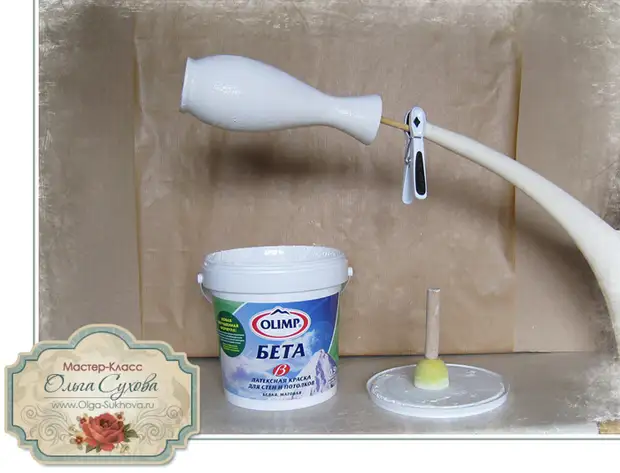
Prayer with a foam sponium white acrylic paint. Sunday to complete drying. The process can be accelerated using a hot hair dryer. Consider the second time - as a result we apply 2 layers of paint. Sunday to complete drying. I do not spend the surface, I love when it remains the pupil. If you like a smooth surface, speck it at this stage.
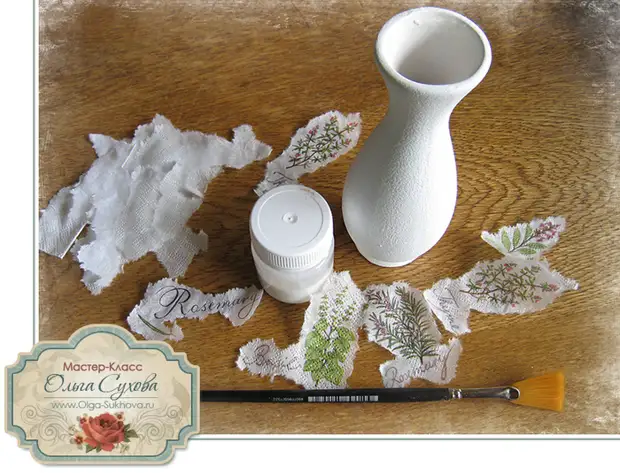
We prepare a napkin. It consists of 3-layers. First, we pull out the elements we need from the napkin - pictures and already after that we smell each piece - separate the upper colorful layer.
Pictures I am glue like this: I smear the plow glue itself - the glue take the droplet, the tassels are almost semi-dry. It is only a little bit to moisten the surface to glue, so that the picture could slightly stick to it.
I apply a fragment of the napkin on the melting place. Carefully, patting the pillow of the finger in the picture, I try to join the main part of the picture. Monitoring so that the folds are not formed. It is necessary to glue from the center to the edges.
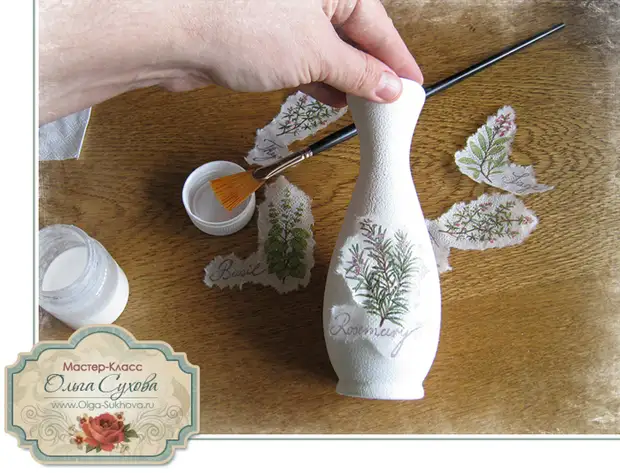
This is what the glued fragment of the picture looks like. The edges are not glued. But the napkin itself was very smooth, without wrinkles. By this way, I glue any napkins, even large - always turns out exactly and without folds. Try it, maybe you will like it.
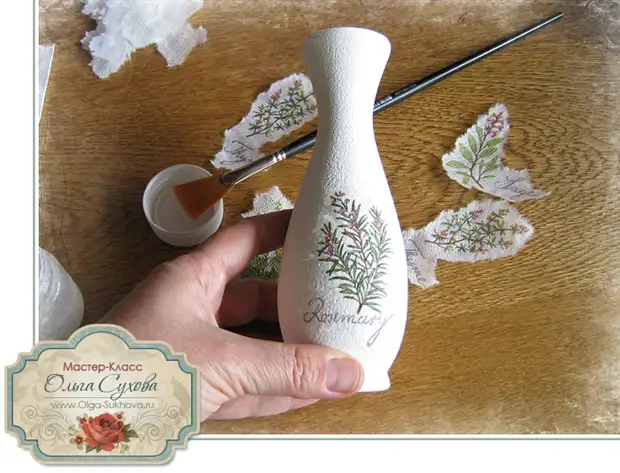
Then we take a silent and wipe the picture on top of the glue. Majm from the center to the edges, thereby still smoothed out and the crafts of the motive are glued. The picture as it merges with the surface and the seams are not visible. Also glue all the other pictures and leave a vase until complete drying.
My picture has a little grayish-yellowish background, so I put it on it all the vase. We knead the white paint with a drip of a dark yellow and tassel staining the entire surface of the vase, while climbing the fragments of the pictures to merge them with the background.
Sunday to complete drying.

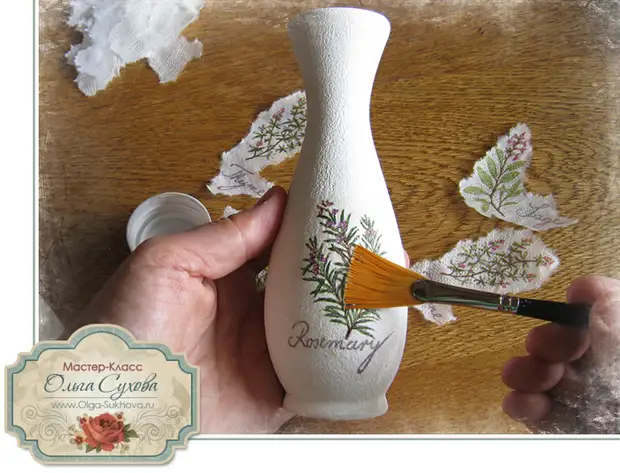
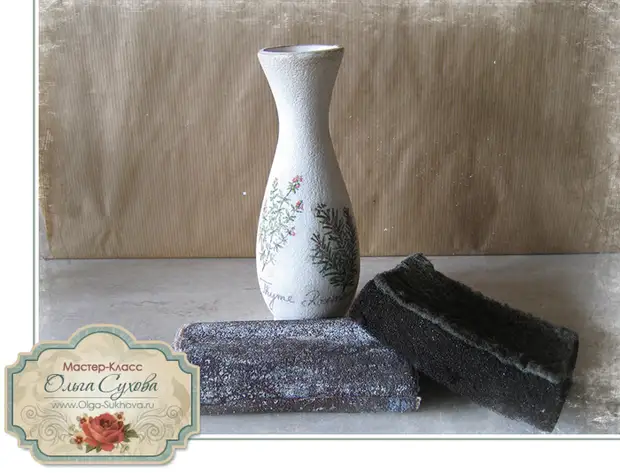
Next, you need to make topping the top and bottom of the vase. I do this with the help of a special sponge-washer, which I did myself (I described it in detail in detail in my paid MK). Also toning can be made by any tinting patina or bitumen composition. It is necessary to get lost slightly - make dirty - the neck and the bottom of the vase, a little bit lost the sides. Give to dry and then sanding a little sandpaper these brown toned places. Not much, but only a little bit, so that there is a white base with places.
Immediately after toning, you can make spray. I make it with a toothbrush and toothpicks
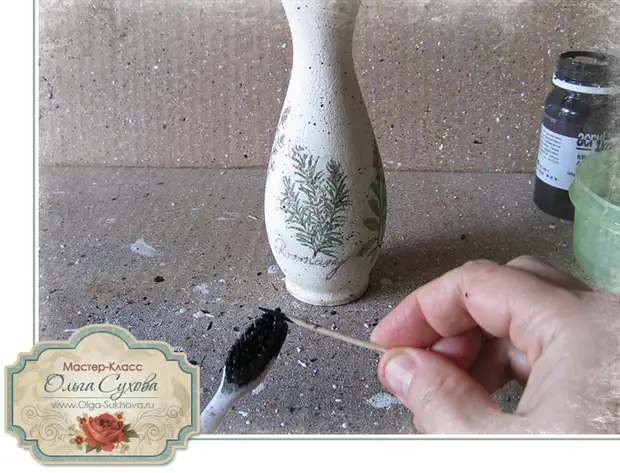
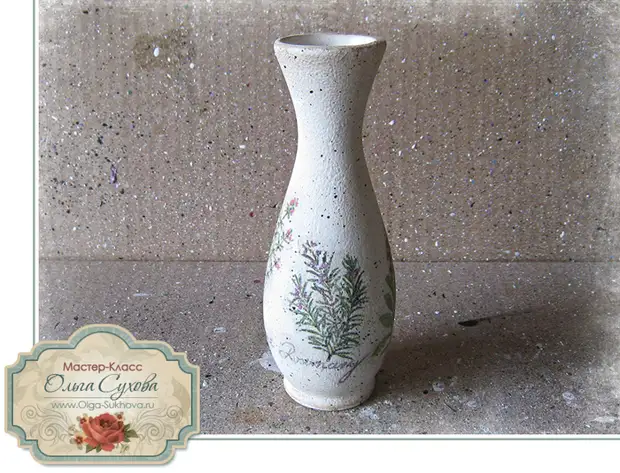
Vasuchka with spray drill.
Covered vase with one layer of matte acrylic varnish and let him dry. This is done to protect your paints with a glued motive before applying crabeller.
When the lacquer is dry - my varnish dries about 1 hour - you can proceed to the creation of a cracker.
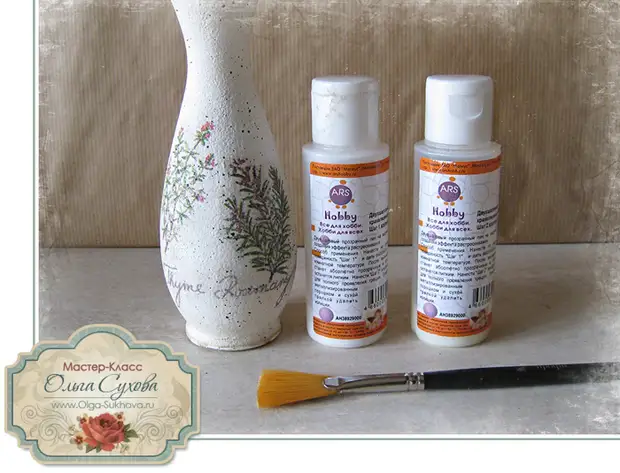
We apply 1 step of crusture lacquer (I use a pair of "ARS Hobby") on the entire surface of the vase.
Let it dry for 20-25 minutes - we are dried "to the lowlight". Varnish must stick to the hands, but at the same time not to put his hands. If there is such a state of varnish, then it's time to apply 2 step. We apply it to the entire surface and let it completely dry. It is better to leave for several hours or even the night. The second step dries completely and after drying it does not stick.
Apply both steps of the crockel varnish with a tassel or just a pillow. I most often do it exactly my finger - I pour a small puddle and smearing it on the surface to a smooth layer - so the lacquer falls more evenly and there is no strips that leaves the tassel. And the layers themselves are even more thick.
The second step is trying, the cracks have already been formed, but so far they are not visible. We show them. We do it with the help of pigment. You can also use oil paint, eye shadow or gold powder (sold in the construction market).
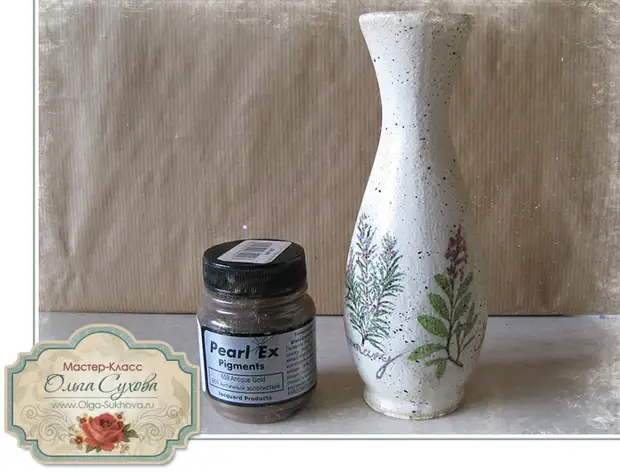
We recruit a little pigment powder on your cotton disk and rub the vase to them, rub it in circular motions into cracks - cracks, which were not visible, immediately manifest. You will instantly see them.
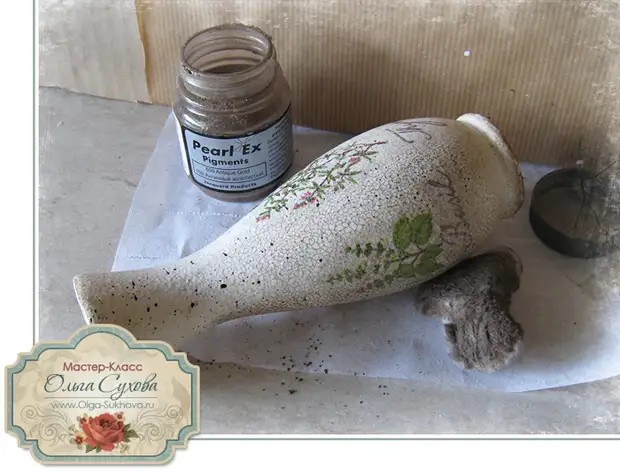
This is how the vase is completely lured by the pigment. It is still dark, it has not yet erased an extra pigment.
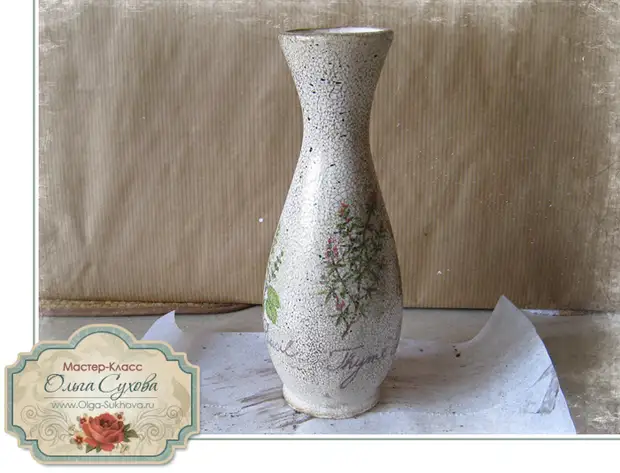
To remove unnecessary, take a slightly wet cloth and thoroughly wipe all the vase. The extra pigment will be removed, only the one remains in cracks.
The final stage is covering a vase with two layers of matte acrylic varnish, with a drying of each. The first layer will dry about 1-2 hours, the second - leave at least a day, and is better more. Varnish will still stick up some time, but will gradually dry completely.

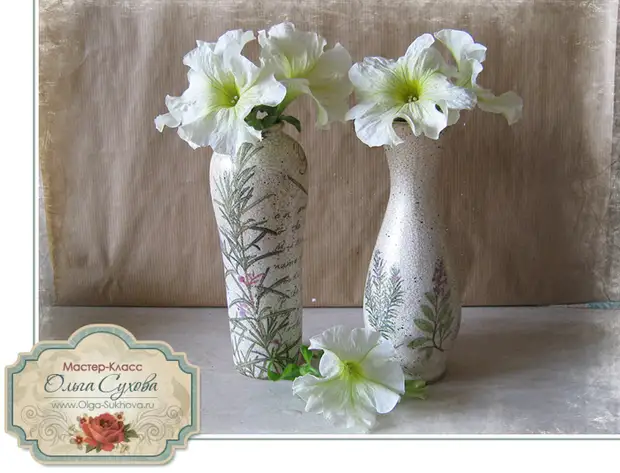
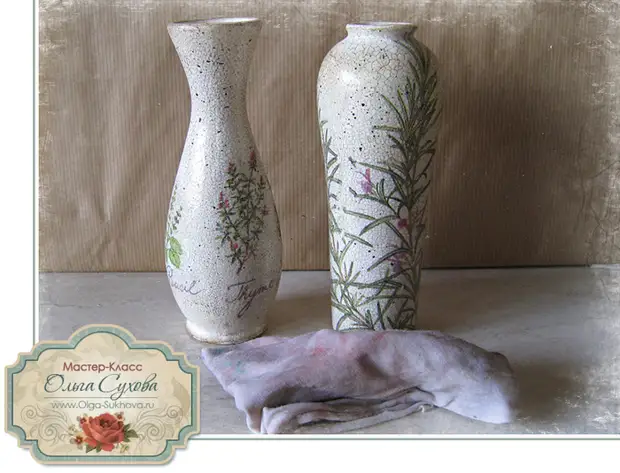
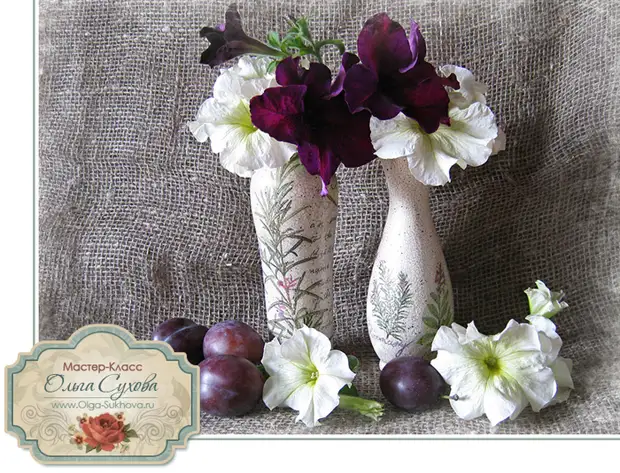
Vaverochka is ready! In parallel, I did the second vase, so there are two of them in the photo. Third VAZochka, alas, somewhere lost, I could not find it.
A source