

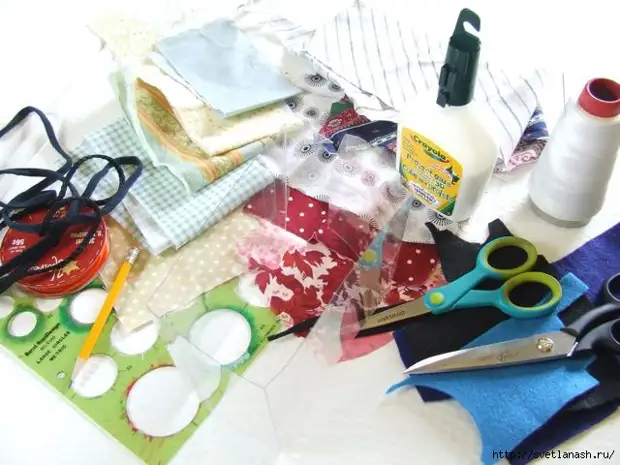
You will need:
Trimming fabrics, needles and threads, polyester batting, plastic, narrow tape, round pattern, scissors, glue.
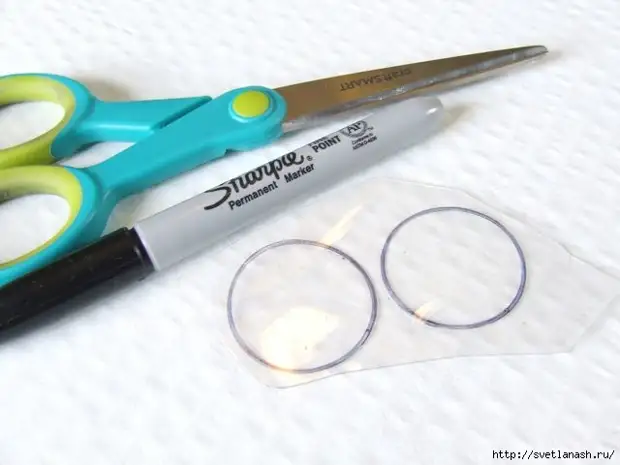
Draw 2 circles on plastic and cut them.
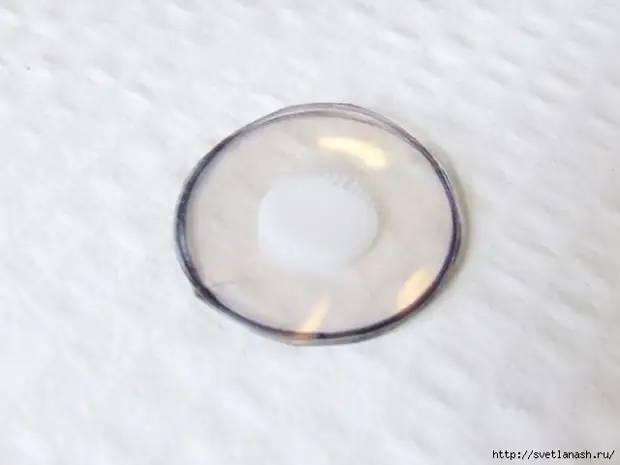
Drip the glue to one of the plastic circles.
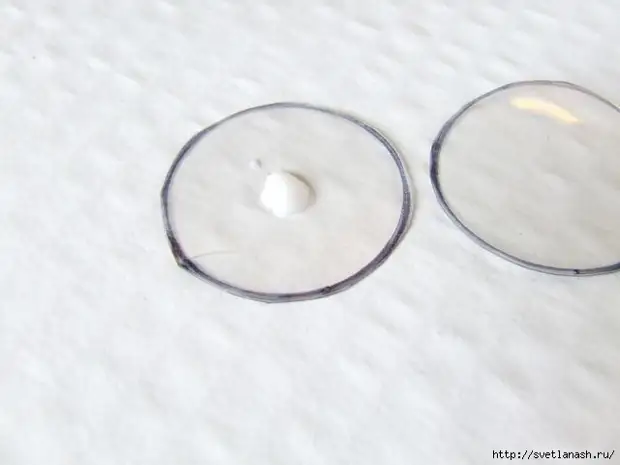
Glue with another.
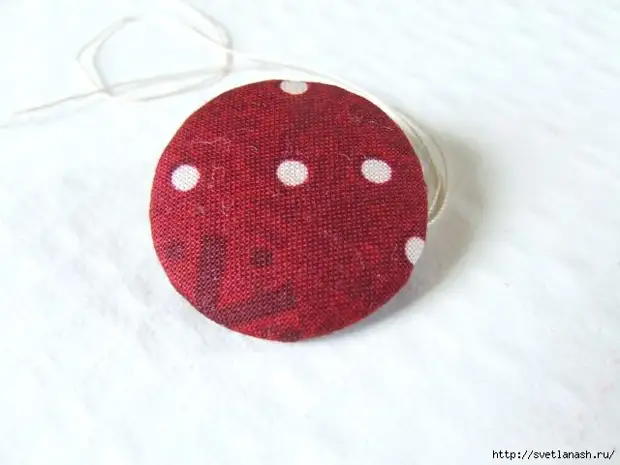
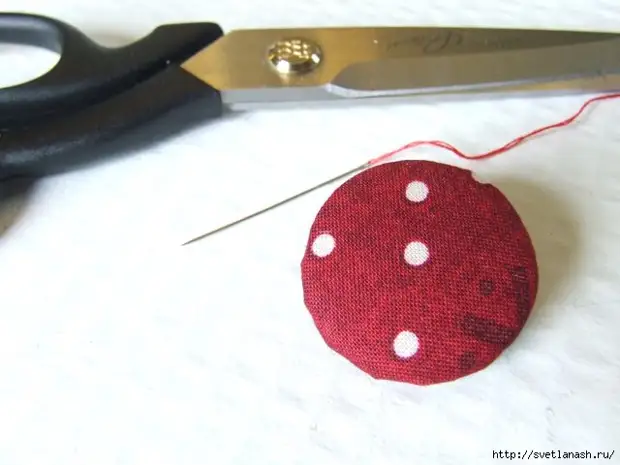
Draw a circle on your chosen fabric. It should be about two times wider than small plastic blanks.
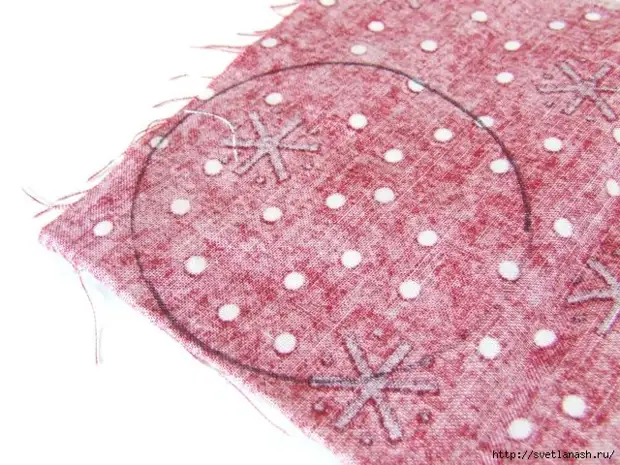
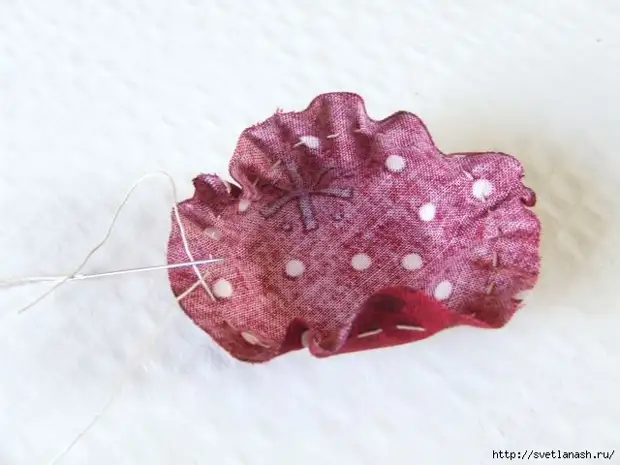
Cut the circle from fabric. Using the needle and threads, cut the stitches along the edges of the circle.

Pull the ends of the thread, you will have a small cup of fabric.
Put a layer of filler into a small cup. On top of put glued plastic circles.
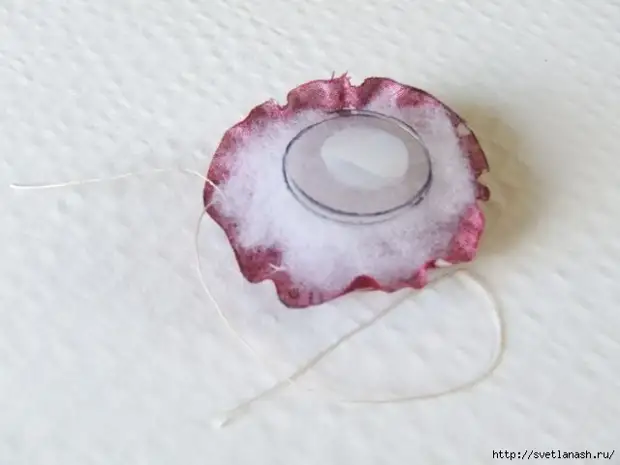
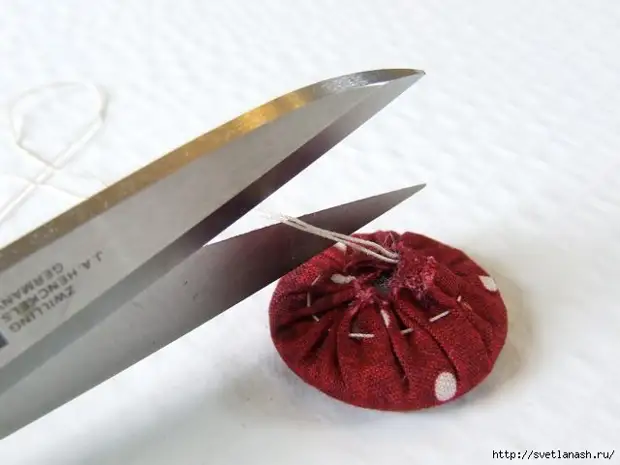
Now pull the ends of the thread and tie the ends tightly.
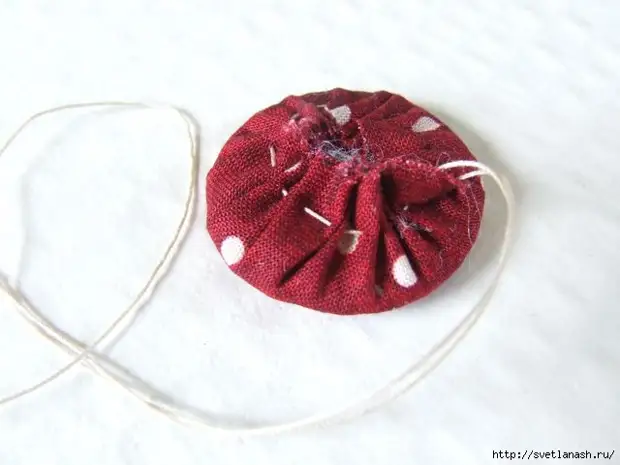
Cut an excess thread.
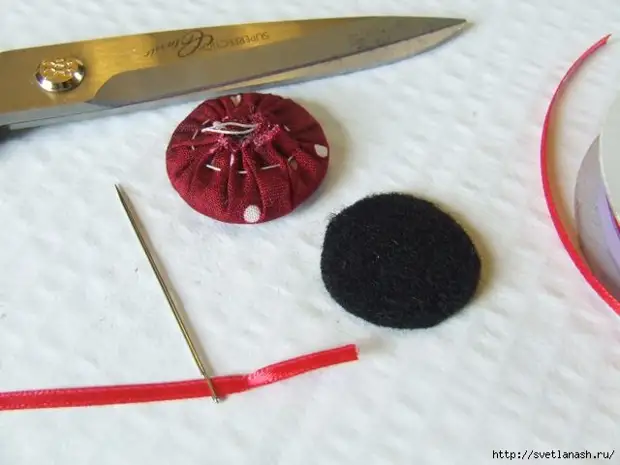
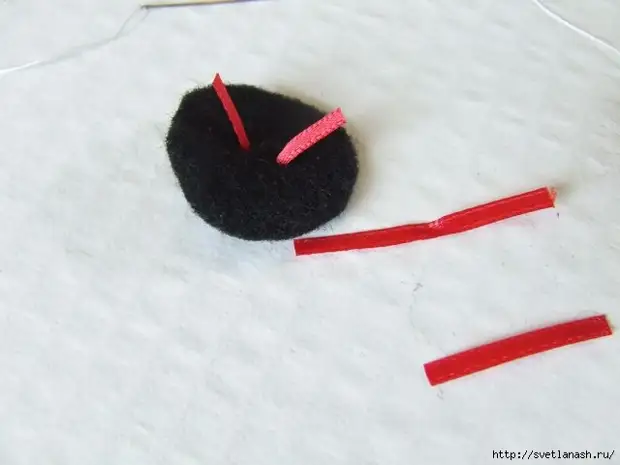
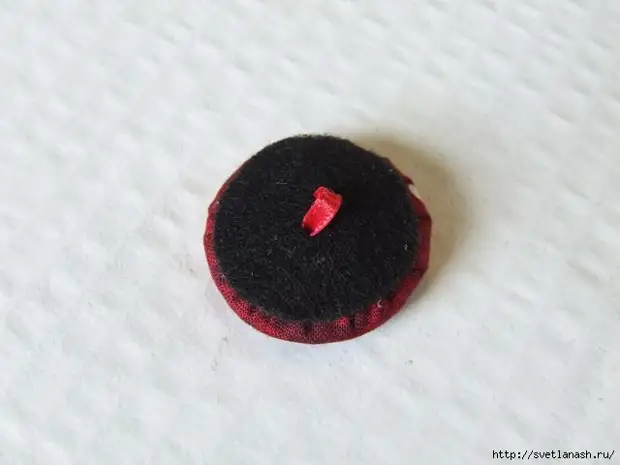
Cut the circle size is slightly smaller than our future button. We take a big needle and a short piece of narrow tape, thread needles with a ribbon.
Tailor in the center of the felt circle, as shown in the following photo.
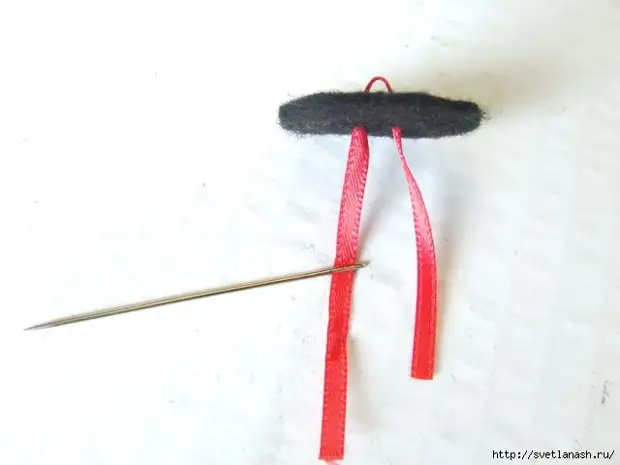
Cut an excess tape.
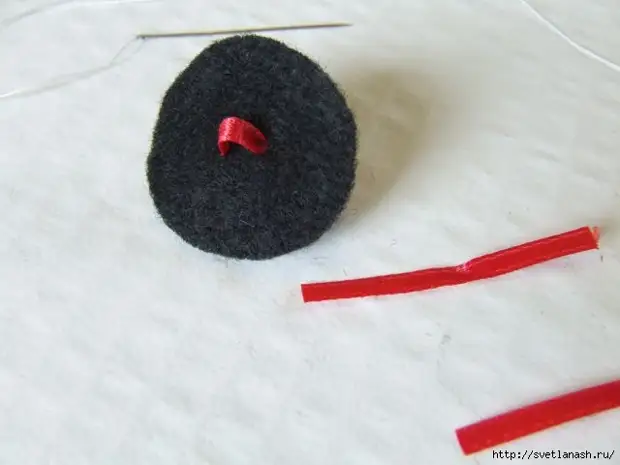
Lock the loop with threads.
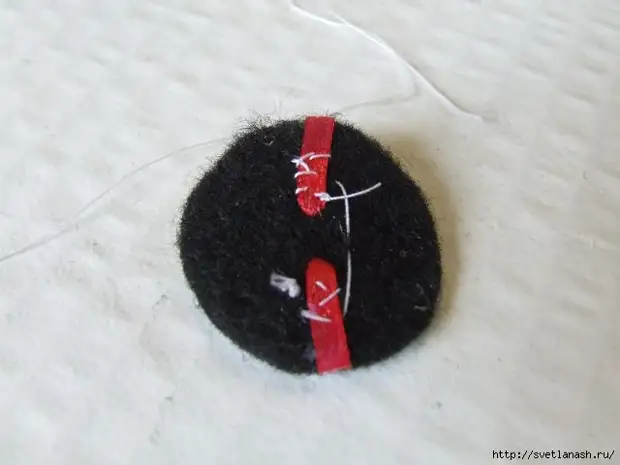
Then drip glue on a mug with a loop.
And glue two halves among themselves.
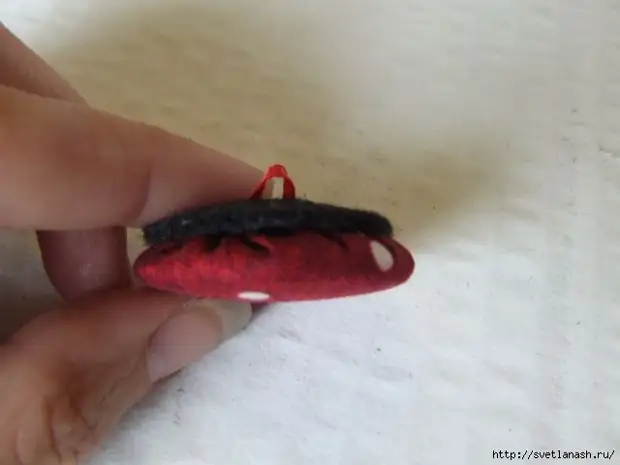
Sew two halves among themselves.
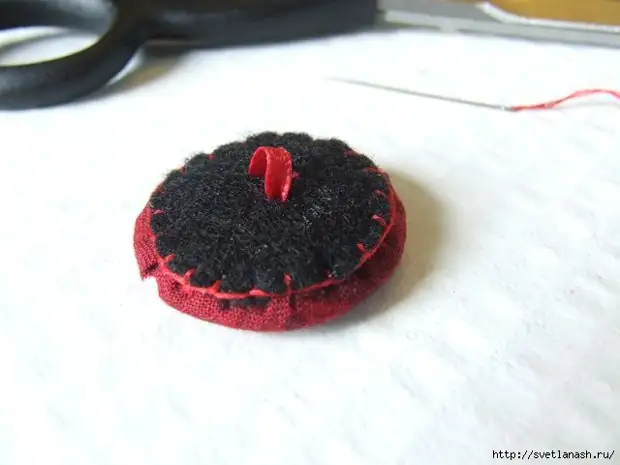
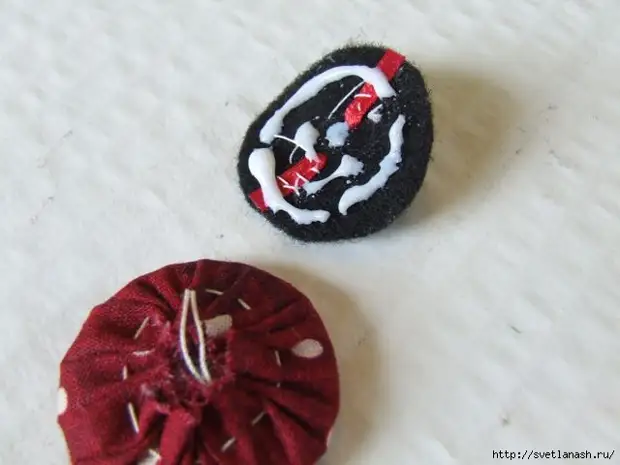
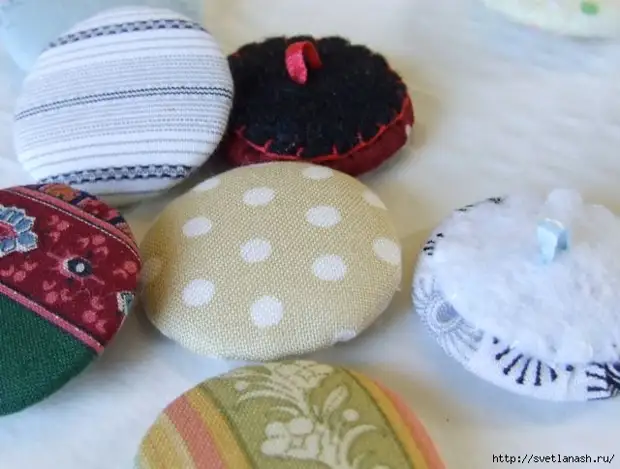
Our decorative button is ready!
A source