
Actual topic with these flowers, because remember how the people were tormented before - "What, Danila Master, does not include a stone flower?". Maybe just the material is necessary to take another?. Here's how, for example, master iaan Made, just took the most simple toilet paper and it turned out everything! Master classes from ryan About roses and about tulips. We look and surprise
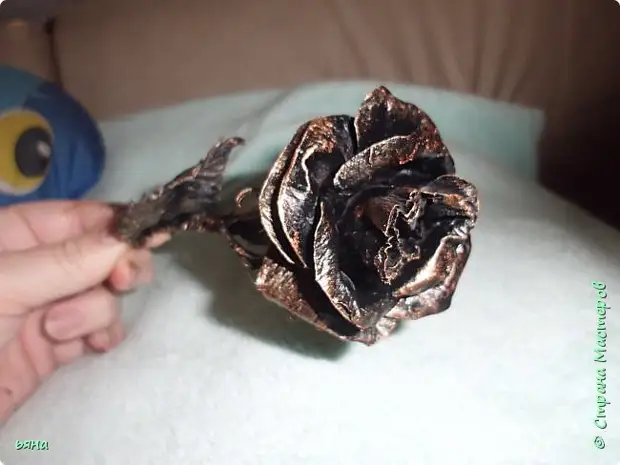
Hello everyone! I decided to make MK on the "wrought-iron" rose from the usual gray toilet paper. The masters of our country from such paper did both sneakers and dresses for bottles and many other things, but I did not meet the roses and consider my idea. Such roses can be useful for the decor, and you can simply use them yourself by putting in a vase or stand.
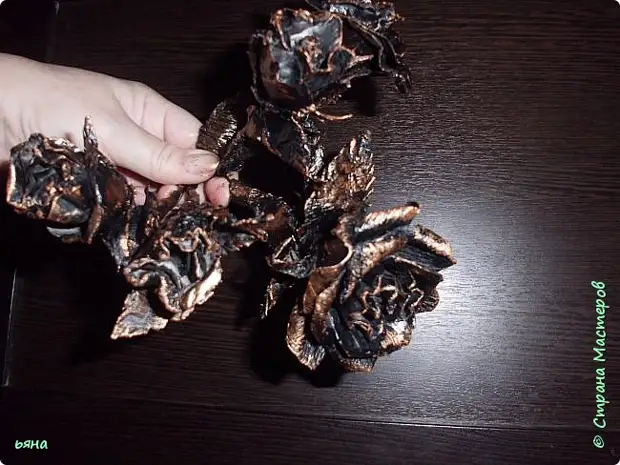
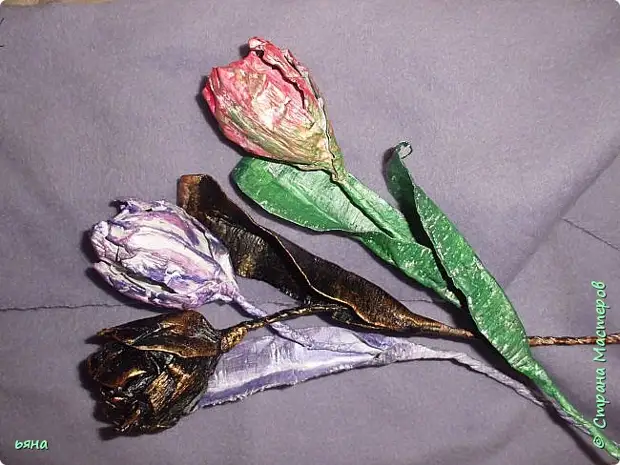
This is how the bouquet can be organized.
Or twig. So, let's begin:
We will need: Gray toilet paper, wire, PVA glue, brush, cotton discs, paint spray black and acrylic color-bronze + sponge.

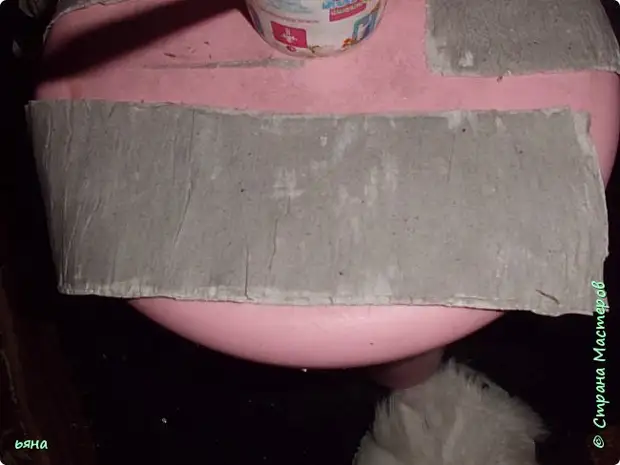
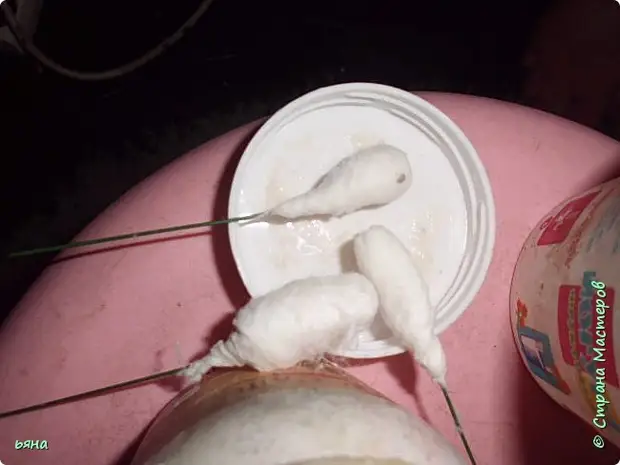
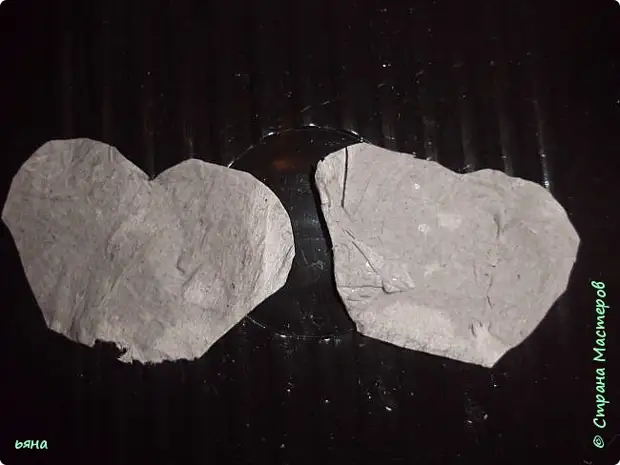
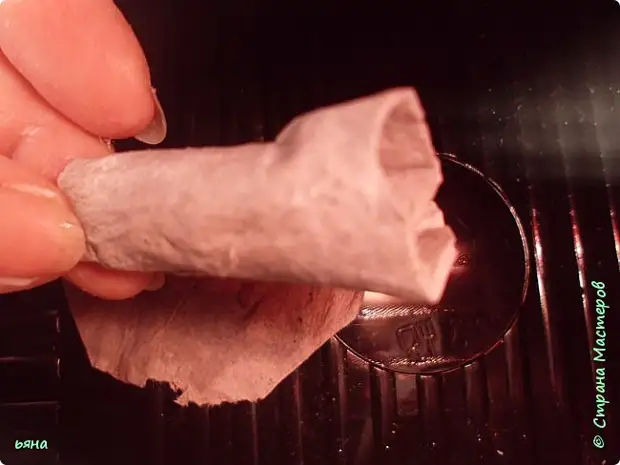
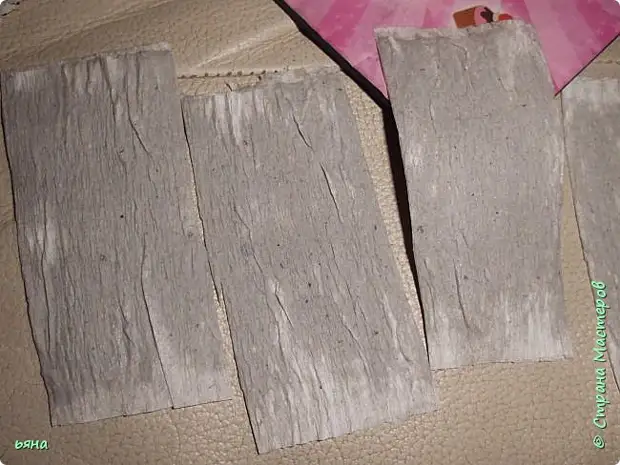
Estate a little toilet paper to the working surface (if you do not have a plastic surface, then lay the multifora or oilcloth), approximately cm 50, with a lining glue gently and over another layer (so 4-5 layers). Let's leave to stop slightly minutes at 15-20 (depends on the glue and the amount of it on paper), the paper must be still wet, but do not stick to the hands. The day it dries to prepare the base of the flower. You watched a cotton disk on a piece, pre-lubricating it with glue from the inside, form a drop-shaped form. Bend the wire, skipping one turnover of the disc.
These billets should work out. Slotting them slightly glue and proceed to the formation of bud.
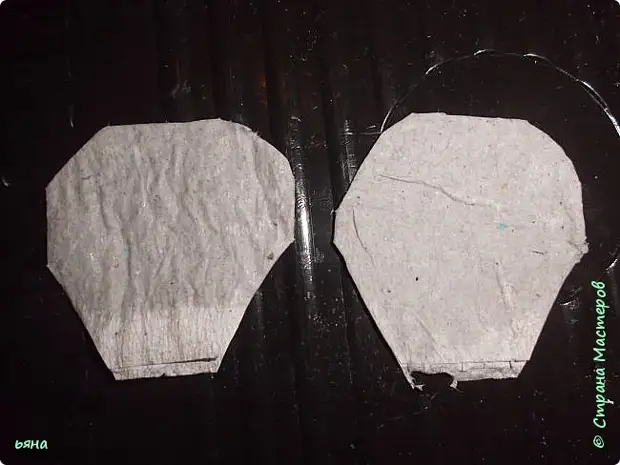
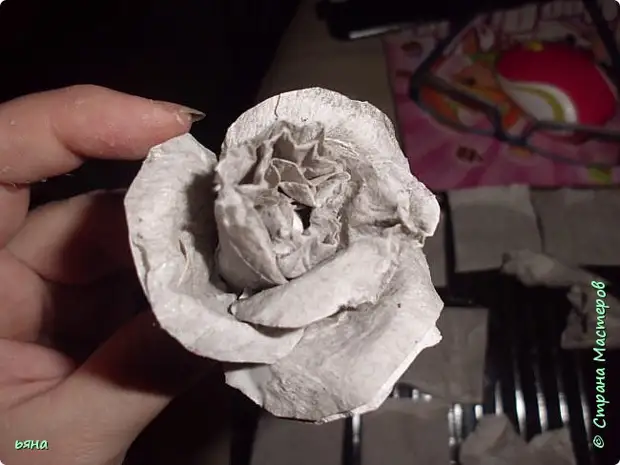
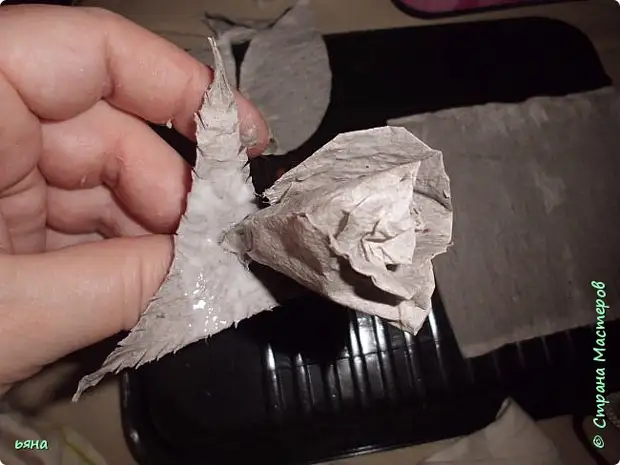
From the main reservoir, we cut about 5-6 cm, lay in half across and cut into two parts. From these rectangles form a double petal scissor. It should turn out in the photo.
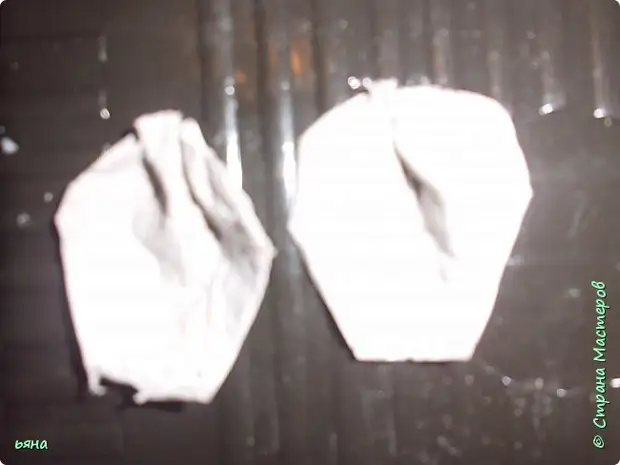
Now lubricate the edges of the glue, we wrap our workpieces with cotton woven discs. If you need a bud, connecting the edge of the petals on top and slightly at the bottom, you can postpone until the next stage. And for a full-fledged opened flower, I will take out more petals.
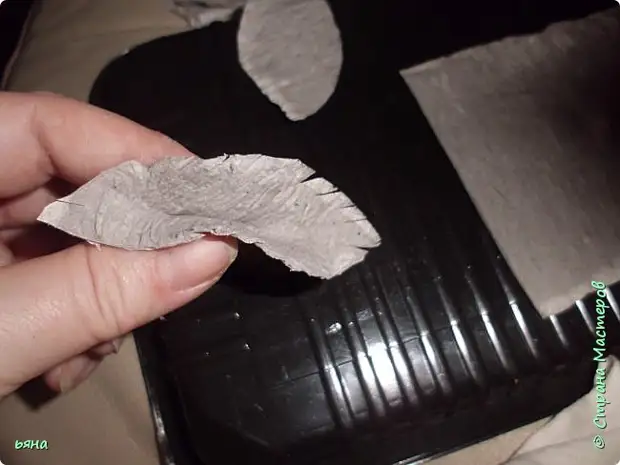
Mind 3-4 cm, cutting, lay down in half and take it out. The top of the petal is a little doubt along the longitudinal axis and lubricate with glue overlap around the bud.
The photo is bad, but still understand how to smat the petal. Such petals need 2-4 pcs.
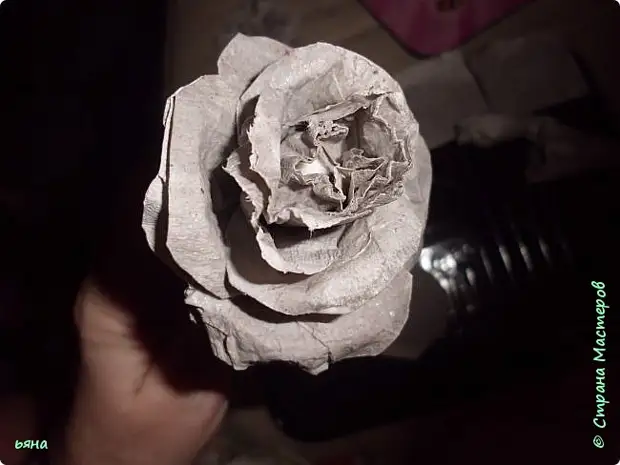
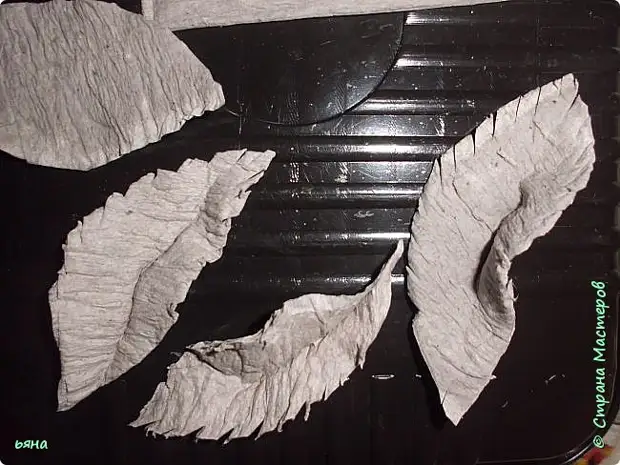
I cut the rest of the petals in the same way, just not ferment, and we twist on the toothpick on top. Such petals are also 2-4 pcs. And the remaining 2-4 pcs. Twisting from the sides.
Here you can see what petals are twisted. If the number of petals arranges, proceed to the leaves and the stem, as well as the sewer.
To do this, cut off 6-7 cm from the main layer and fold in half. I cut the sheet diagonally, but so that 2mm remained the bent edge. See below.
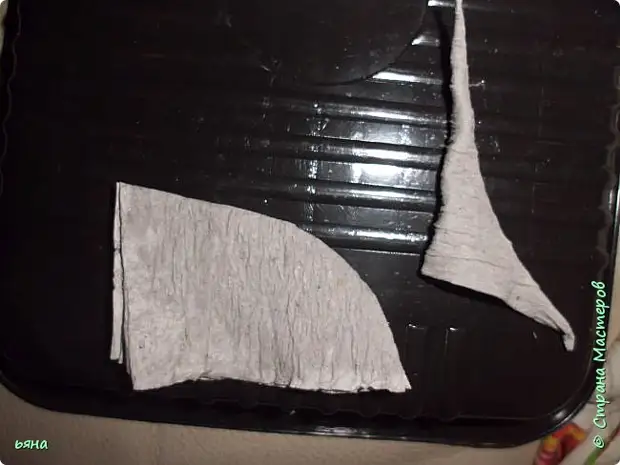
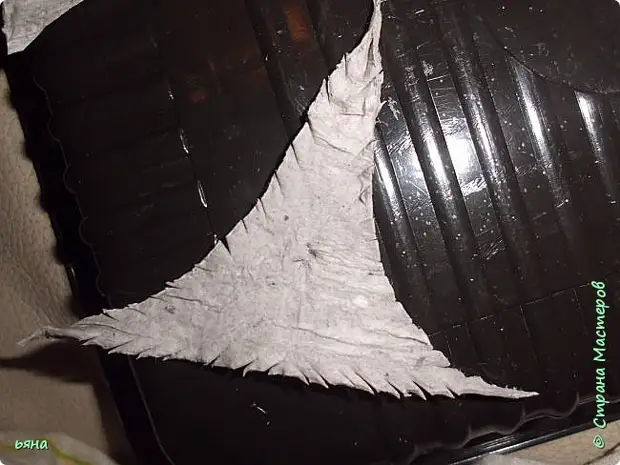
We deploy the bent edge and make cuts, like this, and in the middle a hole.
We put on our flowers and buds, smearing with glue and press. Let dry. I put in a plastic form from under the candies from the used boxes, and at this moment I pierce the place for sweets through and insert the stem (and the form holds the flower).
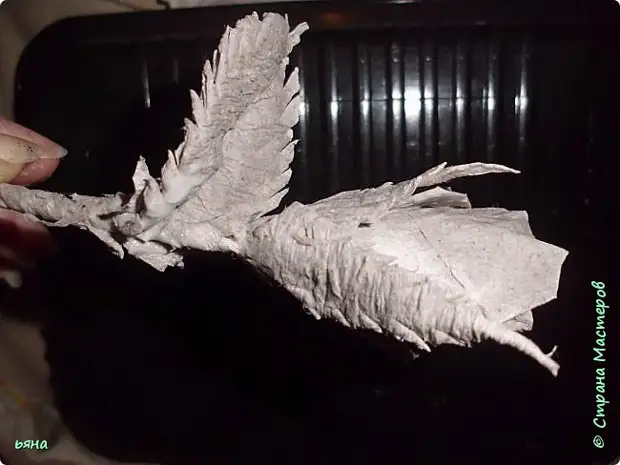
While grasps make leaves. They, as well as a chashelistic, cares and press and press in the center. Some and slightly wrapped aside.
Like this. Now cut the strip 0.7-1 cm for the stem, lining glue and wrap it.
Now on the sheets of smearing in the lower part of the glue and grab stem. Bold paper. Depending on the required length, you can repeat the wrapping stem and gluing a sheet. And you can connect three sheets together and then glue the stalk.
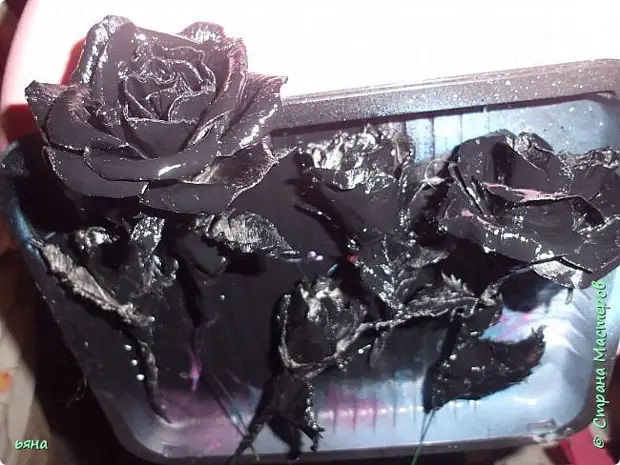
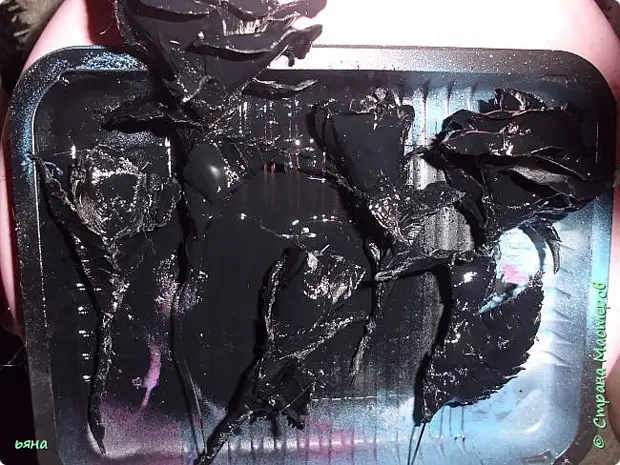
We send to dry. I dried on the battery is quickly (while I cooked soup).
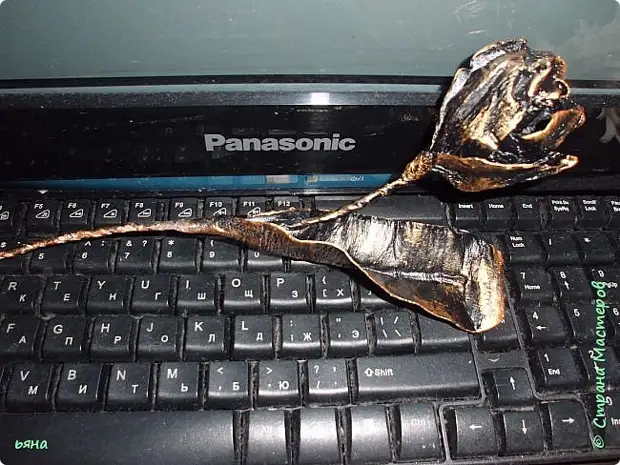
Painted in black spray. More convenient than brush. He took the newspaper and went into the entrance (beds and painted).
On a small twig.
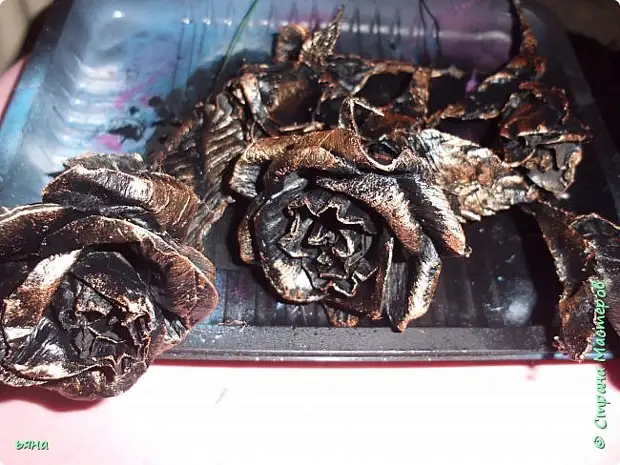
And now take bronze and sponge and slightly everywhere chpoca.
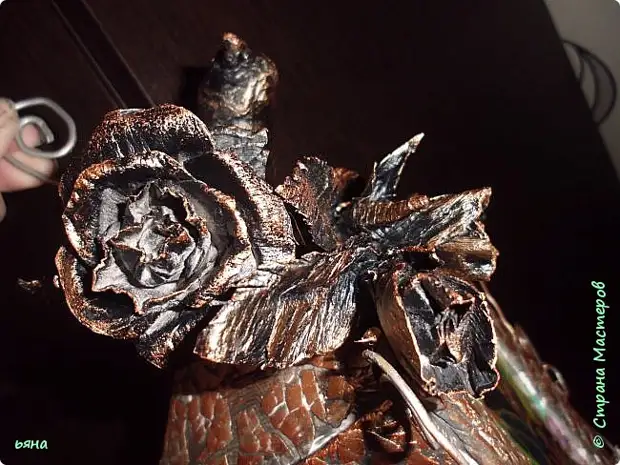
We admire.

On roses strained? Now for other flowers we will take.
A source
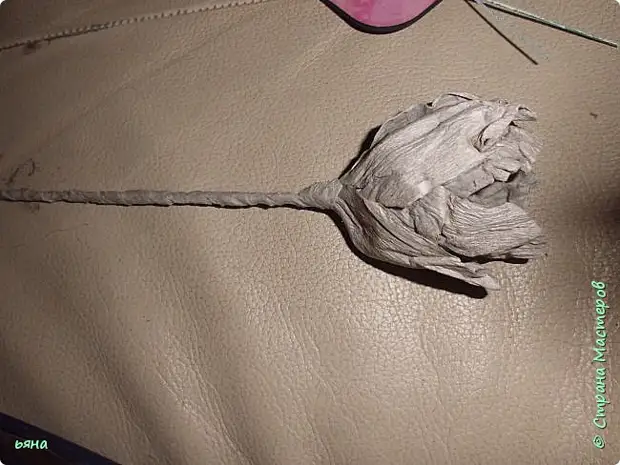
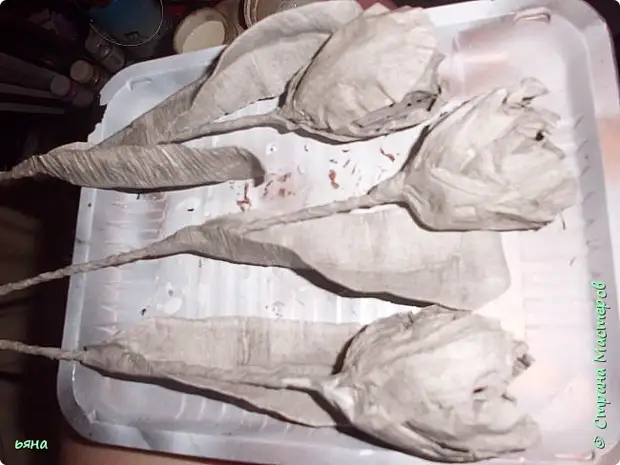
Here is such a "wrought" tulip can work out of an ordinary gray toilet paper. We will need: Gray toilet paper, PVA glue, wire.
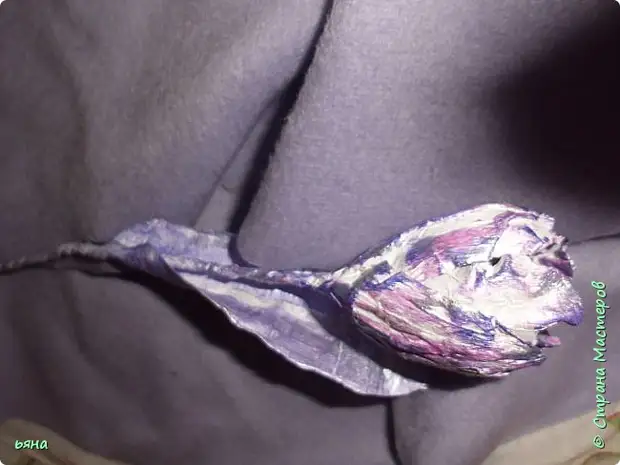
We look at different color combinations.
Worn, lilac and woodlord.
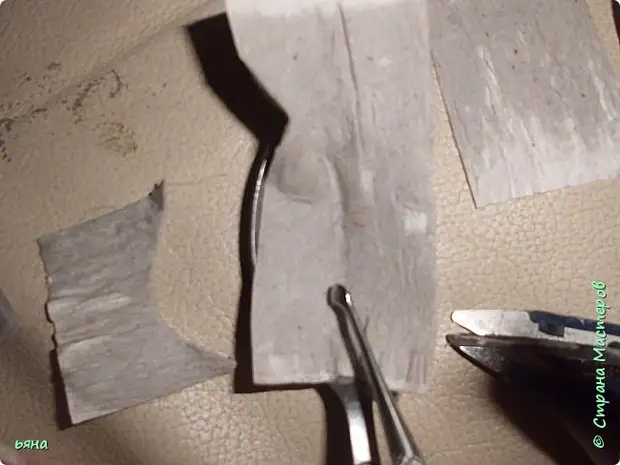
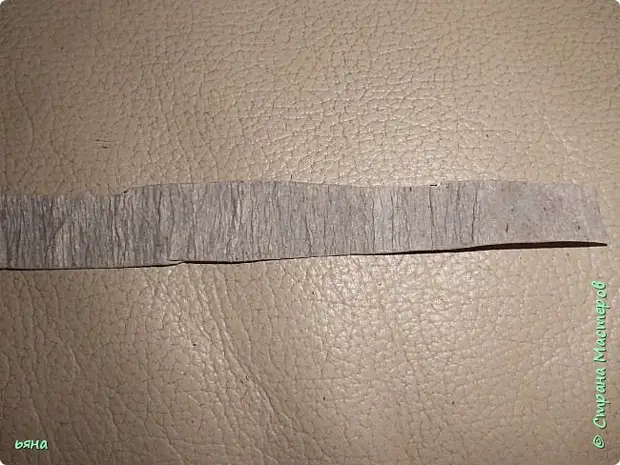
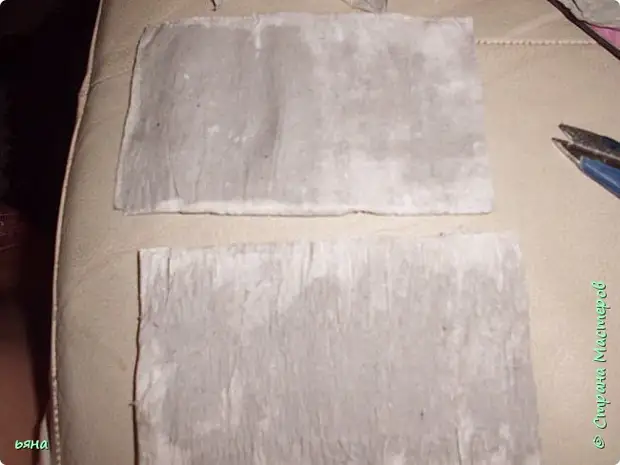
Cut off paper 50 cm prepare layers with glue. A little having dried up to cutting here such stripes.
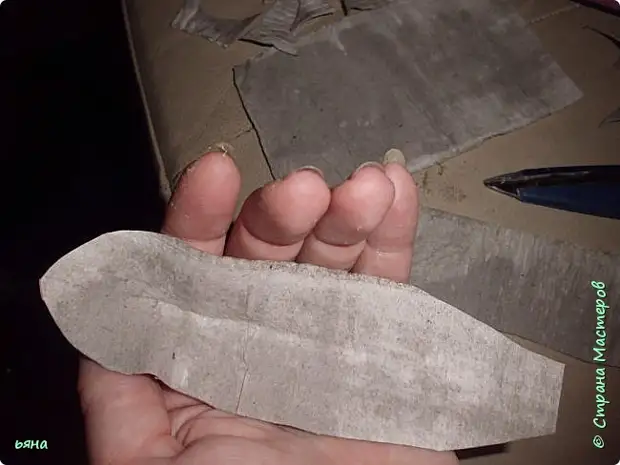
With the help of a tablespoon, scissors and legs turn these pieces into the petals. We spend your paw in the center and the petal is strung out, cut off the contour along the spoon and press the folds of oval petal.
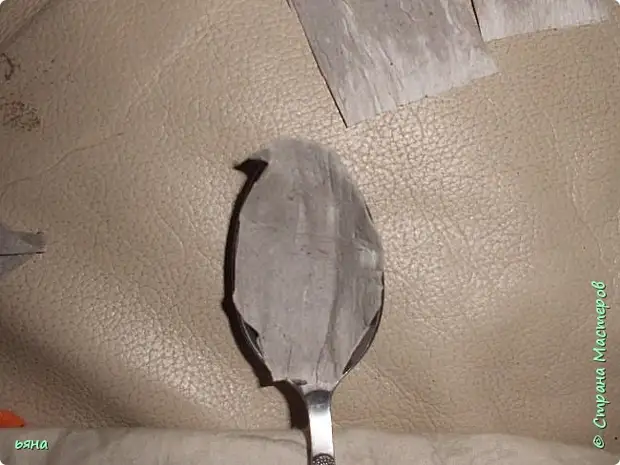
Carefully remove without breaking the shape and put to push. If the petal holds up, it does not matter. Place it inside the flower.

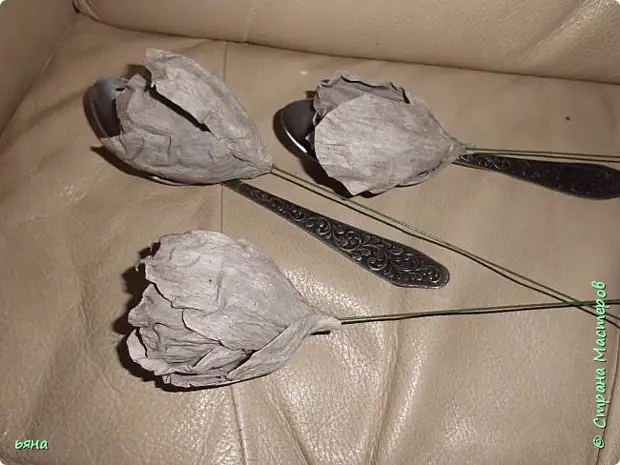
On the wire we wake trim from petals, straight side to the stalk, and the corners up. It turns out a pestle with stamens. The photo was blurred, did not place. Around the pestle, we begin to glue the petals around one. 3 + 3.
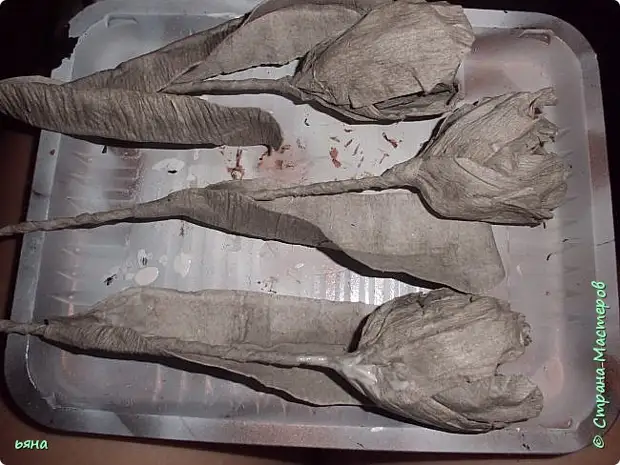
Now quicting the stem. Here is a strip with a cut and smearing glue glue around the stem.
Everybody did.
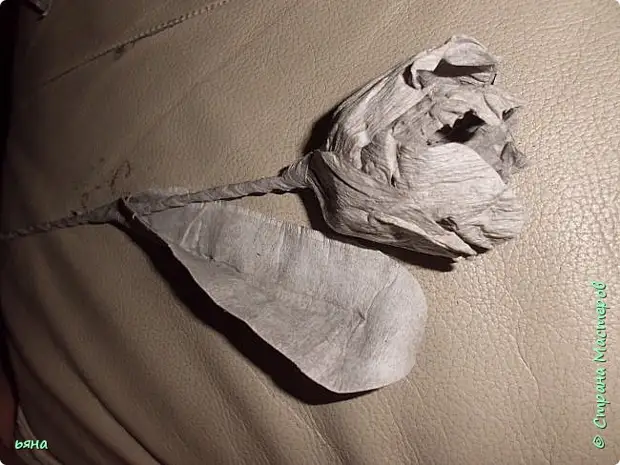
Next, cut out a sheet. Length is about 12-15 cm. We cut along and round the top and bottom.
Happened? Cut the paw in the center. Already I understood that it was necessary to do along the drawing of paper, in troubles. But what is done, then done.
We glue it so that at the booton level was the leaf tip. Little twisted the end of the leaflet on the pencil or brush.
Sunshine on the battery.
Drink - go to paint.
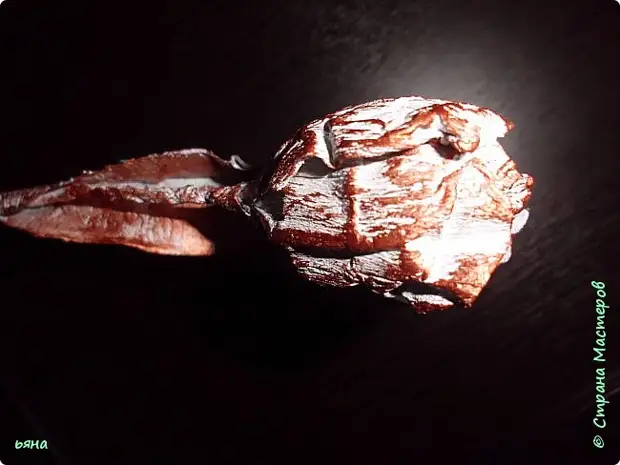
We apply the basis for example white (I have a spray and dry quickly) and then we tinker from the drill to the dark, and on top of the sponge slightly silver.
The basis is black (forging) and over gold, bronze or copper.
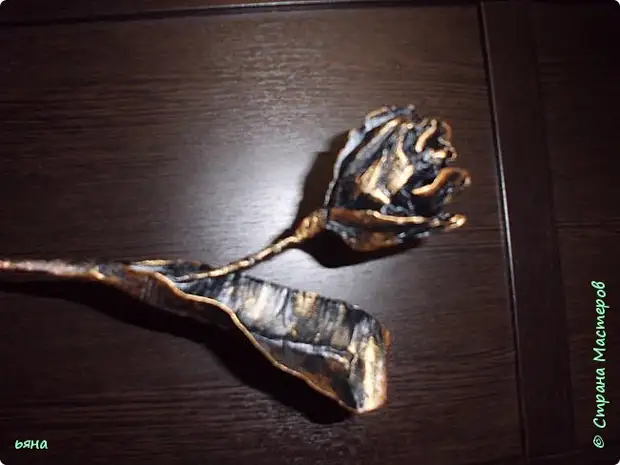
And yes, it is not at all superfluous to cover our flowers with several layers of acrylic varnish.
A source