
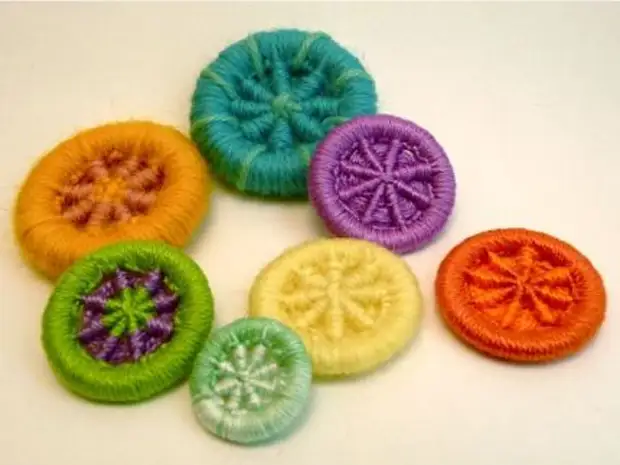
The resulting ring can be used both as a button and as an independent decoration.
To work, we will need:
plastic ring;
Multicolored threads and needle, preferably with a blunt end.
Master Class:
To work, we will need:
plastic ring;
Multicolored threads and needle, preferably with a blunt end.
Very detailed photo master class, so clarifications will be minimal.
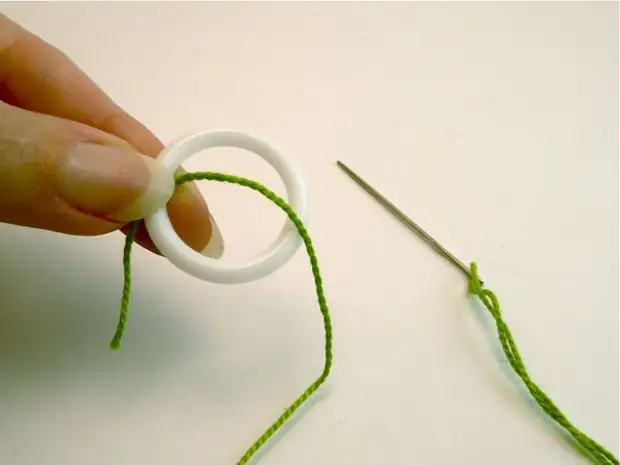
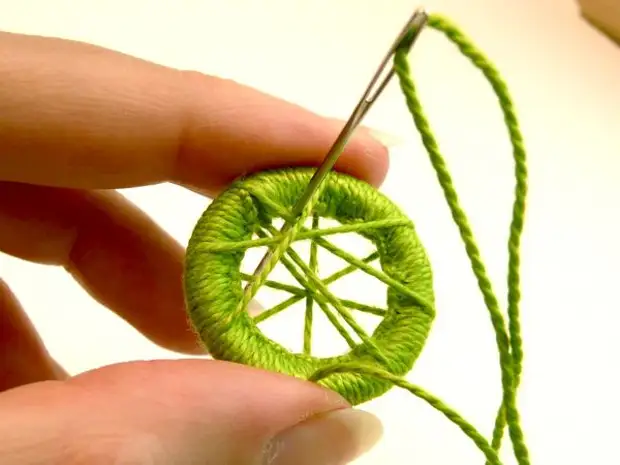
This stage can be done without a needle.
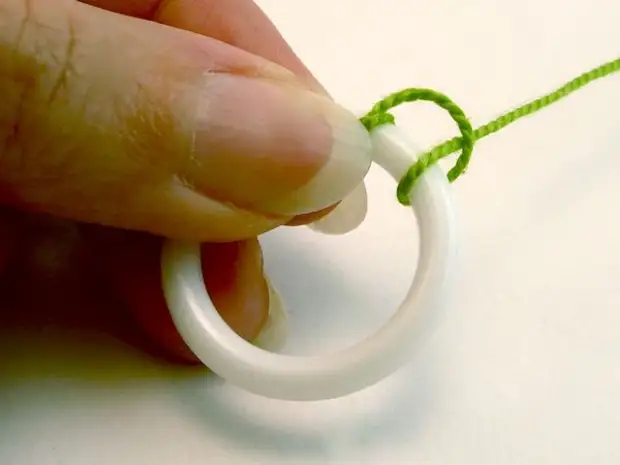
This photo shows the reception, how to hide the thread tail.
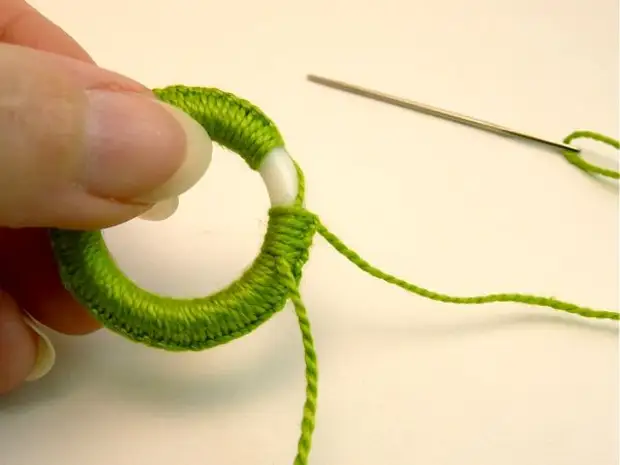
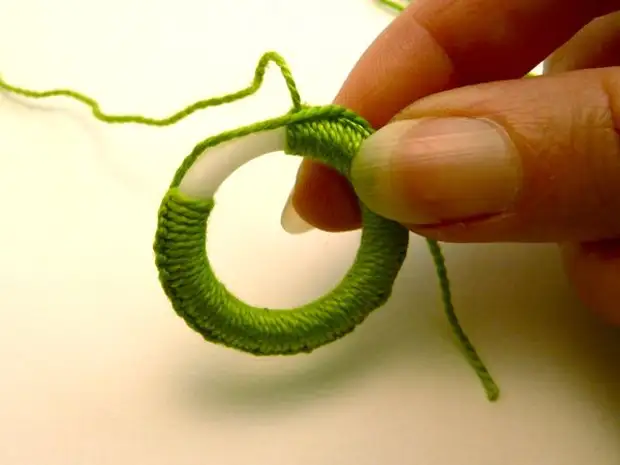
Ending the waters of the circle.
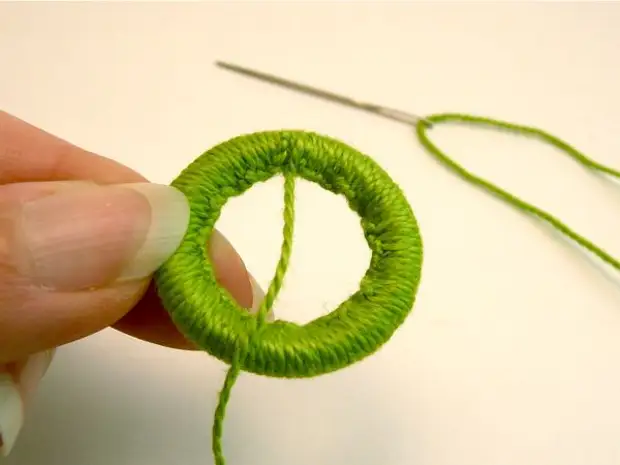
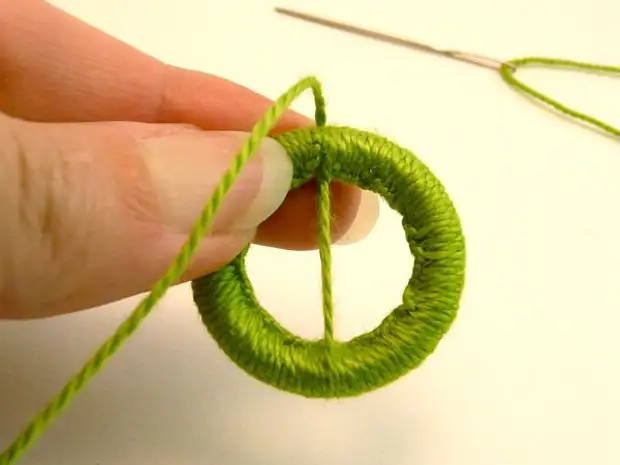
We start the tilt of the thread through the center at different angles. We make several revolutions.
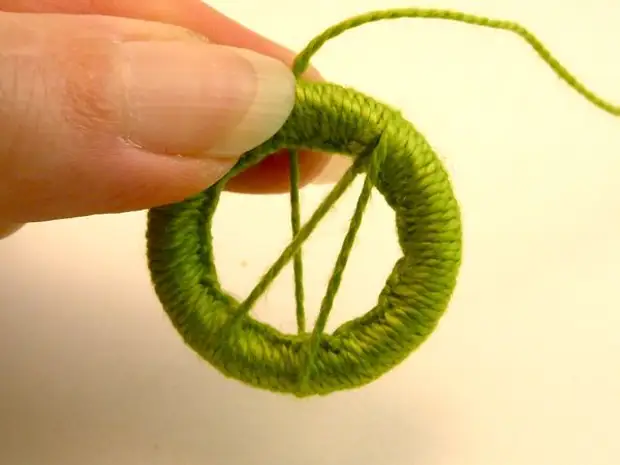
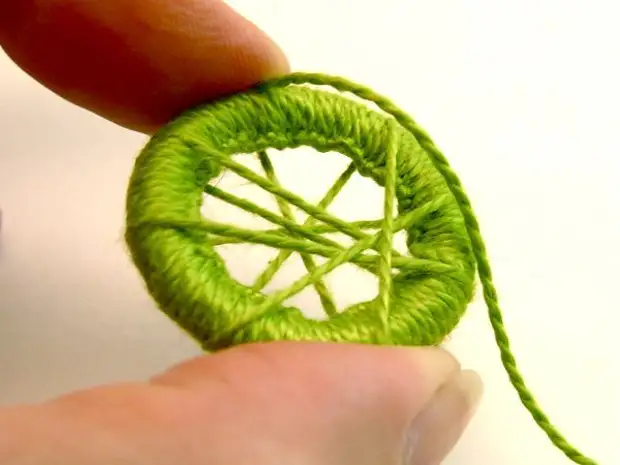
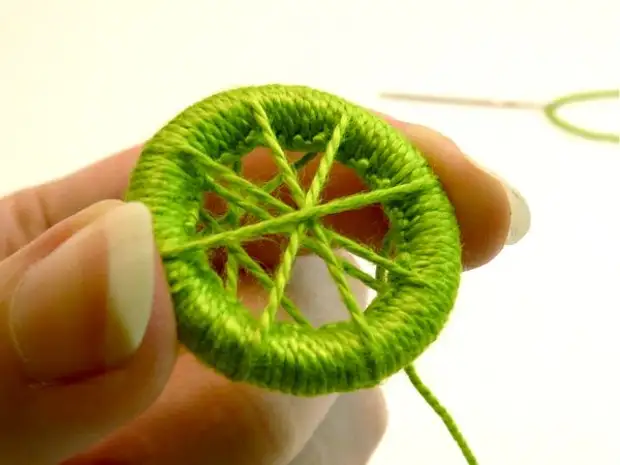
Fix the center of the intersection of the threads.
We begin to swell the center of the circle.


Attach the thread of another color.


Hide the ends of the threads on the back of our rings.

Use options:


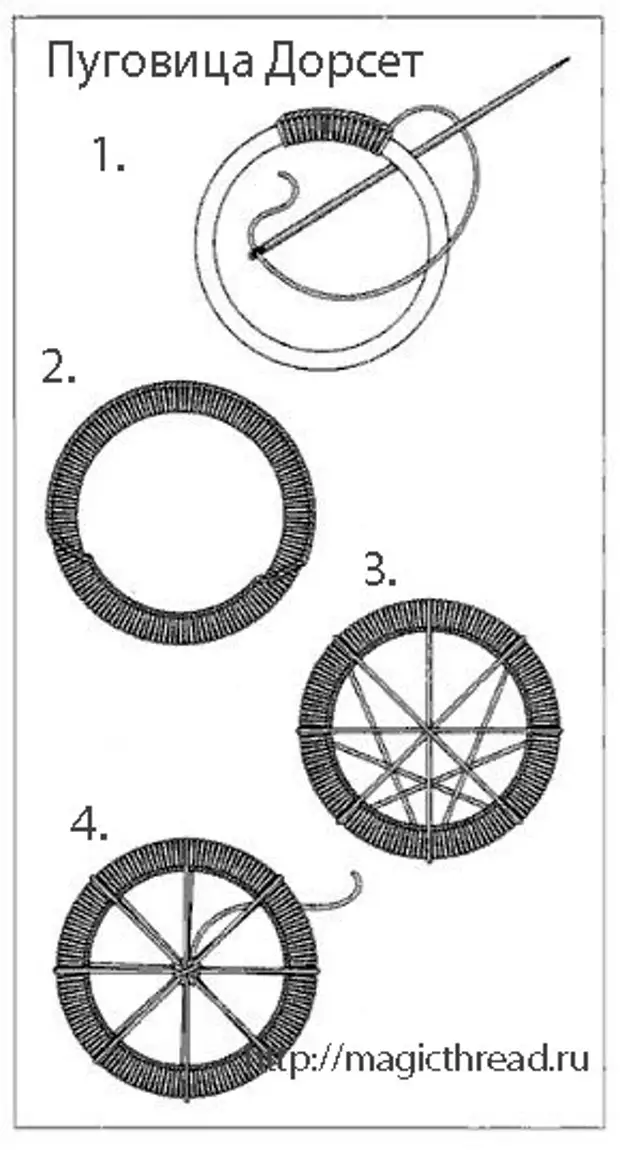
I add another scheme to create Dorset. I hope someone else is useful to create a technological map.
A source
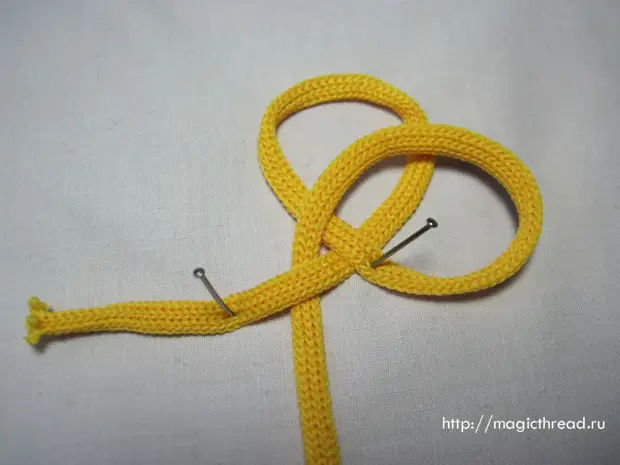
To perform Chinese nodes, they advise each step to fix the pin. Therefore, we need cord and pins for work.
Master Class:
Eugene end of the cord to a pin to a pin to the surface. Make a loop, laying a long end on top of a short one.

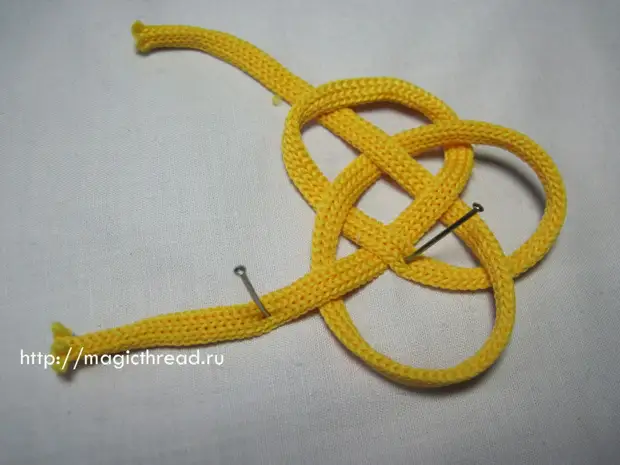
Bill this loop with a pin. Now on top of the first loop we will make the second. Pay attention, we laid the long end of the cord under short.
We are only left to turn the long end of the cord through all the loops obtained.
We remove the pins.
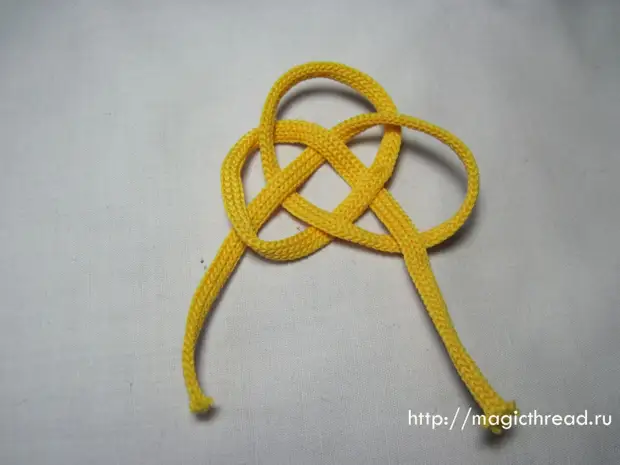
We begin to pull the knot carefully.
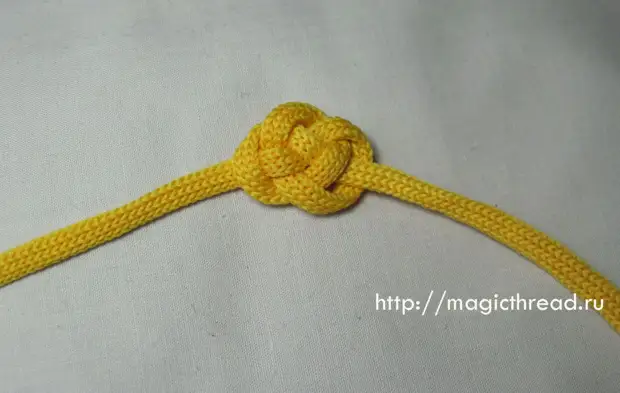
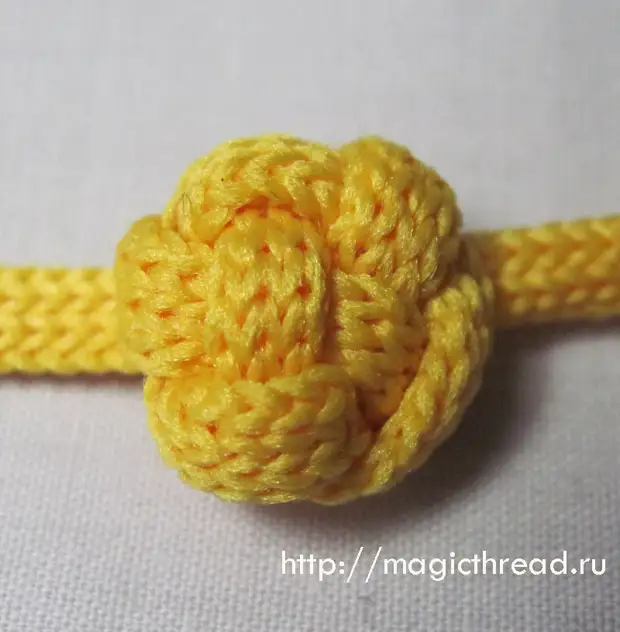
After tightening, we should get a ball.
We will establish another node so that it helps give the shape of the ball and increase the volume of the button.

Our goose is ready.
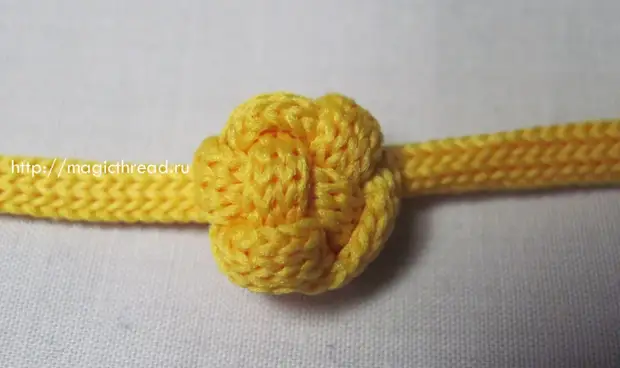
We only have to trim the ends of the cord, fasten them on the bottom of the buttons and perform a native loop (the leg of the buttons).
A source