
To get started, we will need an indiscriminate wool of two colors: orange and extract (pale gray-yellow or color of unwittered silver or flax).
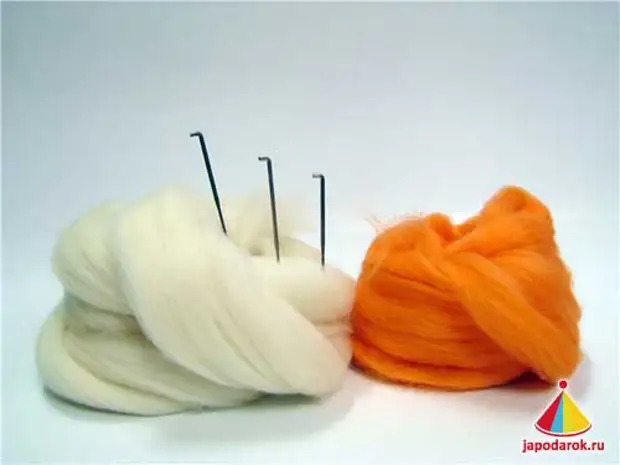
Needles for felting: rude number 36 (for basic works); Thin number 38 STAR (for surface treatment); A needle with a reverse tooth (for giving a fluffy cat).
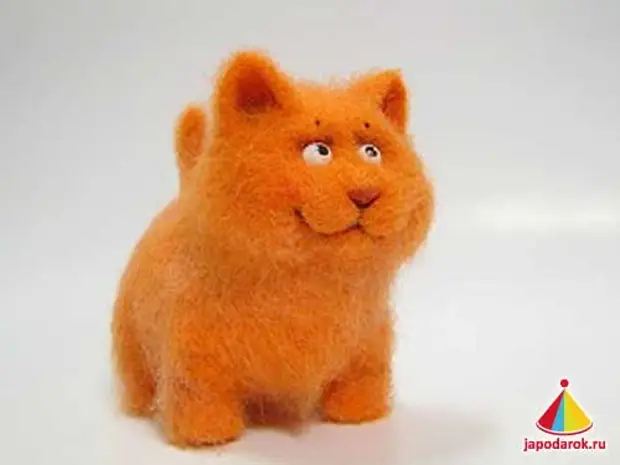
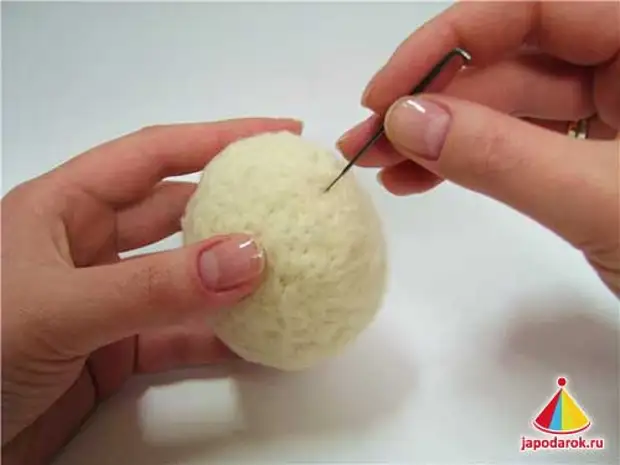
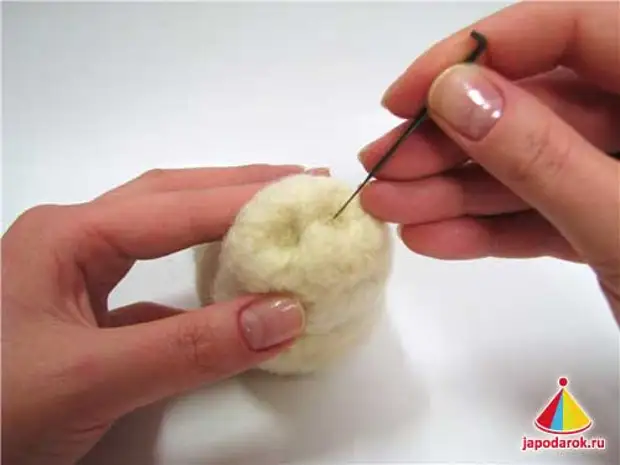
The cat itself is red-colored, and the edge is assumed to be a lighter shade. To do this, we will take the "Ecrew" color wool. Flour the fur and throw a relatively large oval harvesting by a needle №36.
It is necessary to stick the needle as deeply as possible so that the density is formed inside, and the surface remained loose. We try to preserve the shape, while helping your hands.
For the head, according to the same principle, you throw a ball-like blank slightly smaller.
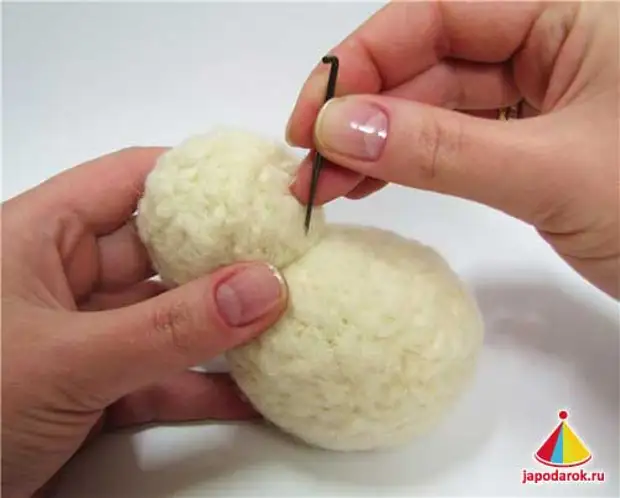
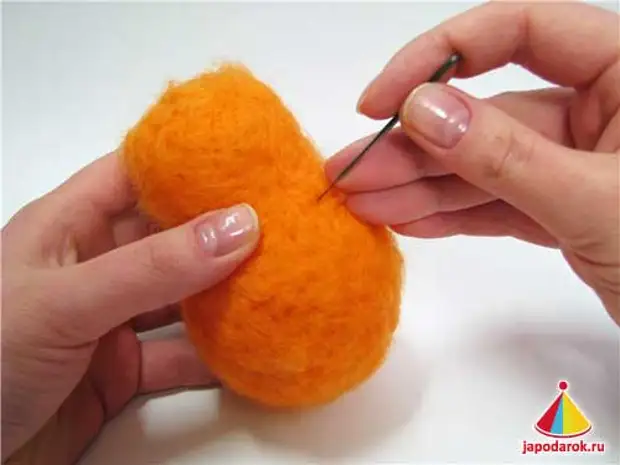
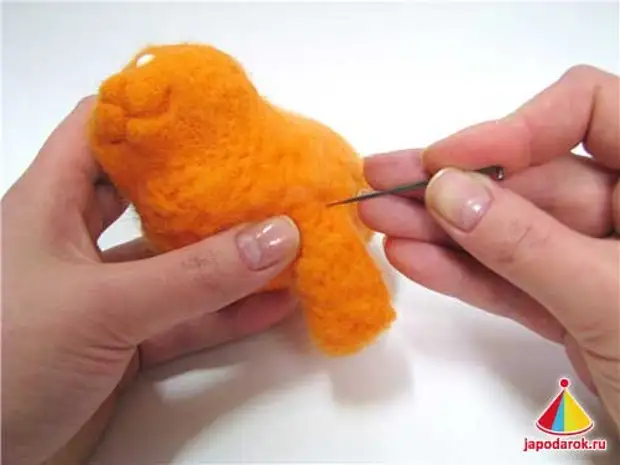
We connect the details among themselves, pour your head to the body. At the same time, the needle is directed towards the central part of the main billet.
Add to the place of the connection, add flutterous pieces of wool and carefully go through a needle. A needle is still increasing as deep as possible. The cavity between the head and the torso should be filled with wool and compact.
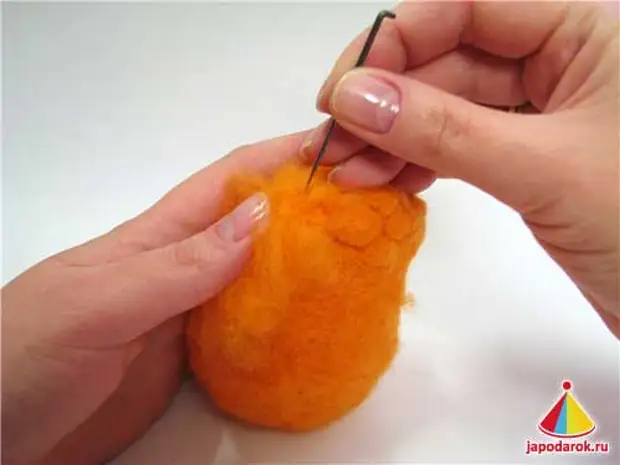
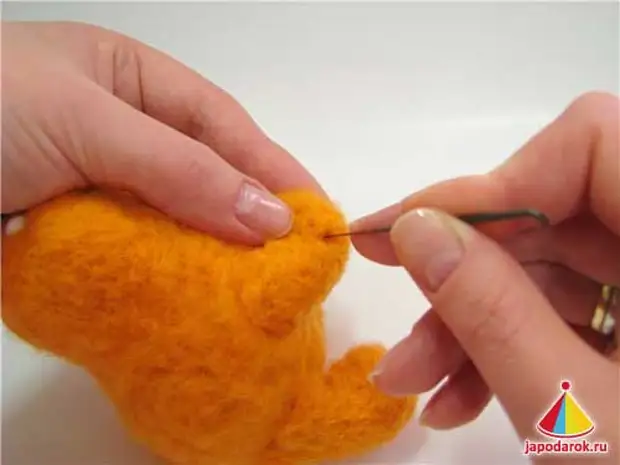
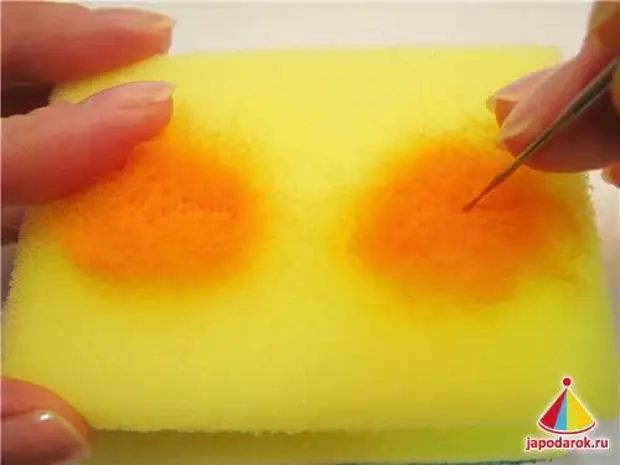
While the billet is still loose, we will prepare the sockets in which we will then incur eyes-beads. In these places, they repeatedly poke the needle, seeking maximum density.

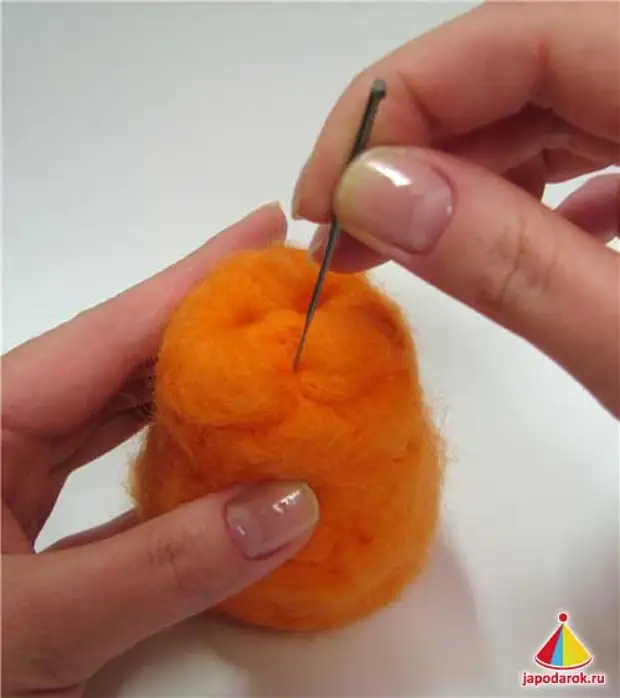
Calculate the workpiece with the main color of the wool, start with the most difficult places.
"Dress up" the whole billet. And once again we work in the orcher, as well, repeatedly poke the needle.
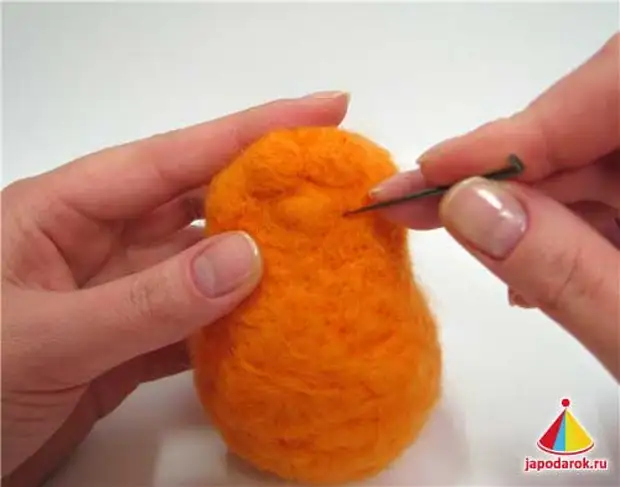
We plan the lines of the face of our cat. Nose has a triangular shape.

You throw two small identical balls, it will be the infants of our cat. Small pieces of wool clamp between fingers and fall deeply with a needle. Be careful not to progress, the needles are very sharp. We take them to a rightful place close to each other.
In the same way, we allocate and increasing the chin.
We add all the necessary volumes, cheeks, frontal part, headings.
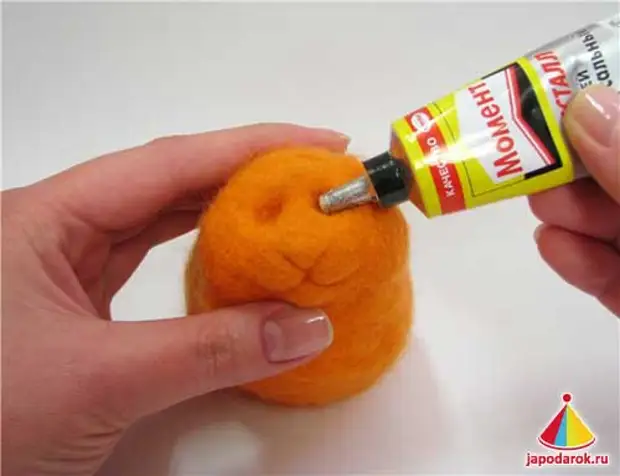
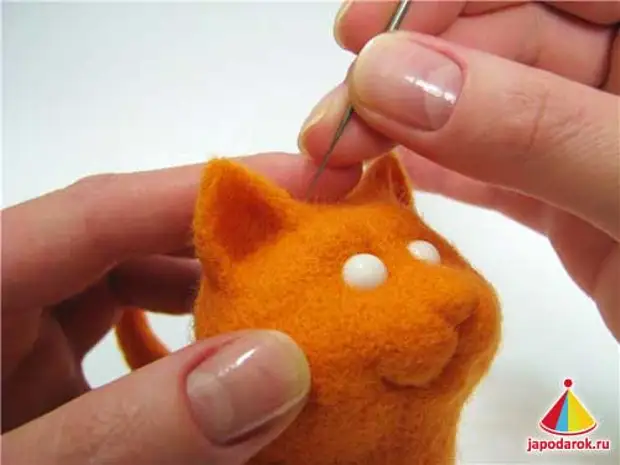
It's time to glue the eyes. We drip glue (I used the "moment-crystal") in the recess so that the wool absorb a bit.
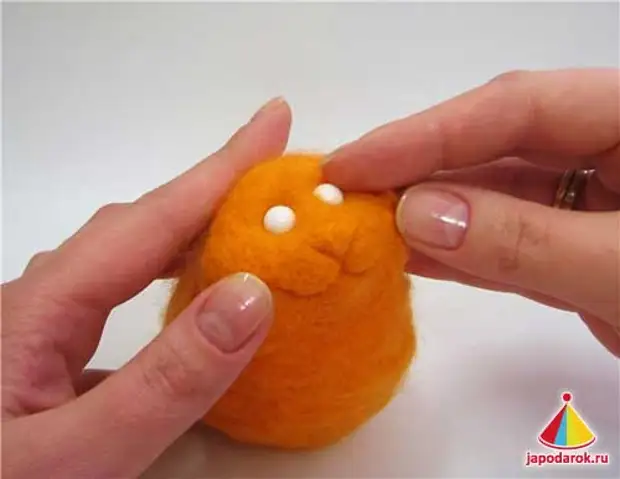
And planted on white white beads, press them in recess. We work on everything around the beads if there are big gaps, add some wool, we are sealing.
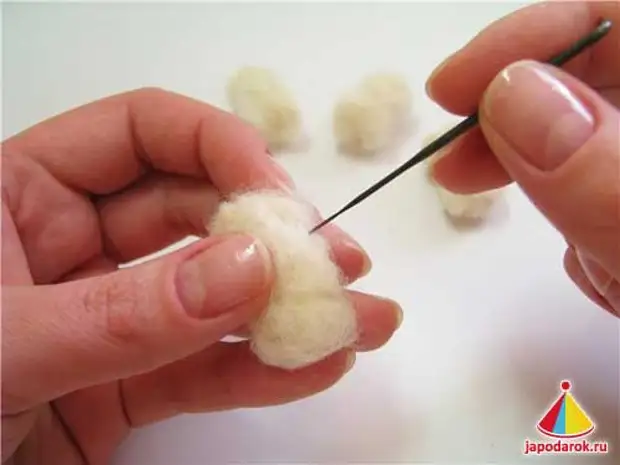
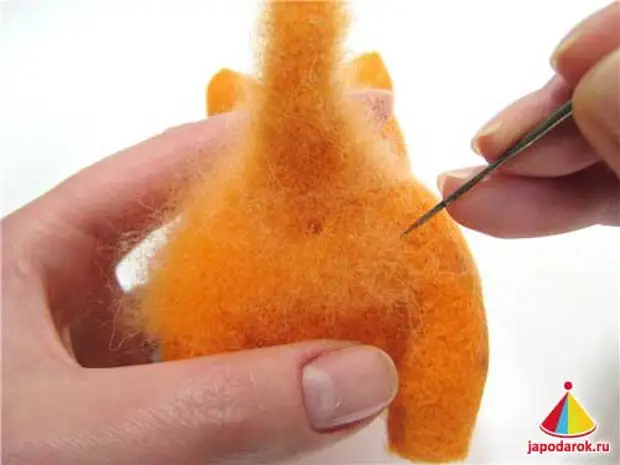
We take 4 equal parts of the wool and, scrolling along the spiral between your fingers, throw the paws of the cylindrical shape. In an estimated place of the compound, we leave wool in a free state. Call your foot with orange wool color.
Alternately, we apart the paws to the body. The needle enters deep into the base of the body.
While the paws are loose, form small bends. We are conclusted evenly by a needle on all surfaces.
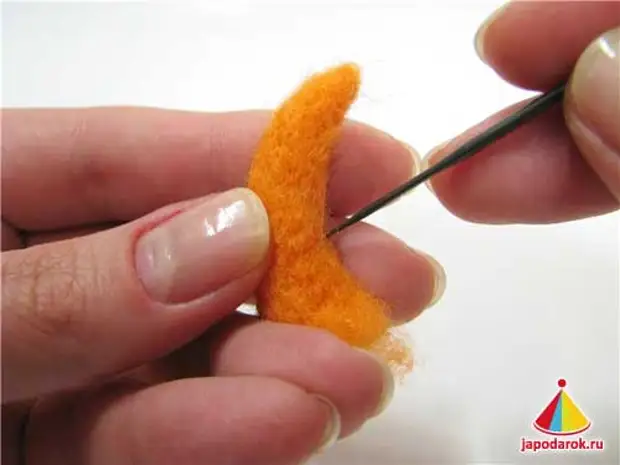
From a small light piece of wool, scrolling between the fingers on the helix, a cone-shaped tail.
Calculate the main color of wool. In place of the connection, we leave a wool in a free state. While the tail is loose formed the bend, clamp and hold it with your fingers.

Take the tail.
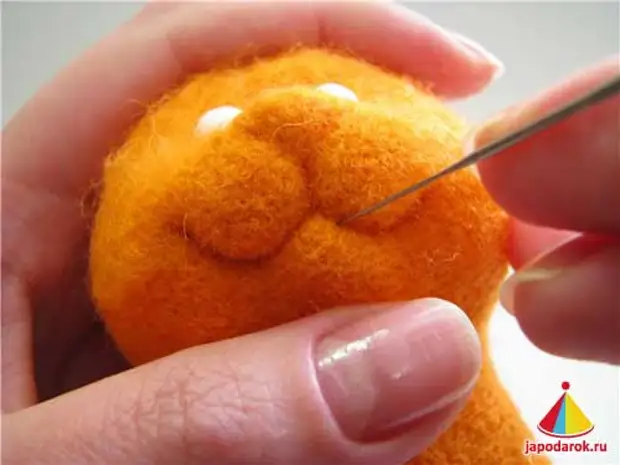
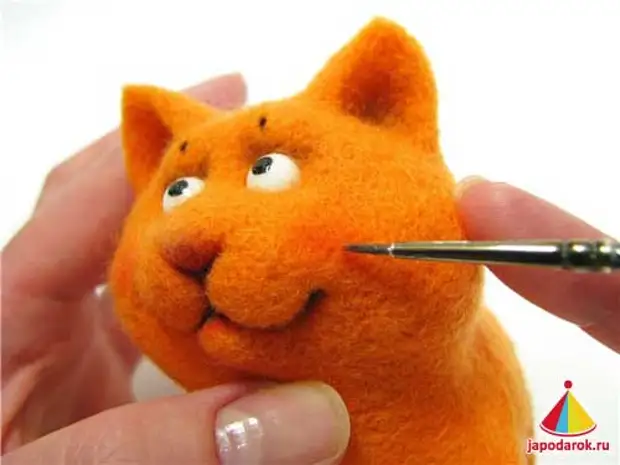
Once again, deeply fall into the lines on the face of our cat, they must be clear and deep. And taking the needle №38, we processes those places that suggest small fluffiness or its absence. Often, often, a stitch on the chip, we go over the surface. Very neat work near rewards.
For the ears we take two identical pieces of wool and lay them on a sponge in the form of triangles. A coarse needle We take place in all the planes of the ears. Periodically we turn over the blanks do not fall into the structure of the sponge. After the wool clung, we do everything the same, only already thin by a needle.
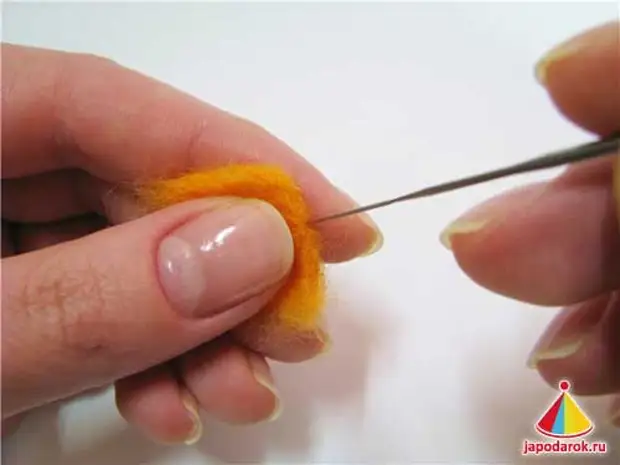
Climbing the eye between fingers, process the edges, pumped the wool in the ear structure. In place of the compound, we leave wool in a free state.
Forming bending, symmetrically exparate ears to the top of our cat.
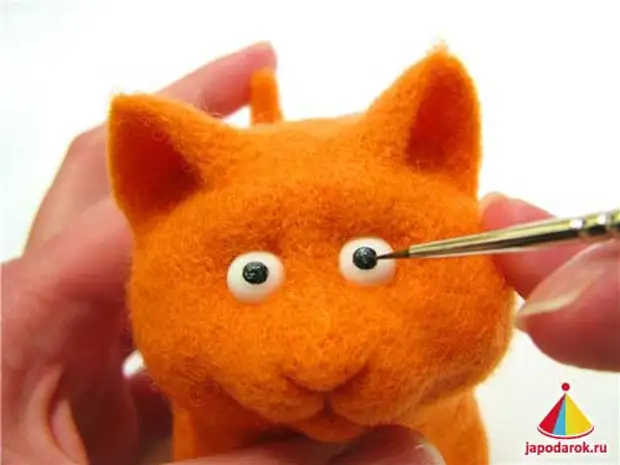
At this stage you can write eyes. Black acrylic paint draw puffs. We will put glare to revive the eyes and cover the lacquer.
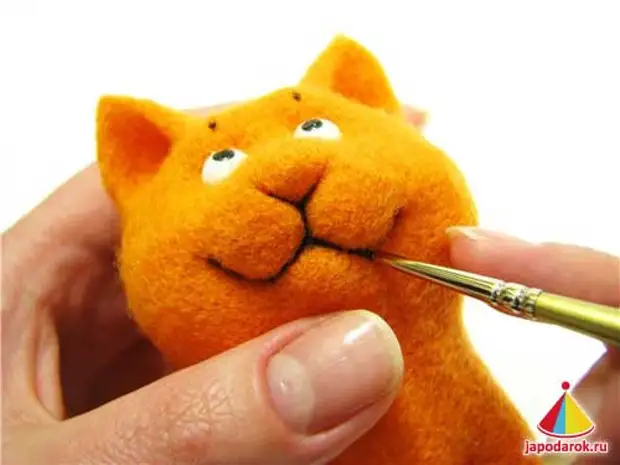
For greater expressiveness, lines deepening also toning acrylic paint of a darker shade.
Artistic pastels Tinging the spout, framing eyes and cheeks. Pastel shred to powdered state and apply a brush on dry. Also, pastel, draw stripes where necessary. Subsequently, they will not be clearly visible, but they will give Sharma and the charm to our cat.
We begin to process the surface with a needle with a reverse tooth. Shells on it in the opposite direction, due to this needle does not dump wool, and pulls out. We get an interesting effect, the edge of a lighter shade than the cat itself, the needle pulls not only a red, but also a light fur, which was laid inward toys. Deep and often a sticky needle, evenly pull the fur.
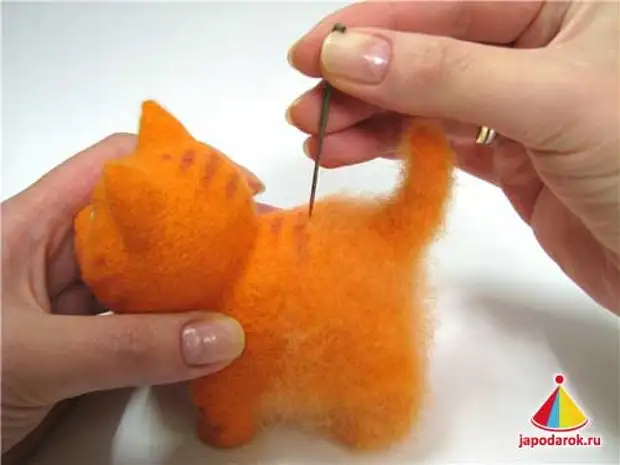
Flour the whole cat, it will become even more fasten and funny.
Toddler Mandarin is ready!
Author: Smirnova Elena.
A source