
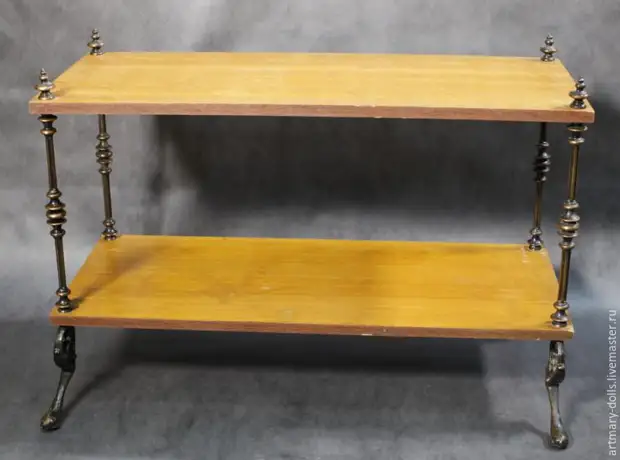
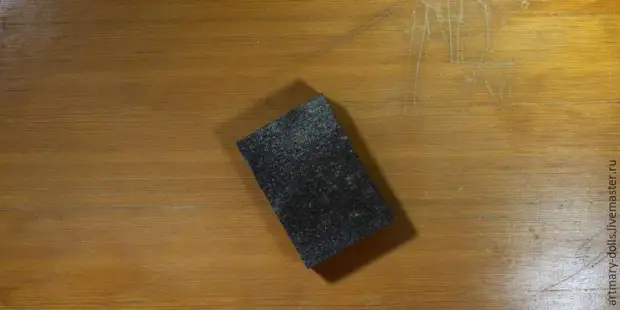
This wonderful shelf (galoshnitsa is a table?) I got accidentally, after you disassembled things in the grandfather apartment. The strange design immediately rushed into the eyes: such interesting legs and such coarse shelves.
And in the workshop, this thing would be very useful, but it's a terrible one ...
In this case, it is enough just to decorate the shelves so that they harmoniously looked with legs. I chose a decoupage, as it is fast, and I had suitable napkins.
Work time is indicated without time drying varnish.
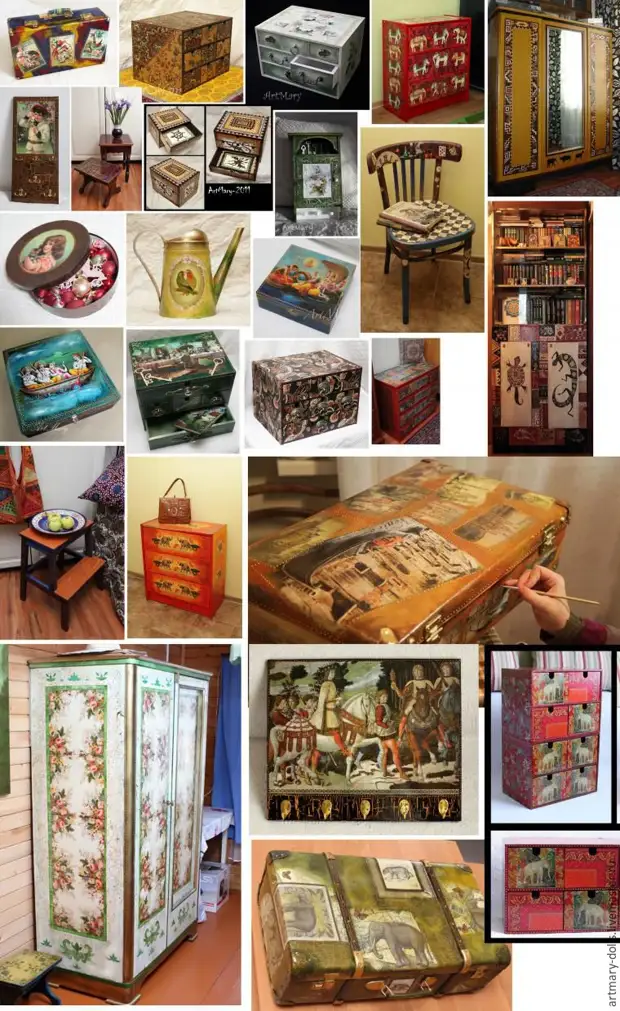
I love to transform furniture and different things in your home. Therefore, the shelves simply did not have a chunks to get to the garbage.
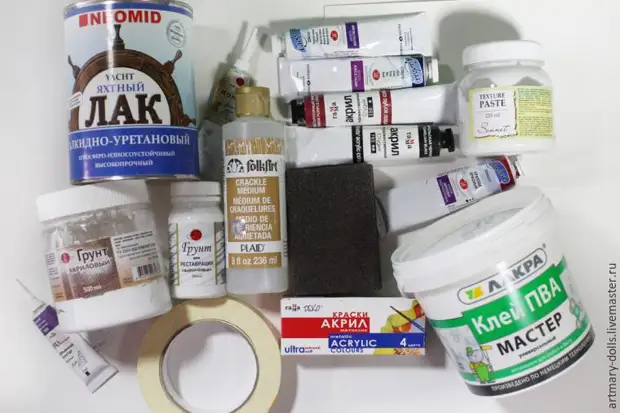
Materials for work:
- skar;
- The primer (I took for restoration works, since there were deep scratches on the surface);
- texture paste (as necessary for cleaning defects);
- PVA glue;
- Yacht varnish;
- Medium medium for krakelbrum effect;
- acrylic paints;
- napkins;
- painting tape;
- bulk contour;
- Cellophane files (for gluing napkins).

Step 1. Preparation of the surface of the shelves to work.
On the reverse side of the shelf in excellent condition, so we will not process them. But, in order not to blur in the opposite direction, the painful squeeze in the perimeter on both shelves.
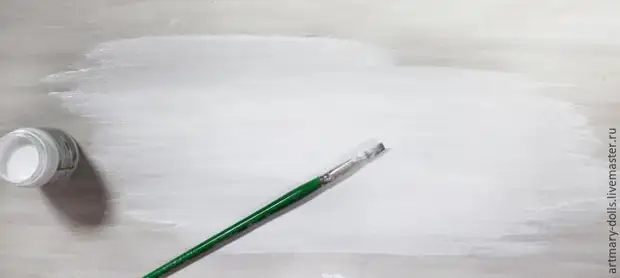
Sand the surface of the face of the shelves. Degrease.
Step 2. Cover the surface with three layers of primer.
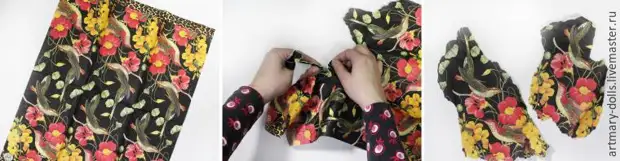
Step 3. Print napkins.
1. Separate the top layer of napkins. Next, the napkin can be stroked. I miss this step.
2. We divorce the PVA with water and cover the surface to which the napkin will be glued. In no case do not cover glue to the napkin itself!
3. We put the napkin on the surface covered with glue. Here you need to withstand symmetry.
4. We put the napkin as soon as possible, without pressed and without smoothing it with your hands. Only slightly!
5. We put the cellophane file from above the napkin and smooth the napkin through the file with neat movements.
6. Gently remove the napkin.
7. We take place on top of a brush, moistened with water from PVA, smoothing the edges and removing small folds.
8. After the napkin is completely dried, we pass on top of the folds (if there is) shallow sandpaper. Very neat.

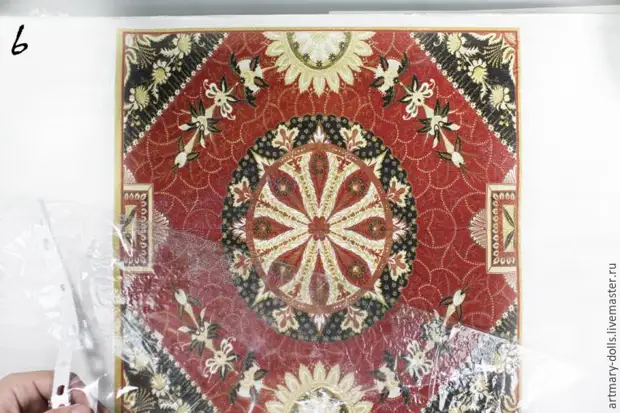
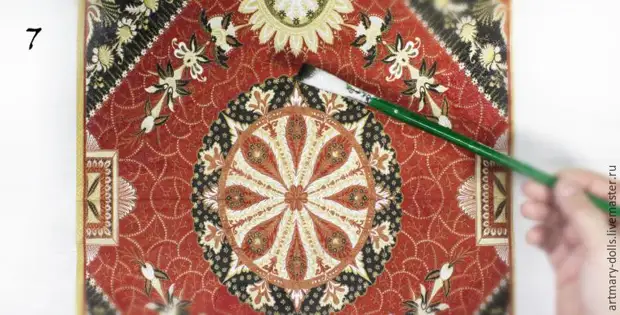
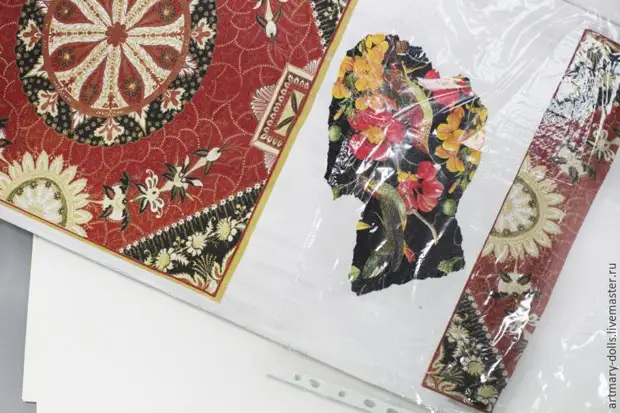
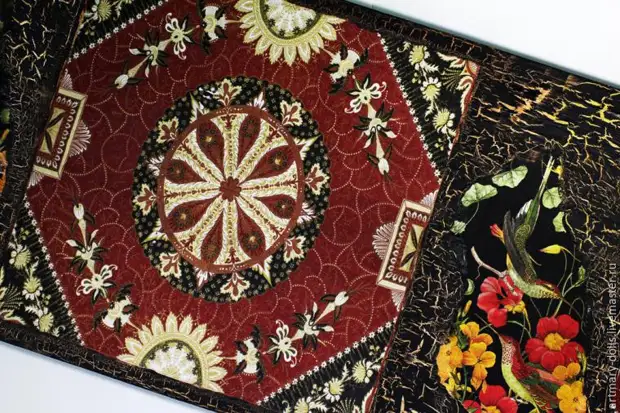
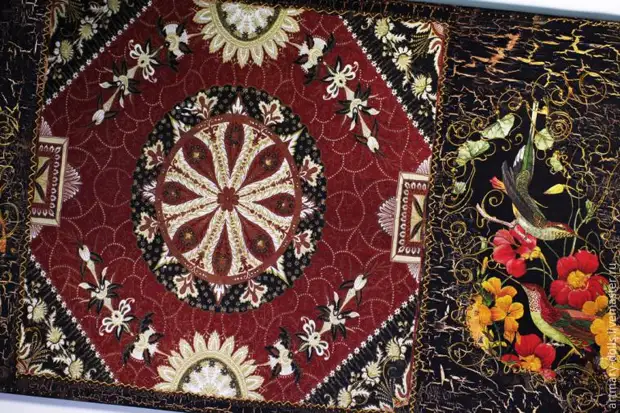
Now we take a napkin with the image of birds (at first glance, they do not combine among themselves, but I want to take a chance). Hands carefully separate the drawing. The edges should be "ribbons" so that the drawing is harmoniously fit into the surrounding background, which we will then draw. Therefore, do not use scissors. Remove the top layer (patterned).
Now we glue the resulting fragments on the sides of the main napkin. And from the very edges - fragments of napkins with ornaments. The gluing method is the same.
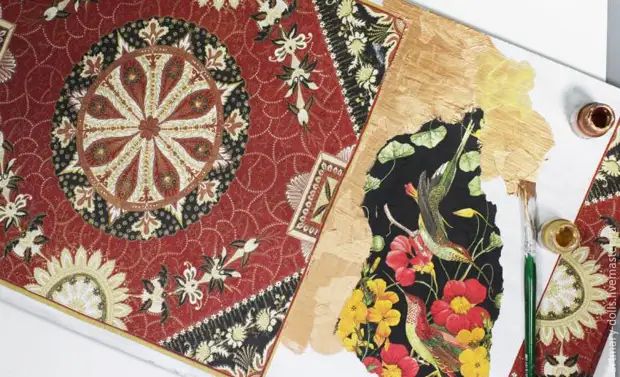
Step 4. Creating a background.
Covered the gold acrylic paint space between napkins. The direction of the smears does not have values, they can be multidirectional: it is the bottom layer of the crockel effect.
After the paint dried, we go through it with a crockel varnish.

After the remedy is dry (by about 15-20 minutes), coated from above acrylic paint black. In no case can not be the medium to dry for a long time! After an hour or two, there can no longer be the desired effect.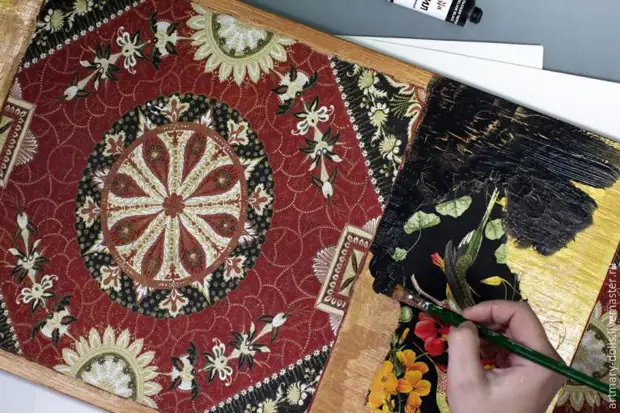
Cracks gradually appear.
From the end around the perimeter shelves, too, process: primer, gold acrylic paint, medium agent, black acrylic paint.
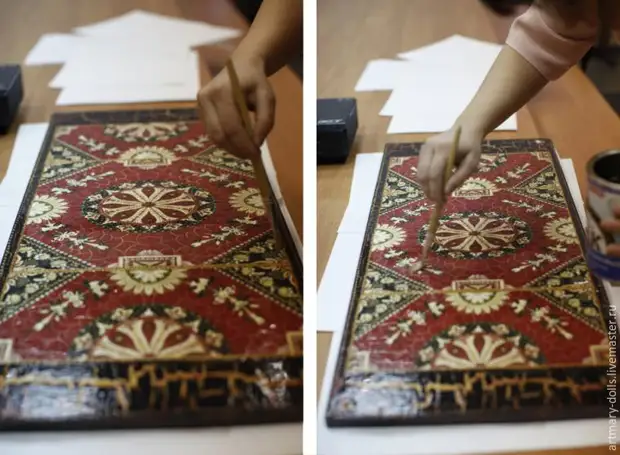
Step 5. Painting volumetric circuit.
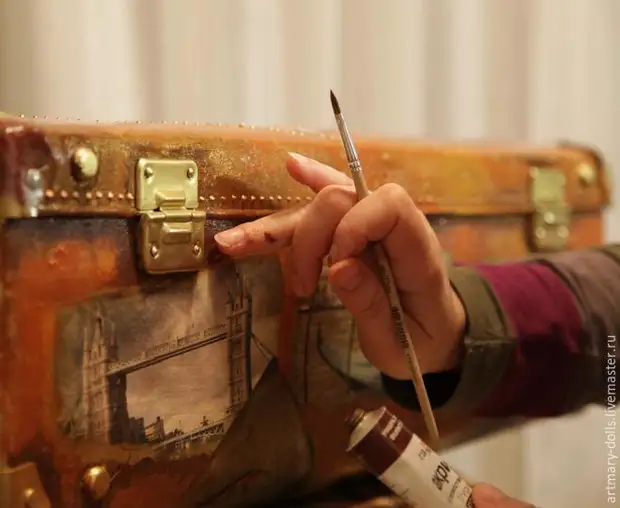
After the paint dried, draw the volumetric patterns, making the contour to continue the drawing around the birds and around the ornament.
Both shelves with an even unfinished painting volumetric circuit:
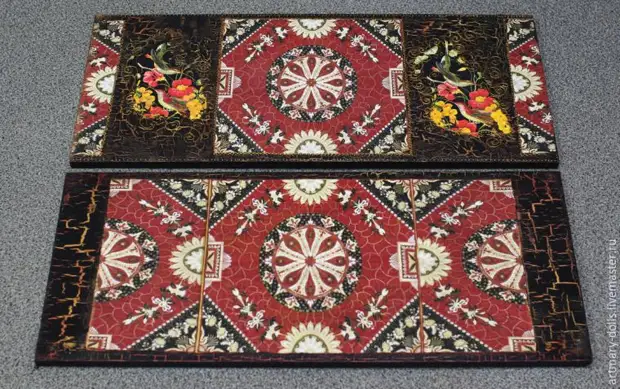
Step 6. Laco coating
In my opinion four layers of varnish enough. But you can and more. For example, the cabinet at the cottage I covered after decoupage eight layers of parquet varnish, and it became like a box.
And now in the assembled state:

Shared MK - Artmary Maria Kuznetsova.
A source