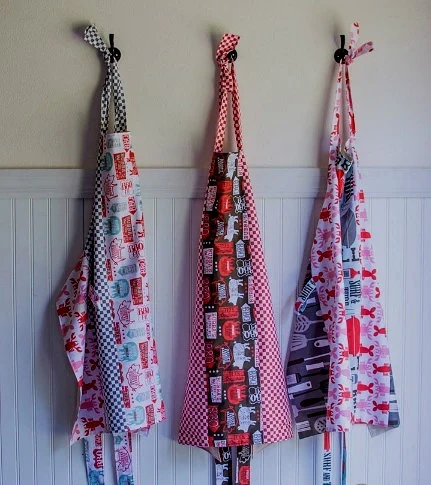
Another way to dispose of flaps, plus - sew an unusual apron on the lining.
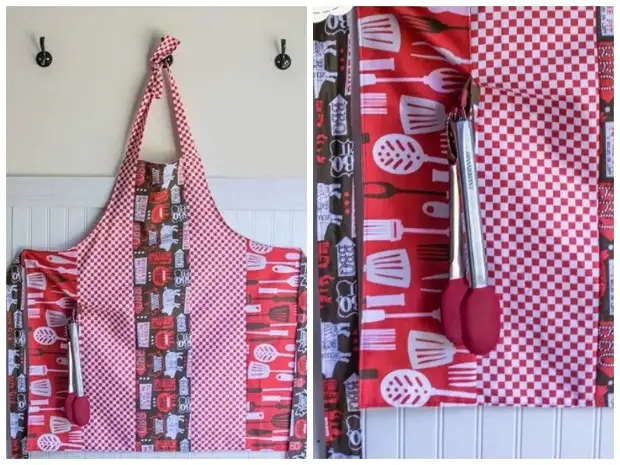
If you have long not too wide flavors of the fabric, you can combine them into one canvas to sew such apron. Of course, you can carve out the details for this purpose and from larger flap. Apron has a lining. So, firstly, they will not be visible connecting seam details, and secondly, it will better protect the clothes. This apron is sewn specifically for the barbecue, so it has a hinset for forceps: it can be done or do without it.
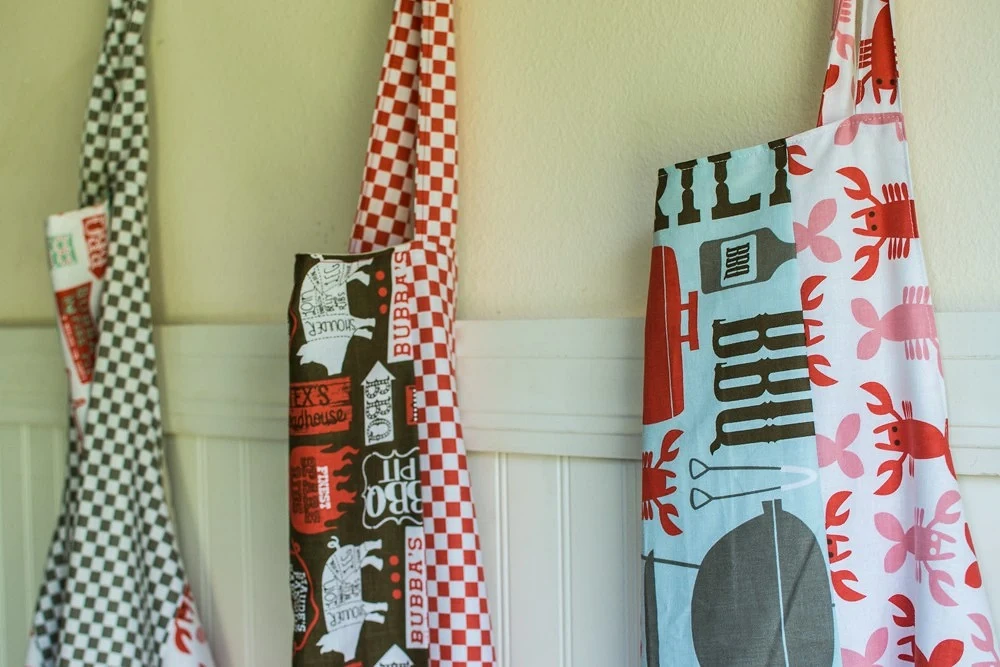
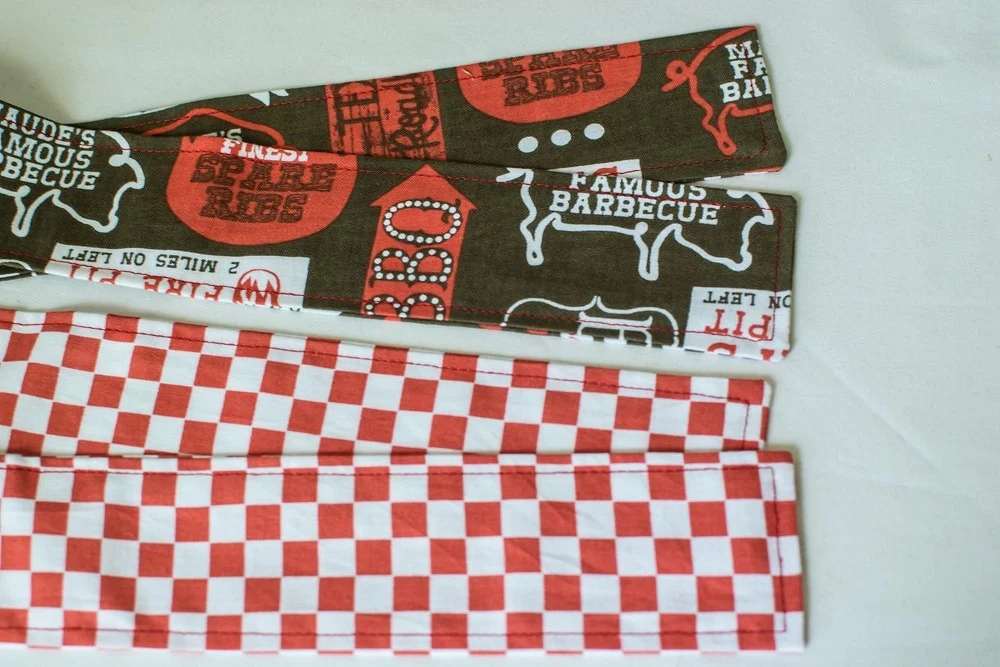
Here are combined three types of fabric - you can take more.
You will need:
- 3 or more type of fabric for apron;- Fabric for lining;
- line;
- chalk or marker for fabric;
- Portnovsky scissors;
- Portnovsky pins;
- sewing machine and threads;
- Iron and ironing board.
STEP 1
Put the details.
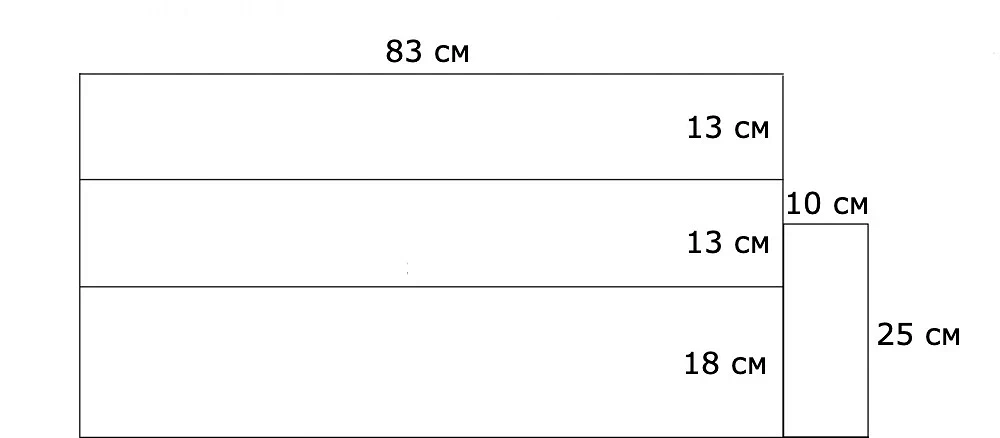
From the main fabric (the one that will be held in the center of the apron), take 4 bands:
- 1 part for apron 83x18 cm;
- 2 parts for tires on the waist of 83x13 cm (you can make ties of magnitude, for example, overlooking the details of 83x8 cm);
- 1 Detail for hinges for nippers 10x25 cm (if you need a loop).
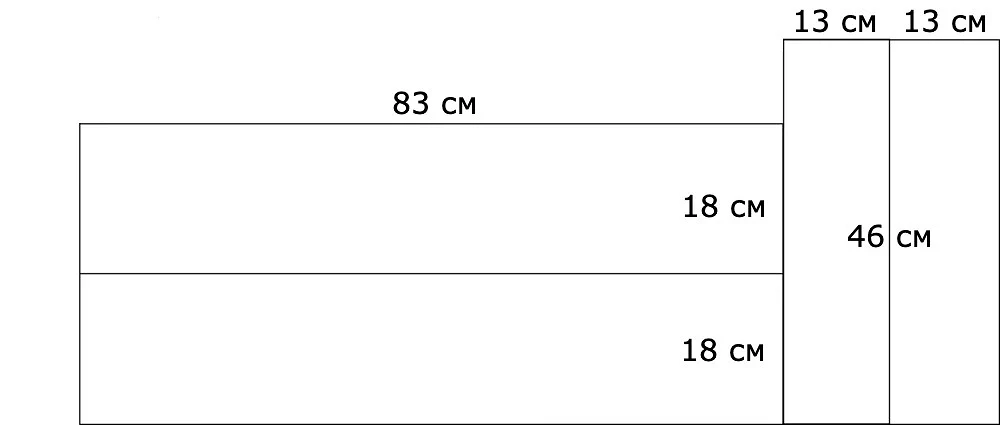
From the first fabric-companion (parts from it will be near the part from the main fabric of the apron, it is also used for belts on the neck):
- 2 parts for apron 83x18 cm;
- 2 parts for ties on the neck 46x13 cm (they can also be made of magnificent, for example, 46x8 cm).

From the second companion tissue, it will go along the edges of the apron:
- 2 parts for apron 83x18 cm.
Step 2.
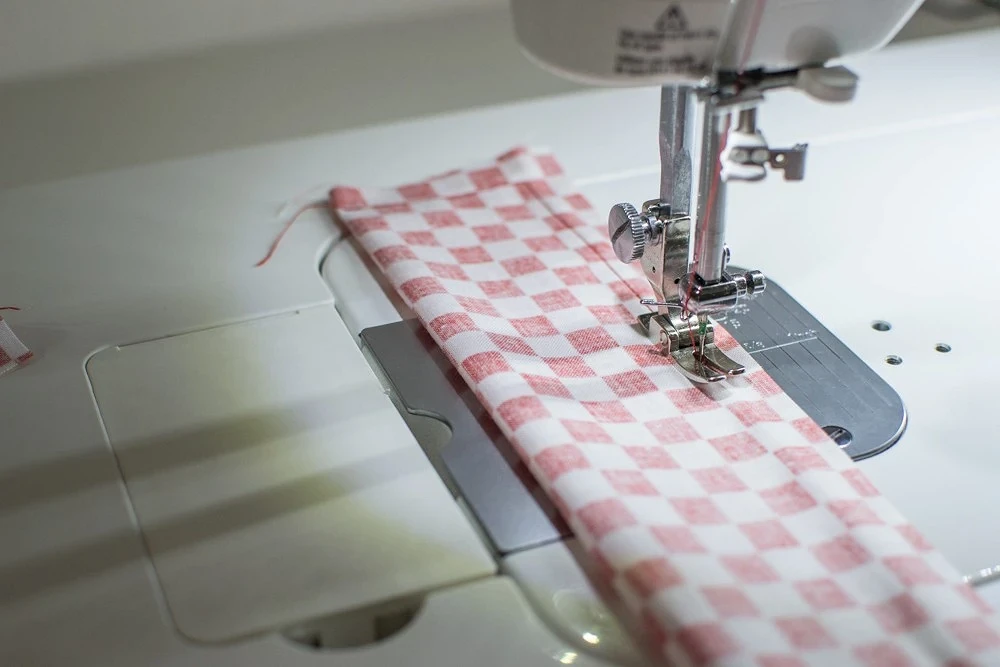
Each of the 4 parts for the strings to lay down in half along the front side inside and laid the lines on one short and one long side. Paintings 1.3 cm. Corners cut.
Remove the strings, straighten the allowances and affect. Slow each string through three sides: two long and one short.
Step 3.
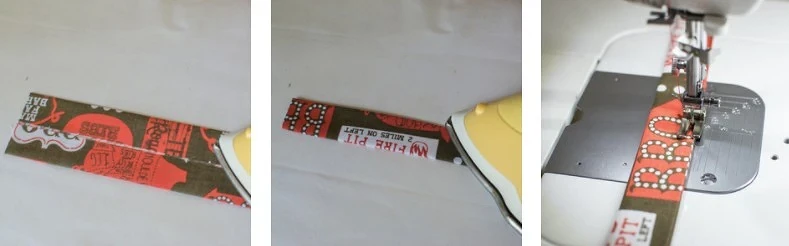
Detail for the loop fold in half along the inside inside, start. Then deploy the item, fold it, aligning the long edges with a root of the bend, start. Now fold the part four times and start up. Lay the lines to the edge along two long sides.
Step 4.
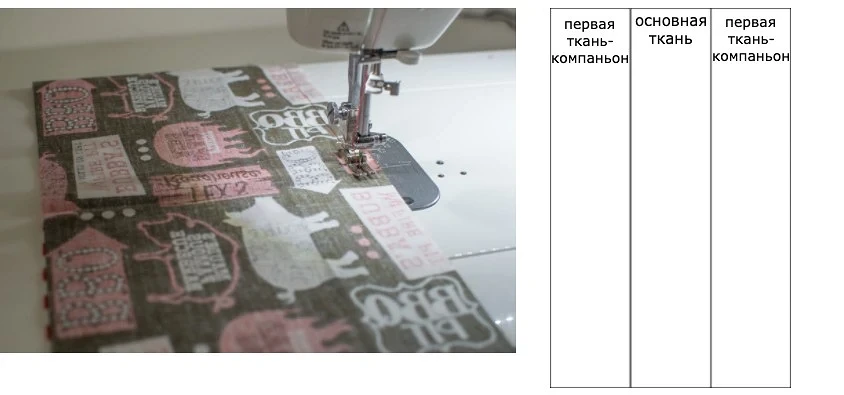
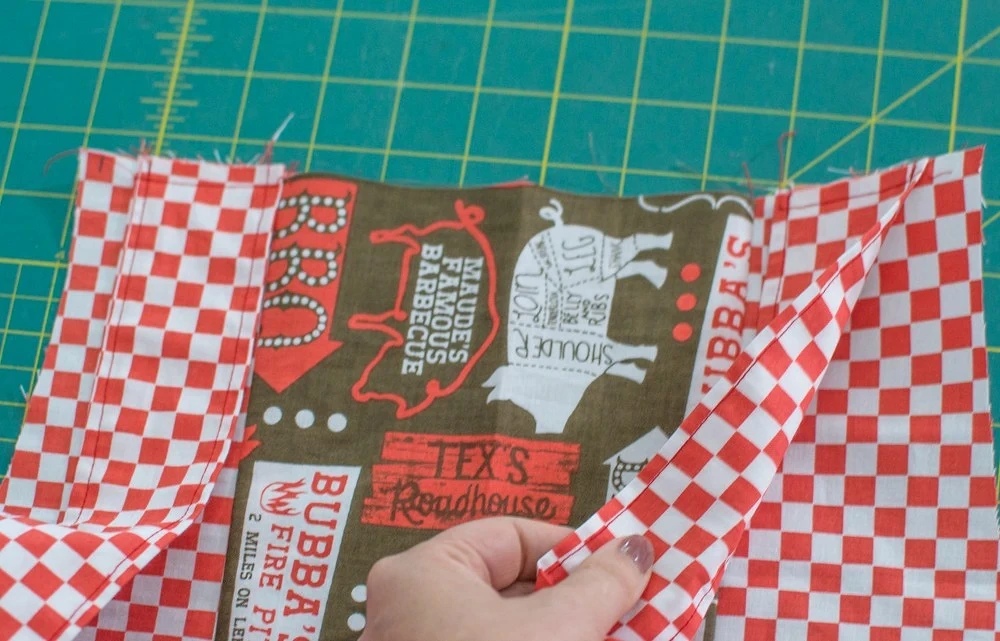
Connect the bands into a single cloth. First, stepping a central part of the main fabric with details from the first fabric companion (see the scheme). Paintings 1.3 cm.
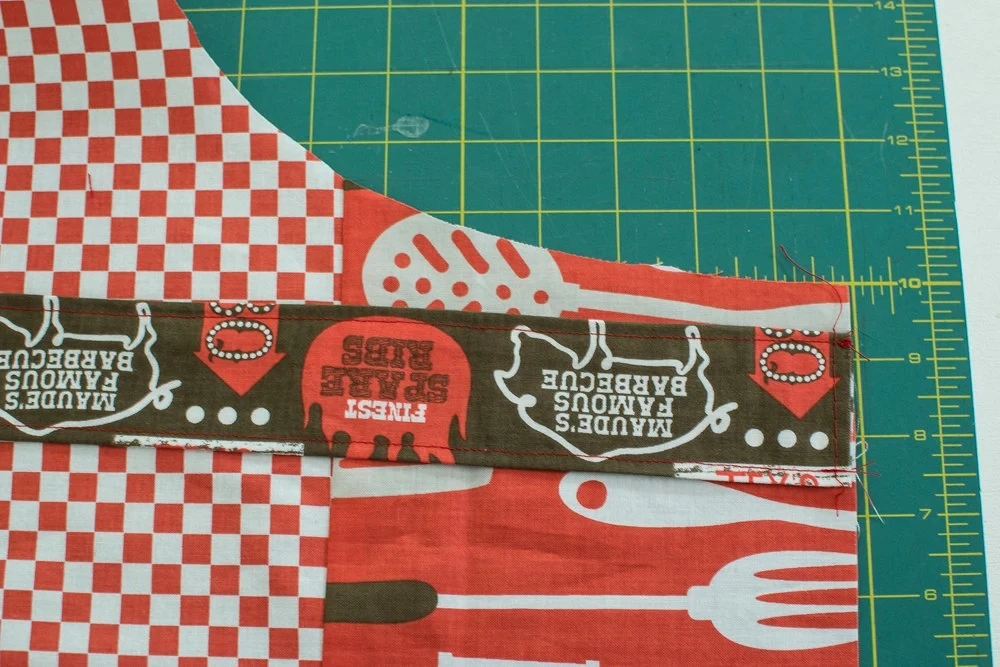
If you are right-handed, a loop for forceps should be placed on the right, if Left -sha is on the left. Attach the billet of the apron to yourself (the stripes are vertically) and select the desired side. From the top edge on the side of the side, measure 40 cm and set the label: This is a place for a loop. Fold the loop in half and pin perpendicular to the edge of the part from the front side (see photo), aligning untreated edges.
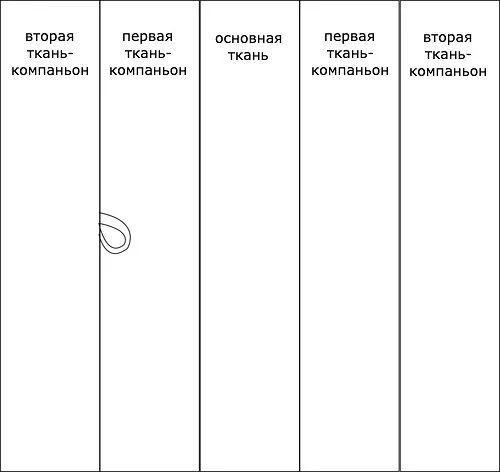
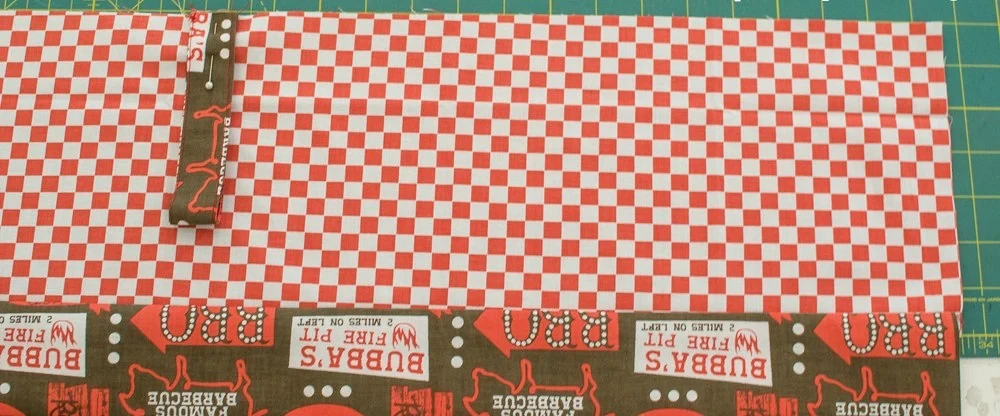
Pass the bands from the second companion tissue on the sides to the strips from the first companion tissue (see the scheme). At the same time, the loop will be attached. Suts start from the center.
Step 5.
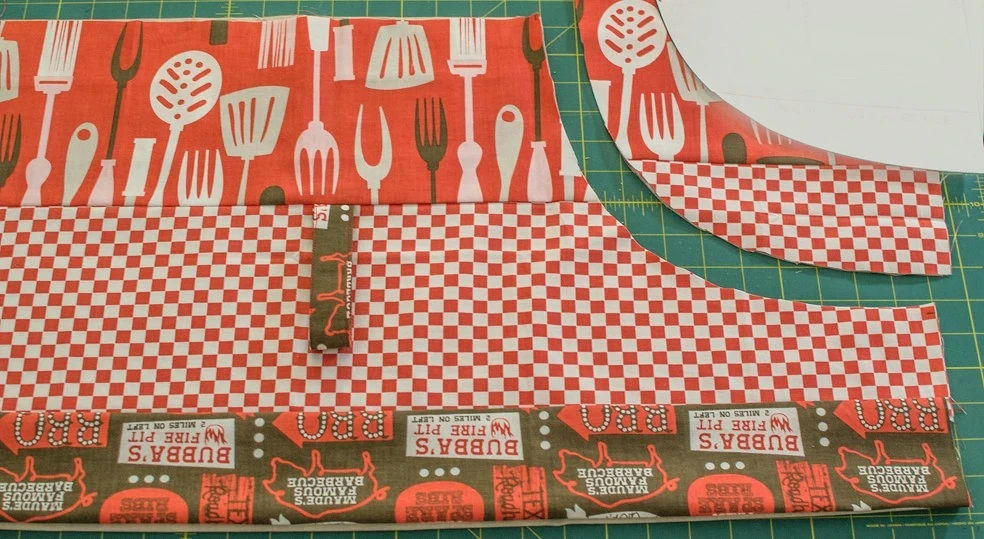
From the fabric lining, take the rectangle 79x83 cm. To make side cuts, try on the billet apron on yourself and make a paper template for the cutout. Plot apron fold in half along, also fold the rectangle for lining and put the parts one to another, aligning the edge. On the template, cut the excess.
Step 6.
Details of the upper strings are pinned to the top edge of the main part of the apron with the front side. From the side edges, retreat 1.3 cm. Print the strings and notify or set them.
In the same way, notice or set lateral strings by stepping down from the curved cuts down 1.3 cm.
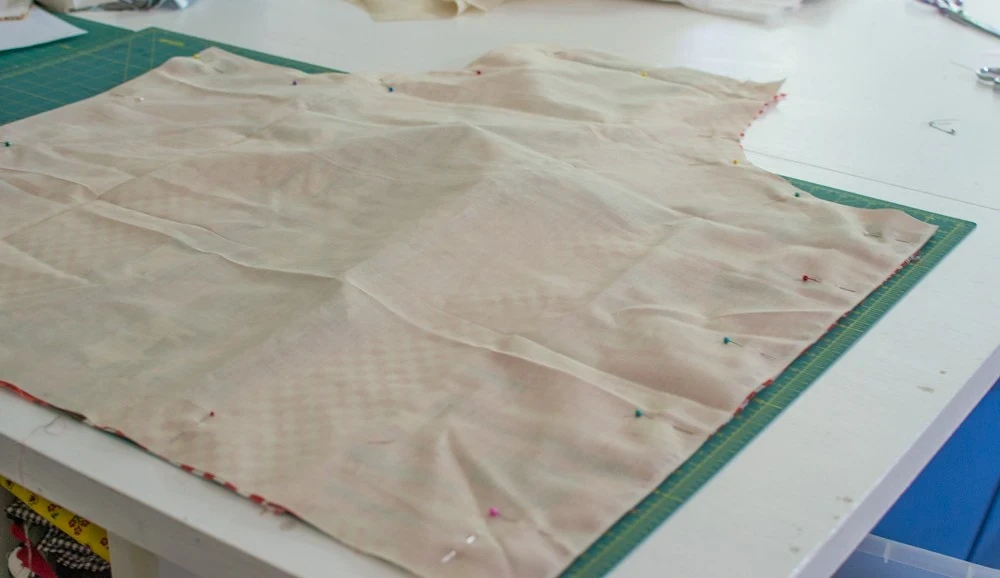
Put the main part of the apron on the front side of the face up, remove all the strings to the center of the part. On top. Put the lining detail with an inlet up, align the edges and scalp the parts on the perimeter.
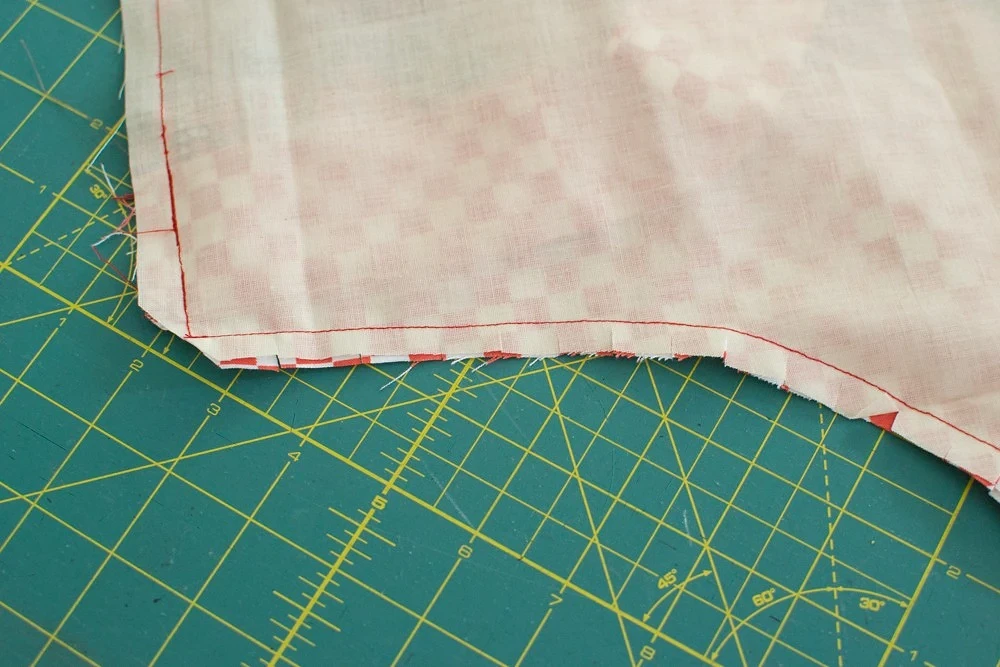
Load the line throughout the perimeter with a 1,3 cm perimeter. Below left a hole for turning around a width of about 15 cm. Corners cut, and the allowances on the curved parts of the parts are adjacent.
Remove the apron, straighten and affect the allowance. Slow apron throughout the perimeter, while at the same time closing the hole at the bottom. Ready.