
I love camping and therefore I spend almost all my free time in campaigns or building various Selfieckers for camping. I really like to go to the mountains in the distance from civilization.
It's great when you can be closer to nature ... But becoming older, I have a need for a comfortable place to sleep.
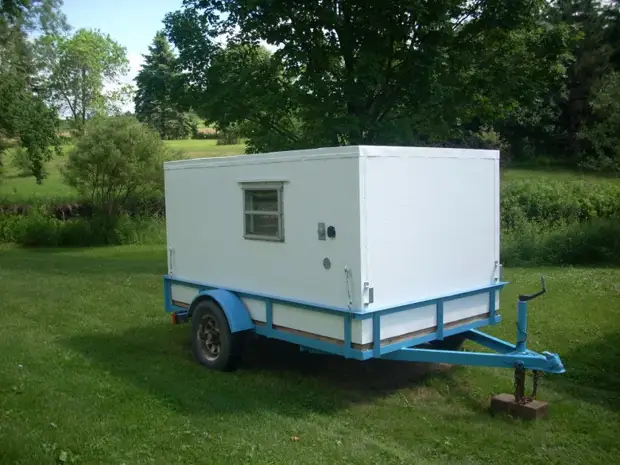
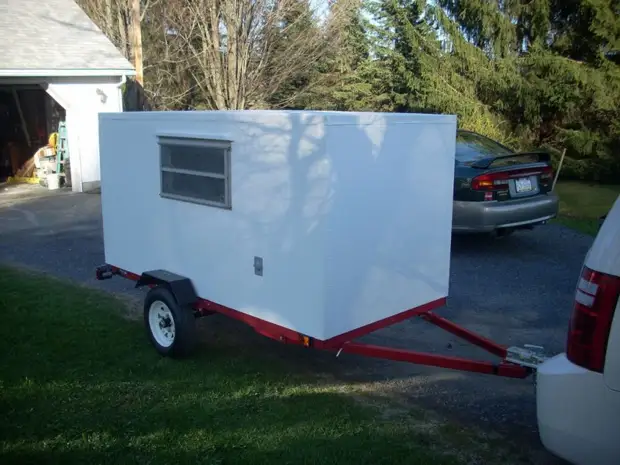
A couple of years ago, I decided that I need a small trailer, in which I will carry all my camping crafts . In addition, it is very good to sleep in it on a comfortable mattress.
It all started with a sketch. The trailer should not be wider and higher than the car.
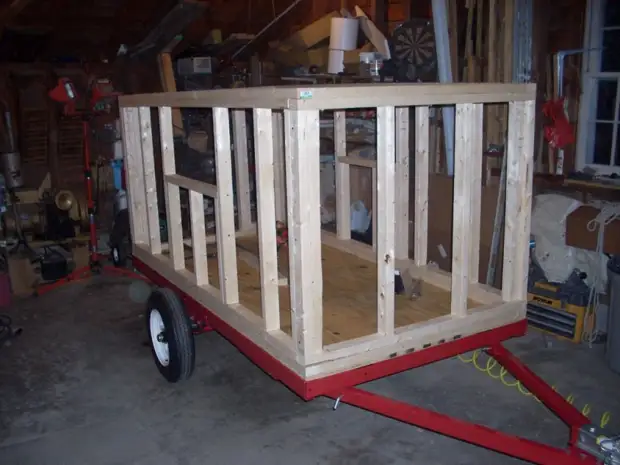
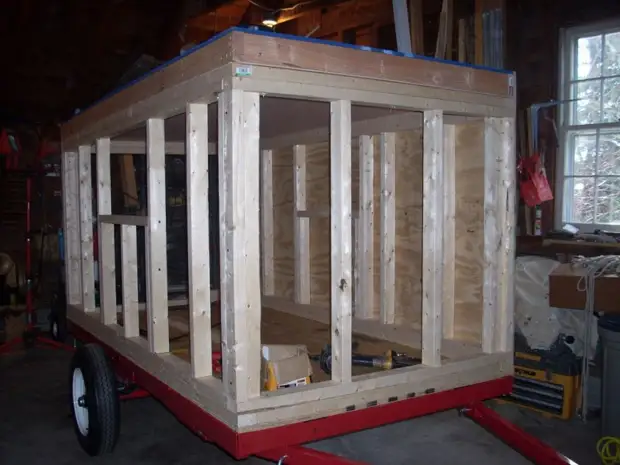
Step 1: Frame
This trailer was built on a freight trailer frame 1,2 * 2.4 m.
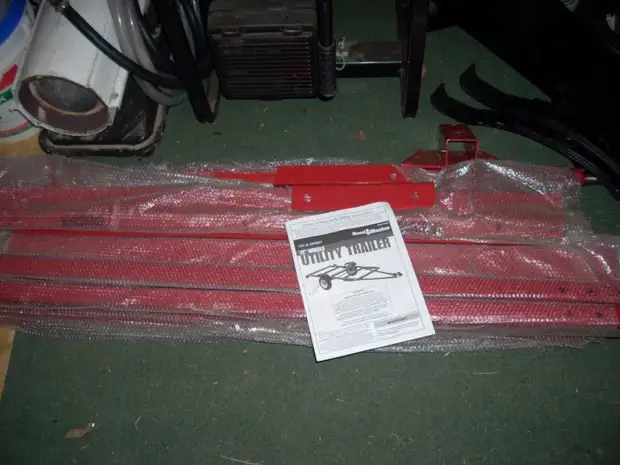
Rama was collected "straight out of the box." Originally lights and wings were not installed, because I did not want to mess with them. My goal was to mount the frame.

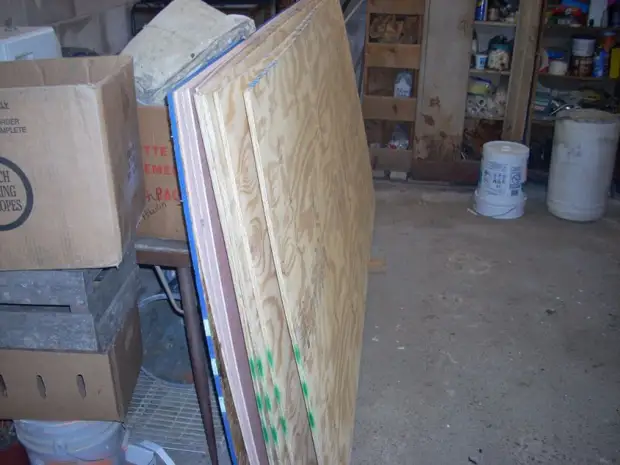
In order for the trailer to be very strong, we put the plywood with a thickness of 1.9 cm on the frame, after which we install the timber around the outer edge of the floor. Then drill holes in bars, plywood and frame, after which we twist them together with bolts. This will strengthen the frame and, among other things, will give a good reference point to accommodate walls on the frame.
Step 2: Materials for trailer
The trailer dacha is constructed from a bar 2x3, which is trimmed with 1.25 cm plywood along the outer side and 0.3 cm fiberboard on the inner.
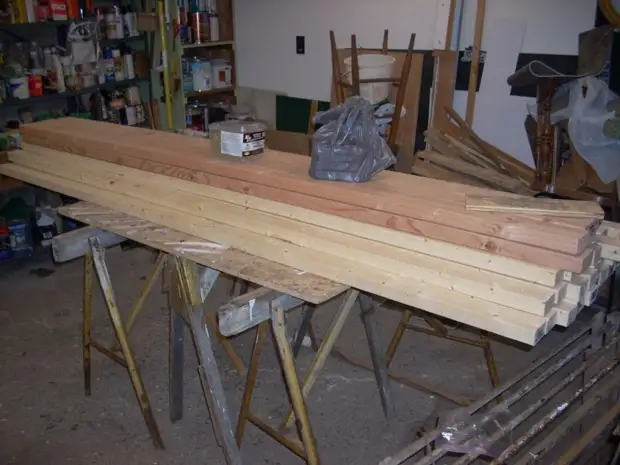
The roof is made of rafters and trimmed plywood and fiberboard.
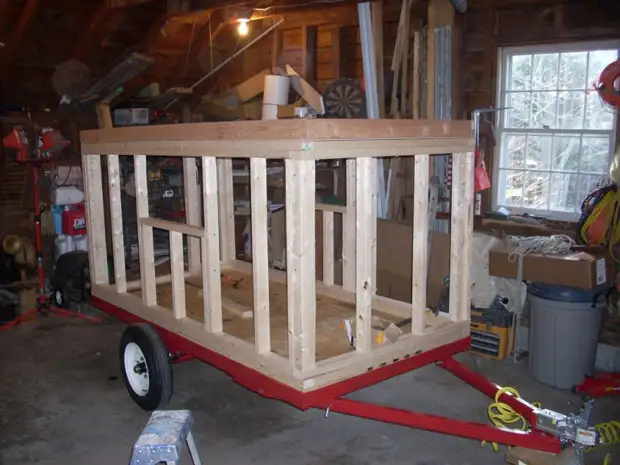
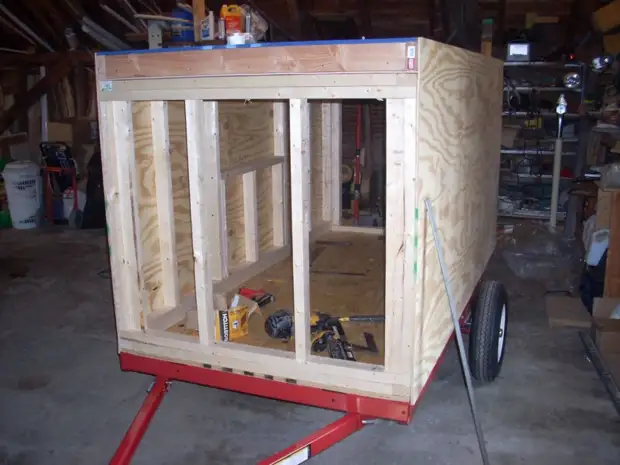
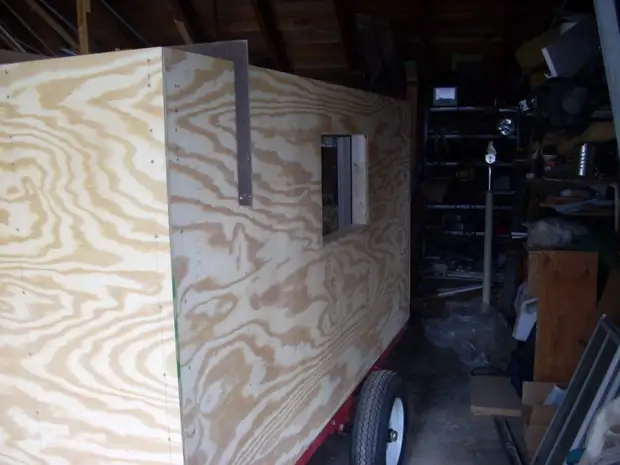
Step 3: We manufacture walls
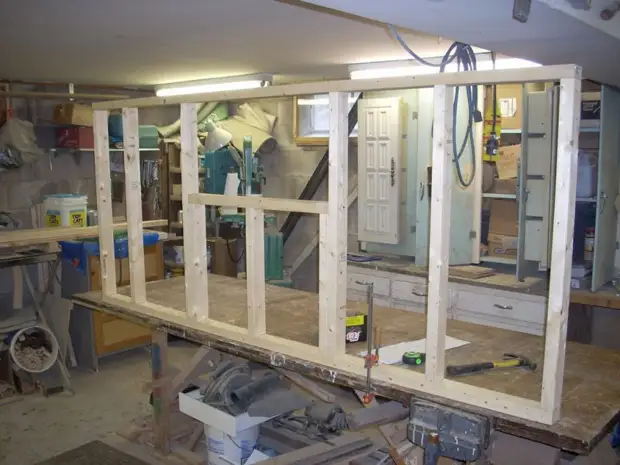
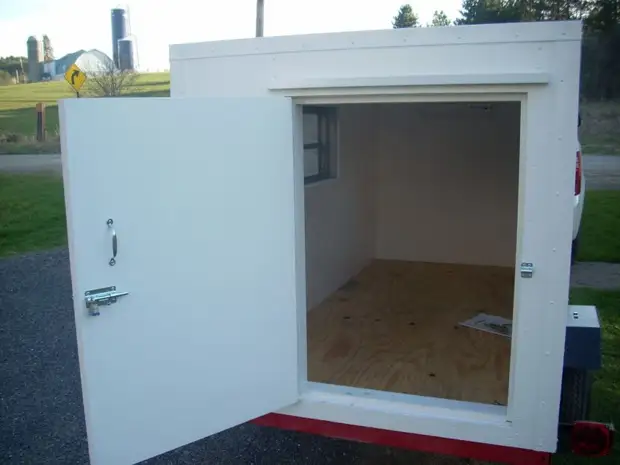
Walls have windows and door.
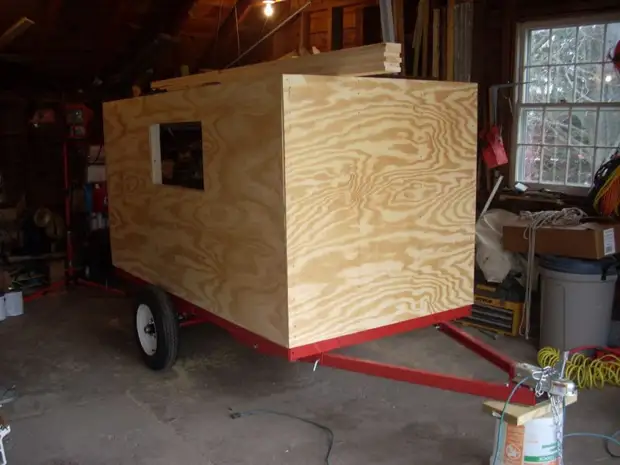
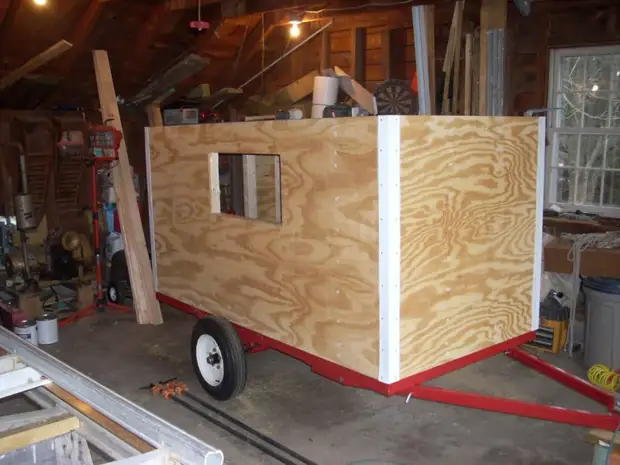
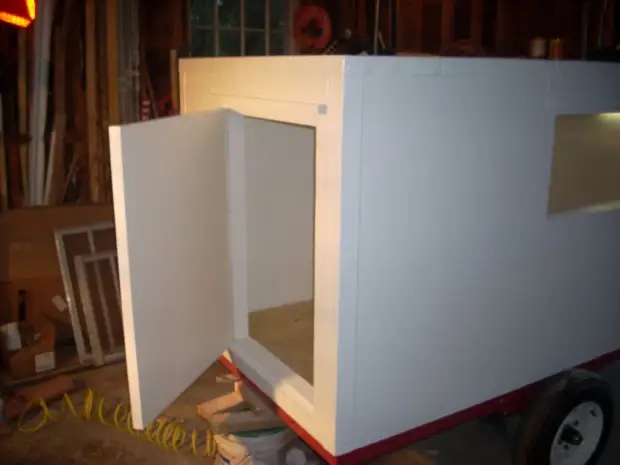
Step 4: Install the walls
You feed the frame of the walls to the bars, which were previously attached to the frame bolts. External cladding to be attached to the rafter system. Thanks to which the windows will be very durable. Pay attention to the upper plate that goes around the walls by tying them together.

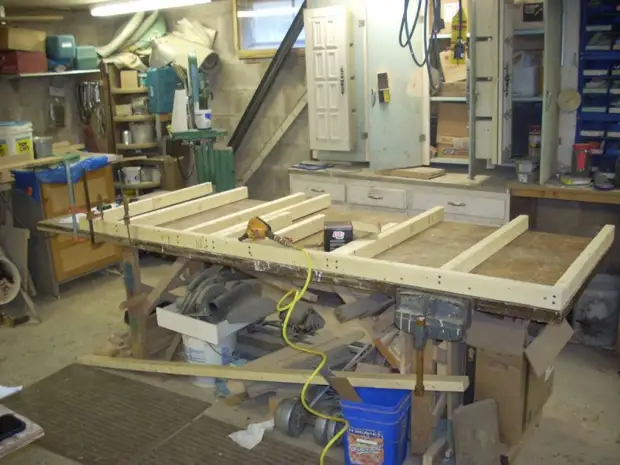
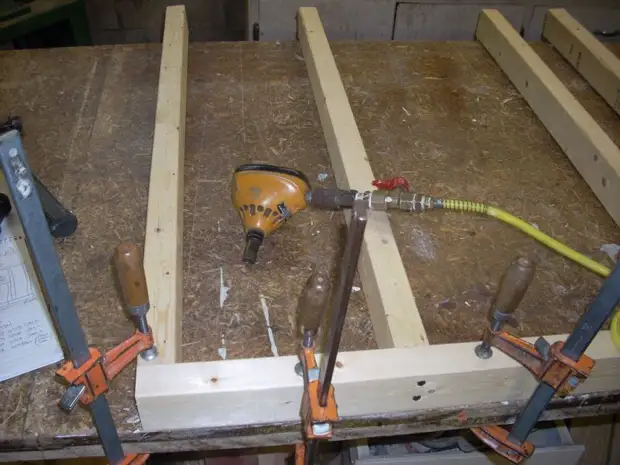
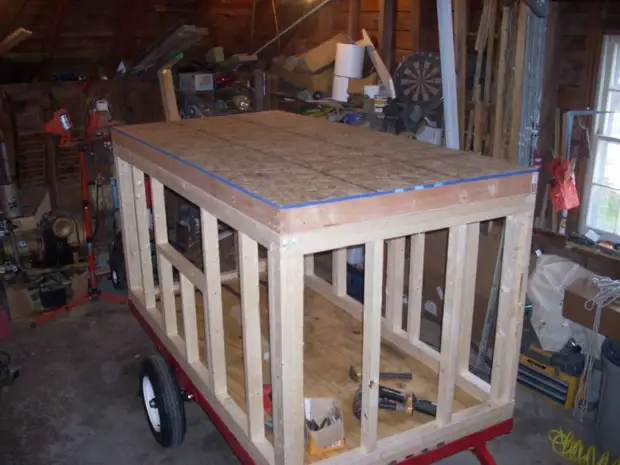
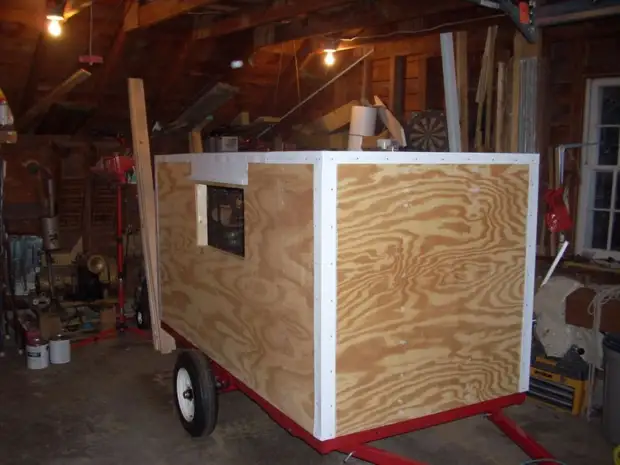
Step 5: Install the roof
Before installing the roof, we will spread the slices of fiberboard on the upper parts of the walls.
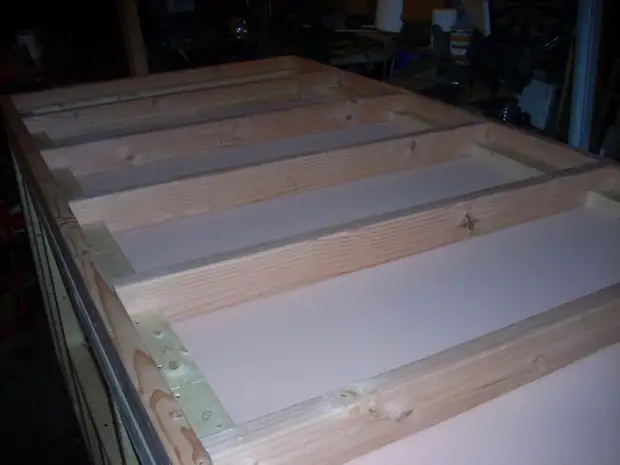
Installation blocks rafters. You feed them to the walls of the trailer and on top of their plywood sheets.
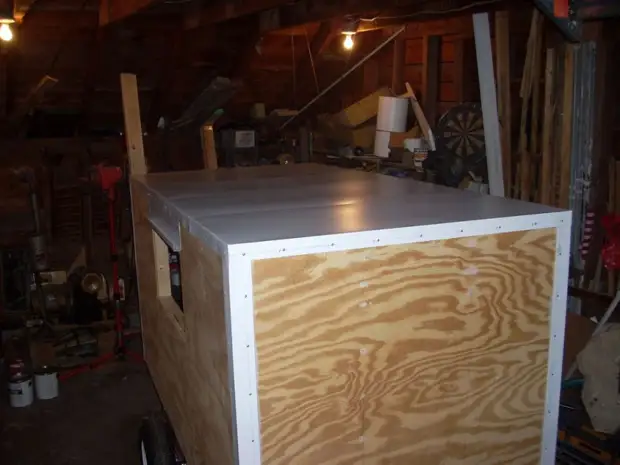
Step 6: Protective Coating
We install external cladding. It's simple. Walls of 3.8 cm with self-drawers.
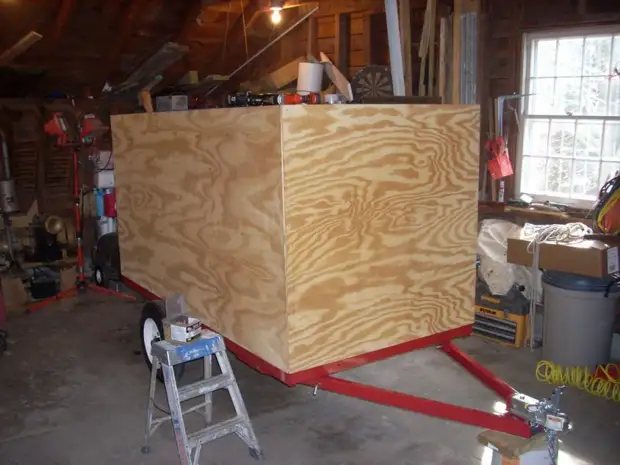
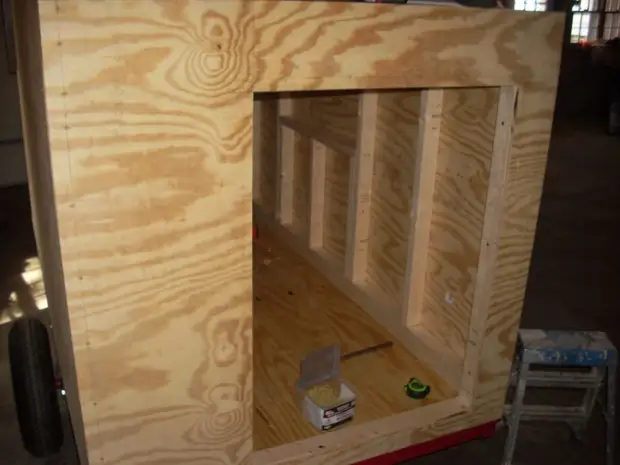
To cut the windows and the door will use the power tool.
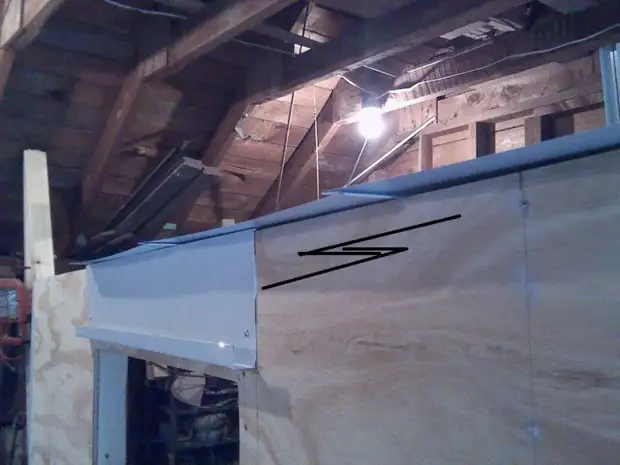
Step 7: Install aluminum lining
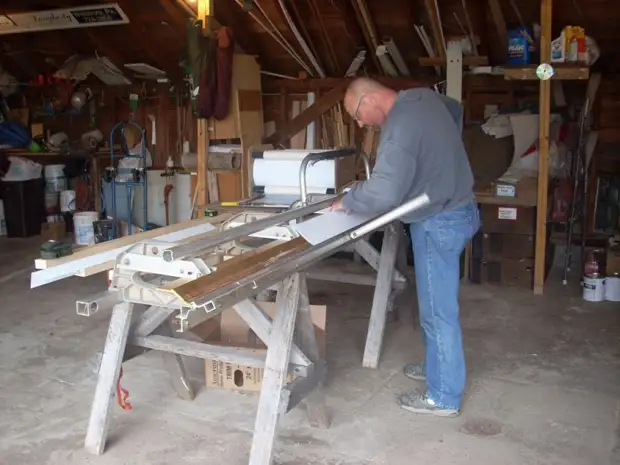
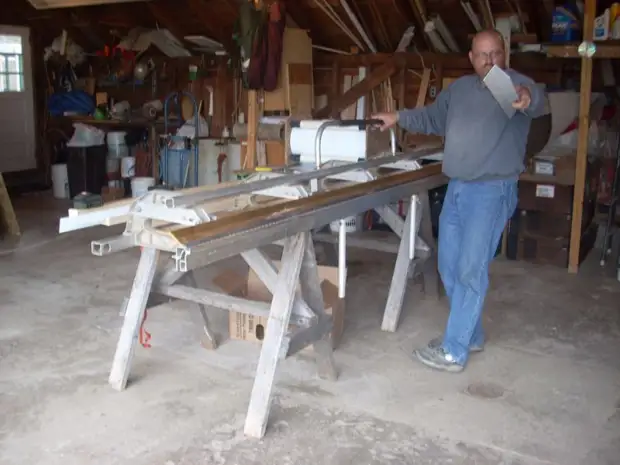
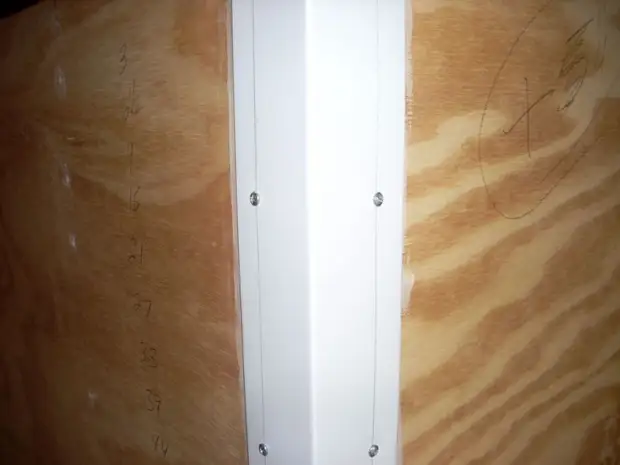
We establish aluminum overlays in the corners to protect the bare edges of plywood. We mount the gutter on the windows and doors. Close the roof with an aluminum sheet to make the design completely waterproof.
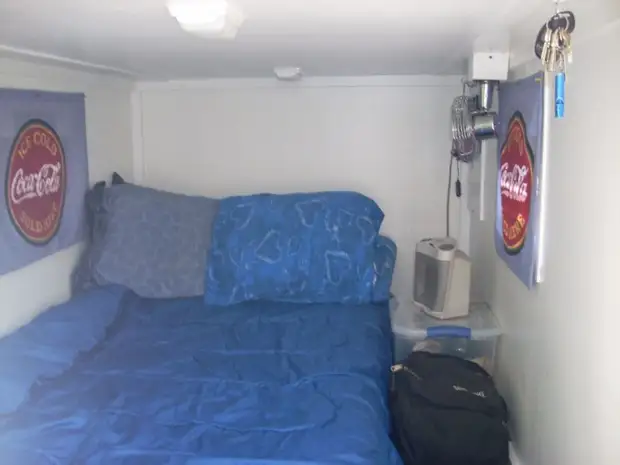
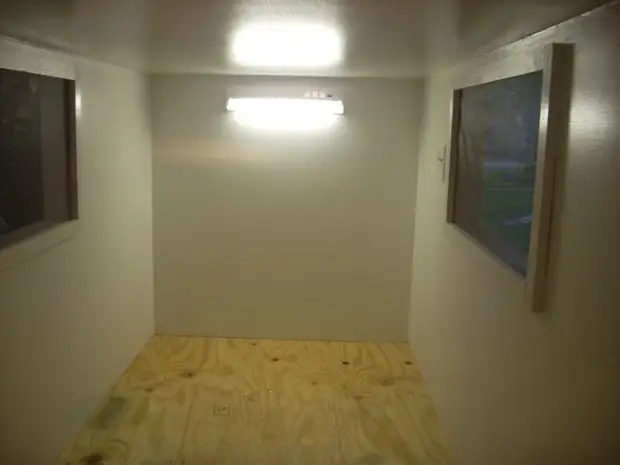
Step 8: Interior decoration
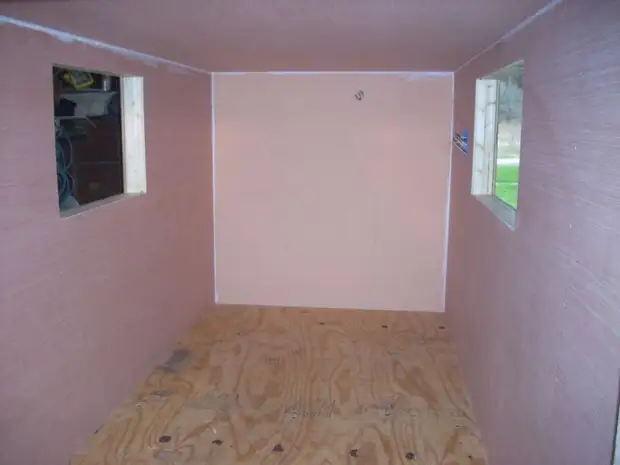
Inside, we carry wiring for internal lighting and sockets, and then you link all fiberboard.
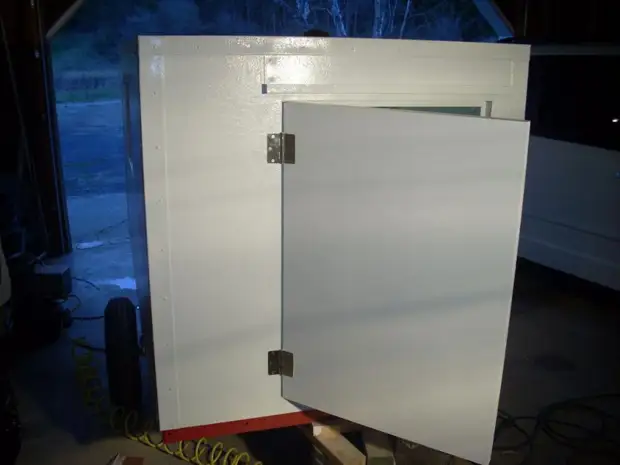
Step 9: Trim Doors and Windows
Let's make doors.
I will cut the inner upholstery for windows and doors.
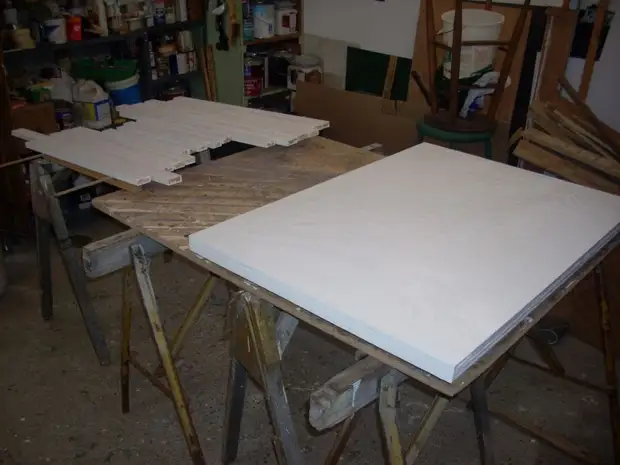
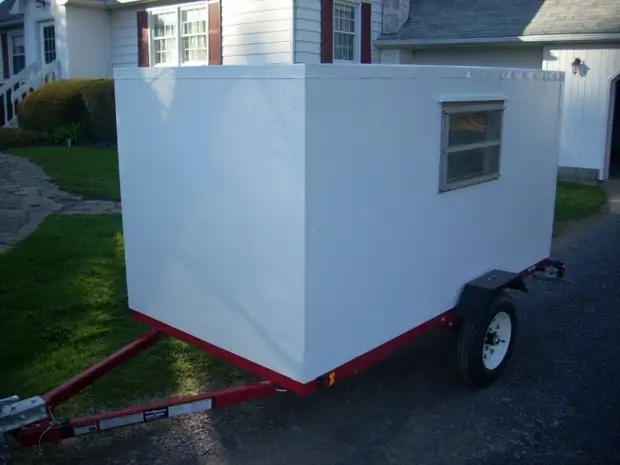
Step 10: Prayes Trailer
Course internal and external parts by primer.
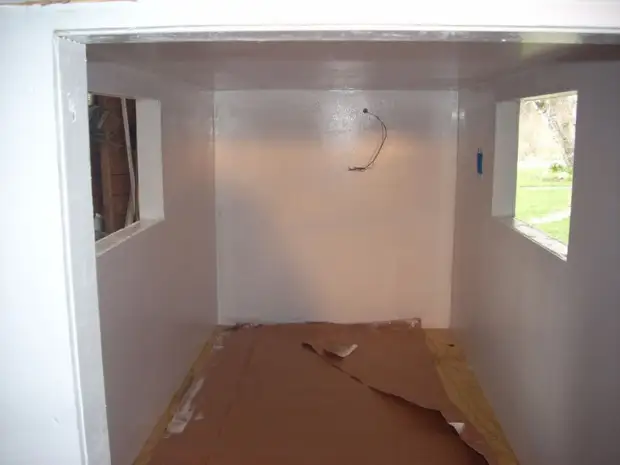
After that, we appline a layer of semi-tailed facade paint.
I will legally, all the threaded holes and apply another layer of paint.
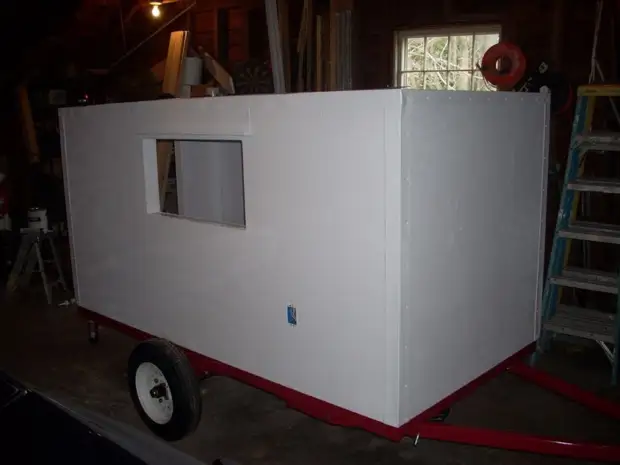
One layer of primer and 2 layers of paint will be enough to protect the wooden parts of the trailer.
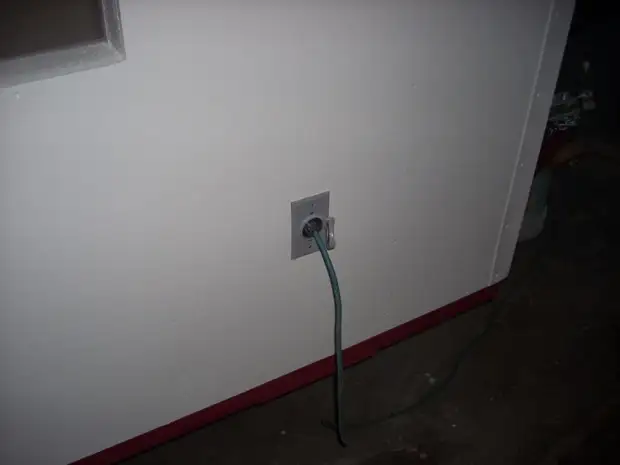
Step 11: Electricity
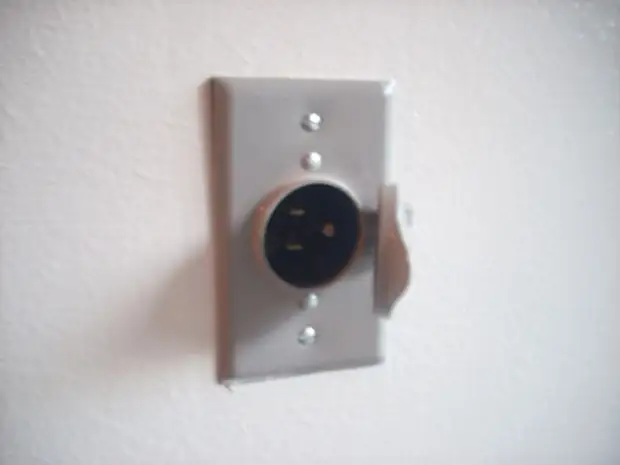
Finishing electrical work. Install the 110 volt 15 amp on the entrance.
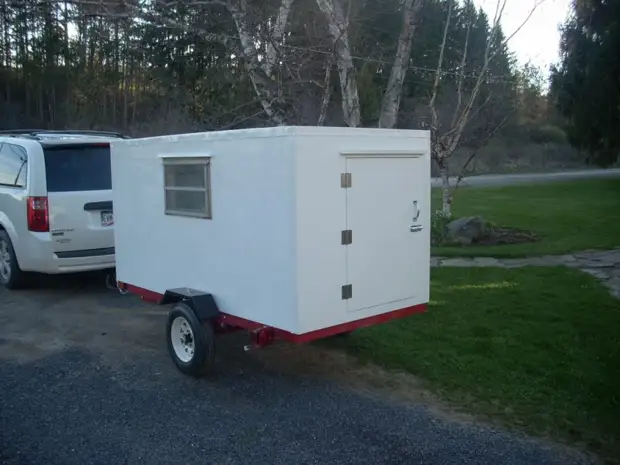
Step 12: Completion
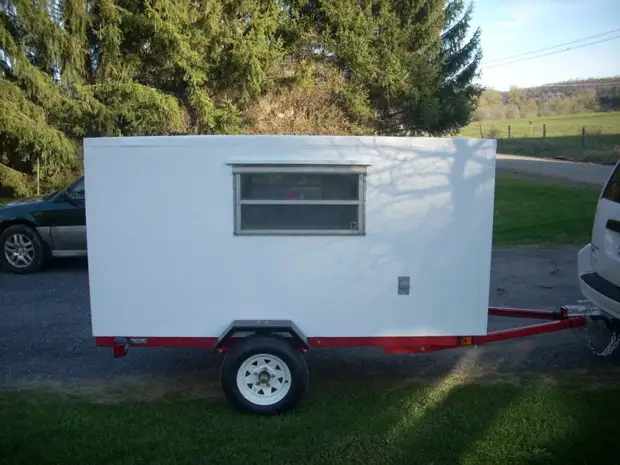
Set windows and screens.
We mount the inner finish of windows and doors.
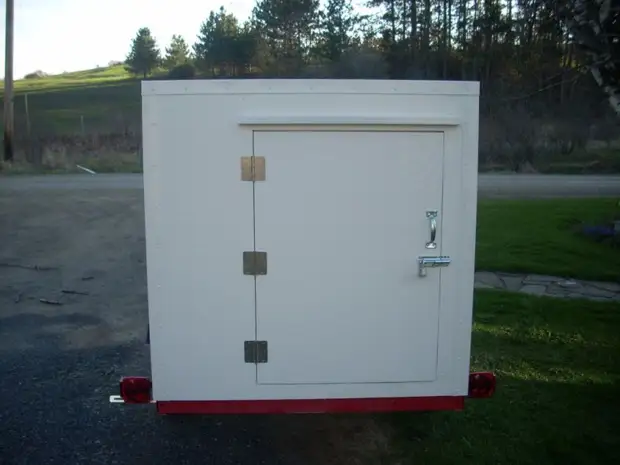
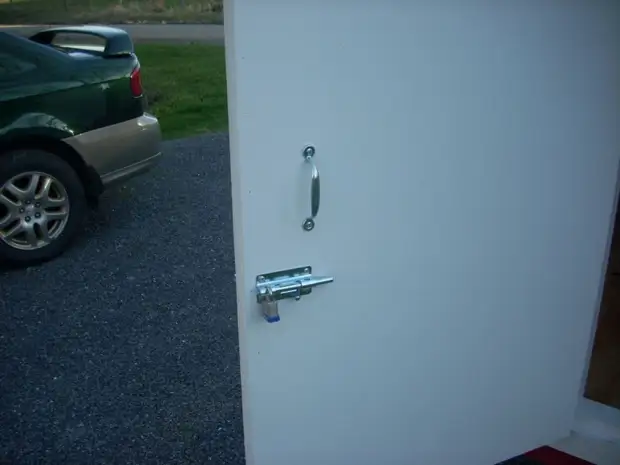
Install the door.
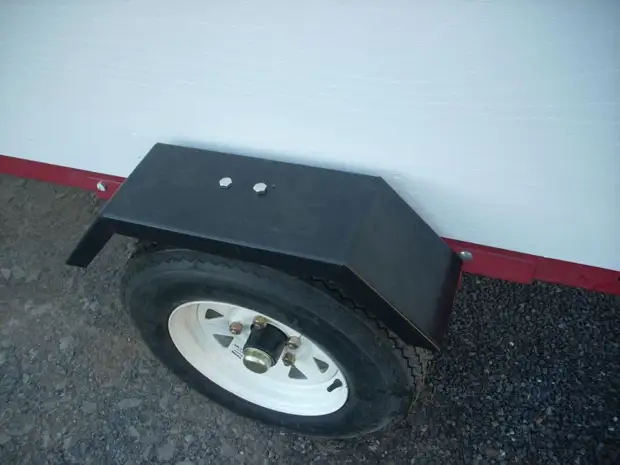
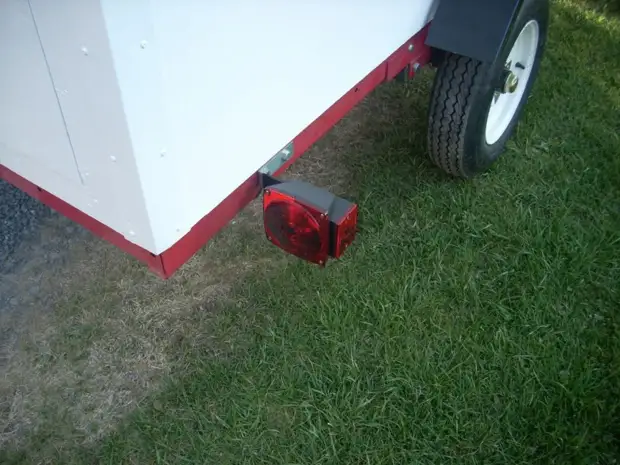
Install the wings and headlights outside.
I will apply the last layer of paint.
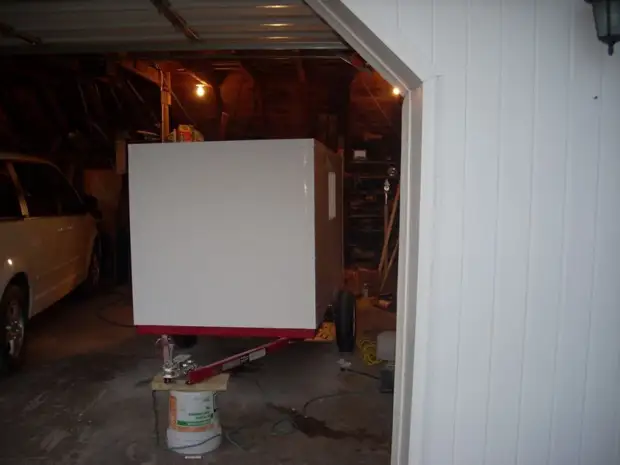
Step 13: Everything is ready
Thanks for attention!
Shared - alexlevchenko92.
A source