
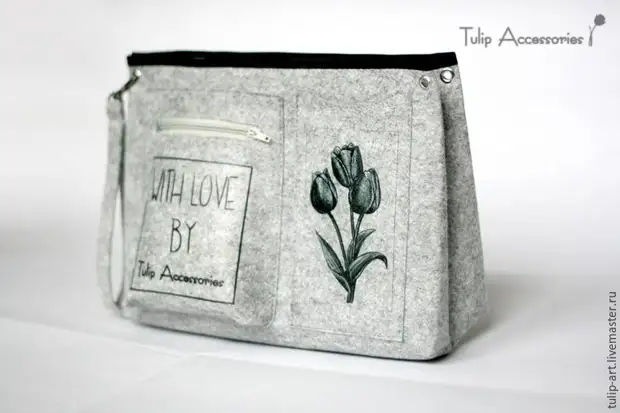
Today's master class will be devoted to the manufacture of such a simple object, as an organizer for a bag (he is the Tintamar, he is a bag in the bag, "Bag in Bag"). For those who are not yet familiar with this device, I will explain:

I lived, there was a girl. She had a lot of outfits, each had a pair of shoes and a handbag. Girl went on Monday to work in one beautiful coat and with a red handbag. And on Tuesday sharply warmly and the girl has already gone to work in the dress. And with a green handbag, because she was very suitable for the dress. But the girl was not allowed to work, because she left his pass to the office in yesterday's red handbag. And I had to go back to the girl (it was impossible to negotiate, she worked on a regime object), because of what she was late for two hours and she was reprimanded, and then deprived the awards at the end of the month. And all this certainly happened due to the fact that the girl did not have an organizer in the bag! But if he was, then his pass, as well as the phone, documents, wallet, keys, cosmetic bag and handkerchiefs, she would store in it. And, changing the handbags, it would shift only the organizer with the necessary things and would not have forgotten anything then. And she would have a premium. Like this!
Those whose visual, very realistic and only slightly fictional example with the monstrous consequences convinced the need to acquire this thing, I invite you to continue reading :)
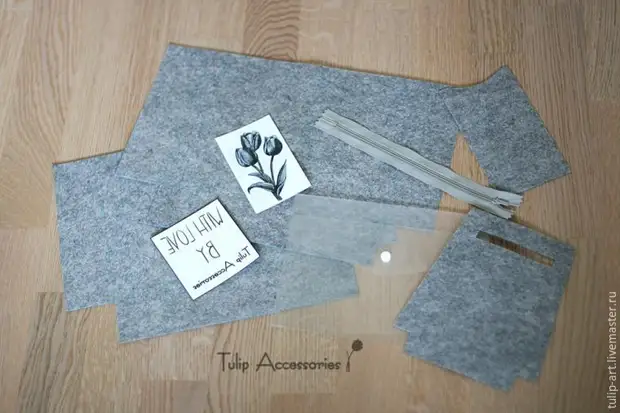
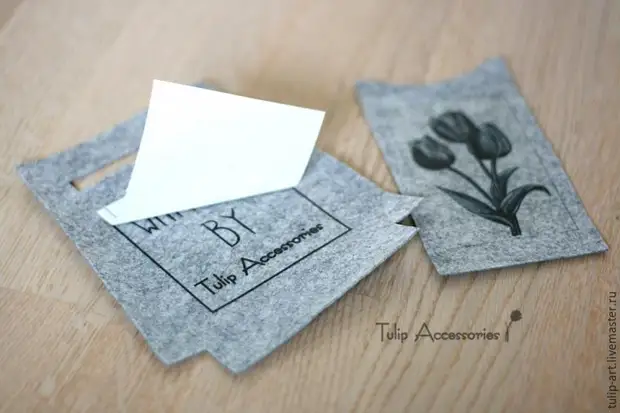
We will need felt, lightning, a bit of accessories and the secret ingredient - a plastic folder for papers (sold in any stationery, transparent, on the button, from dense plastic).
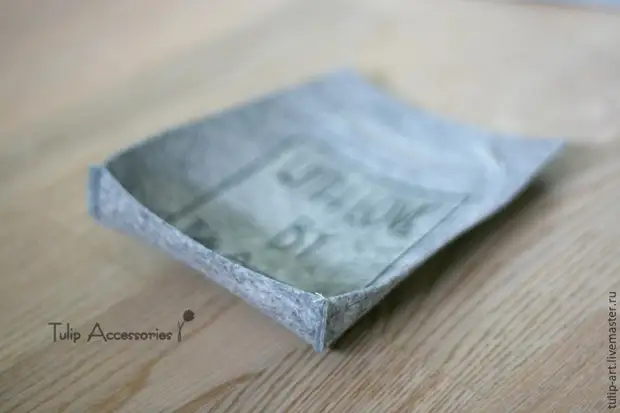
On this photo already outdated details:
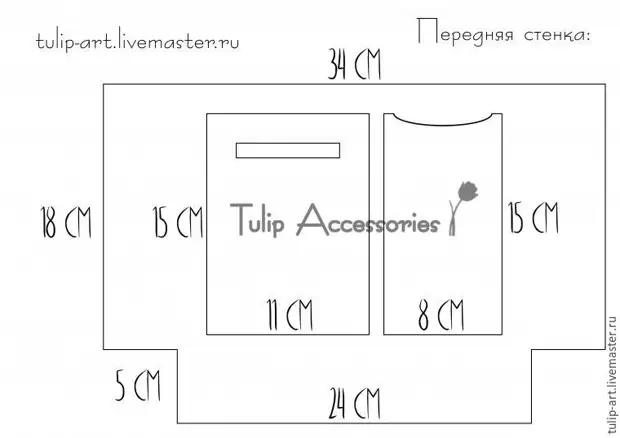
But the pattern itself.
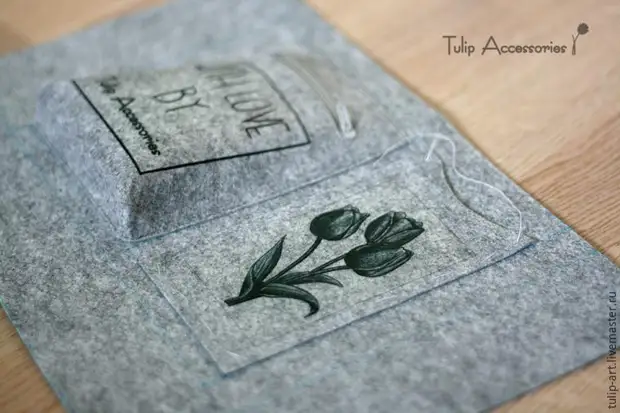
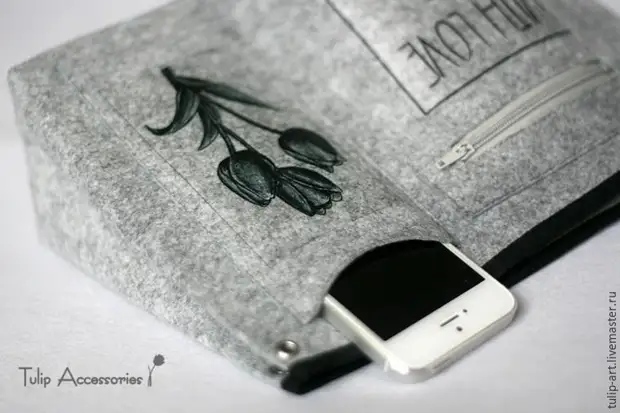
Sheet 1. Pattern of the front wall. Large item lies, without letters on the seams, they are taken into account. The projection of future pockets will need to be repeated on fetra in the form of a washed markup.
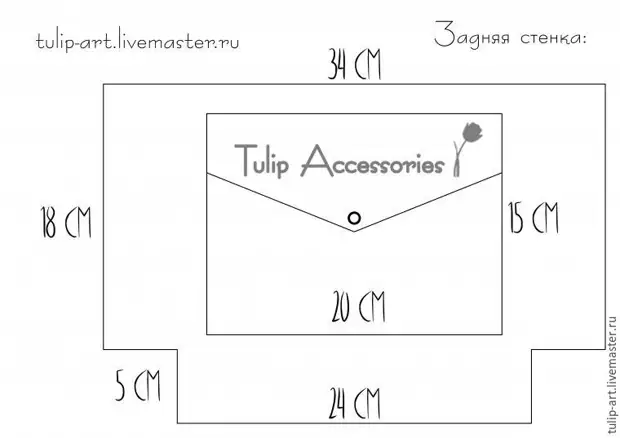
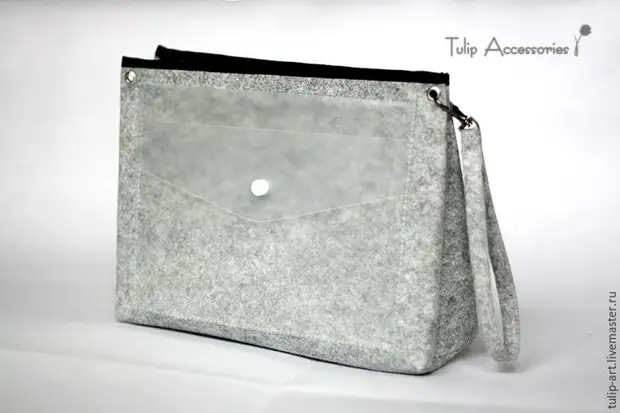
Sheet 2. Pattern of the rear wall. It is the same as the front, but another markup under the plastic pocket, it is also transferred.
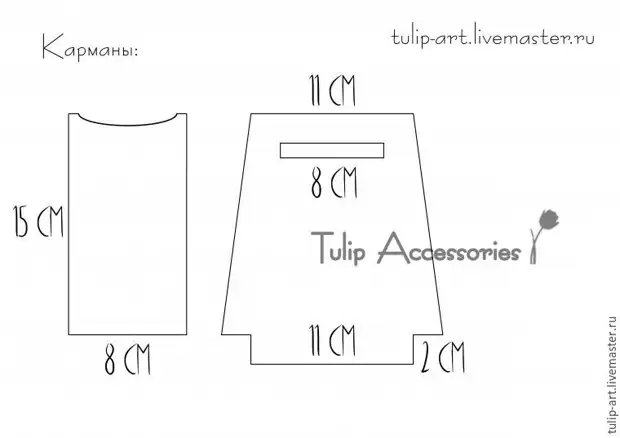
Sheet 3. Patterns, actually, pockets for the front wall.
When all the details are prepared, you can proceed. First - the decor of the pockets. Of course, thermal transfer pictures. Here without details, I believe that most readers are already familiar with the process. Those who are not familiar, I invite you to look into other my master classes, where the technology is shown in more detail.
Now in the left pocket it is necessary to enter zipper. It is not difficult if it is previously noted.
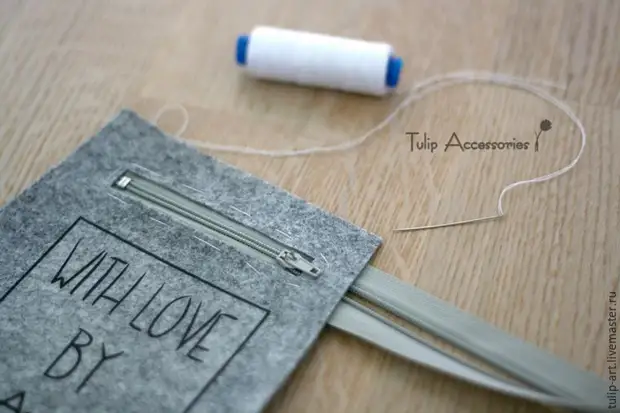
Rovely adret lightning on the typewriter:
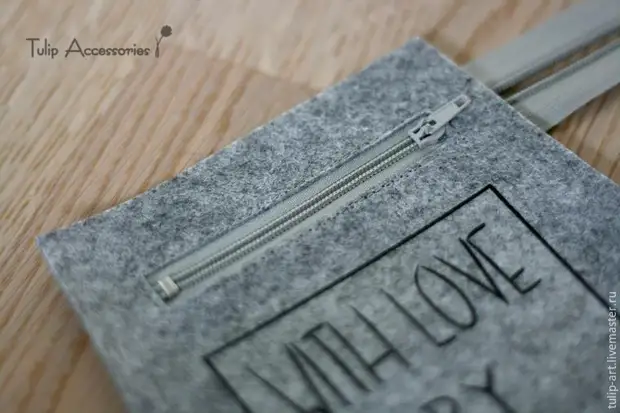
Surplus can be cut off, poured a slice:
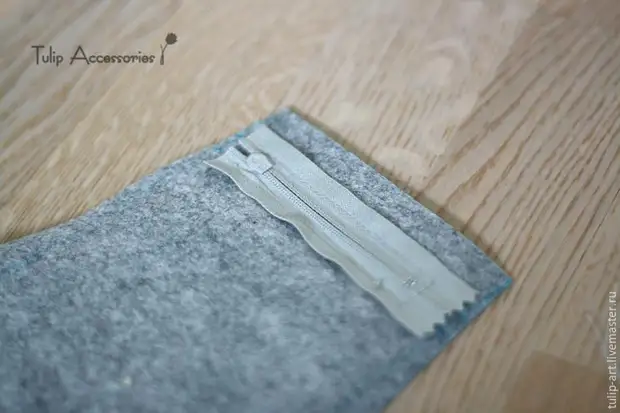
Now she sew pocket pockets:
And take it on the front wall on the markup:
And spend:
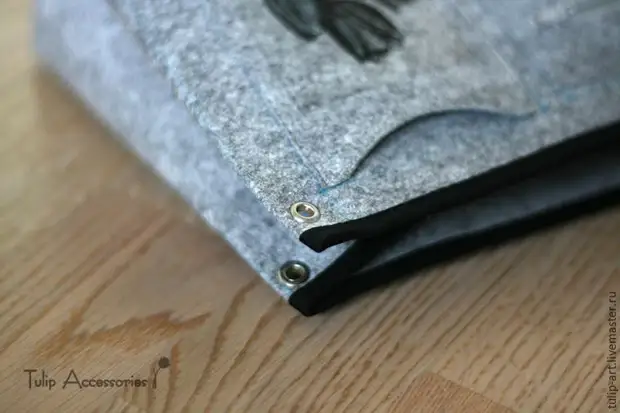
Especially neatly trying to pass the corners:
Now we will deal with the second pocket, flat. We grab the semicircular edge, this line is partly decorative, partly a little protects the felt from the edge wear:

Take the markup:
Try.
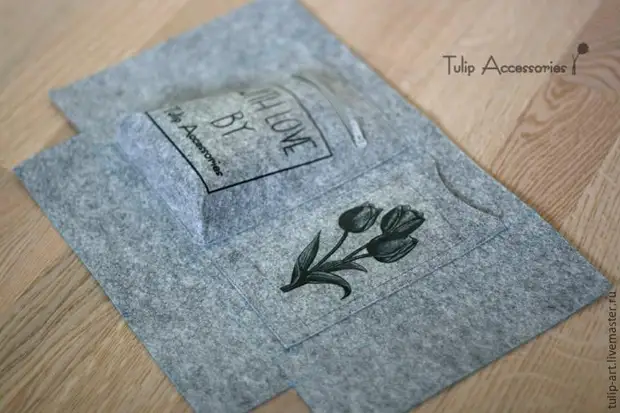
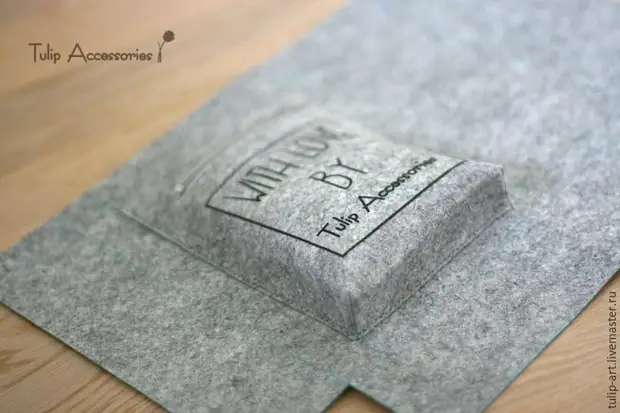
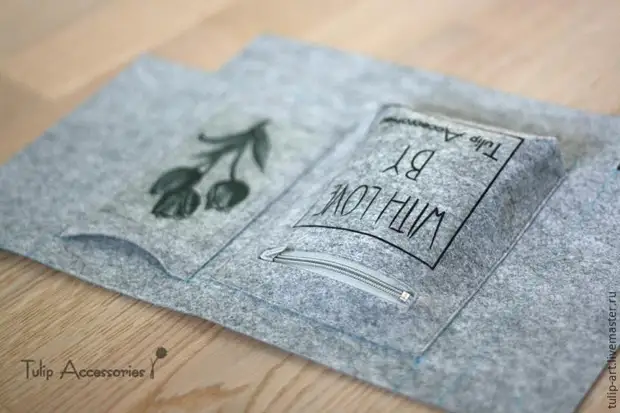
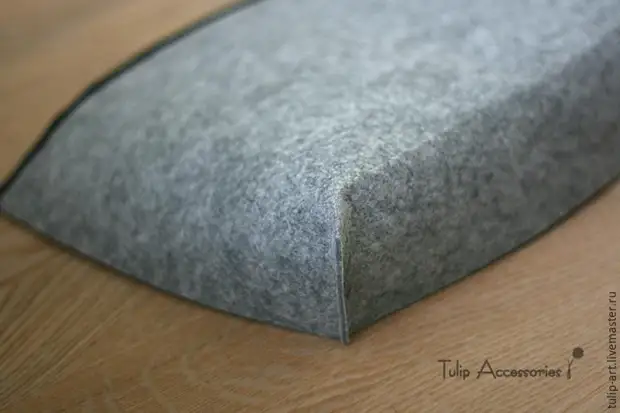
Well, the front wall is ready.
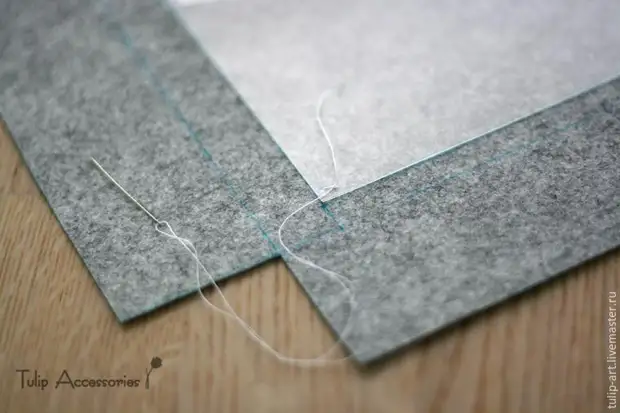
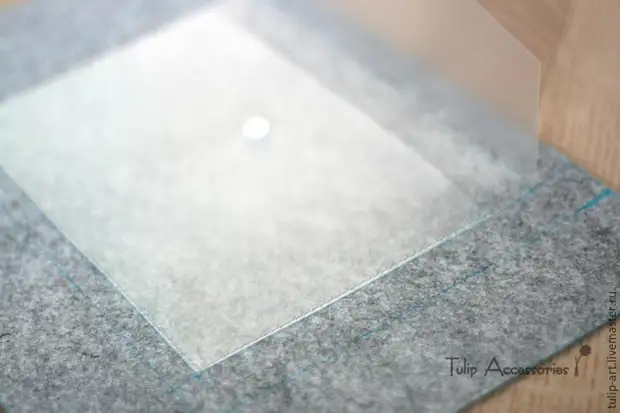
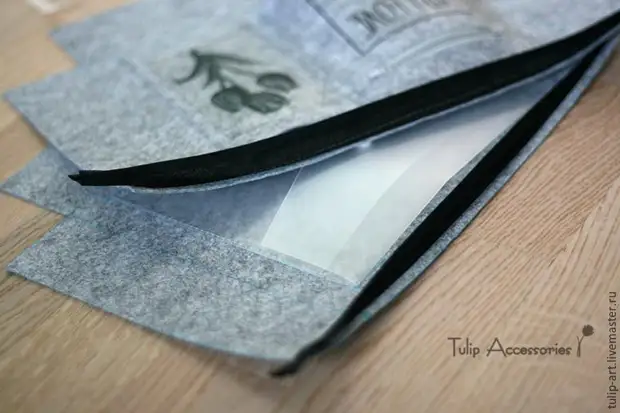
Now the rear wall time. I did not take a picture of the folder before she became a pocket, but there was nothing unusual in it. I just cut it to the desired size (see Patterns) in three sides, conducting the coordinates from the side with the valve. We apply an envelope on the markup.
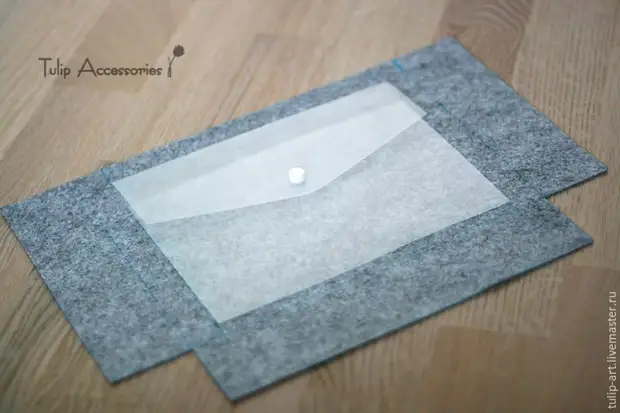
It is not necessary to fully accept it, there are holes on plastic, but even without it, it is also risky to start smoking. I just grabbed his threads in the corners.
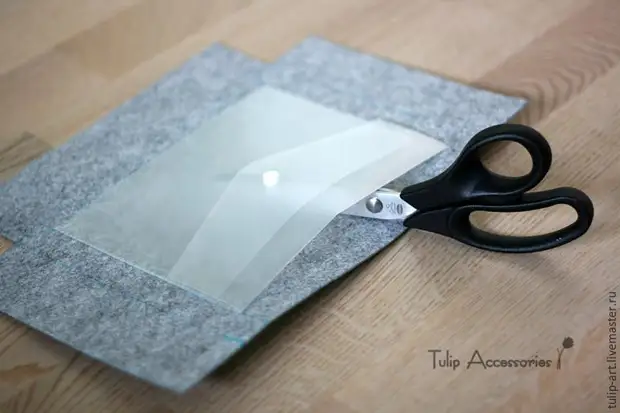
We add a pocket-envelope P-shaped seam without passing the upper side.
Thanks to this, the pocket becomes double.
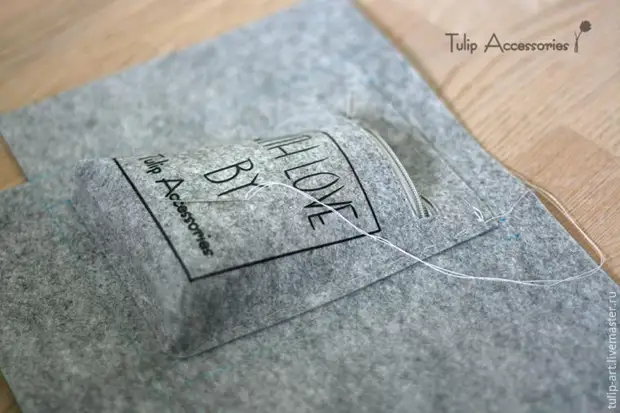
Both walls are ready. I still closed the sections of the places. On felt it is not necessary to do this, but I am a perfectionist today.

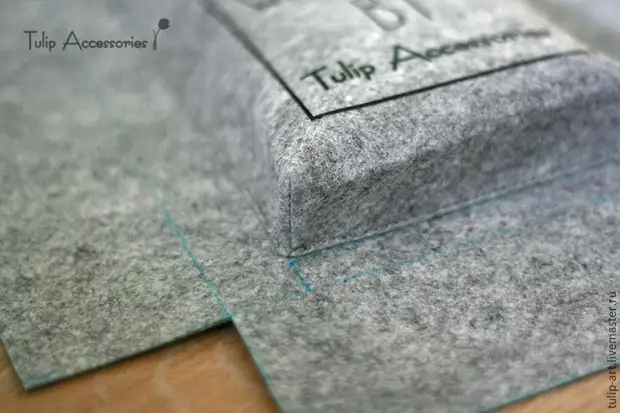
Now it remains to connect the details. First, sew the launches:
Then we put the details face to face alone and leament. Follow the coincidence of the wrapper.
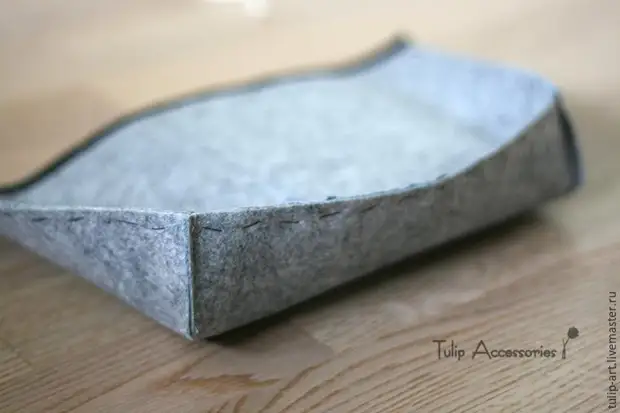
Pass:
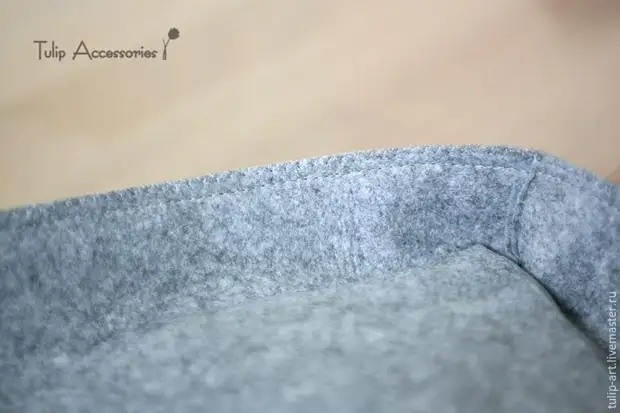
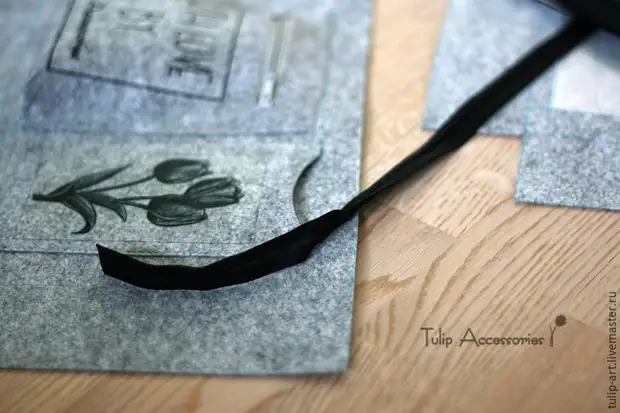
Here, in fact, everything can be turned out. All sorts of "decorations" remained. For example, several chalks for the future strap:
Here is such a thing turned out:


MK from Natalia.
A source