
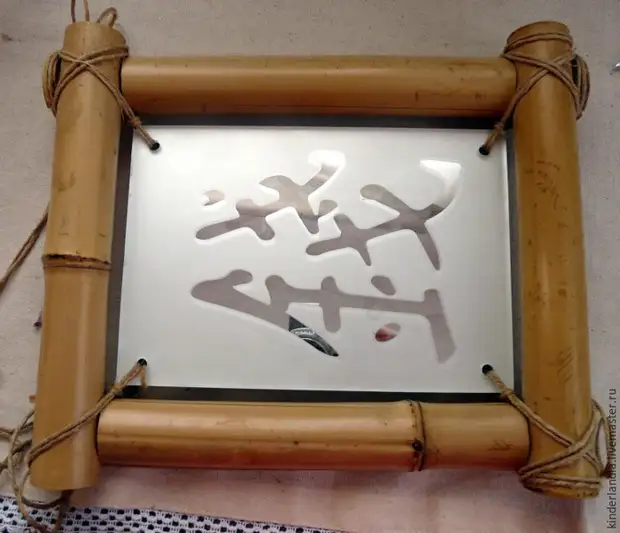
I lived - I had such an interior "picture". Of course, "lived" - it says loudly, since I am not a fan of an oriental style, and this picture of this several years just "dust" on the windowsill ...
Throw sorry, and for the interior did not fit ... well, quite.
And so, the thought occurred to - make a needlework organizer from this picture.
It will take:
1. Fabric, 2 types.
2. Singry procession.
3. Bilateral Scotch.
4. Lace, buttons, scissors, threads.
5. Jute rope.
6. Acrylic paints, acrylic varnish.
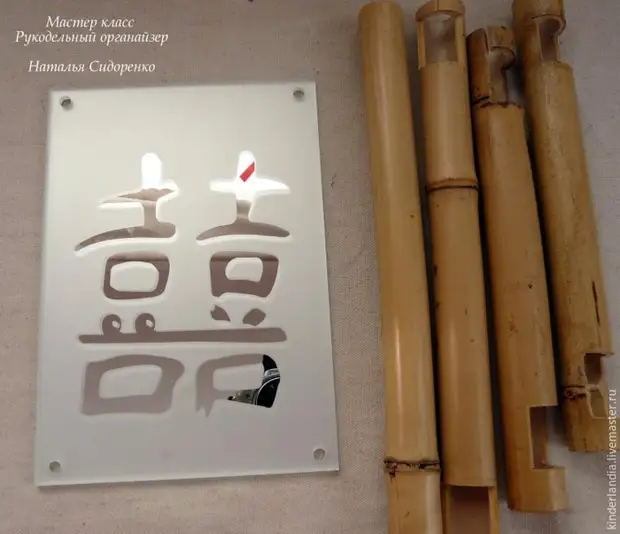
To begin with, we disassemble the picture.
Glass glue bilateral scotch strips.
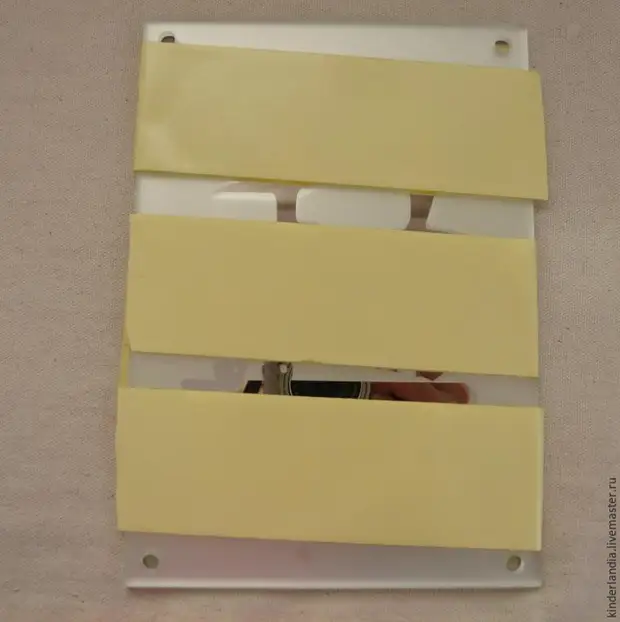
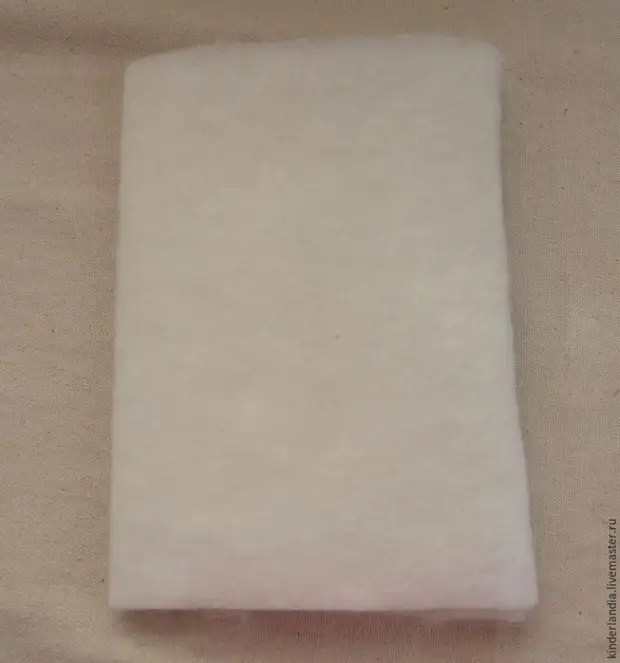
Cut the sintepon in size of glass, so as to wrap it completely, on both sides.
Remove the protective film and fix the syntheps.
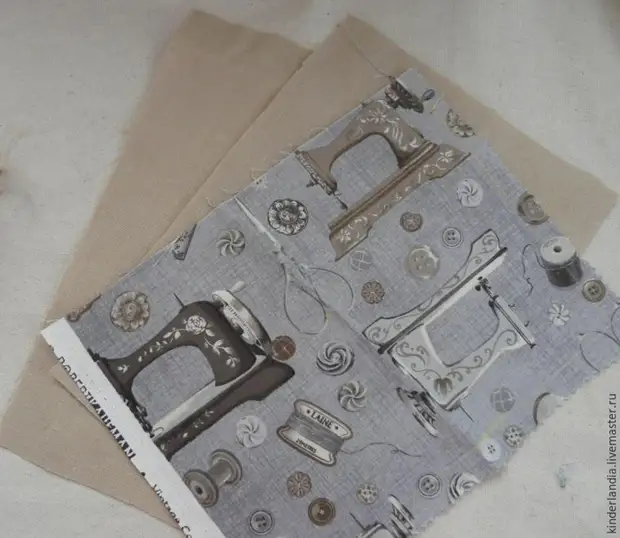
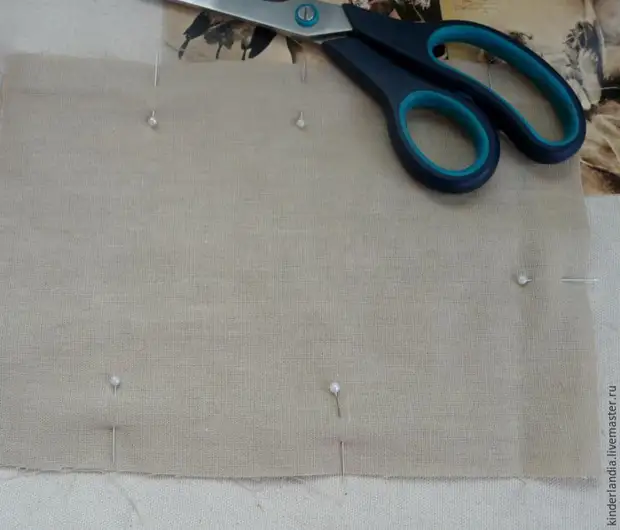
We cut out of the main and decorative fabric 3 details.
From the main fabric 2 parts 15x22 (in size of glass) + allowances for the volume of synthesis and on the seams (3 cm).
From decorative tissue (for pockets), part 11x22 + allowances (1 cm on top and 3 cm on sides and below).
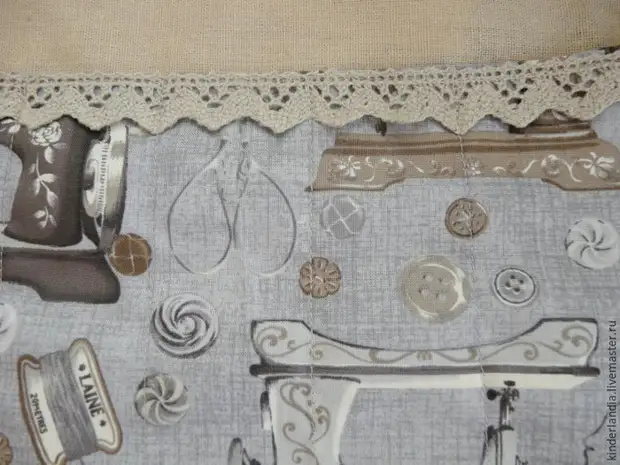
The top of the decorative fabric fell into the inside, we rush the lace, lay the seams on the typewriter.
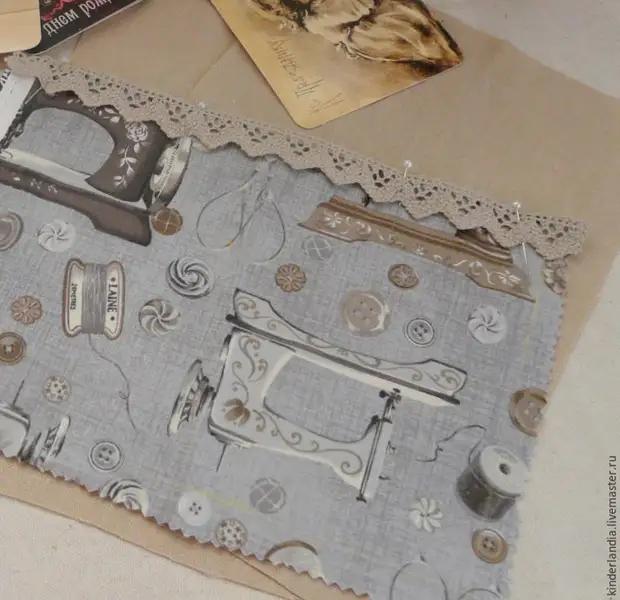
The self-describing marker is placing the lines that I will be built up for the formation of "karmashkov".
I firm on the typewriter, making the leaps at the beginning and at the end of the seams.
Now this part with pockets cover the second part of the main fabric, the front side is down.
We rock, stepping on the machine 3 sides, leaving the fourth free.
Soak and insert the glass from the picture (in the syntheps).
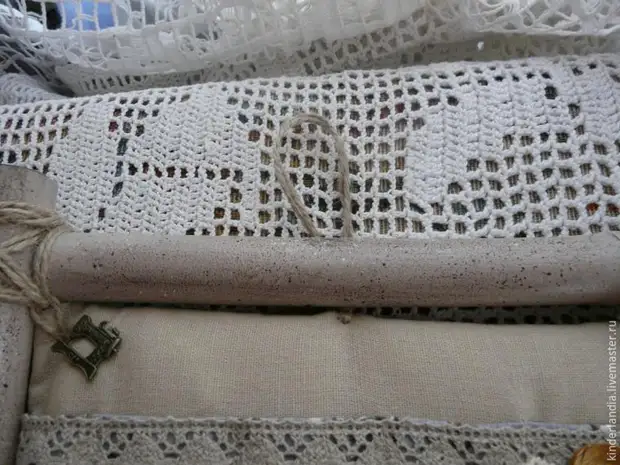
We sew the open edge of the secret seam, add decorative elements.
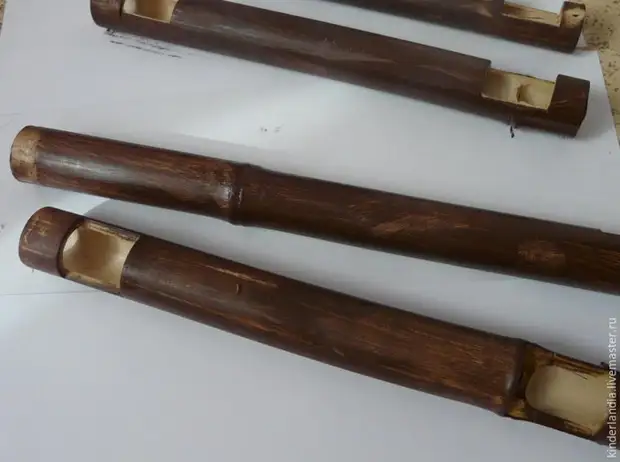
I processed the bamboo frame with a rough sandpaper, painted with acrylic paints. First acrylic colors "Umbraja".
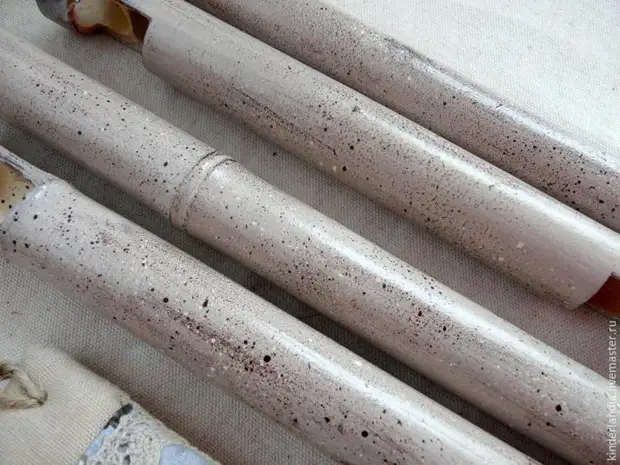
Then mixing the elephant bone and Umbra burned to the shade of coffee with milk.
Painting by this color top layer (brown paint slightly shines). Since the organizer is assumed to be a hint of "retro", added to the "dry brush" method and spray to the toothbrush.
Covered 1 layer of acrylic varnish. It turned out like this:
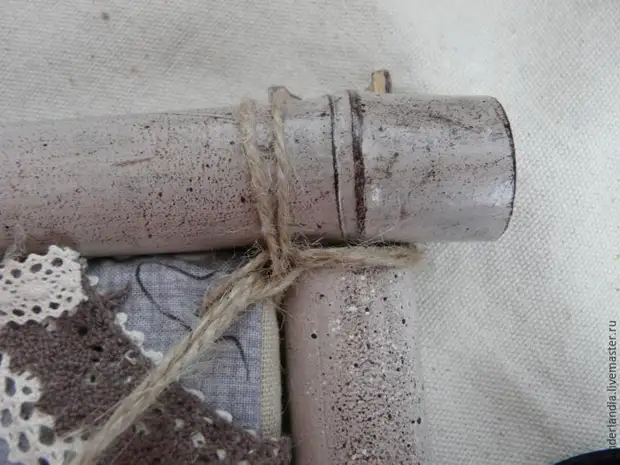
We collect the frame.

And we connect the organizer itself with the frame (we will connect through the existing, on the sides, holes in the glass).
Cut the jute rope fold in half, wake a loop in a needle with a wide ear.
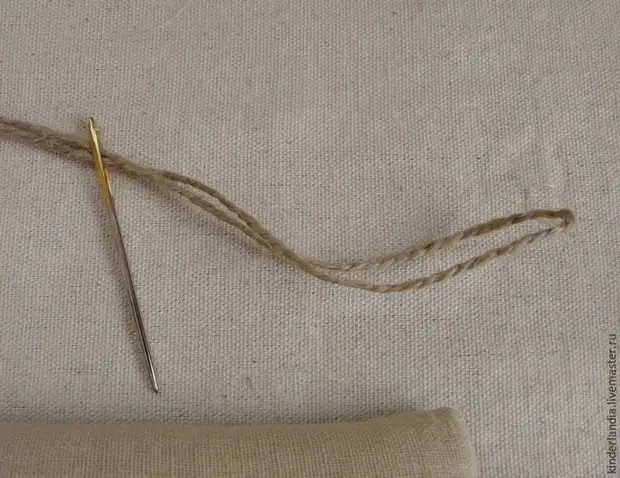
We are looking for a needle hole in the glass.
Stretch and remove the needle in the loop. So we fixed the thread without nodules.
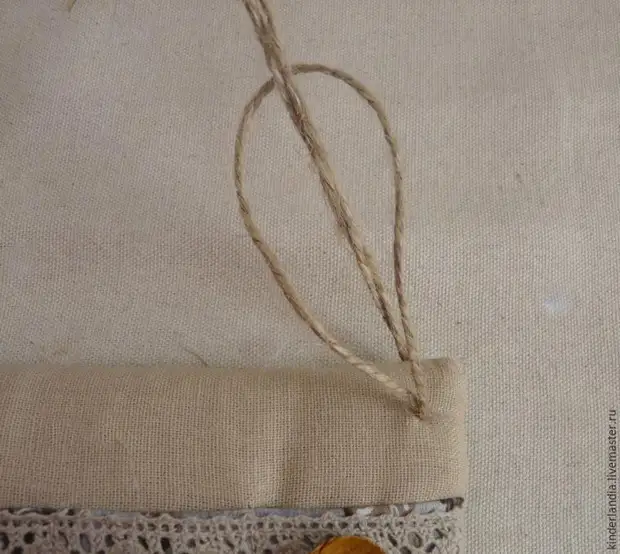
We attach to the frame, hide the nodules from the reverse side. In the same way, the pellet is making a suspension.
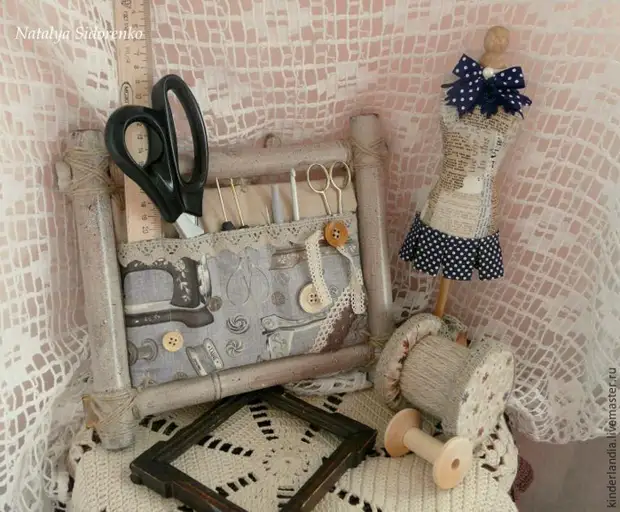
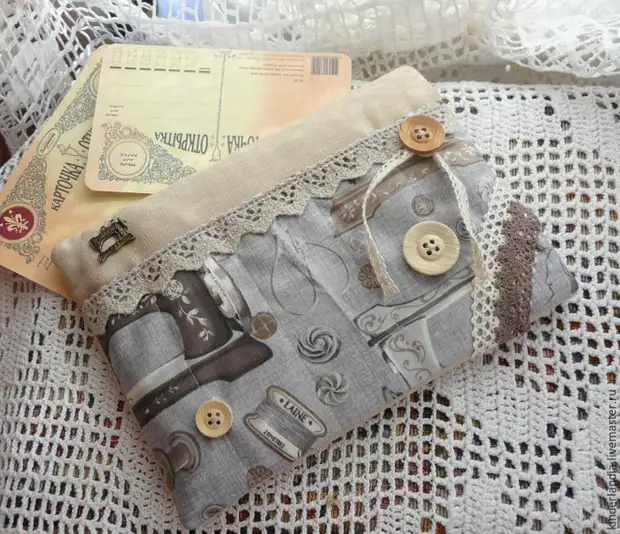
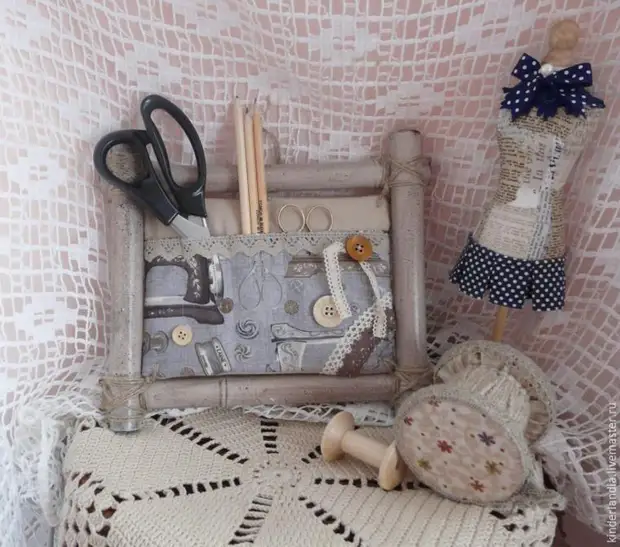
As a result, we obtain this is such a cozy organiser that can be placed in the working corner or hang on the wall.
I think he will decorate any workshop and becomes a comfortable assistant.

A source