

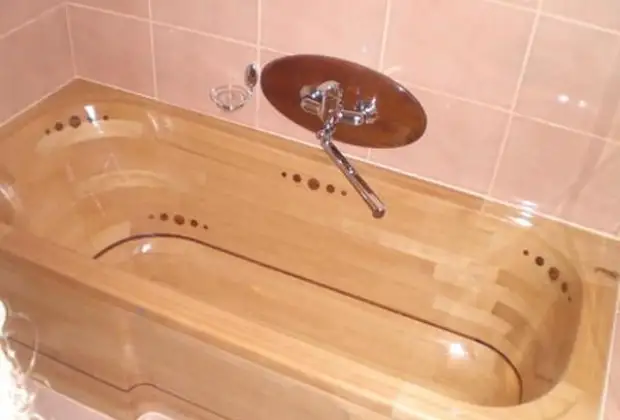
Wooden bath in the interior.
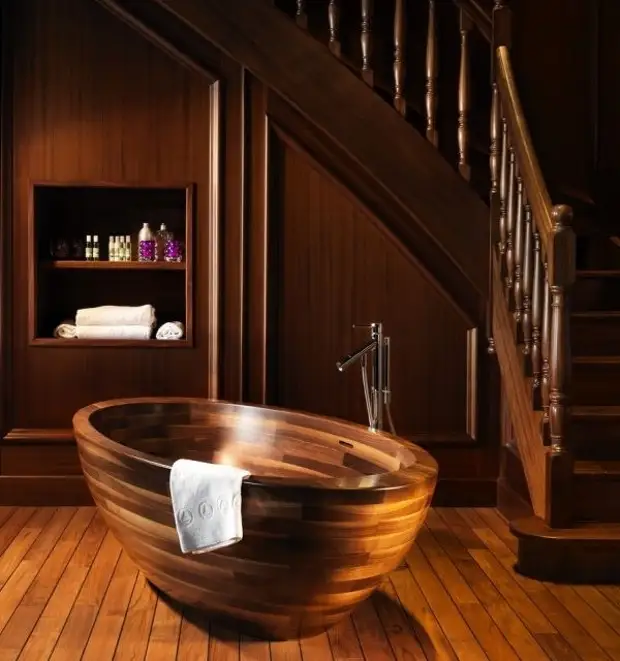
A tree in a modern interior remains an indicator of luxury and good taste. Gorgeous stylish doors made of natural wood, beautiful parquet or wooden furniture are familiar and frequent inhabitants of our homes and apartments. And they were completely unknown were forgotten, once on metal, plastic and ceramics wooden bathrooms and sinks.
From a long time, people actively used wood products. From the tree, all all household items were made. The tree, which was so available to our ancestors, for us modern people has become a real luxury.
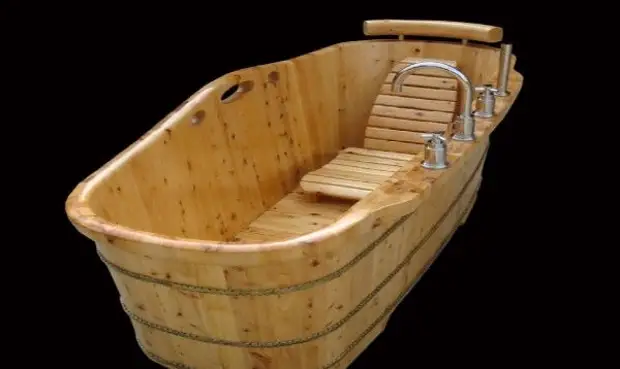
But despite this wooden buckets and barrels are still especially loved by the baths for their naturalness and natural purity. We will talk about wooden baths.
Baths made of wood every day are gaining increasing popularity. Even the highest quality cast iron bath, steel bathroom or plastic bath will not be able to create that unique colorful and cozy atmosphere, which reaches the appearance of a tree bathroom.
It is about how to make such beauty with your own hands and will be discussed in this article.
We are preparing the material and tool for the manufacture of a bath from a tree.
For the manufacture of the bath, first of all, it is necessary to prepare high-quality wood. For the manufacture of the bathroom, you can use strong species resistant trees, such as larch, oak, tick, cedar.
This article will tell how to make a bath from the processed beech. Metal will not be applied in the manufacture of the bath. All items, including dowels, replaced nails are exceptionally wooden. Additionally, waterproof and waterproof glue will need, and to complete the design, a special waterproof varnish.
For the manufacture of the bath you will need the following list of tools:
* Roulette, marker;
* milling machine;
* Electrolovka;
* Drill with a set of drills;
* grinding tools;
* a hammer;
* Brushes and varnishes.
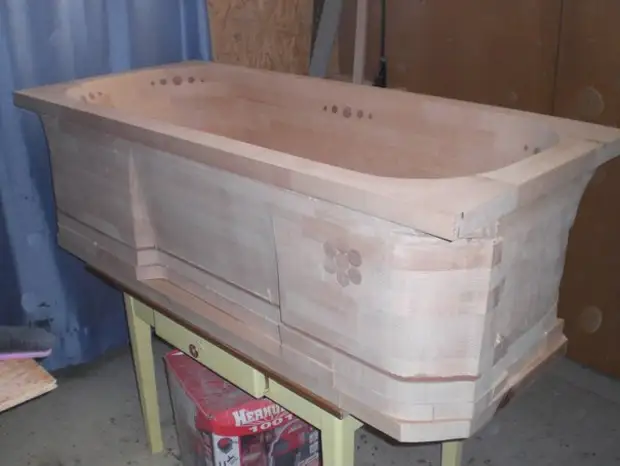
Assembling wooden elements.
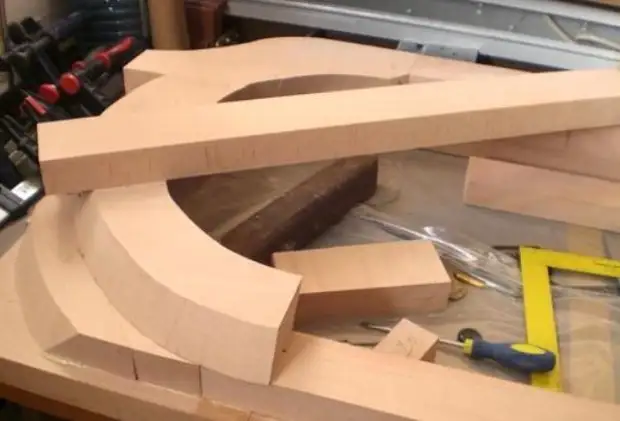
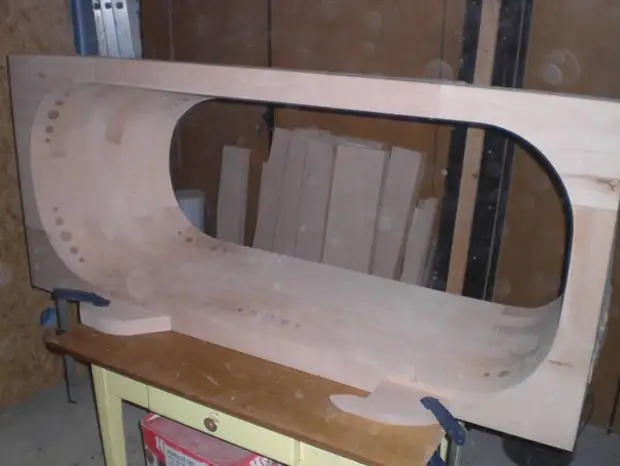
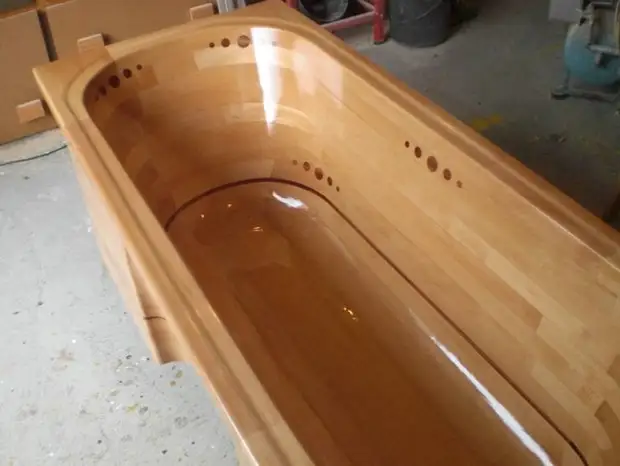
The photo shows how from the prepared pre-wooden elements of the five centimeter thickness, the future bath is assembled.
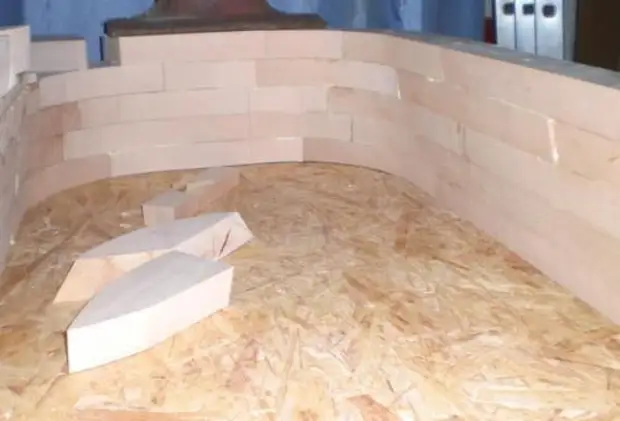
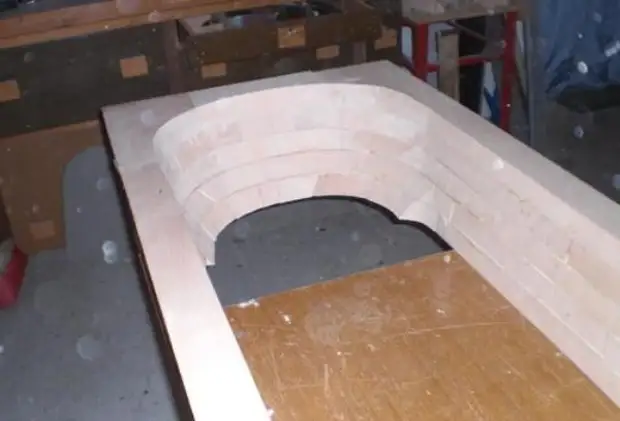
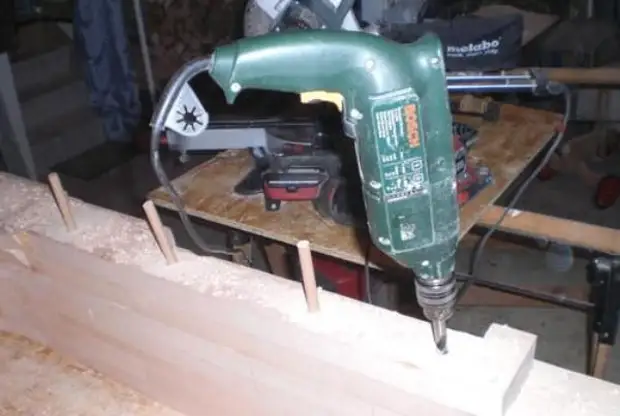
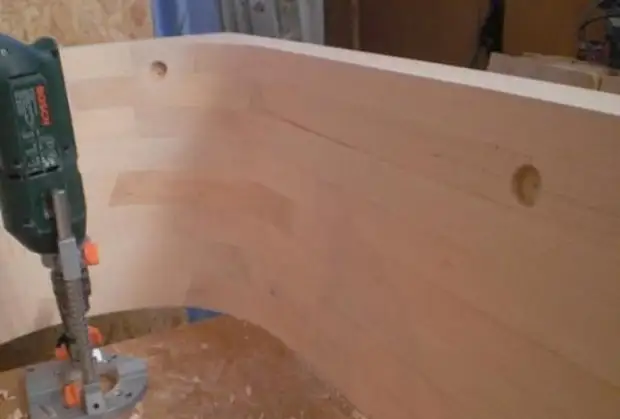
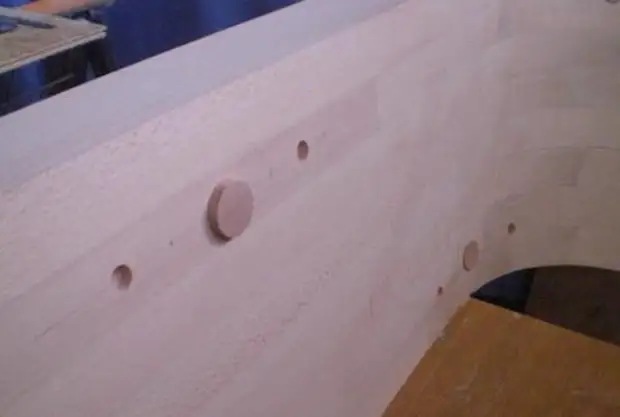
The necessary parts of the lower (and at the end of the work - the upper) of the tiers were previously chosen and glued. ("Classification of glue"). After applying the tiers (with a thorough scope of the surface of each layer with glue), the holes under the perimeter drill holes under the dowel. The holes are made at an angle and in this model there are about twenty pieces. Pins (dowels) are inserted into the drilled holes and is carefully tightly adjusted with a hammer. At the same time, the dowel is as well (for compaction) is better to lubricate with the same waterproof glue.

It is important to note that all parts before the connection must be seized. Then the rows will be sent as tight as possible.
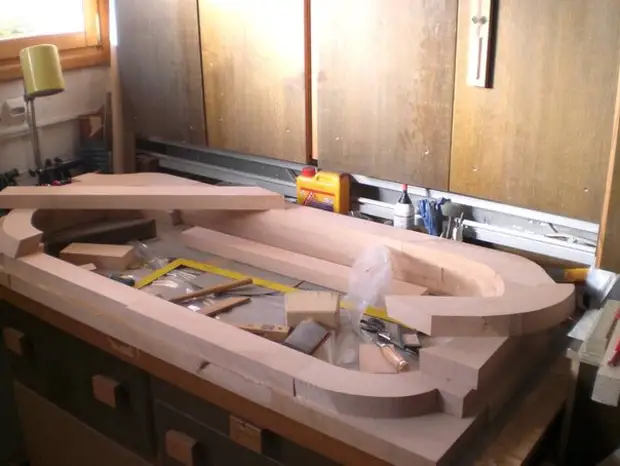
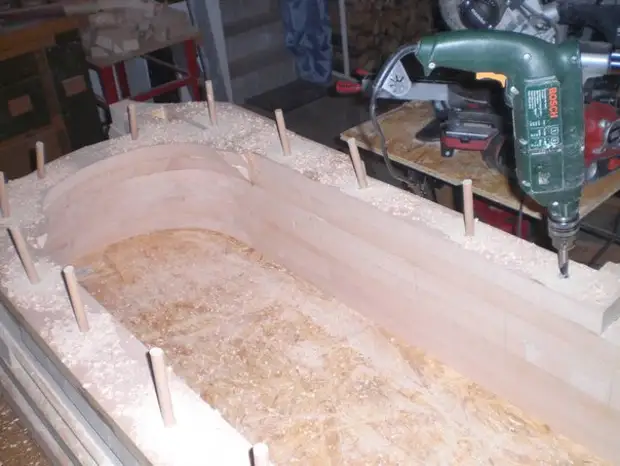
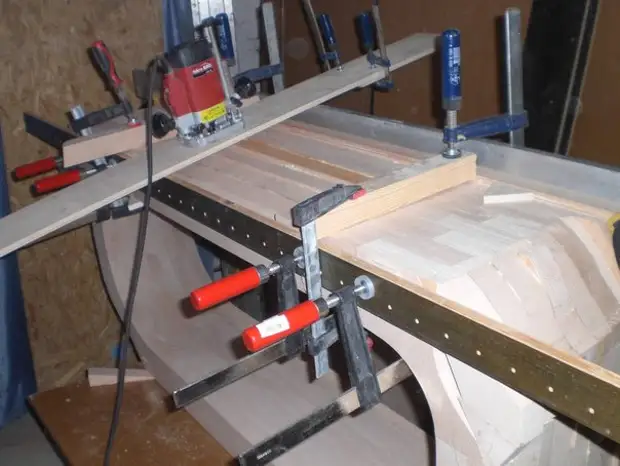
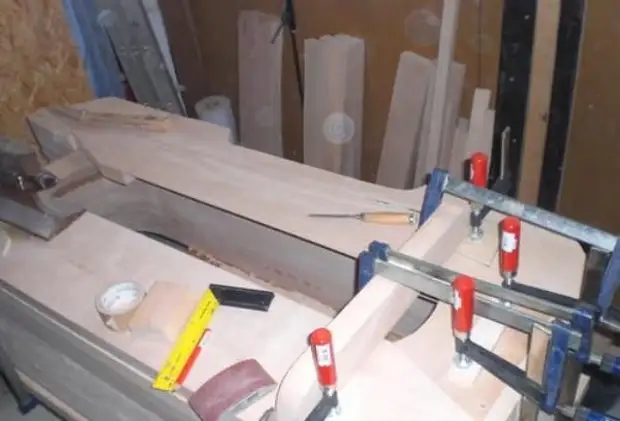
Additional grinding will be needed after assembling the walls of the bath. In order to achieve the highest possible result, it is possible to improve the design of the mechanism, for example, such a device from the guides as shown in the photo.
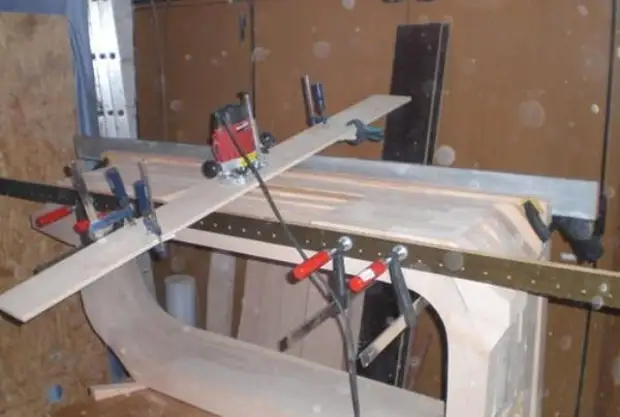
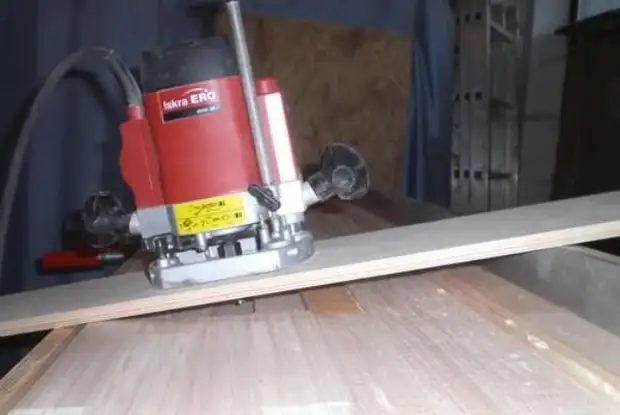
Using the device of such a fixed frame, the grinding will be performed with the observance of a given height, which will be particularly remarkable after the coating varnish. With the help of a grinding tool, not only ugly protruding edges are removed, but also the remnants of glue on the seams.
For grinding, different grinding machines are used. For coarse grinding, the angular grinding machine is perfect. A special rashpil and discs are selected to it (which was spent in fairly large quantities). As much effort was spent during manual grinding. The grain of sandpaper was different. And if the paper was used at sixty, then the grinding paper was used to complete the grinding in two hundred forty.
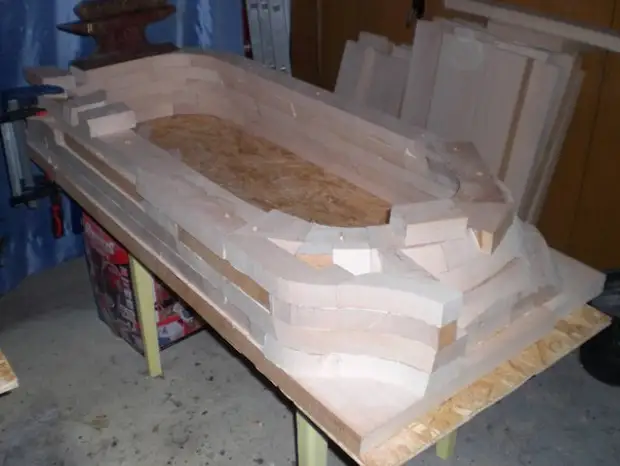
After assembly, the bath is tightened with carpentry beds as shown in the photos.
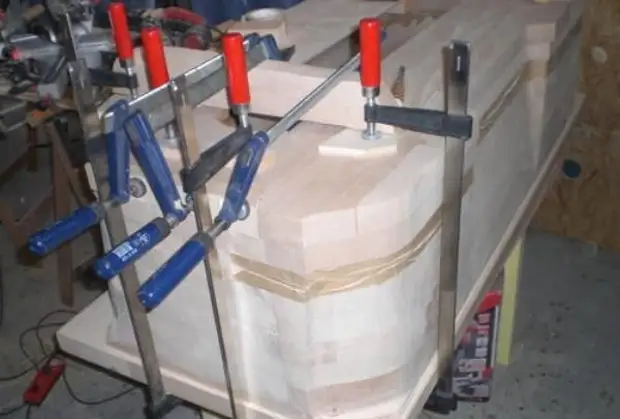
And it is left until the fixing glue is complete between the details.
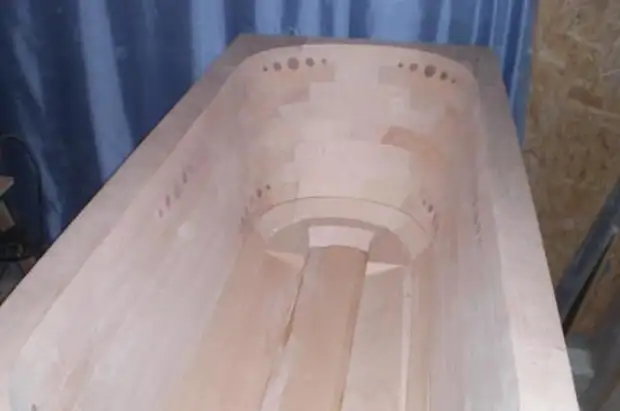
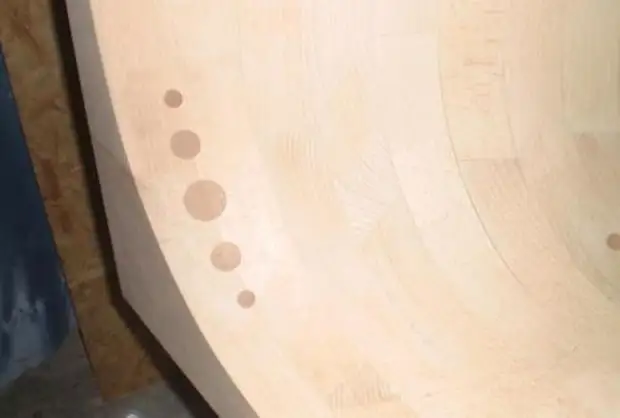
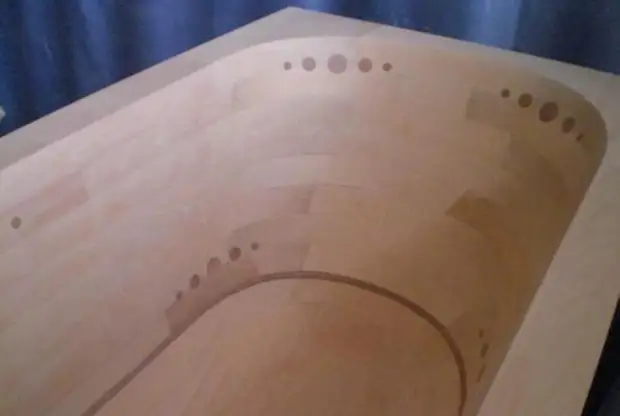
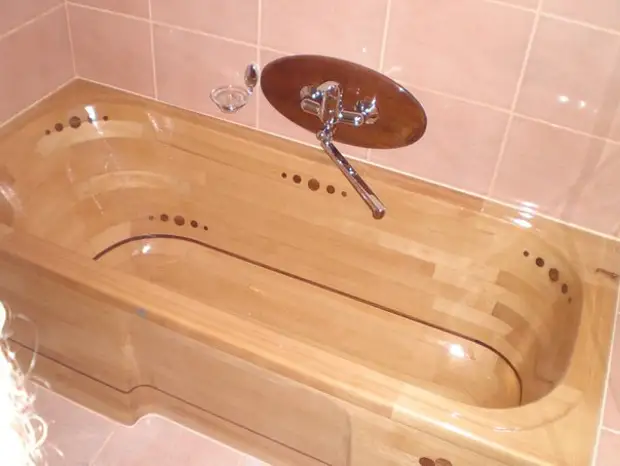
In the process of the article, it was possible to see the bath was decorated with inserts from a darker tree. In this case, parts remained after the red wood furniture alterations were used. But for the decoration it is not necessary to search directly pieces of mahogany. You can do without them or decorate a metal bath with a stainless steel coating with details.
The finished collected and polished bath remains only to cover with varnish.
The author is Nikom1.
A source