
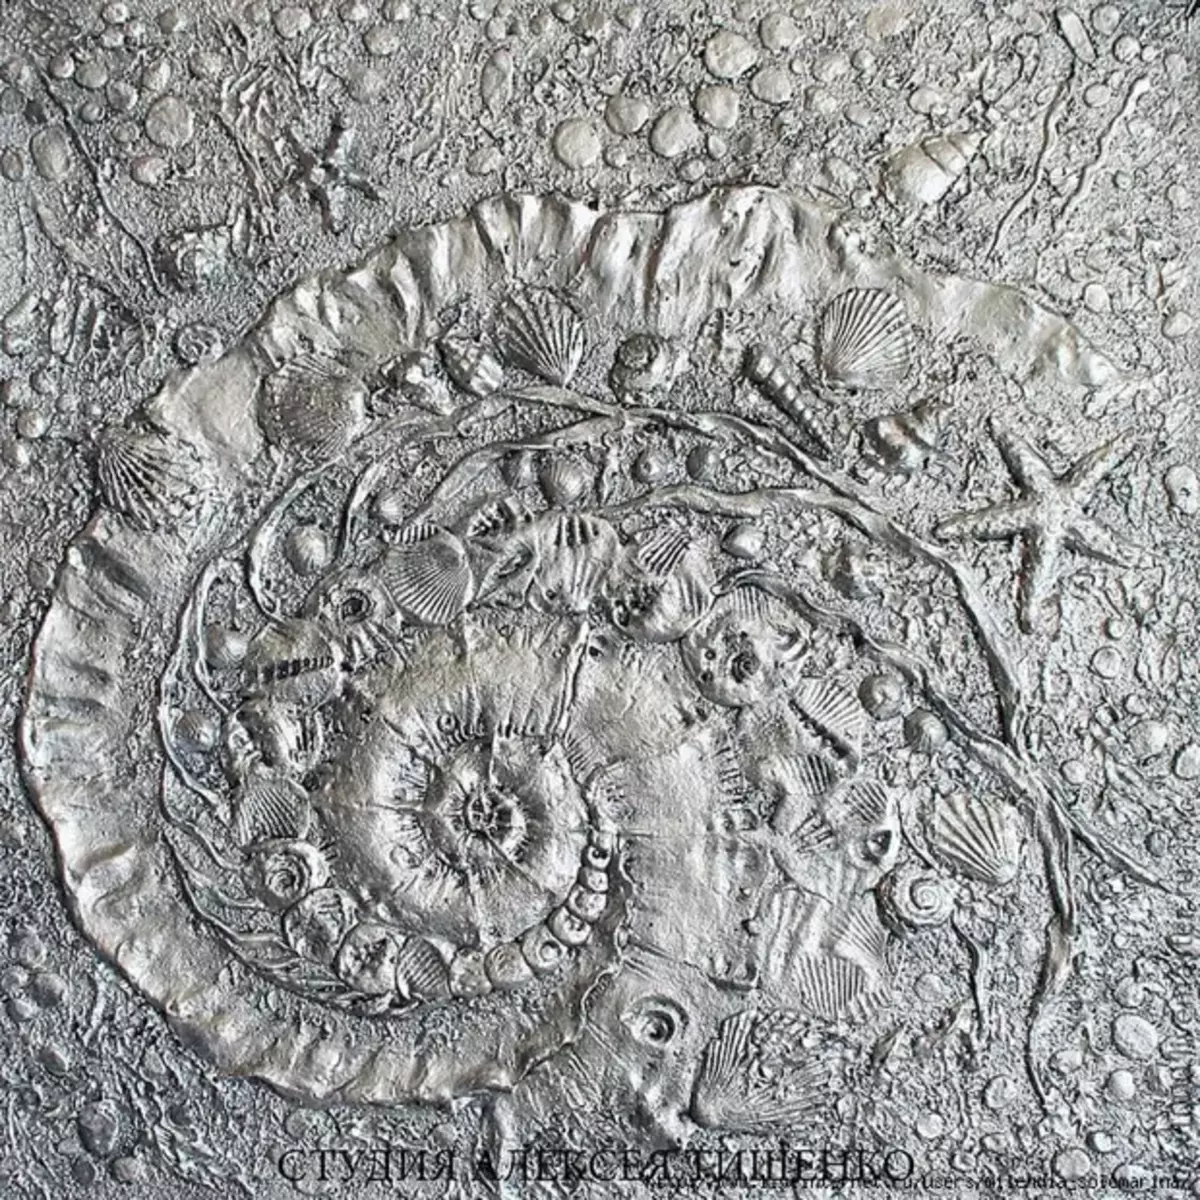
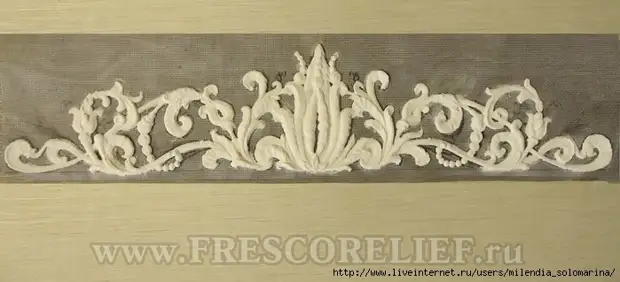
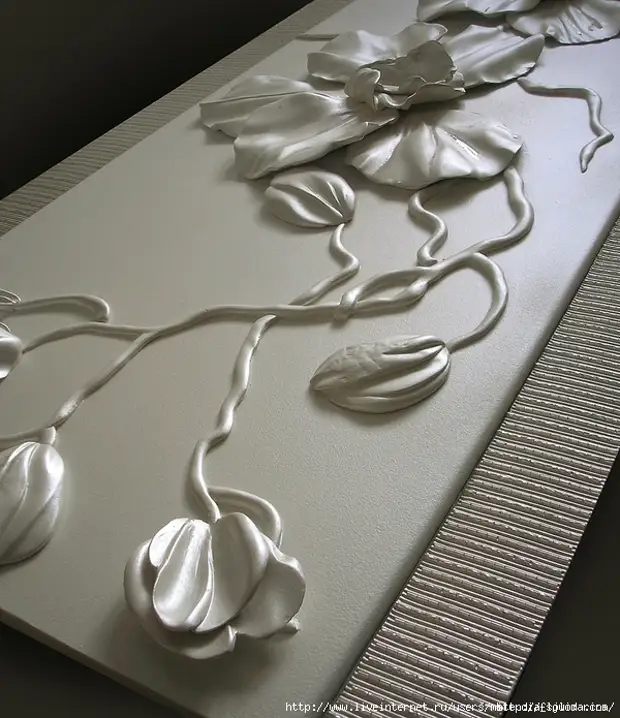
MK from Alexey Tishchenko.
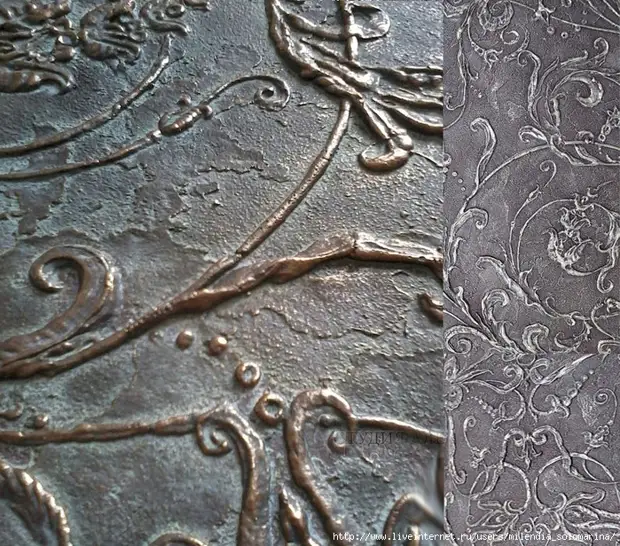
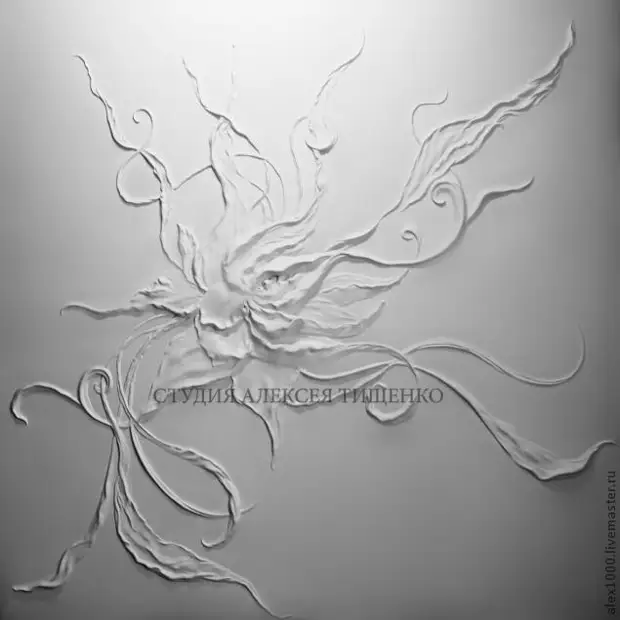
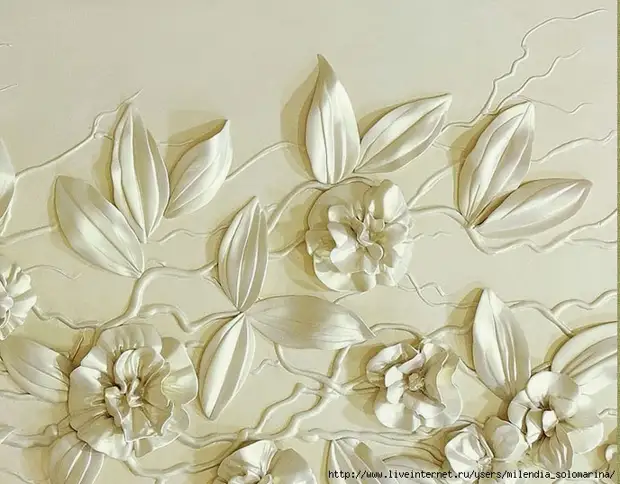
What is fresco-relief? These are invoices created from raw plaster, when the relief is applied to the hand-made textured surface on a nonwoven-based basis for the convenience of the subsequent installation, that is, for sticking the canvas on the wall or ceiling.
Frescoref very comfortable, because All work (from the development of a sketch to applying relief) occurs in the workshop; And the decoration of the wall decor-plaster takes time no more than stacking surfaces with wallpaper!
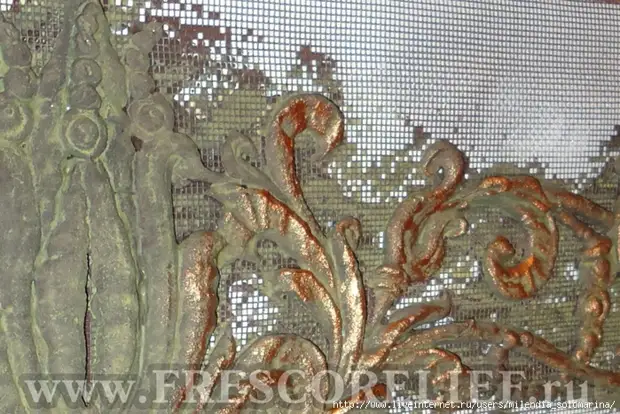
Frescoremes On a tissue basis - very flexible and they can be mounted on a rounded surface, as well as they are moisture resistant - and this makes it possible to use them in the bathrooms and even in the exterior.
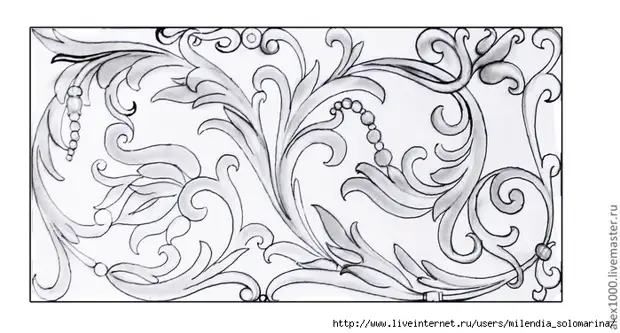
How to do Bas-relief Right on the wall - see MK: How to decorate your interior having only pencil drawing ..

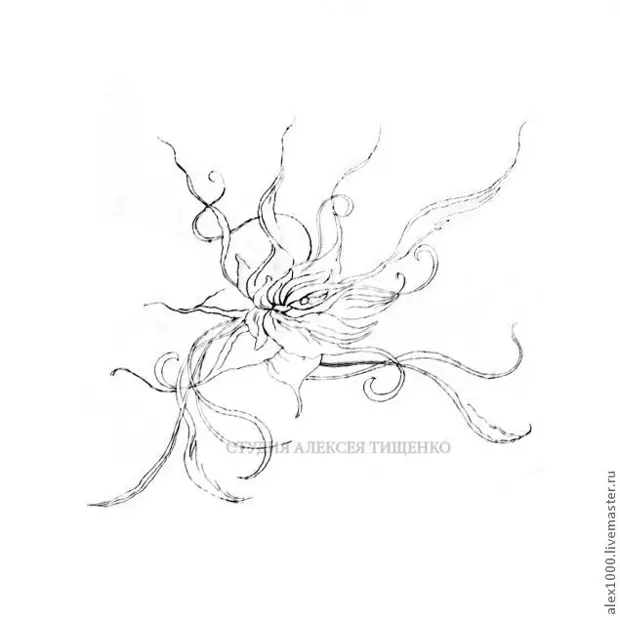
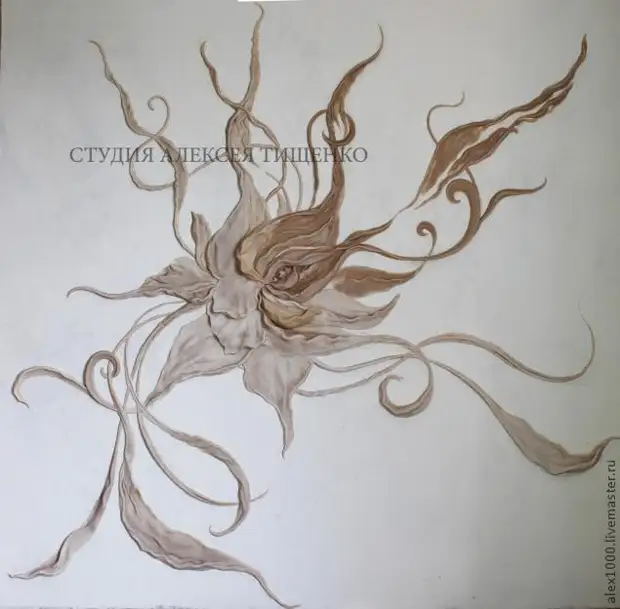
Having pushed from this scheme, we drawed a sketch on the scale where all proportions were saved.
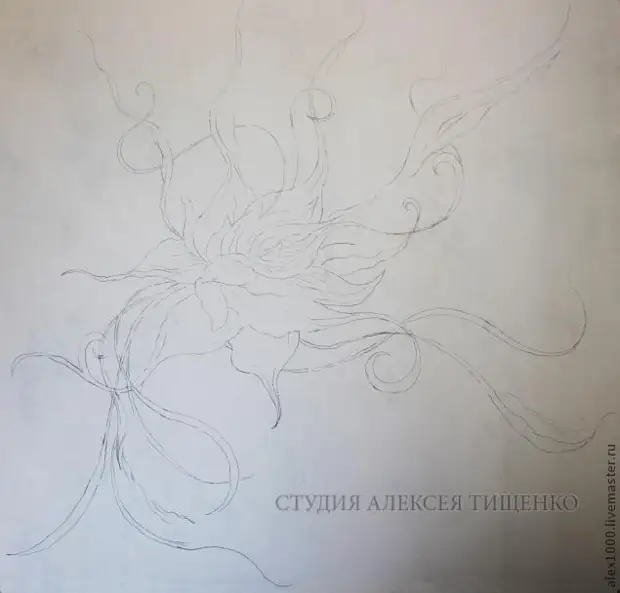
Ceing with a sketch of the malarious tape was fixed on the wall prepared for this. And preparation is that it should be aligned and plastered.

Figure translation is made by way of stroking using copy paper.
For further work, we needed: about 2.5 kg well-mixed sculptural clay (it should be soft, but do not stick to the fingers), stacks, knife, column brush, brush-toply, rolling pin, two capacity - one water, other For Shliker. You also need to prepare a slip on which we will stick the relief fragments. The slip is nothing but the same clay brought to the concentration of liquid sour cream. We use ordinary water as a diluent. You can add PVA glue there (about a third, however, it is not strictly). The clay itself must be wrapped with a wet cloth and put into a plastic bag so that it does not suit.
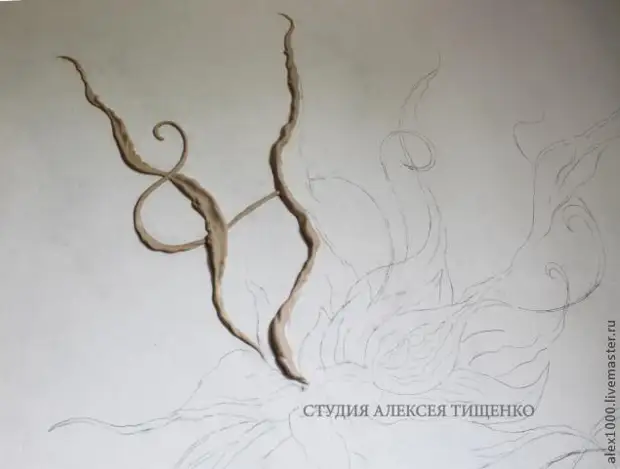
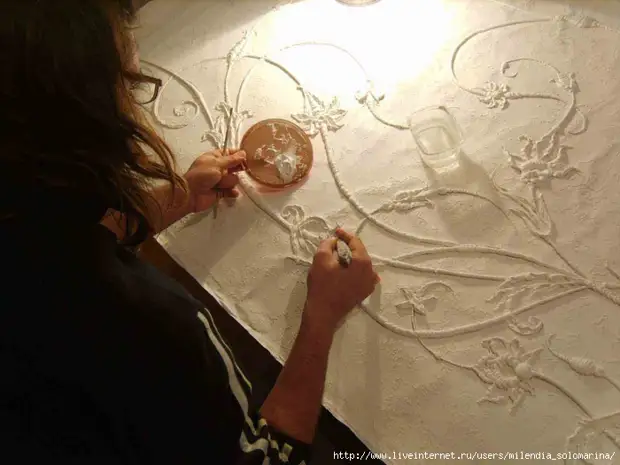
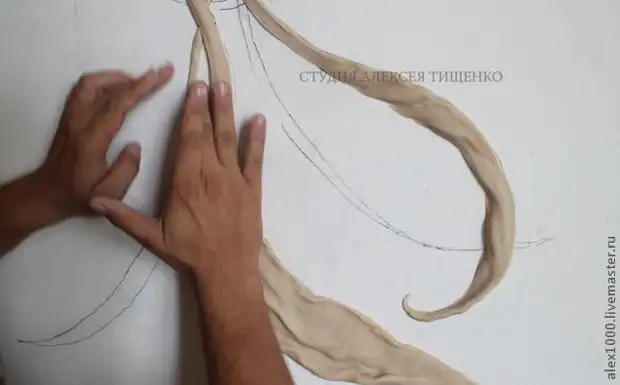
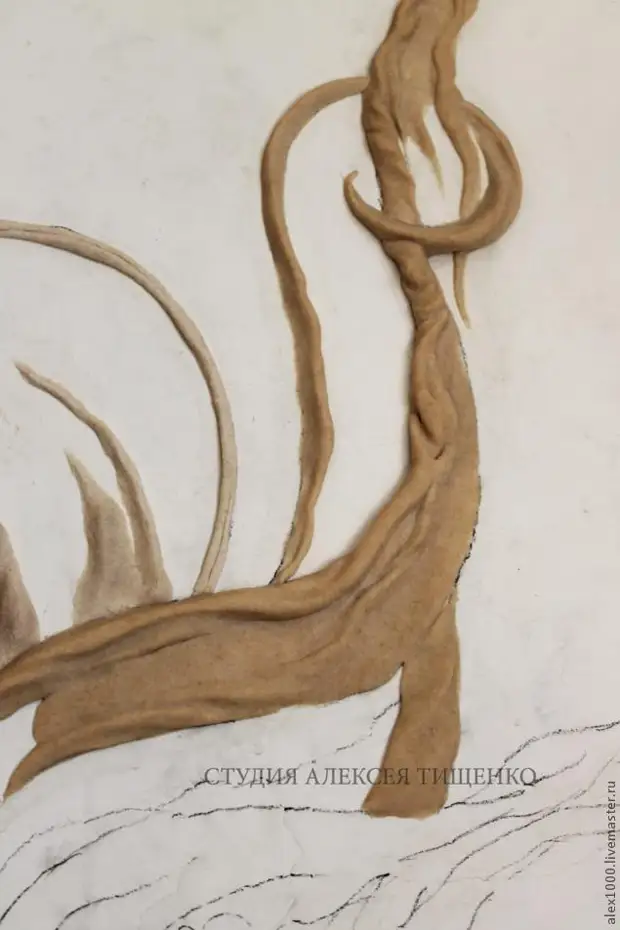
In our case, we began to sculpt from the left upper edge. Although, in fact, it was necessary to start from the central part, where the most massive and multilayer fragments will be. All this in order to optimize the drying process. After all, it is desirable to impose the next layer on the succeed. But we had time to stretch pleasure.
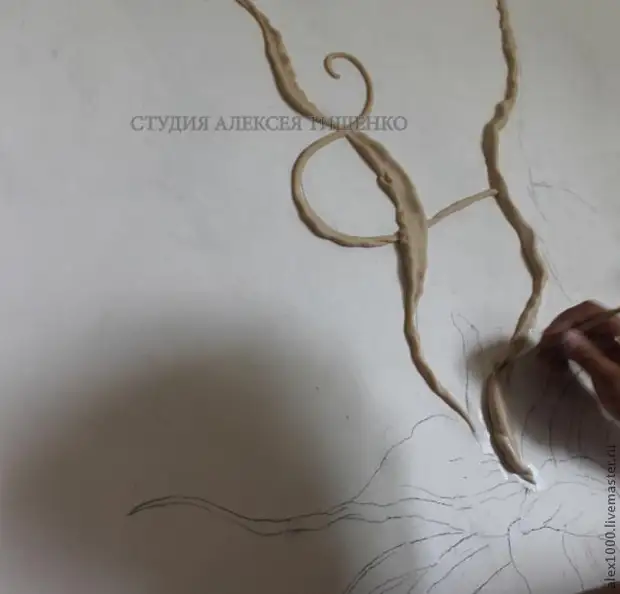
It should be separated from a whole piece of clay exactly as much as required to form a fragment. Understand the extra pieces at once to hide in the package. Do not make too cumbersome elements so that when transferring them to the wall they do not fall apart.
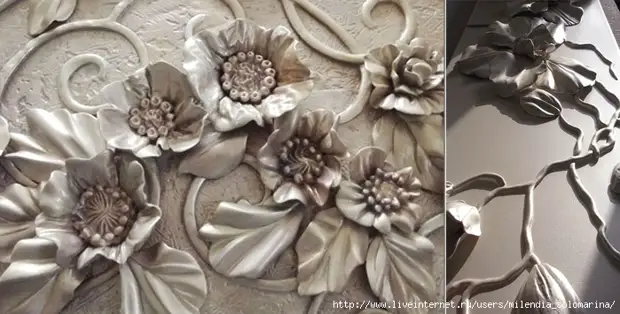
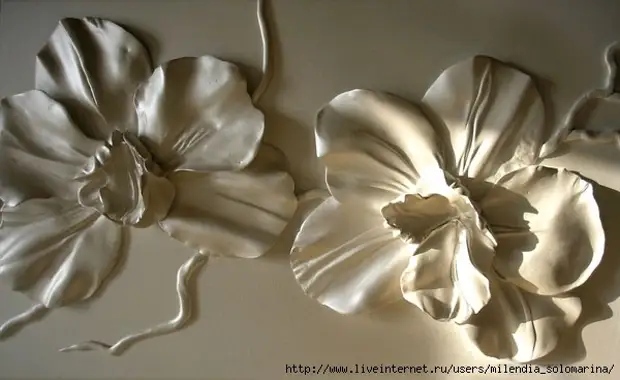
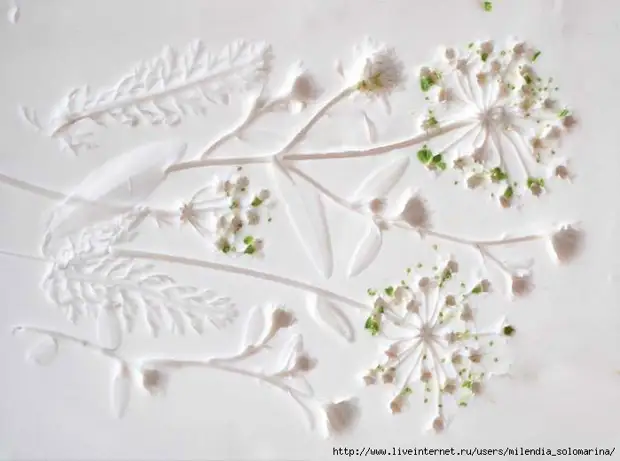
All stucco elements can be divided into 3 main types: flavors or sausages, layers and balls. Everything else is derived from them. Therefore, before scolding a fragment, determine for yourself what it will be for the view. The layers are rolled up with a rolling pin, well, and everything else is hand. The plot to which you intend to glue a fragment wove the slip, use brush brush. Only when the fragment is good enough adhering, put it around the entire perimeter without leaving the slots.
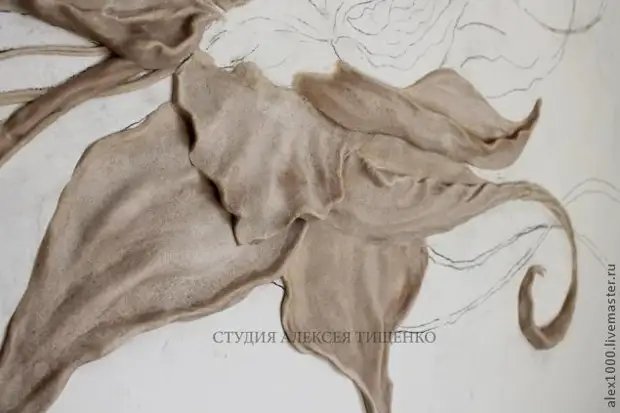
Finger, stacks or even a rolling pin to make the necessary shape, work out the details. If necessary, smooth the relief with a column brush moistened in water.
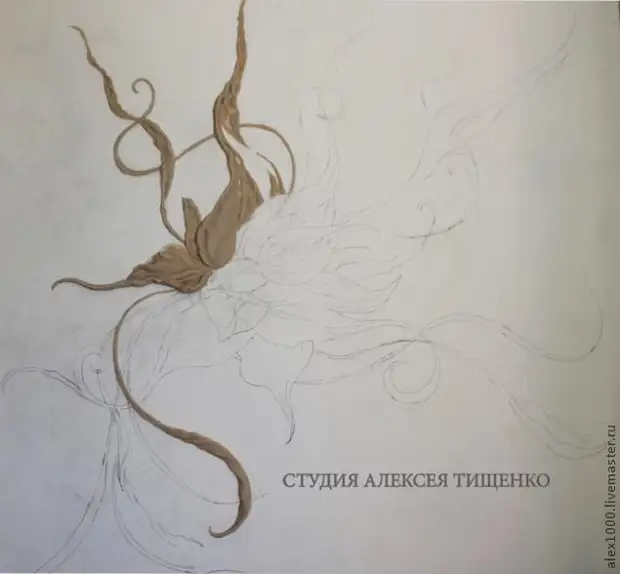
The next fragment match with the previous one so that there is no viscosity of the joints. Do not leave a long unleaded site for a long time, the clay dries and then the raw item will have to do, except, cut and grind.
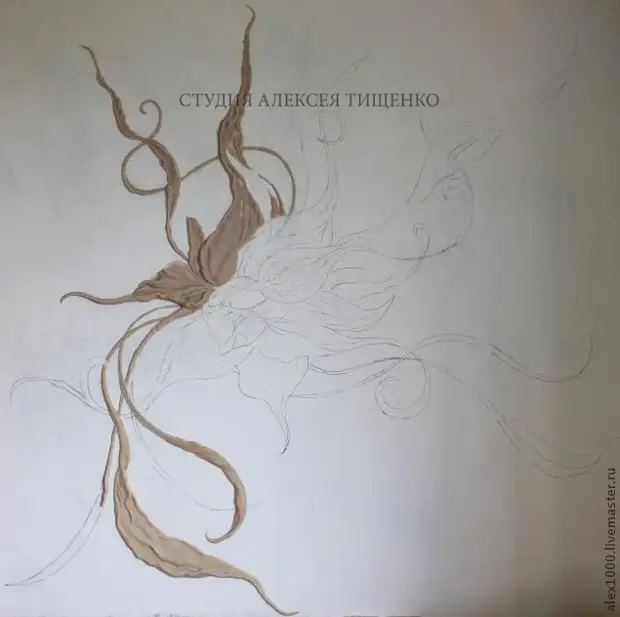
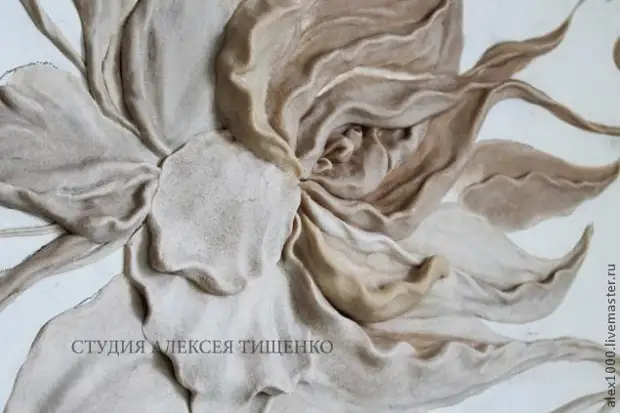
Step by step - and the relief is blind.
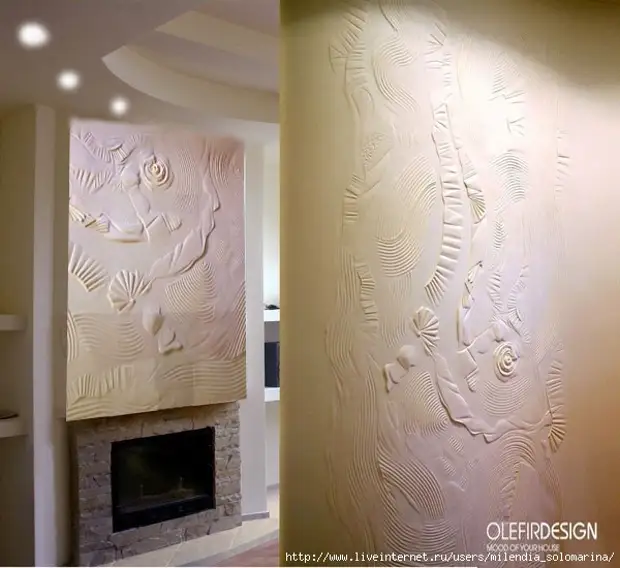
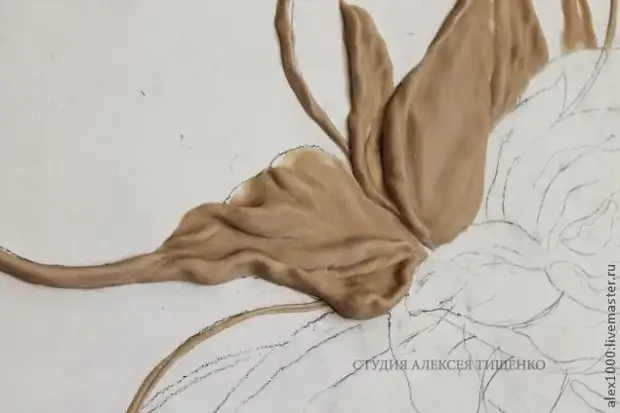
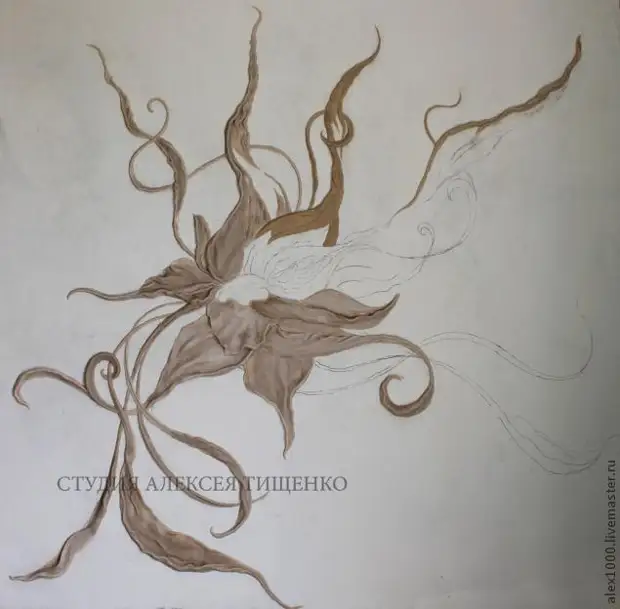
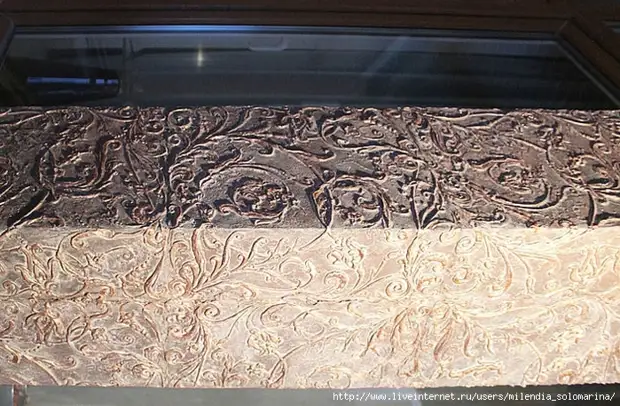
Leave it to dry it within one week in vivo. With high humidity and reduced temperature, the process slows down. Accordingly, it can be accelerated by increasing the temperature and lowered the humidity. When the work dried, treat it with shallow emery paper. Before painting, load it with a water with water with water (50%). Wait for complete drying. Then you can scroll into any color. In our case, we used the paintopult, because the brush leaves the traces. If desired, again, after complete drying, go through all the surfaces of acrylic varnish (glossy or matte).
6.

four.
Good luck in the embodiment of interior ideas !!!!
A source