
one.
2.
Immediately I say that the author of the idea of such use of Napples Elena Bendasova.
I looked at this plate for a long time. Hands screamed, but still did not reach. The reason appeared - I wanted to make a pleasant person, I immediately found time, immediately ended the spring splin. And there made two plates at once. When I made the first and placed it here in my blog, I began to pour it with glassy glue and it seemed that I had spoiled - I didn't lie so much. I began to fix this master class in parallel, and the first plate "recovered" ... and the second turned out.
So, as I did a plate:
Need to work
1) Dish (plate)
2) Response drawing on the printer
3) rice paper
4) Acrylic primer
5) PVA glue
6) acrylic paints
7) Composition "Maimery" No. 742 for cracker
Getting to work:
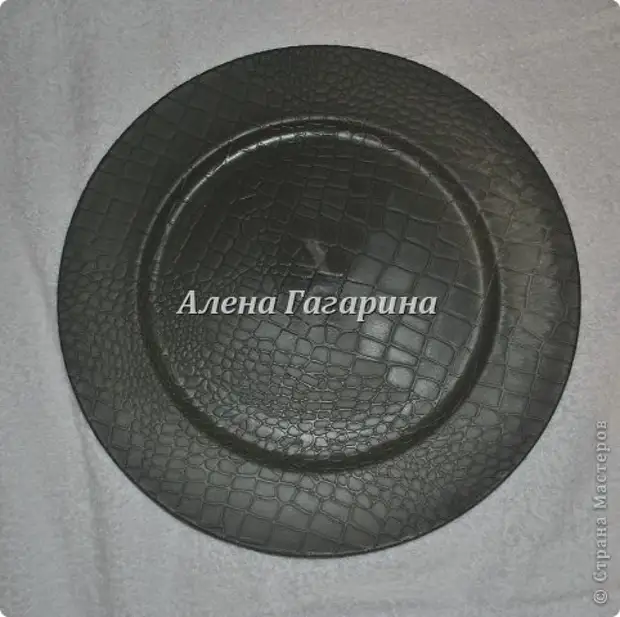
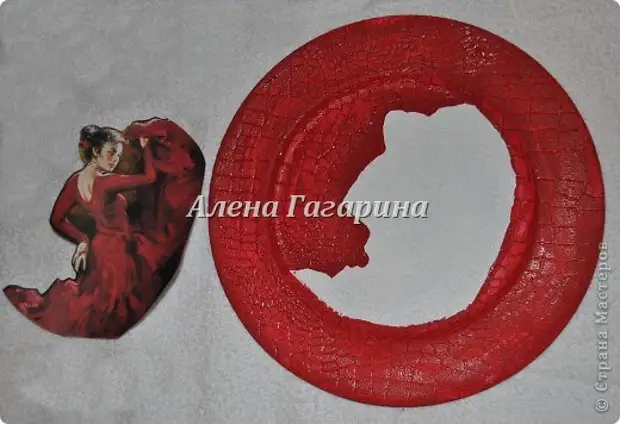
Take the plate of the desired diameter.
3.
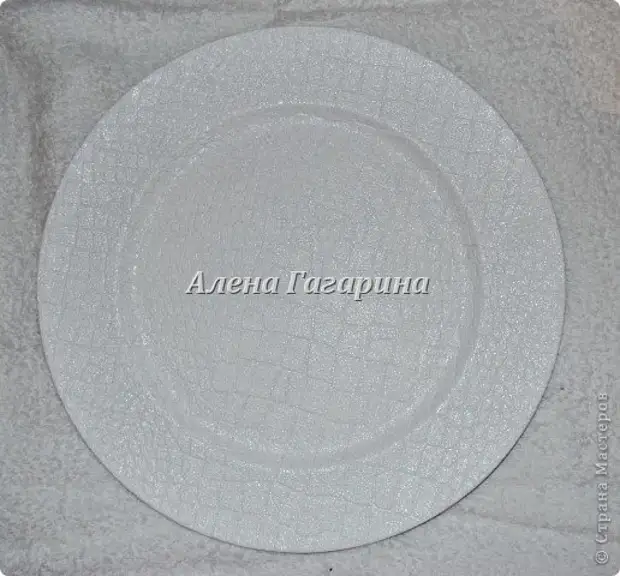
Born it. I am so stupid any product necessarily. For the first time I put the soil with a brush. The second is overlooking the sponge.
four.
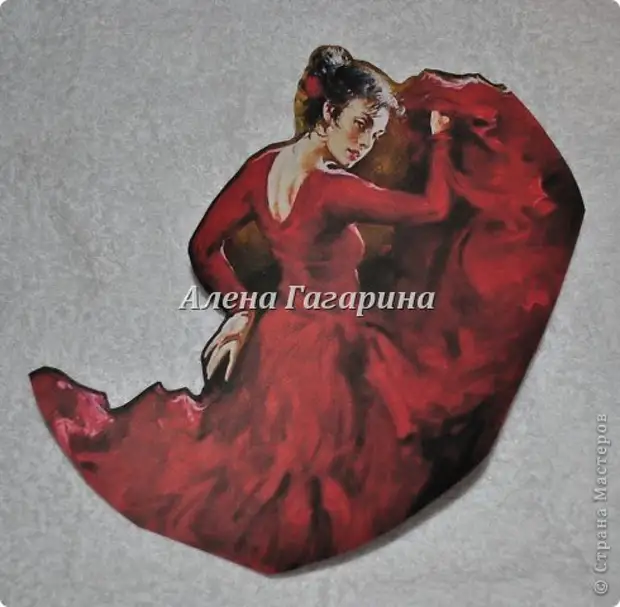
Take a printout. Cut the silhouette you need.
The printout is found very easy. Open Yandex.ru, in the search bar, write "Flamenko's dancer", press the "Search" button, then open the section "Pictures" and choose from 24 thousand proposed that motive that you will like most.
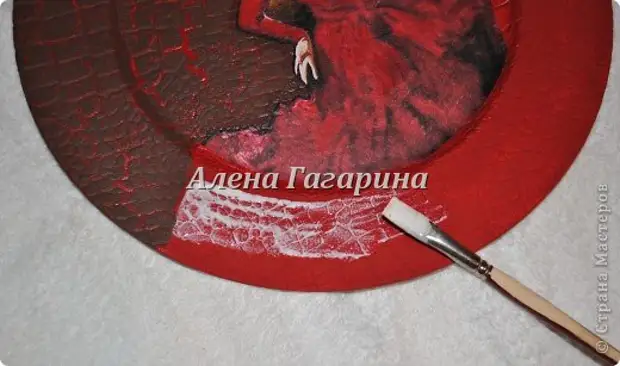
five.
I took the scrapelist to scrapelura. We apply it to the plate, and the place where you are to glue the printout to leave white - for the brightness of the printout. The glued on the white background it will be brighter than on red.
6.
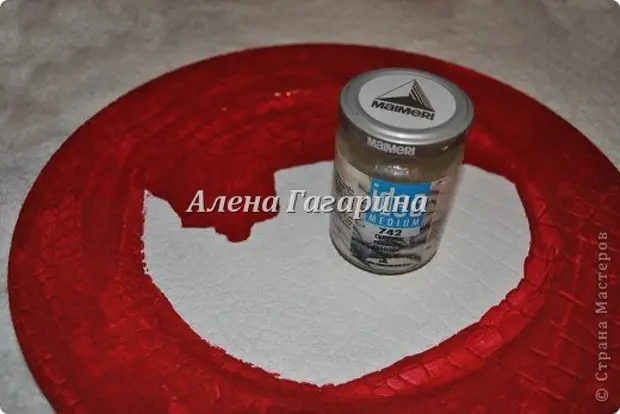
The composition of the IDEA series "Maimery" No. 742 for crackering is applied on top of acrylic paint. And leave for 30 to 40 minutes.
7.
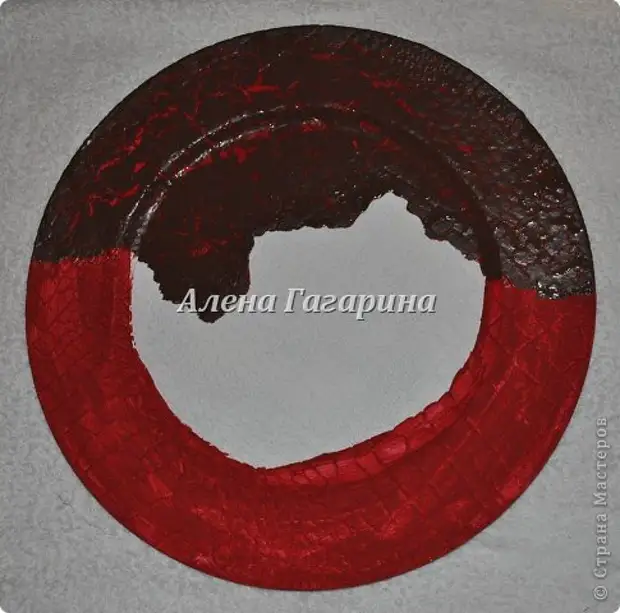
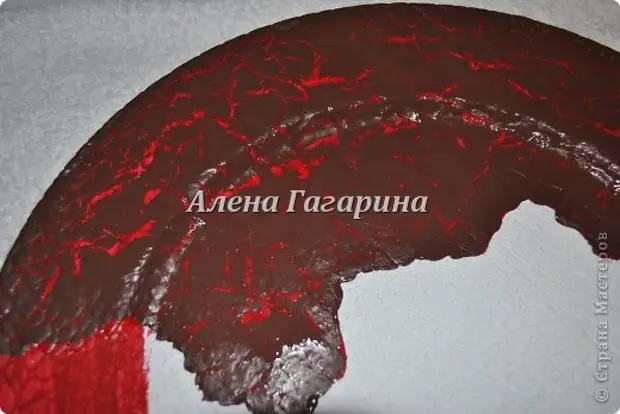
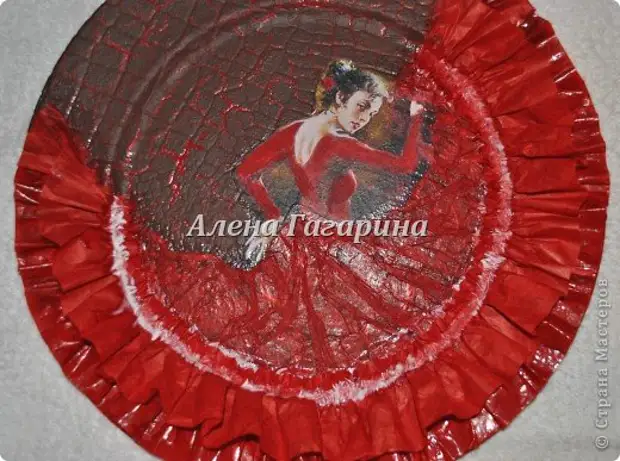
After 30-40 minutes, we apply on top of the "Maimery" with a third layer of acrylic paint chocolate color. Cracks begin to appear almost immediately.
eight.
That's how it looks like. The "call" cracker will be not only 30-40 minutes, but also a day after applying the upper layer. I usually do it in the evening so that in the morning continue to do work already on the float layer.
We glue to the PVA, our already cut-out printout, we wait until driving.
nine.
Now we take rice paper and cut it on strips. The width of the strip depends on the diameter of your plate, and on the number of ruffles that you want to see at your work.

10.
Stripe "Let's pay". We collect in folds on the one hand.
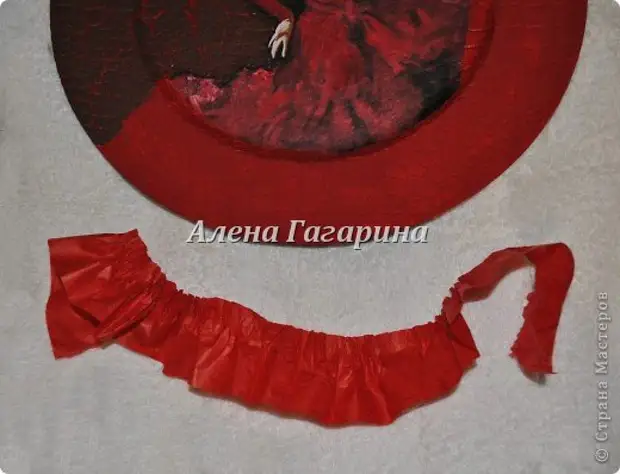
eleven.
We scroll the place where we will stick to the rim.
12.
Printed rolver.
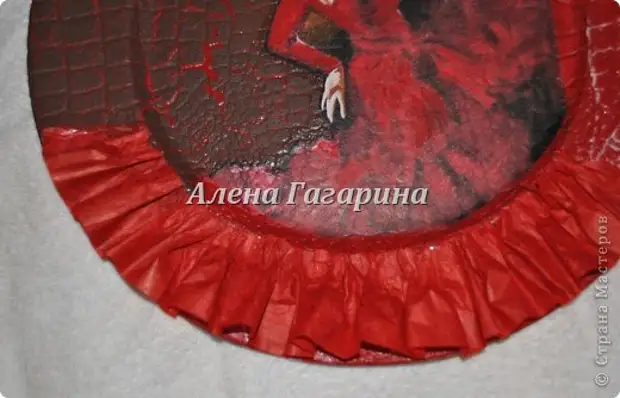
13.
After the rolling was glued ... I welt it the edge, "retreating" the joke. The transition from the plate to paper becomes invisible.
fourteen.
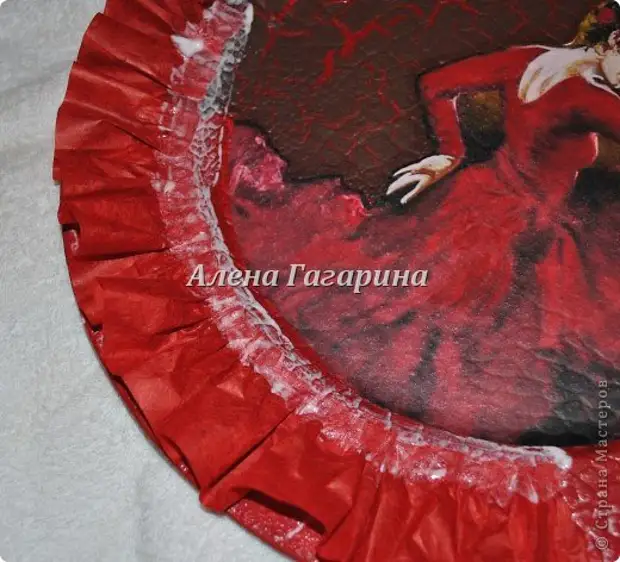
Now we apply a PVA on paper folds. PVA do not regret. Thus, we are "primer" folds, make them hard.
fifteen.
Truncated from above - gave a dry PVA. And until complete drying (will be transparent). Then, when the top layer of ruffles is dry) the bottom (on both sides) dry. And again we wait until completely sway.

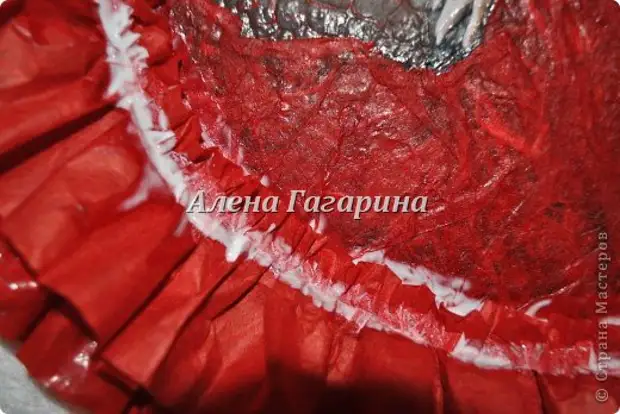
sixteen.
Now, when the paper has become tough, I'm missing and outside and inside the ruffle, I do not regret PVA and again waiting for a completely dry. Only after that, I begin to glue the second ruffle.
17.
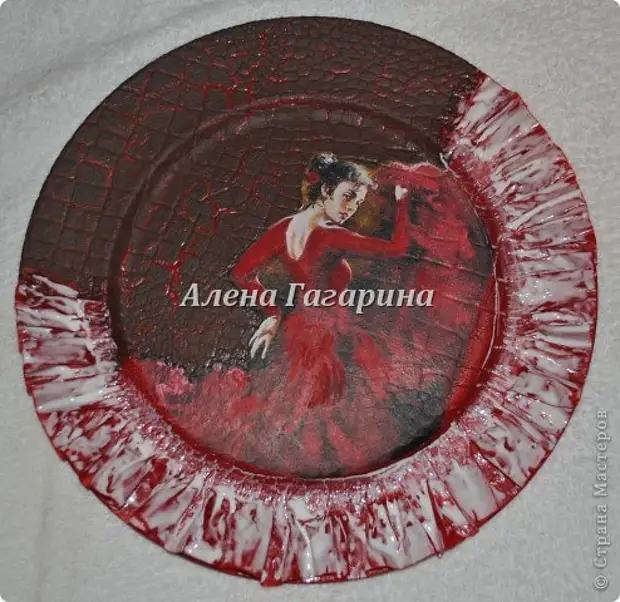
That's how it looks when PVA dry is completely
eighteen.
It's closer.
nineteen.
Cut the skirt ... We drag on, glue.

twenty.
We scroll completely.
21.
Now in the same order we glue the second ruffle. The procedure is the same, so I miss the details. On this photo we prepare the edge to the counter little rolver.
22.
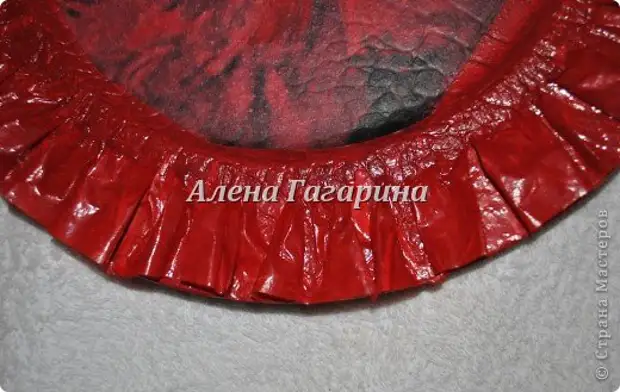
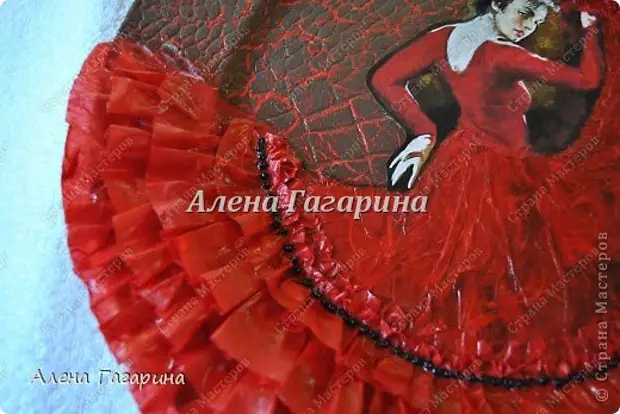
We glue the counterclock.
23.
Smoothing the joint. So that not a single fold, not a single jar ... with rice paper it is easy to achieve this.
24.
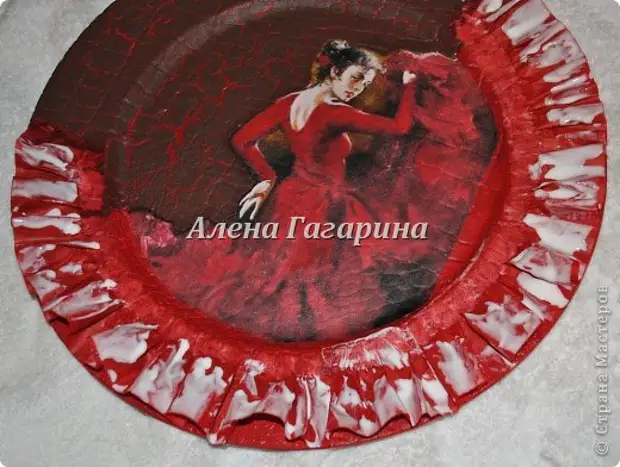
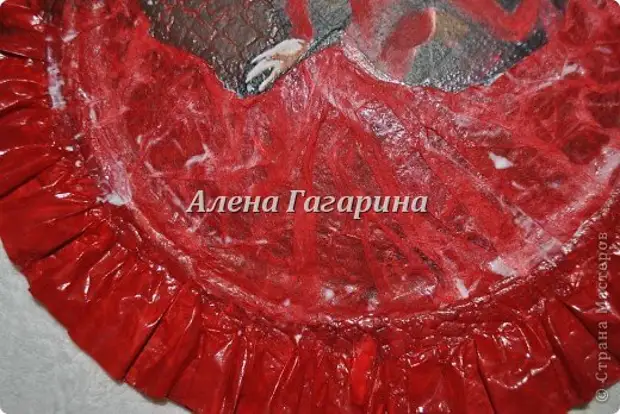
Now I fully wore the skirt with a layer of PVA, I do not regret it. All the same, when it dries, will not leave the trace, it will become transparent.
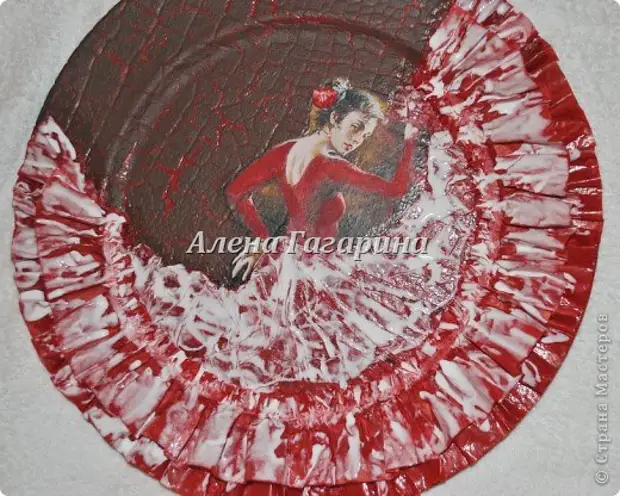
25
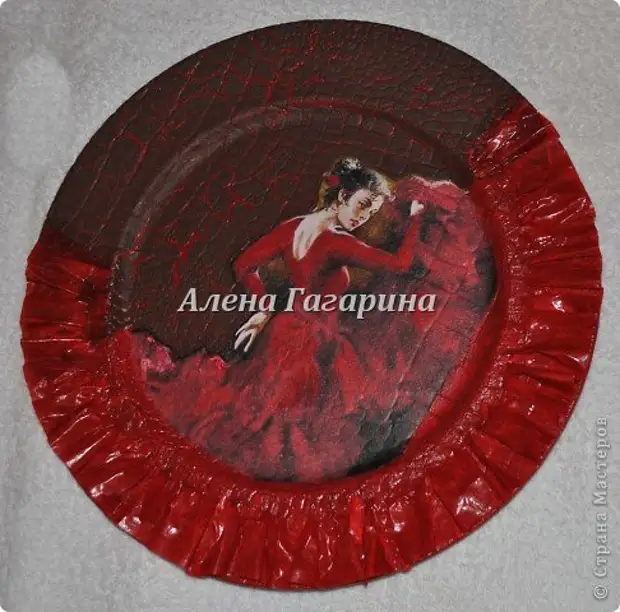
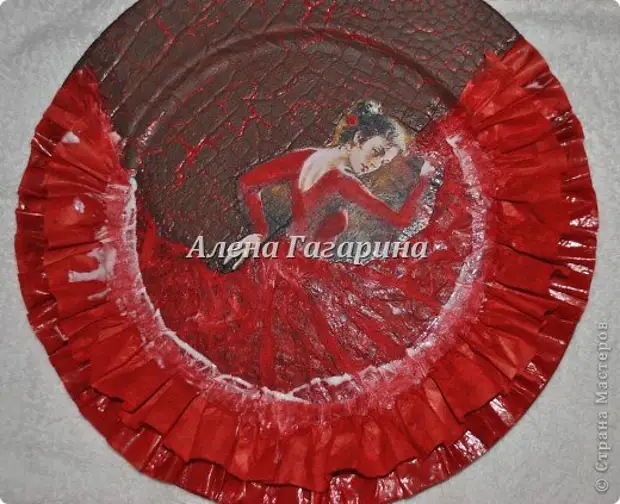
Work dried, draw there where it is necessary to shadows, we increase and make a rich color in the right places. After all, cover the work of varnish.
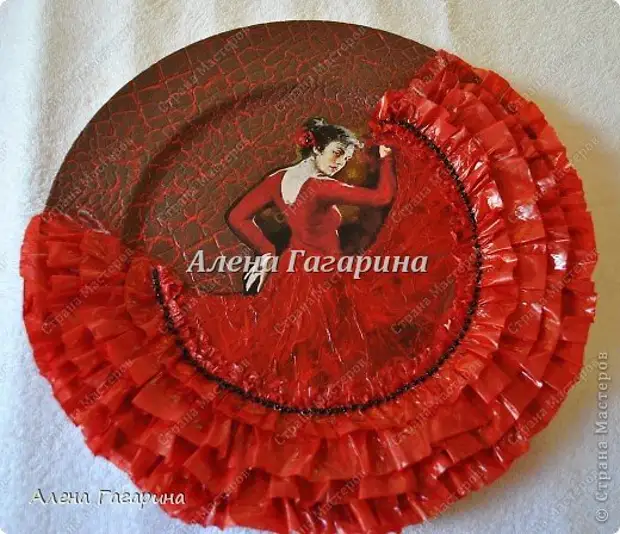
26.
27.
Begin the plate with a white dress.
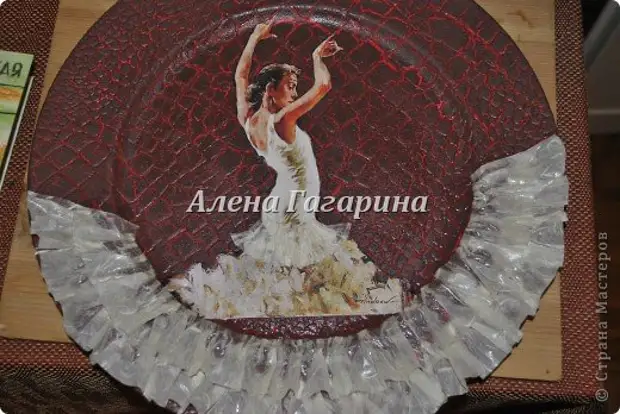
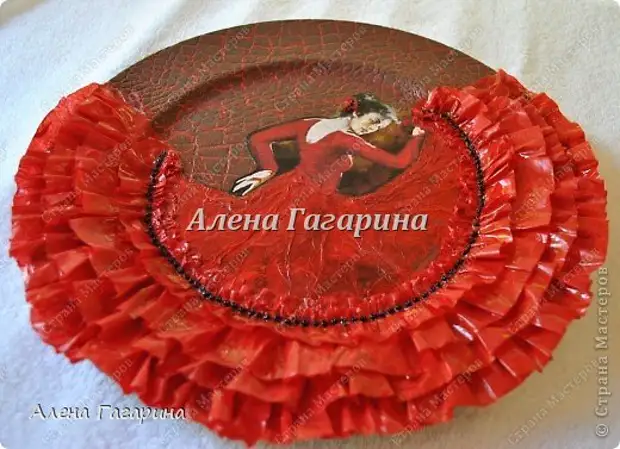
Like this. I wish good luck, if you decide to make yourself a similar plate.
Author Alena Gagarin.
A source