
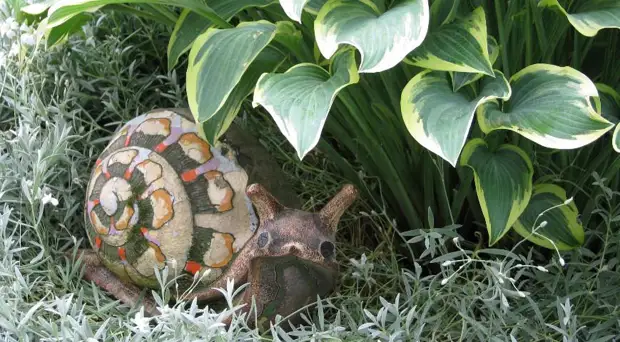
The right was Chernyshevsky, predicted superpopularity of concrete. Alloy mushrooms, hedgehogs, lions, floral urns of all the masters and other small architectural forms made of concrete firmly settled in the gardens. What is the essence of technology?
Homemade garden sculptures are made of plaster, polymerbetone, fiberglass (polystone) or concrete. They can be both monolithic and hollow. Sold slightly at every step, but if there is a desire, make a cat or Babu-Yagu do it yourself are not difficult. The manufacturing process consists in casting a mixture of concrete with various additives into special forms with continuous sealing on vibrationtole. If there is no such, the shape must be shaking for the murmur mixture. In addition to the actual gardens sculptures, the craftsmen are poured balusters, intricate elements, wall panels, tiles. The main disadvantage of this hobby is serious investments at the form of formation.
Form for garden sculptures
The simplest figures are performed by filling the concrete mix in an elastic form - silicone, latex, polyurethane, fiberglass on a metal frame. In forms with complex texture inside there is an inset of non-sinking rubber. Forms are sold ready or under the order by sketches. As a rule, two forms are made on one sculpture: for the facial and back part, which are subsequently connected. For the strength of the connection on the surface, special protrusions are provided that play the role of locks.The deadline is determined by the ratio and departure. After each fill, the form should be fastened, wash, clean the spatula, wipe the rag, not to fill a new solution on the remnants of the past fill so as not to damage small parts. Store in a dry rapid room. If the form after each fill is cleaned, not to beat and not drop, it will last for more than 10 years.
Question price . A shape with a non-shrink rubber insert for small texture costs about 40 thousand, withstands 10 thousand castings. Cheap forms of silicone and ABS plastic are at times cheaper, but also the fills withstand less.
Solution for the manufacture of garden sculpture
The grade cement is used as the main raw material for the preparation of the mixture, water, sand with a solid fraction of a fraction of 5 mm, a plasticizer, as descable - resin and colored pigments.
As a rule, the proportion is as follows: 3 pieces of sand, 3 parts of rubble, 2 parts of cement.
The higher the cement brand used for the solution, the stronger will be products.
Sand must be sifted to remove small garbage from it. The water is poured into a mixture of dry components gradually, gently stirring. A finished cement mixture should be thick enough to keep the shape.
After pouring the shape for the hollow figure, the internal space is stuffed with a rag (preferably lubricated something fat - for easy extraction). The exhaust solution is cleaned. The rags are removed when the solution is slightly frozen and keeps the form.
The use of the hyperplasticizer improves the quality of the concrete mix, does not crack the figures, provides rapid frozen and frost resistance, reduces the formation of bubbles when the formation of bubbles is minimized. The cast mixture easily fills the form and forms a flat smooth surface that does not require trim.
Attention! Plasticizers reduce cement setting time.
Initial level of garden sculpture
The simplest and most popular garden figure is a mushroom. For the shape under the leg, a plastic bottle will go, in front of the fill in the middle, place the rod of the reinforcement so that the parts of the rod are sticking on top and bottom. In any deep form, get a hat, stick a few long nails.Work in a shady spot so that concrete does not crack on the sun. Cement should dry up so that it can be cut with a knife and make a deepening for the leg (approximately 7-8 cm). When the solution freezes, cover the sculpture foot in the soil and set the hat to the top of the rod. After 4-5 days, when the mushroom is completely dry, it can be painted.
Advanced garden sculpture
Creating more complex figures (for example, magic creatures with legs) requires the ability to model and spatial imagination. For strength, first mounted a frame of thick wire or welded - from the rod of reinforcement. For the preparation of the hollow creature, the frame is wrapped up by a construction grid. Large sculptures as a basis can serve a log wrapped with a wire mesh. The solution is made from the same components as for casting, but in the proportion of 1: 3, and is bred by water to the plasticine consistency.
Novice recommend to the solution add pva - It will be easier to correct the errors. To get a monolith, concrete is put in a spatula layer, with incomplete bread between the layers. First, overall contours are slaughtered, after creating the desired volume, minor parts (nose, lips, mouth) are worked out. The remaining gaps are filled with mounting foam.
It is possible to paint, locked, it is possible to cover with a varnish around 10-12 days when the concrete finally grabbing and dried.
Bring to mind
For coloring garden sculptures, paints are used on an acrylic basis for outdoor use (facade), varnishes for stone. Each subsequent layer is applied only after the previous one dries. In addition to paint and varnish, you can use and coatings imitating stone rocks.Work • Step-by-step master class on a garden sculpture
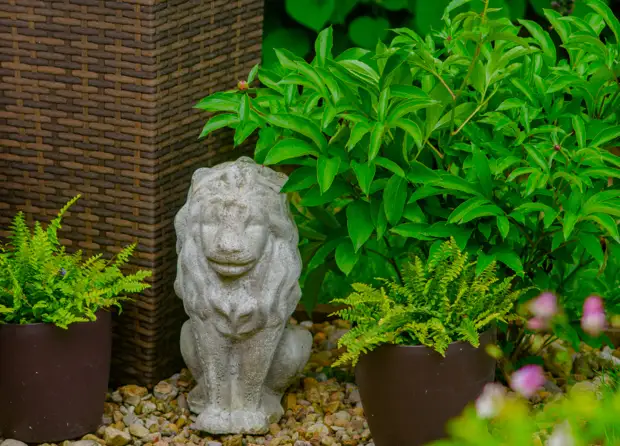
On the example of garden lion. Dimensions: weight - 25 kg, height - 450 mm, length - 150 mm, width - 250 mm.
Step 1. Lubricate with a tassel with a diesel engine in proportion of 1: 1.
Step 2. Make a cup of concrete. On 1 bag of cement M500: 25 shovel of the rubble fraction 5-20, 30 shovel of sand and 30-50 liters of water. Consumption of 30 figures of Lviv.
Step 3. Pour the concrete mix into the form.
Step 4. Give vibration on vibrationtole.
Step 5. Remove the Surplus Concrete trowel.
Step 6. Leave until it is frozen per day.
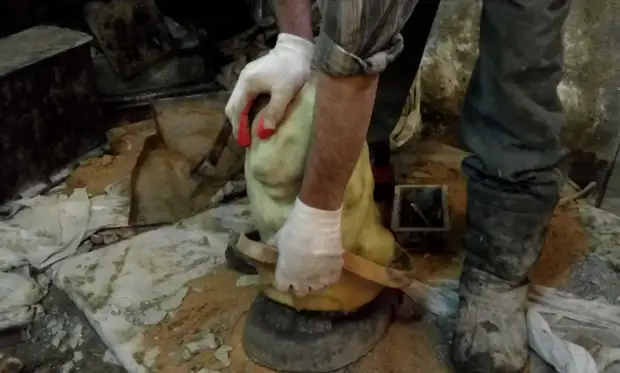
Step 7. Disassemble the form (promotion bolts).
Step 8. Remove the rubber from the product.
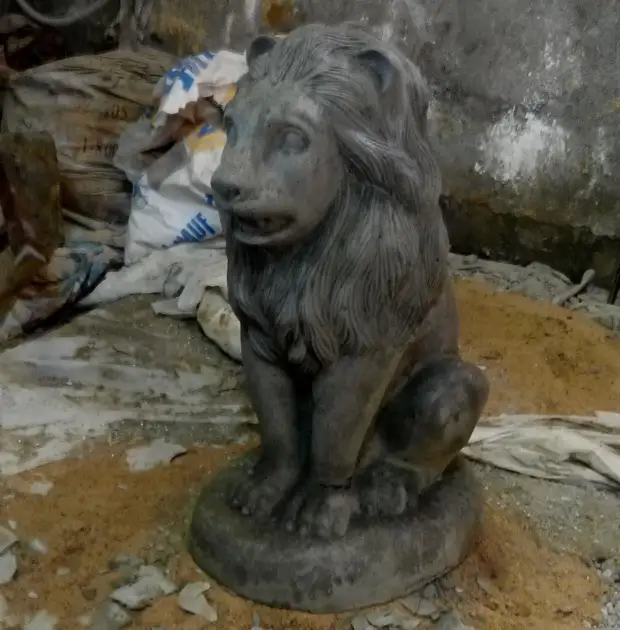
Step 9. Clean the shape of a concrete solution and remove storage.
Step 10. Color the lion of the facade paint.
Step 11. Bubbles from the air to sand and remove the putty for facade works.
The products can be left for the winter on the street, but in the shapes accumulating moisture (in flowerhouse, vases, etc.), you need to do the hole in the hole, so that the cracks do not go during the freezing of water.
