
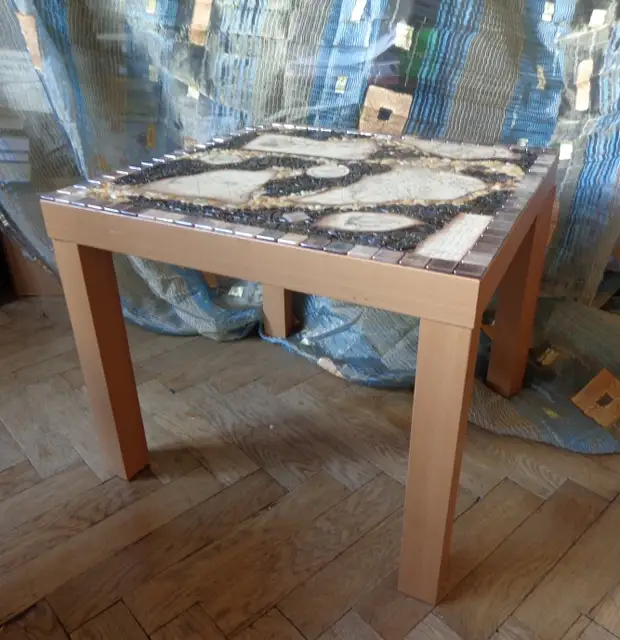
I assume that many of us have a coffee table. Someone has white, someone has a black or beige ... quite inexpensive (I think I bought it rubles for 300), very comfortable, but too simple, no raisin ... It's time to go to them and .. . transform!
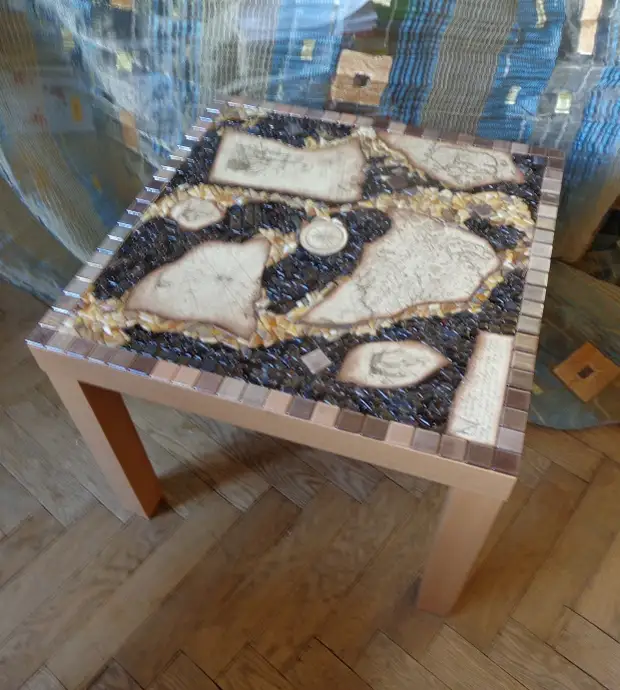
The theme of the future countertop can be different - the taste of the owner. I wanted marine romance, adventures, besides, after repairing a children's room, I had a piece of wallpapers with the corresponding plots, there were tile residues and some stocks of glass mosaic.
So, we will need:
- Actually a table, not necessarily Ikeevsky, which we gathered to decorate;

- Pictures that we turn on in the overall decor. It can be remnants of wallpapers with interesting motifs;
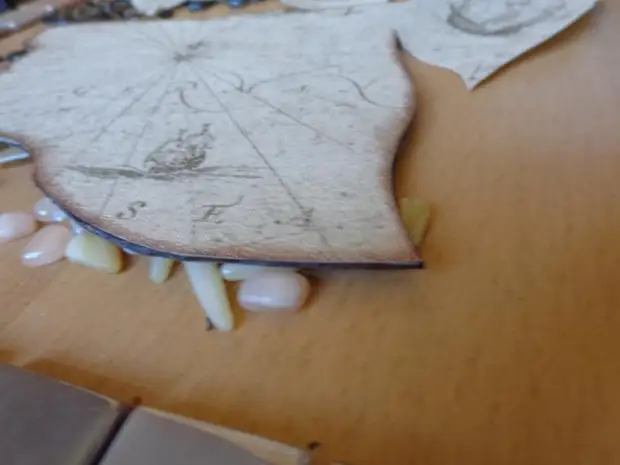
- Cardboard, which we shoot our pictures so that the picture is at the level of the mosaic;
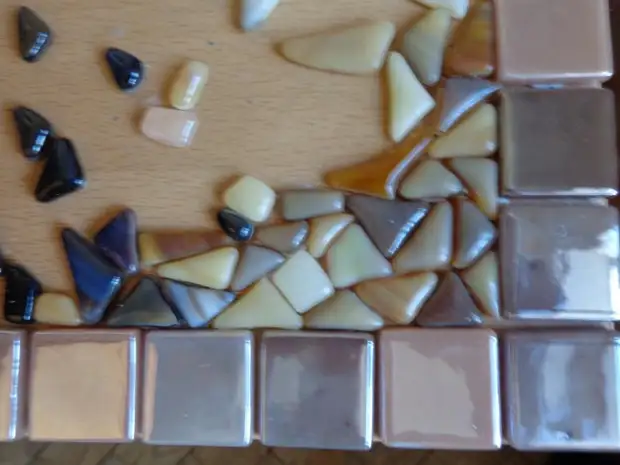
- Tile for edging around the perimeter;
- Glass mosaic;
- glue moment (liquid nails);
- varnish;
- grout;
- Rubber spatula;
- scissors;
- stationery knife;
- Fantasia and patience.

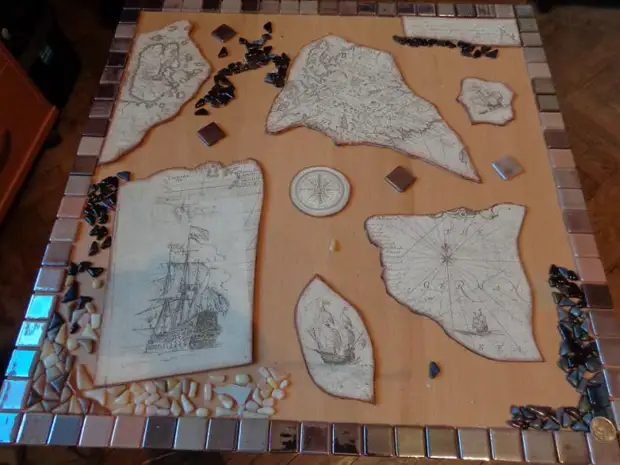
We framed around the perimeter with a frame of a frame from tile residues.
Of course, it is possible, you can do without a frame.
Pre-sowing surface is not required.

We begin to pull out or cut (or maybe both) individual motifs.
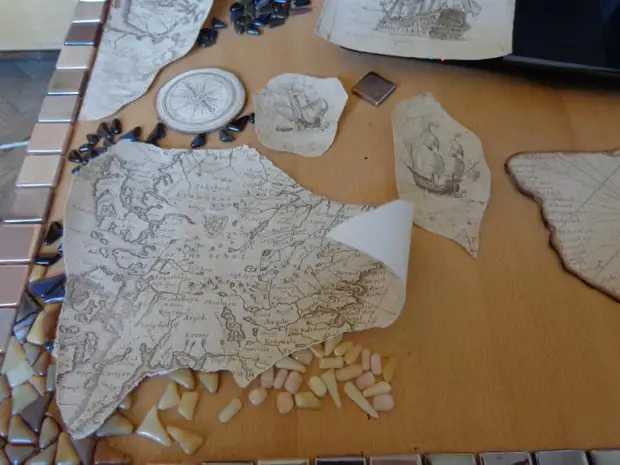
We stick the motifs to the cardboard and cut Cutmaparton by the stationery knife around the perimeter of the motive.
If you work with children, the knife is better not to give them.
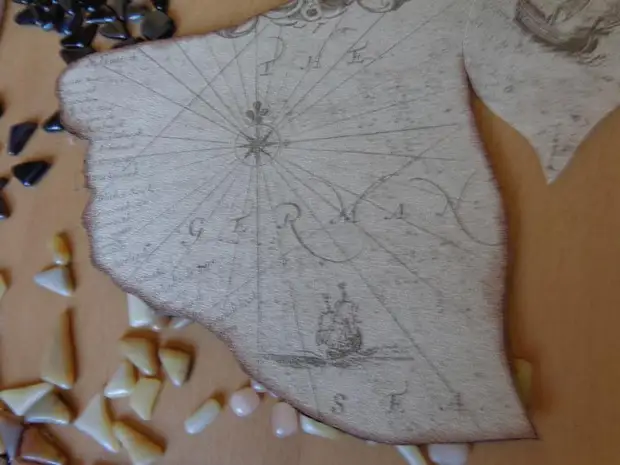
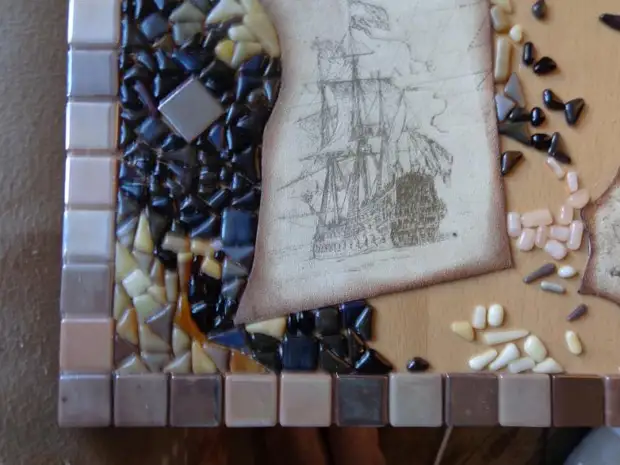
In my case, I decided to slightly toned the edges of the brown toner pictures and black - Cardboard cut.
The motifs are preferably covered with varnish. This will protect them from external contamination during operation: when accidentally entering glue or grouts, it will be possible to quickly clean the motive.
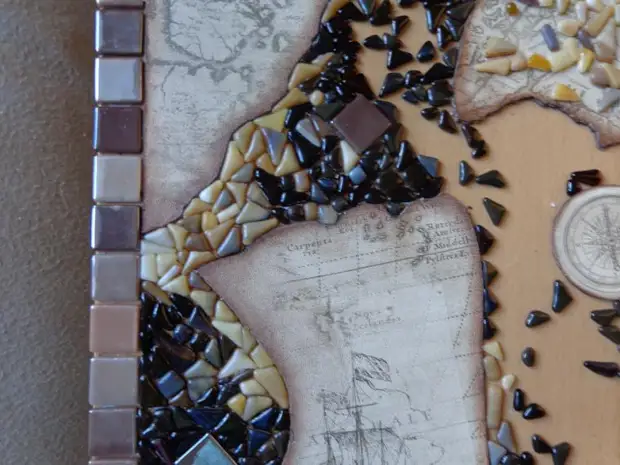
We begin to lay out the motifs on the surface, determining their optimal place.
When you were determined with the location, along the entire surface of the motive we apply the glue and glue. Be sure to put the cargo on top, because the cardboard can be involved.
After complete drying, and it can take an hour of 3-4 hours, we begin to glue a mosaic. In the photo it can be seen that before gluing, I decided to cut the lower left motive.
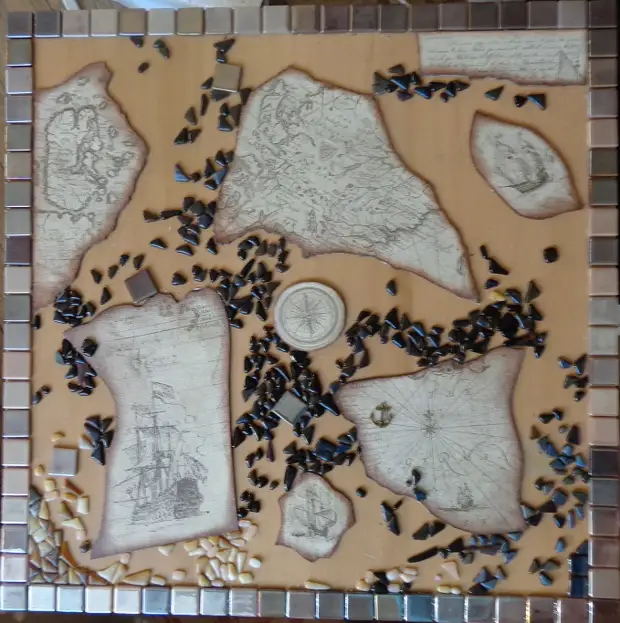
And so the tabletop is completely closed with a mosaic:
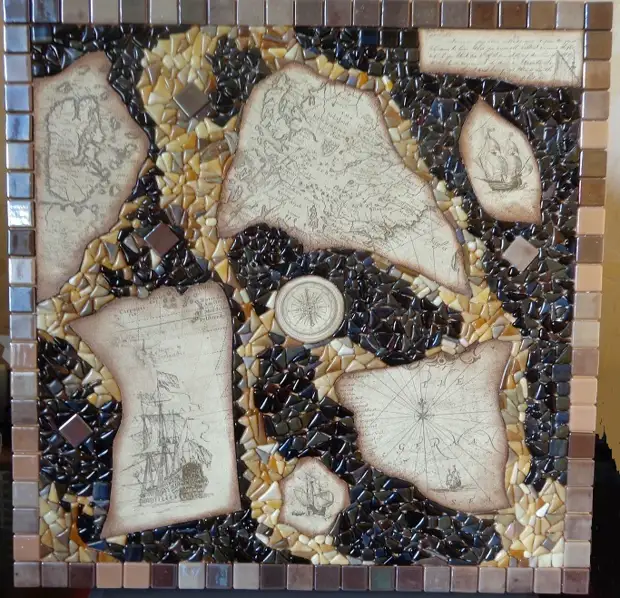
This can be stopped. But if you follow the rules, it is desirable to grout to lift the seams between tiles and mosaic. And after complete drying, the grout covers the entire surface with the finish layer of colorless varnish.
Any creativity!

Shared MK - Yudina Tamara.
A source