

So this subject calls one friend my friend. So says: "I add there, so the fold!" :) In general, we really can be folding there, so I personally have nothing against. If you too, too, you can even sew such a fold.
As usual, it will not be at all difficult - I can't do anything complicated, and, as usual, there will be a thermal transfer, I can not without them. I just warn it immediately, just in case, and then you never know .. :)
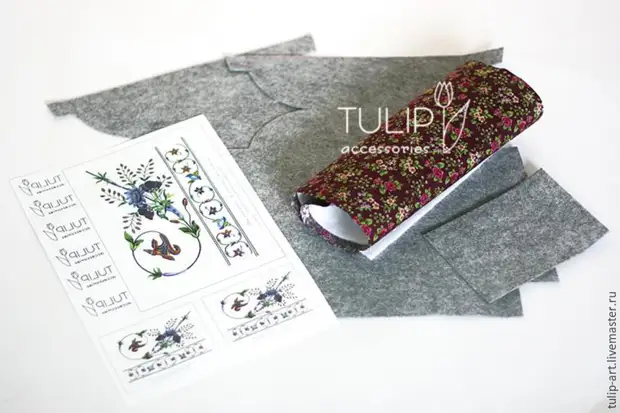
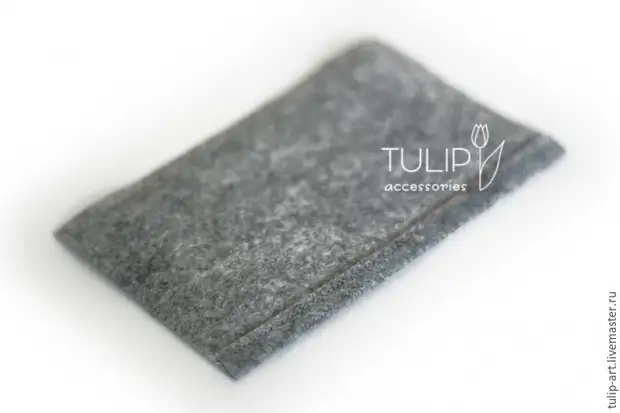
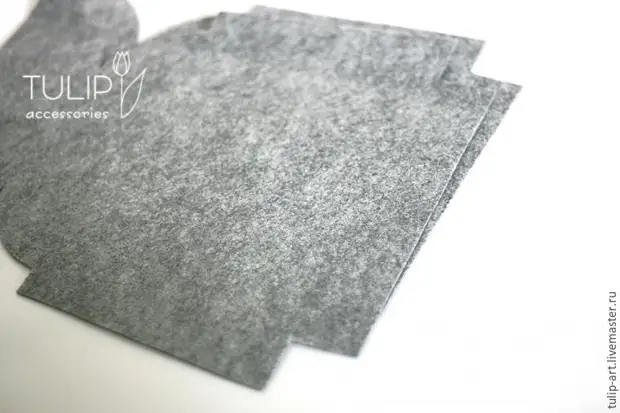
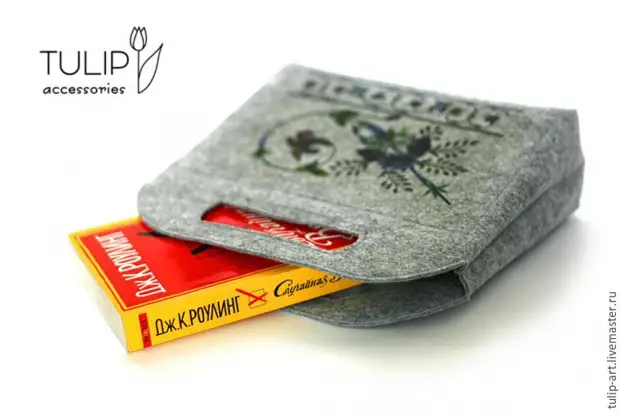
It will be necessary, as, probably, you have already guessed, felt. But this time we will have a lining and even the seal. It will be a very solid fold, just as a real.
The pattern was born in my time and in the alterations, that's how it happened:

But do not be afraid right right away, of course, I took care of my favorite readers and everything led to the human look:

You need to ride a little in it and rebuild to large paper :)
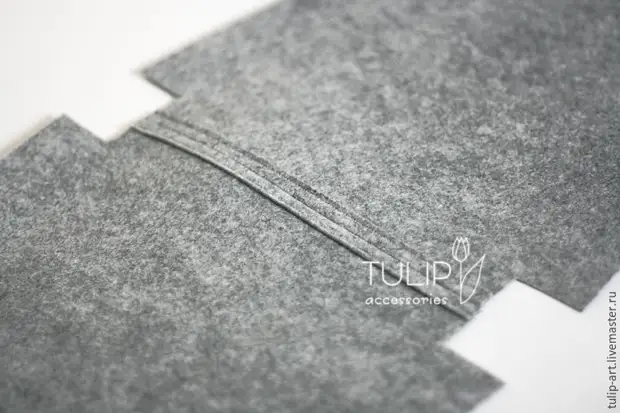
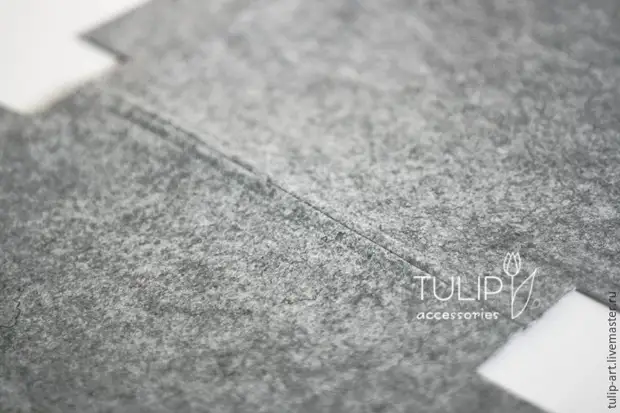
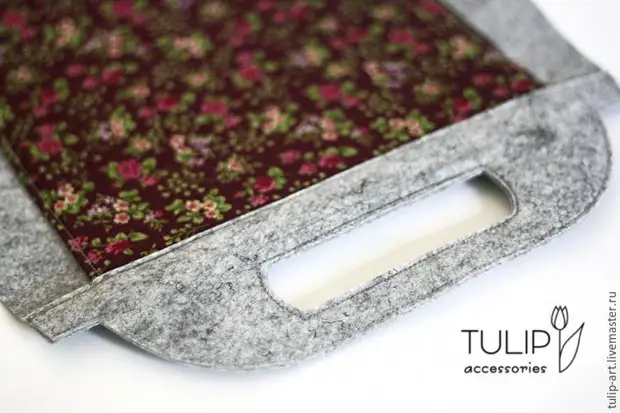
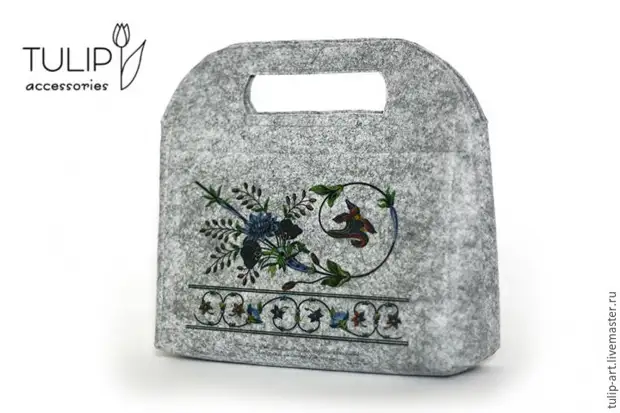
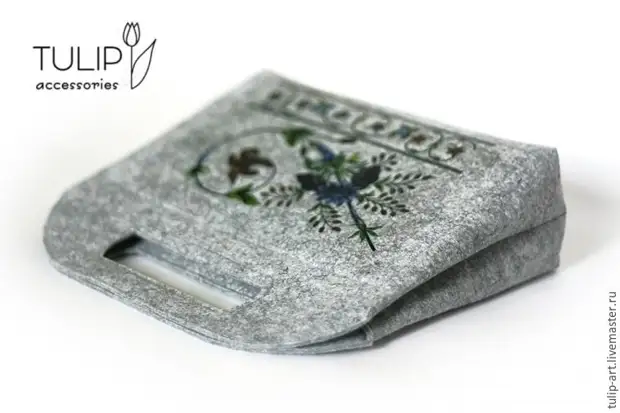
Please note that when you, you do not need to cut the holes of the handles, just put the markup.
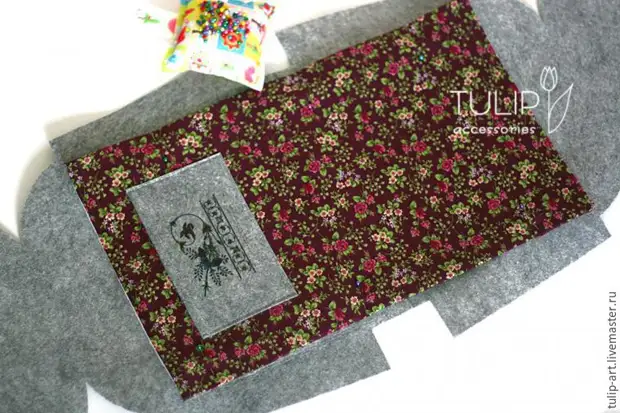
In addition, a rectangle will be needed from a tissue 25 cm by 40 cm and a rectangle from the adhesive seal 23 cm by 40 cm, a small rectangle is 10 cm for 15 cm from a felt for internal pocket, as well as pictures and a button. With the button, a small problem came out, I will explain next.
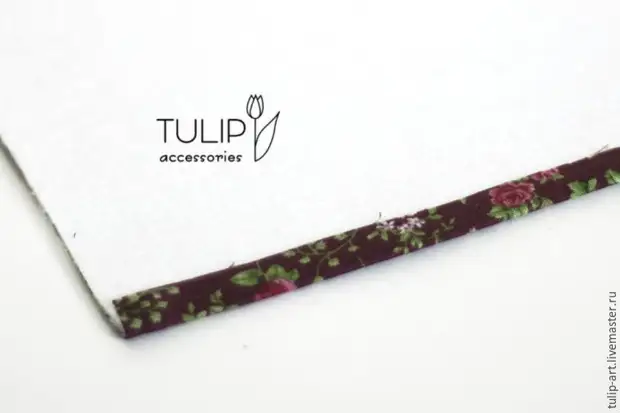
First, we will deal with lining. We glue the seal to the fabric, the contemporance, as we remember - it is slightly smaller than the fabric. If you do not have adhesive, you can notice around the perimeter, but it is better to crawl.
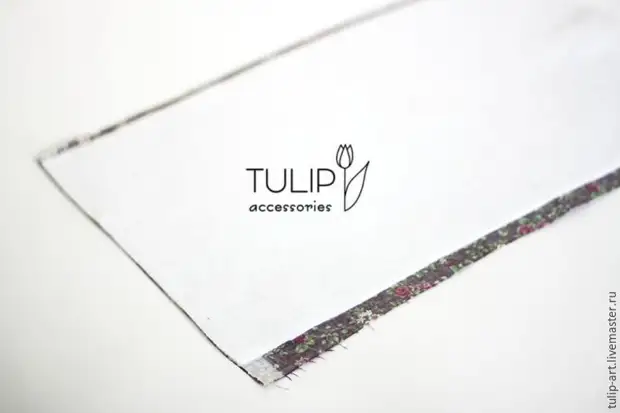
We start on the seal of the fabric edge. If there is textile glue, you can slide, but not necessarily.
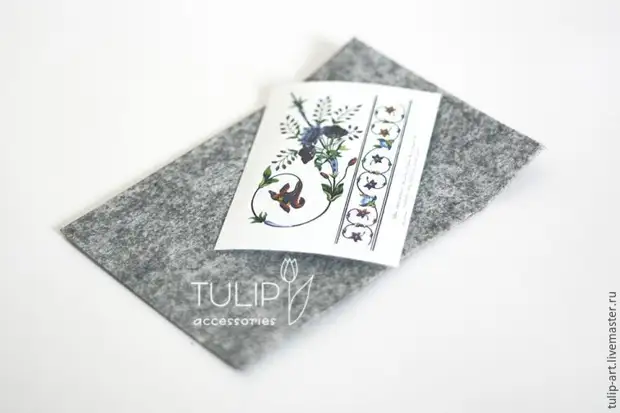
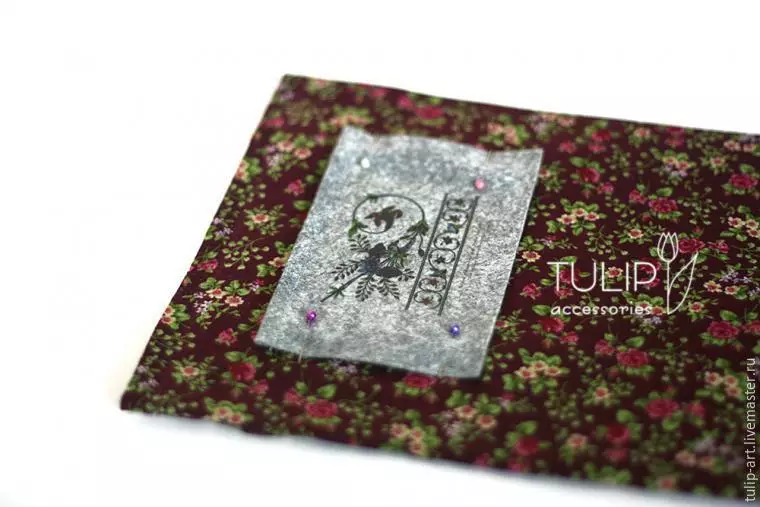
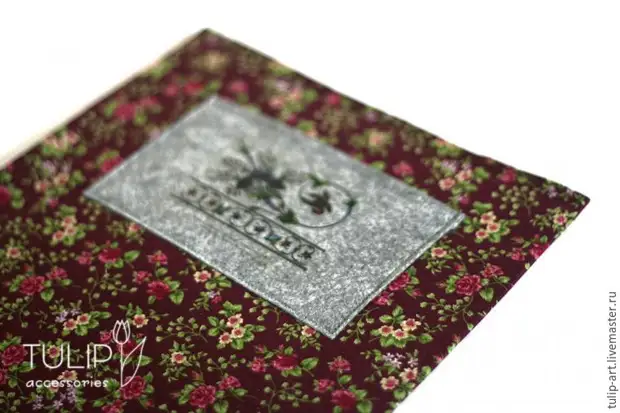
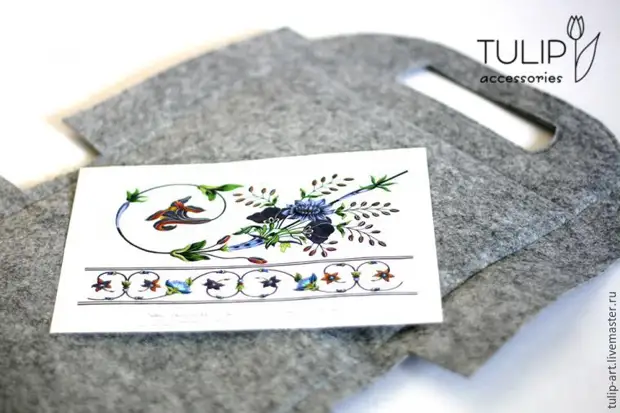
Prepare pockets. First we translate the picture:
And we fell one edge on the inner side.
We rumble pocket to the lining.
And sew the P-shaped seam along the edge.
Now we take the main large details of the handbag, combine and spend the bottom (bottom) seam.
So that it was not noticeable from the inside and so that he did not deform the lining, it is necessary to make it Masimally flat.
Outside it turns out quite nice:
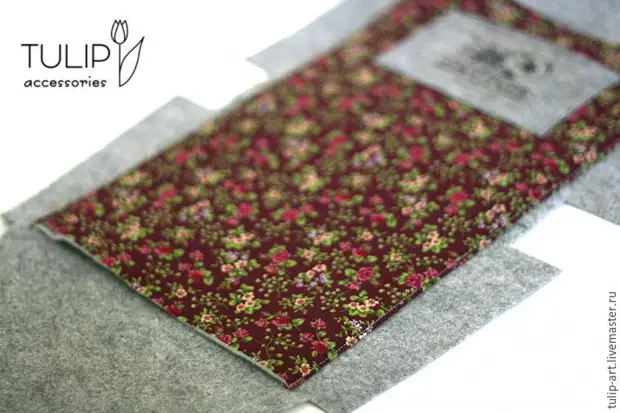
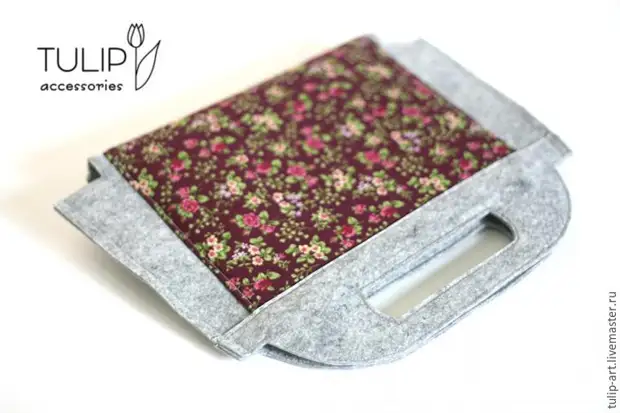
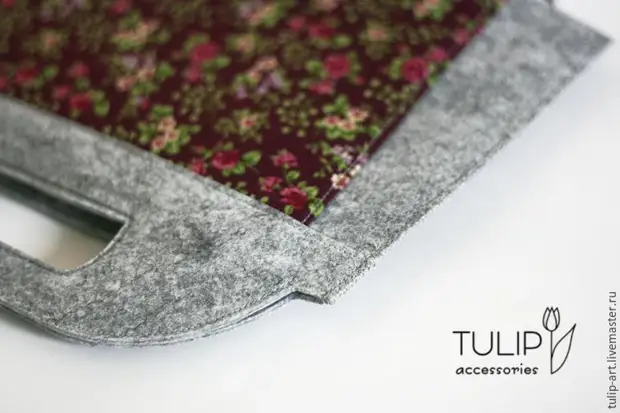
We place the lining in the center of the felt part, we rush:
And spend her long sides. Upper - no need.
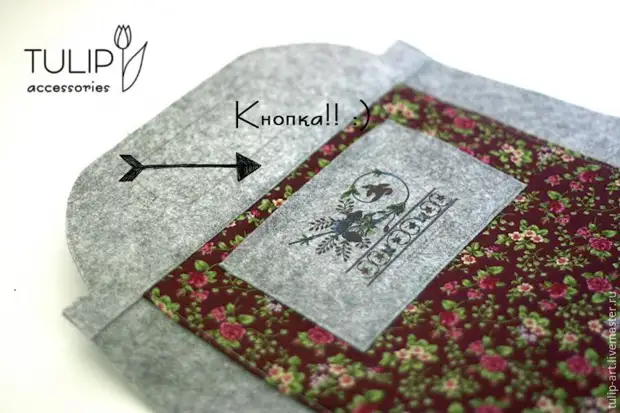
Here at this moment, before the next step, you need to put a magnetic button if you are going to put it. I first did not want to do this, and then changed my mind, but it was too late. And in the end because of his mental instability, I had to break some seams to cover inside the fastening of this button. After the button is set, you can bend the duplicate part of the handles and strain this part to the full perimeter.
Now we are tightening future handles.
And cut them close to the seam.
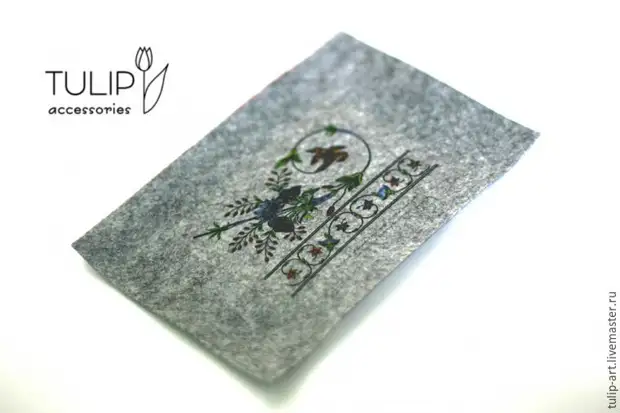
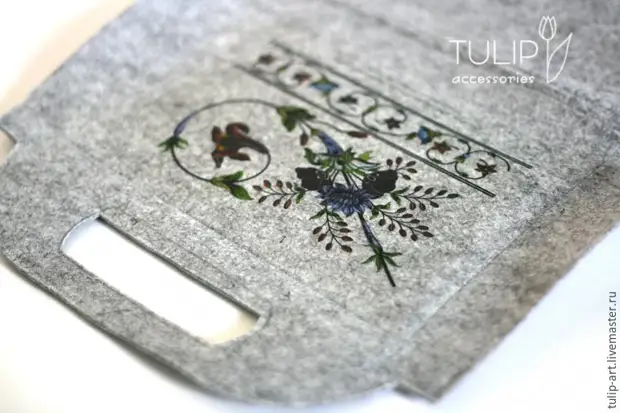
Already almost everything is ready. Now it will be convenient to translate the main picture on the front side.
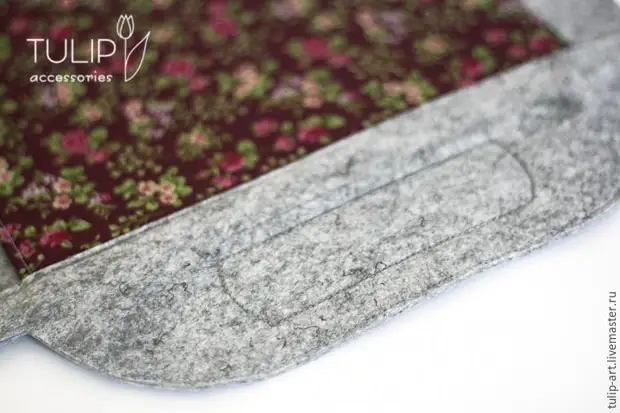
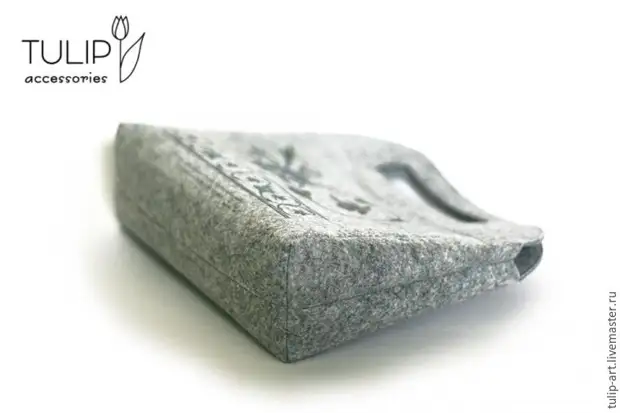
And the last steps are coating the side seams. These lines should be very neat, the seam cut is better to wipe so as not to break.
And coating the wrappers. We also try to make the seam carefully, did not capture the lining, but was as close as possible to it. If the whole previous work is done correctly, it will work out by itself.
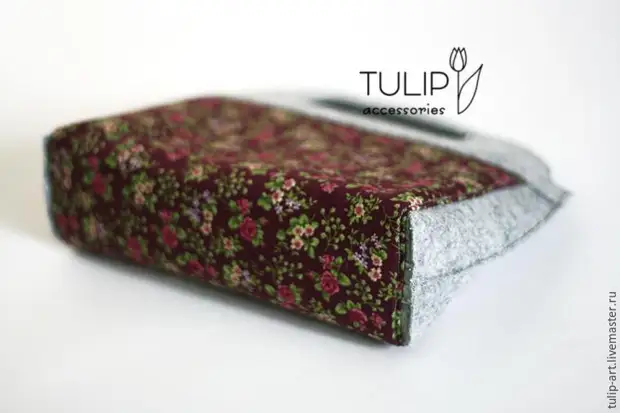
Handbook ready. Soak and admire!

The author is Natalia.
A source