

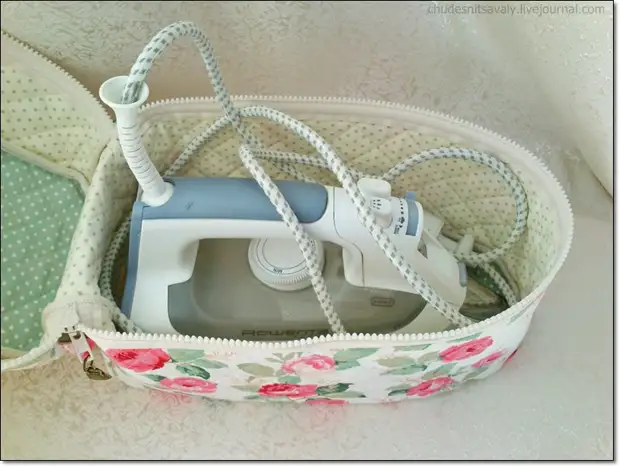
"Why is it necessary for an iron case?" - you ask. I, too, until recently was not aware of such a thing. But those who use the iron is not every day I want to settle it in a sympathetic house for aesthetics, or so that the cord does not interfere with the iron and did not dust the iron ... I do not care about this design for this design, I saw a photo of this case on the Internet. It differs from most cases by the fact that his seams are hidden inwards, which he attracted me. I decided to share the way it makes it with you.
For its manufacture we will need:
- fabric (on the front part and on the lining);
- Sintepon;
- lightning;
- oblique bay;
- Kant;
- fabric marker;
- line;
- pins;
- roller knife or scissors;
- leaf of millimeter paper, pencil;
- sewing machine;
- good mood :)

We make the pattern for the top and bottom of our future cover.
We put the iron on a leaf of millimeter paper, determine its length and width. (In my case, the length of the iron is 29 cm, width - 13 cm). Blacks on a millimeter, adding to the length and width of 2 cm for free felting + 1 cm on each side (PC).
As a result, we obtain a pattern with a length of 33 cm (29 cm + 2 cm + 2 cm), with a width of 17cm (13 cm + 2 cm + 2 cm).
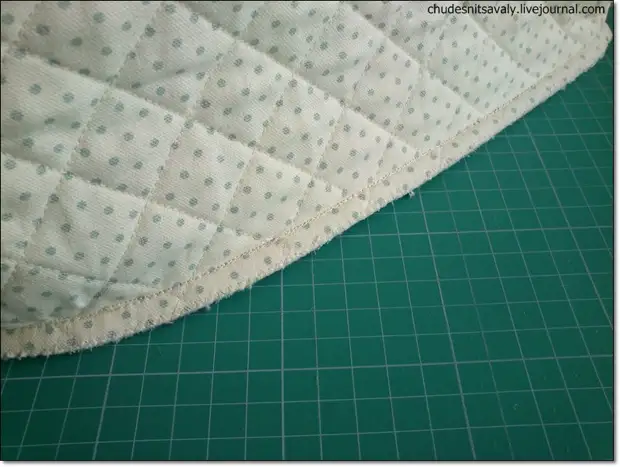
In front of the rounding, we make arbitrarily, to your taste.
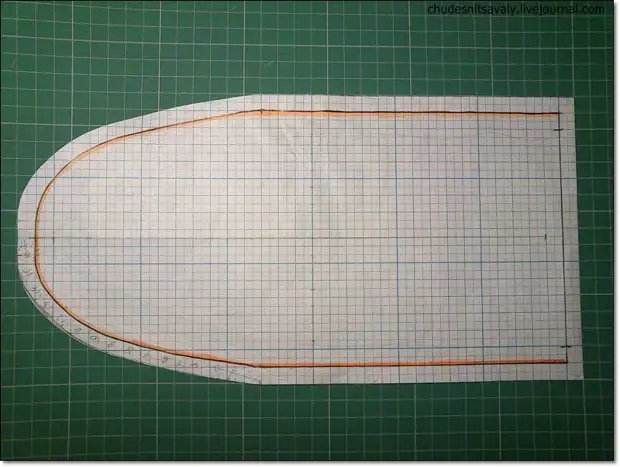
We calculate the length and height of the central canvas.
We measure the pattern around the perimeter without taking into account the short side (for clarity allocated this line with an orange marker).In my case, this length was 68.5 cm. We add to the resulting length of 2 cm (allowance on the seam of 1 cm on each side). Total - 70.5 cm.
The height of the central canvas is calculated, based on the height of the iron.
In my case, it turned out 22 cm (18 cm. The height of the iron (together with the staggering cord) + 2 cm for the free felting + 2 cm inputs on the seam (1 cm on each side))).
Calculate the length and height of the back of the cover.
The length of this part is equal to the width of our patterns (this part not highlighted with an orange marker ), and the height is equal to the height of the central canvas. (In my case - 17cm x 22 cm).
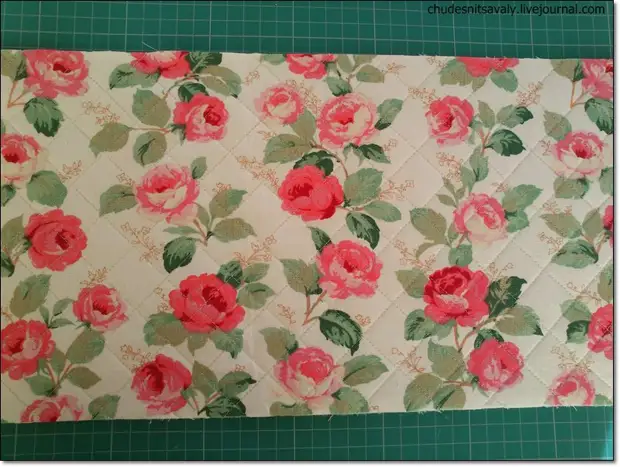
We prepare the fabric to the cutting details.
We can make a marker of the future stitch line to the fabric (in my case - the diagonal lines at an angle of 45 degrees) can, of course, these lines and not apply, and use the guides for the fabric, but it is more convenient for them.
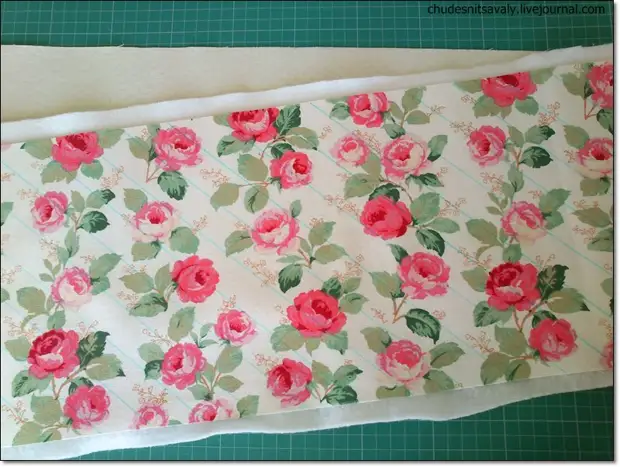
Between the facial tissue and the cloth of the subclass laying the synthetone (I used the needle clock).
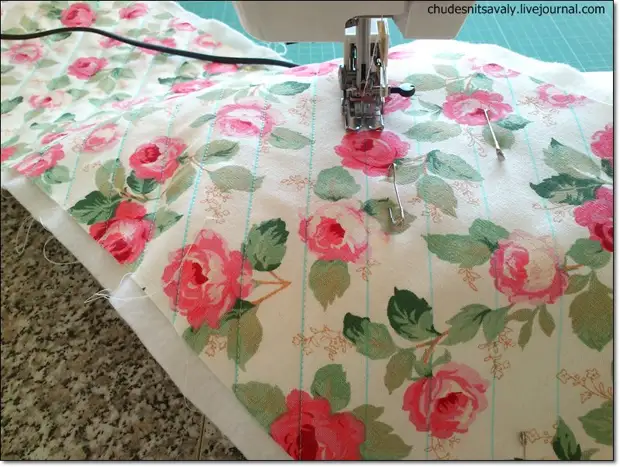
We connect layers with pins so that there is no tissue displacement during stitch, and sew them along the applied lines on the typewriter.
(In the work used the upper conveyor).
Next, we apply perpendicular lines - we flash.
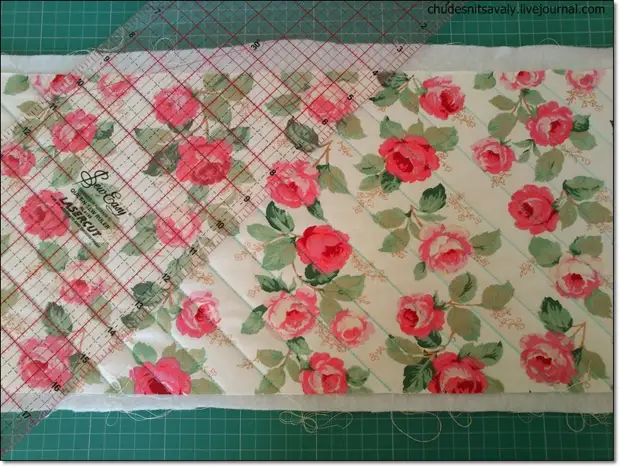
Align the edges of our Sandwich.
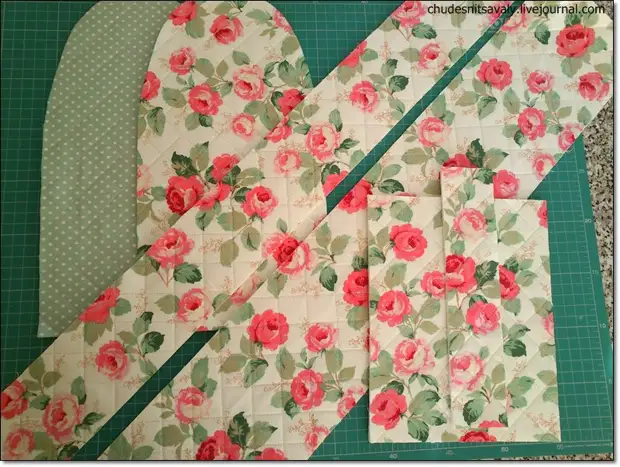
From the finished canvase, cut the necessary details:
- Details for top and bottom cut out the template made by us;
- 1 Detail of the central part of the cover (I have a rectangle 70.5 cm x 21 cm) cut into two parts. The height of each part can be chosen to its taste (in my case, the height is 8 cm (top) and 13 cm (lower) + 1 cm will give a sewn lightning, as a result, the height you need is 22 cm);
- 1 detail of the back (in my case -17 cm x 22 cm);
- 1 Detail for the handle (I have 20 cm x 5 cm).
To smaller fabric, the resulting details have processed the seam "Zig-Zag".
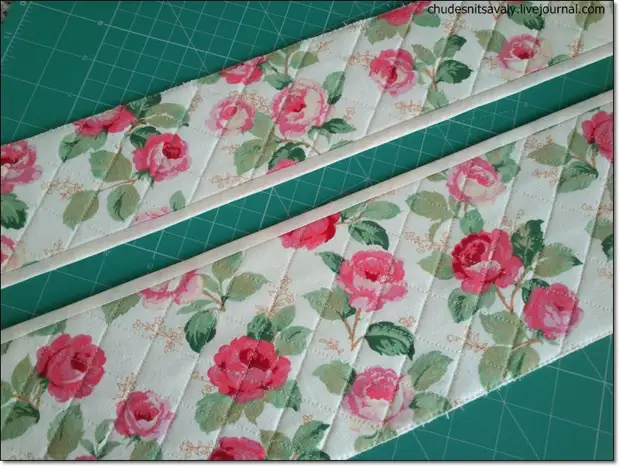
We edit the oblique bay details of the central part of the cover from the side to which zipper will fifty.
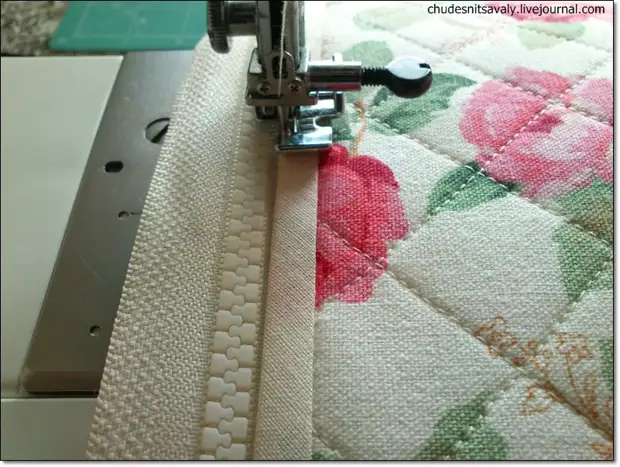
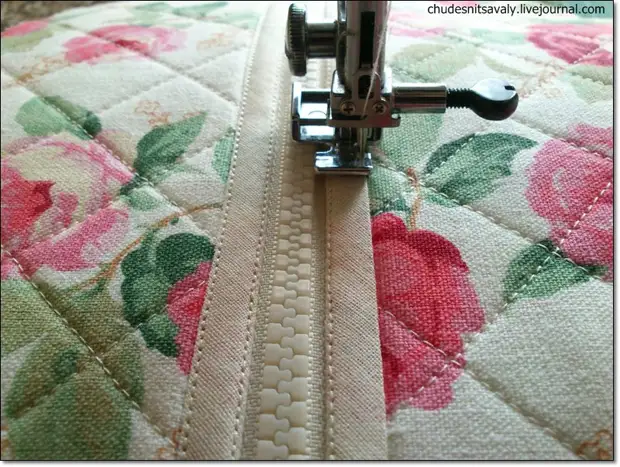
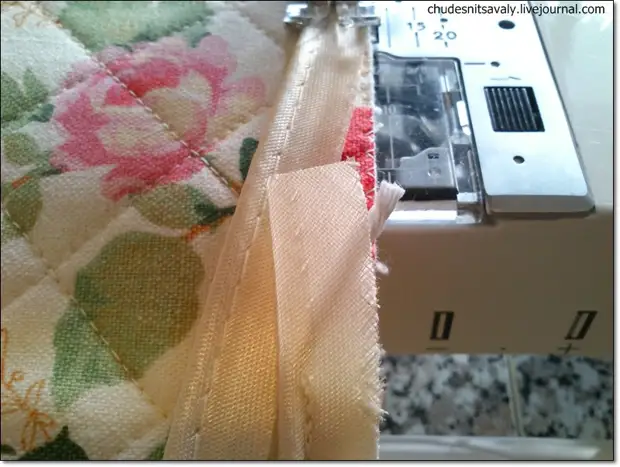
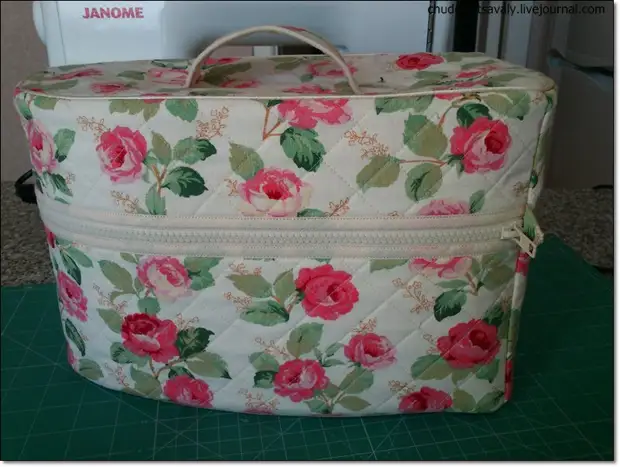
We sew zipper (in my case - tractor number 5 with a length of 75 cm.).
I use a laptice for sewing lightning.
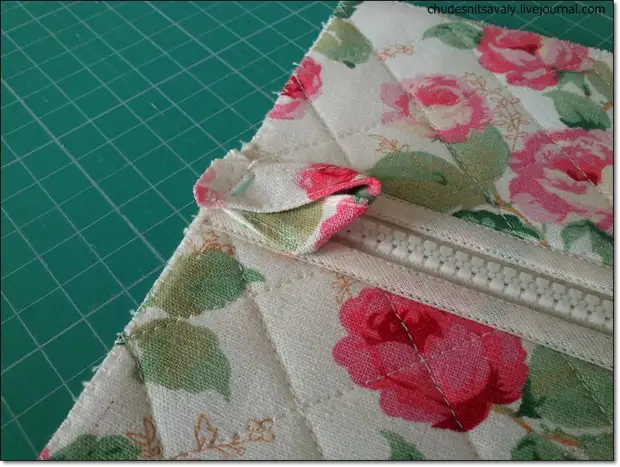
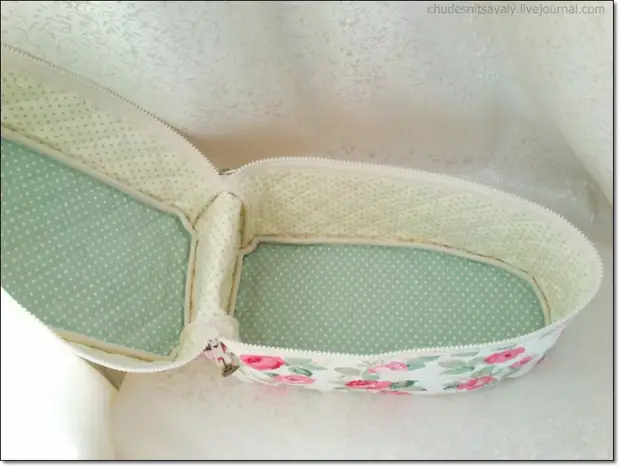
At the ends of the zipper, we take a triangle from the fabric (thanks to them the case will be more convenient to open).
Send the back to the short sides of the central part of the case.
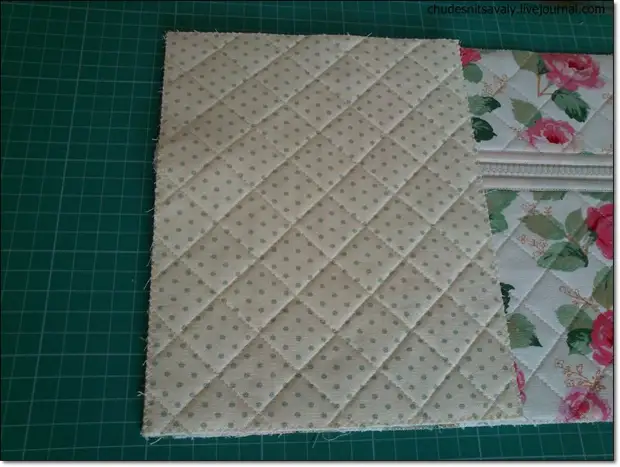
Stitched edges finish the oblique baker.
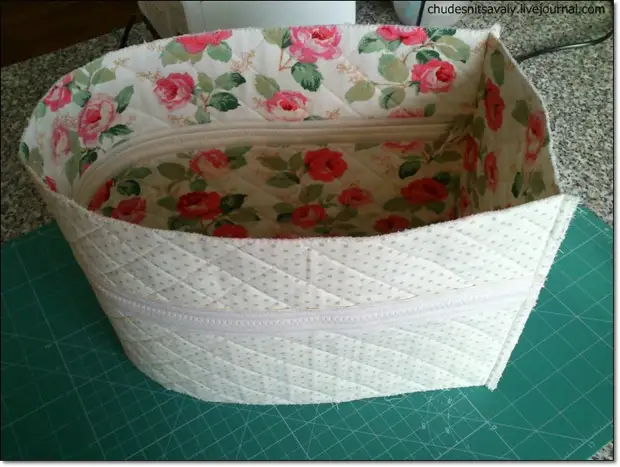
Send Kant (from above and below the central part of the case).

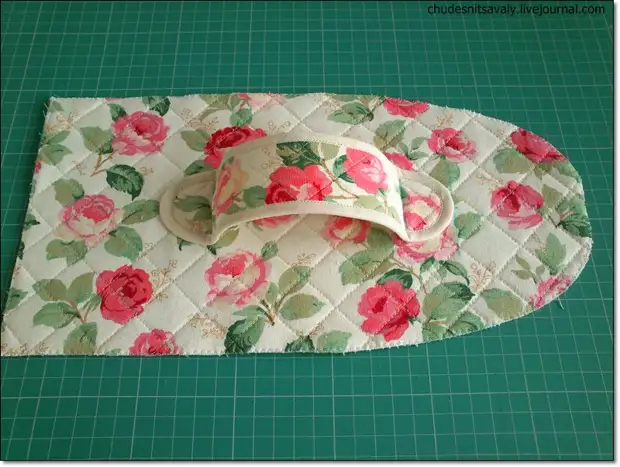
We finish the detail of the handle of the cover of oblique baker (I wanted to make a handle not rectangular, but with rounded ends) and sew it in the center of the top of the cover.
We take the upper part to the central part by pins, sew (seams we deposit on the seam of Kant's sewn).
In the same way, we do with the lower part of the cover.
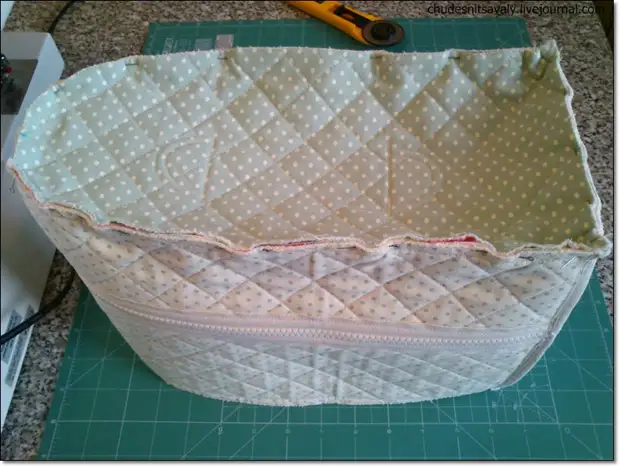
Miffinate the crosslinked edges and finish their oblique bay.
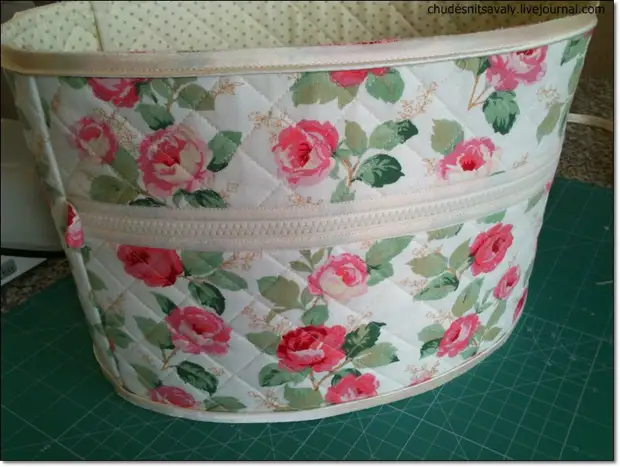
Cover turn out, weiss.
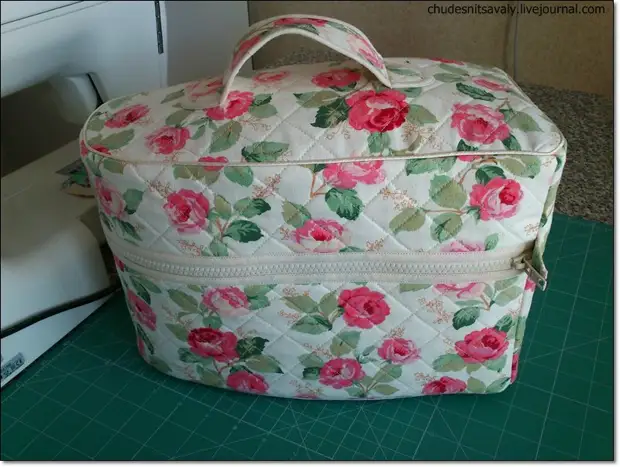
And admire your work :)
A source