

This master class for cat lovers - all sorts of different, living and unreal.
So let's go! :)
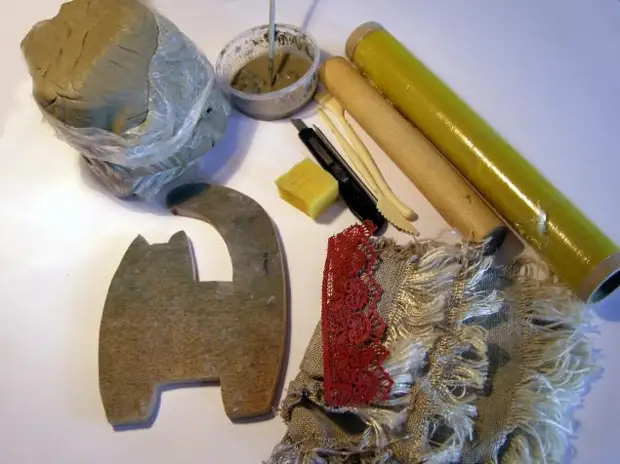
We need:
1. Clay. Clay is different. It can be of different colors (green, white, orange), but the main thing in it is what color it will be after firing. I use the usual redgoing clay, which after the firing acquires a classic bright terracotta tint. The clay is the factory (purchased), or homemade- as in my case. For our spinters you need about a kilogram of raw clay.
2. Shlice. The sluck is clay dissolved in water to the state of liquid cashem, a kind of clay glue. All parts of clay are carefully seen on the slip.
3. Stacks for modeling, rolling pin, foam sponge, stationery knife.
4. Food film
5. A piece of lace tape, burlap, or other textured fabric
6. Cat shaped blank. My billet is cut from LDSP. But it can be made of cardboard glued into several layers for the necessary thickness.
7. Furnace. What is there to say ... If you have a muffle oven, it's good. If you have a furnace for fusing, congratulations :) .. Well, if not - do not be discouraged. Surely there are familiar ceramists-fusingists who can burn your product.
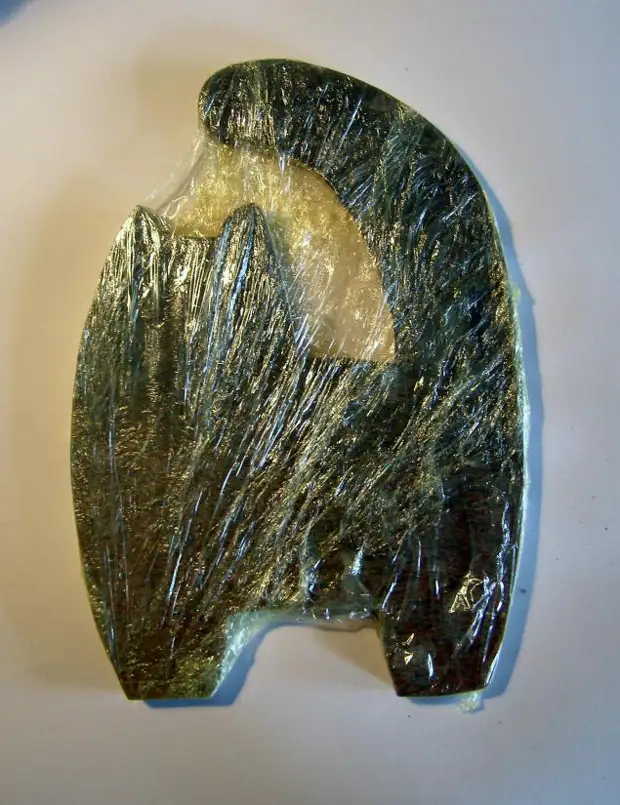
2. Cool the workpiece into the food film. This is done so that the clay does not stick to it, and easily starred.
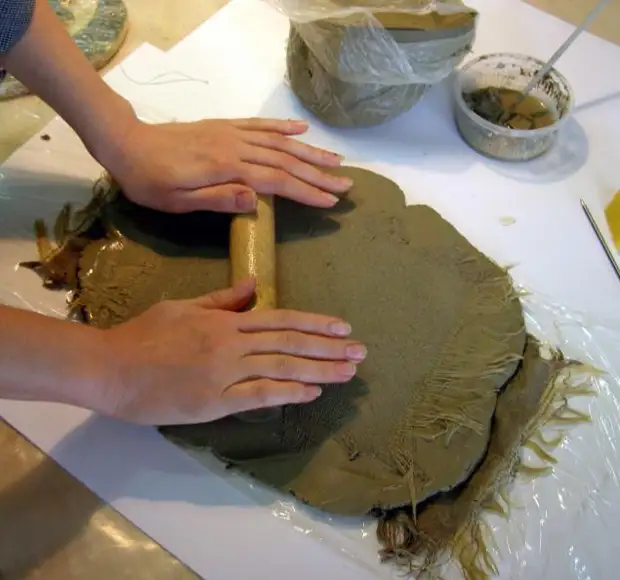
3. Roll over clay into the reservoir with a thickness of approximately 5 mm on a wet burlap. So that the clay does not stick to the rake can be covered with a clay with a second piece of burlap.
4 Ratched Plast should be more billets of our cat for 3-5 cm from all sides.
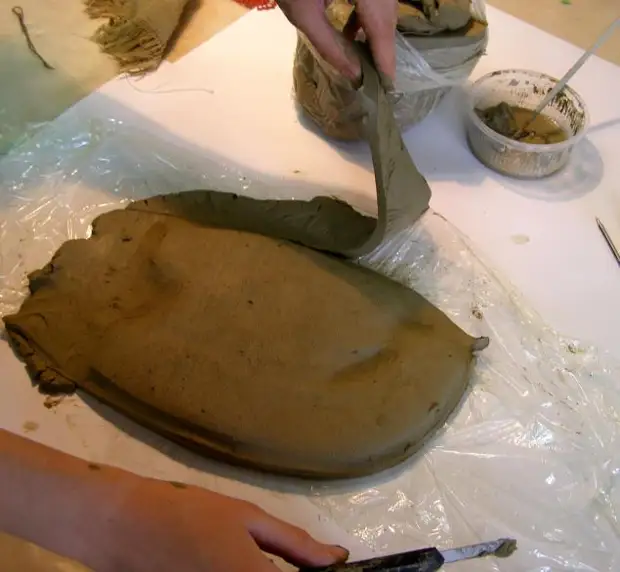
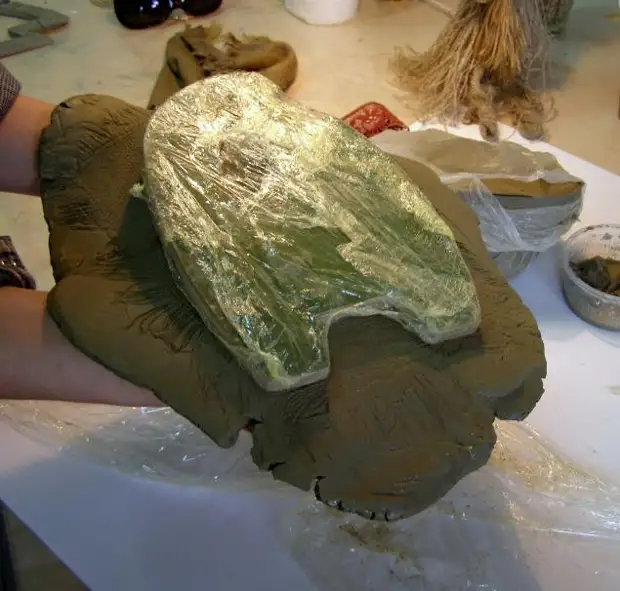
5. Now put the clay pancake on the workpiece and gently crimp it from all sides in shape. Cut the surplus clay with a knife.
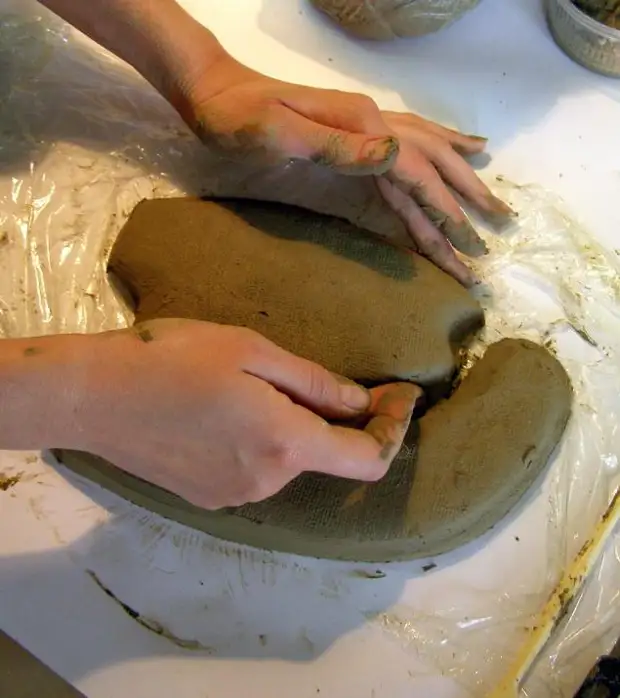
6. Especially gently form the head and ears of the future cat.
The resulting cracks on the clay can be divided with a wet sponge.
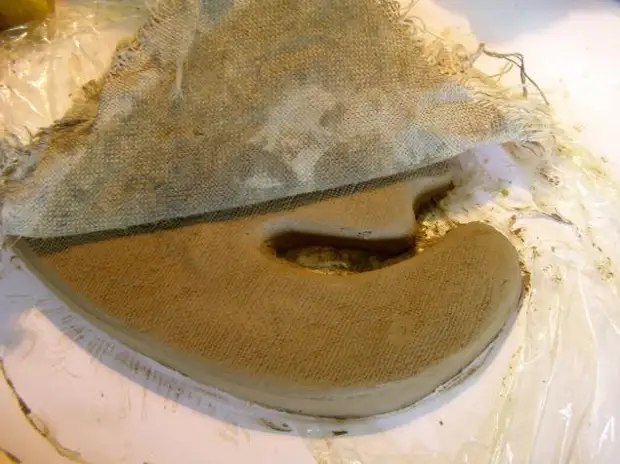
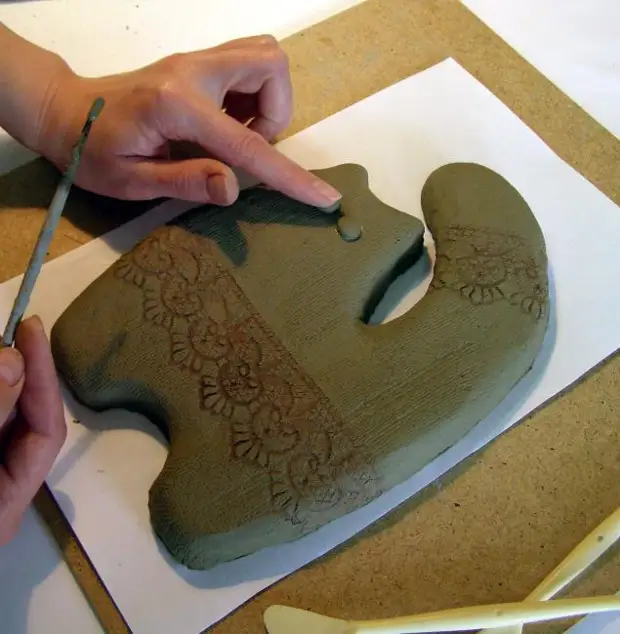
7. We cover the workpiece of the cat with a bag and a rolling pin, so that the texture remains.
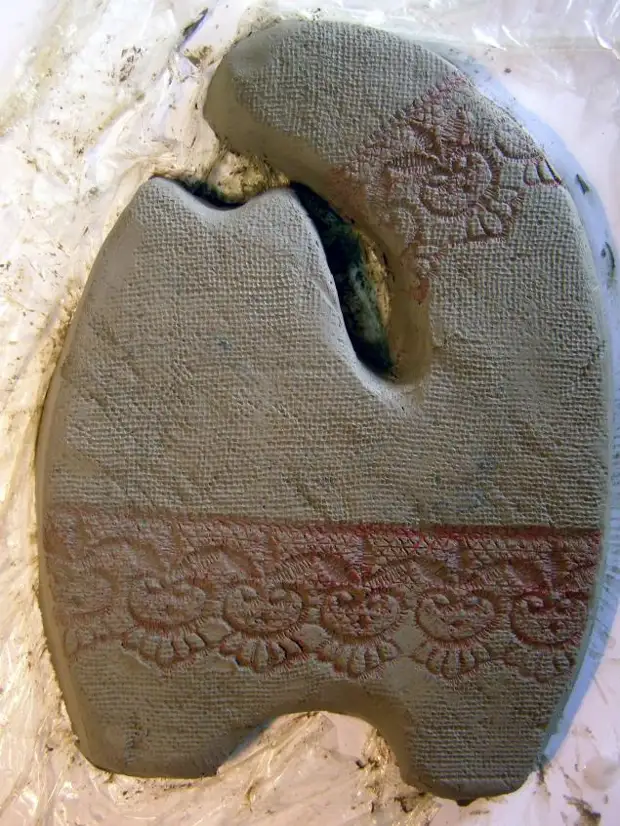
8. In the same way, print a slice of lace. I do it on the tail and in the middle of the torso- like a belt
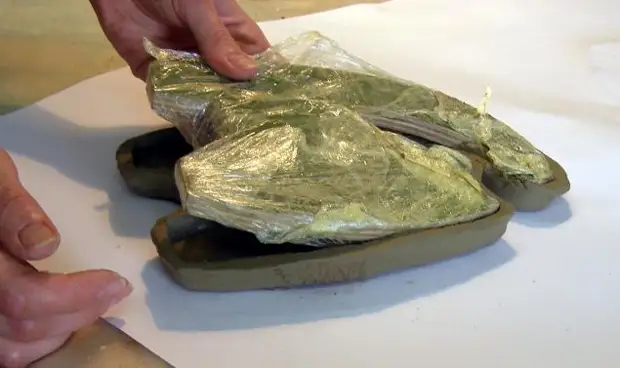
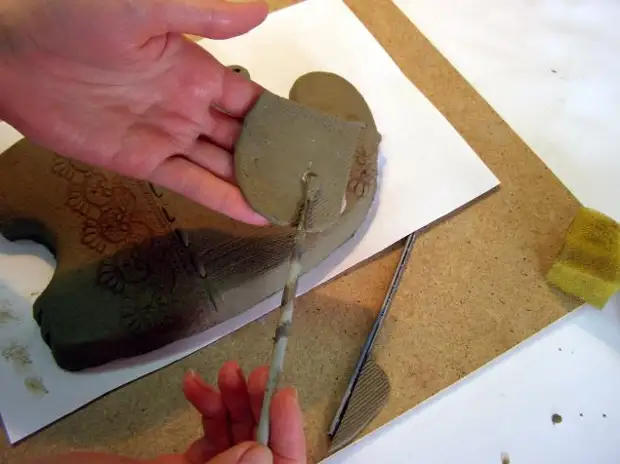
9. Now turn the cat. It is very convenient to do it with a sheet of dense cardboard and whether the Fiberboard. Pulling the film - remove the shape of clay.
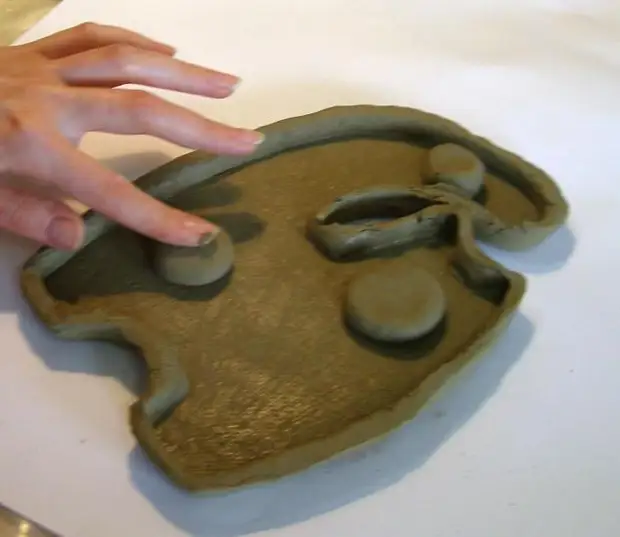
10. Katting the cakes - self., And stick them to the slip. They will not give to settle the volume until the clay is dry.
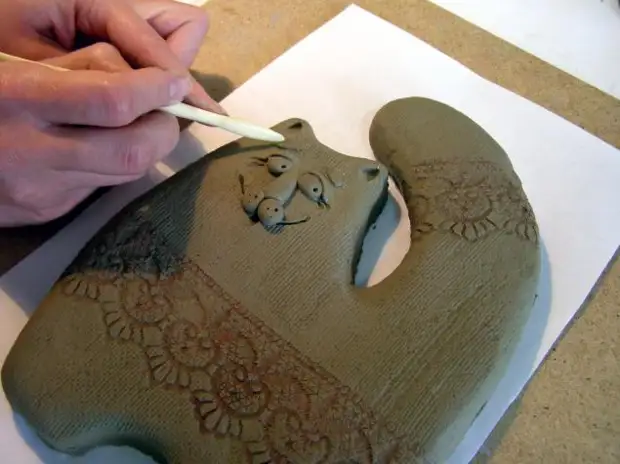
11. It's time to give the cat individuality. With the help of a round stack, we make the eye recesses. On the shrink, put the balls-eyes.
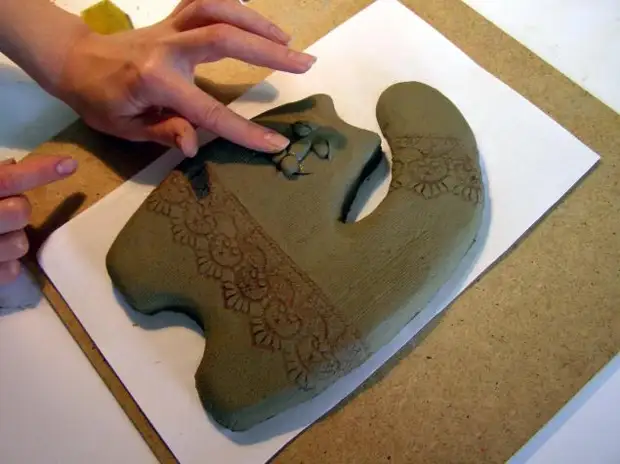
12. We form a cat's eyelids from small lecking. They will give our eyes a special good expression.
We cut the nose, stacking a wide smile.
Roll the balls-cheeks, do not forget to glue everything on the slip!
13. With the help of stack blades, squeeze the deepening of the ears, and good wrinkles-rays near the eyes. We form cat foot.
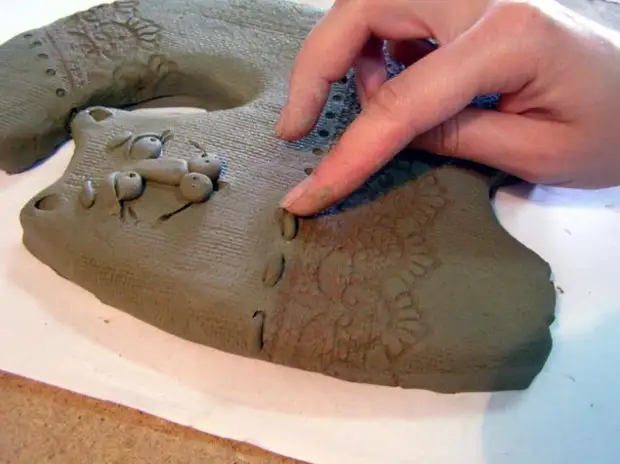
14. We make a number of recesses from a conventional ballpoint handle, which will then be inserted stitches. Slim slim flagellas and glue them to the slip, fueling in the recess.
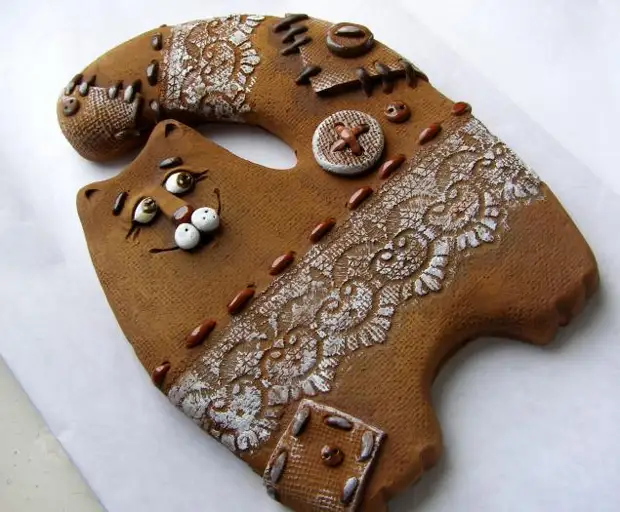
15. From the rolled fine layer of clay, cut the patch and glue the cat. Decorate the patchwork stitches and buttons, and everything that wanted!
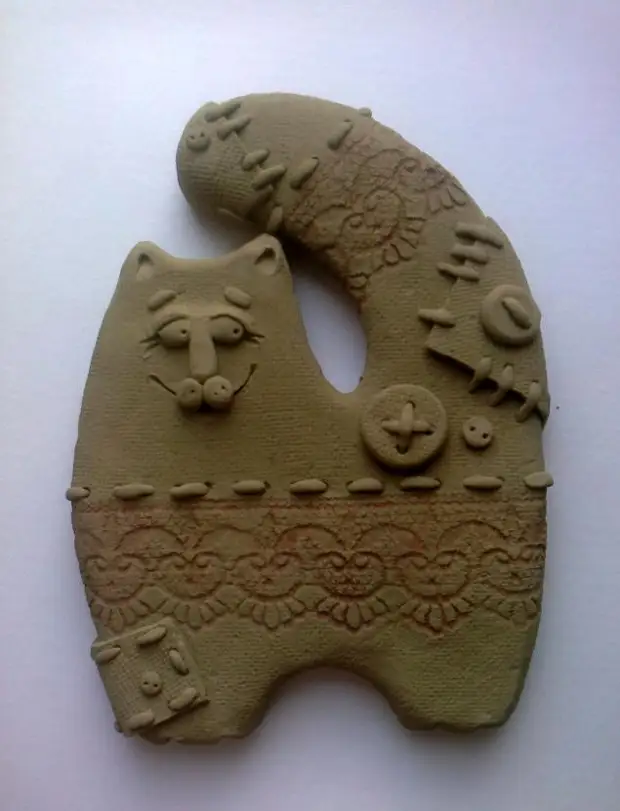
16. Here is a cat turned out. Now it should dry at a normal room temperature about 4-5 days. So that the clay does not crack during drying, it is possible to cover the product with polyethylene, but not pressed, but only slightly covertly, so that there are no sudden drops of temperature and humidity. This is a little extending the drying process, but the product will have more chances to "survive" and not crack.
Next, the clay product is subject to firing in a muffle furnace. The main thing in this process is gradual heating to the desired temperature, and slow cooling. I burn in 4 hours to 700 degrees Celsius, and then simply turn off the oven and I do not open it about 7-8 hours. The cooling occurs by itself.
17. After the firing, the cat began acquired a pleasant red color.
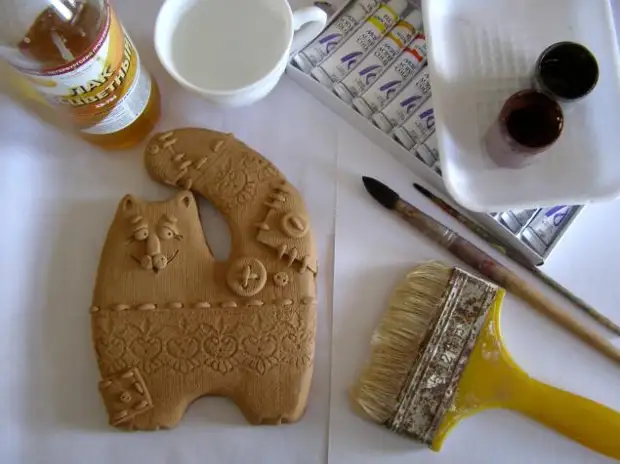
In order to write it to us:
- Acrylic paints and gouache paint-brown and red-brown.
-Sext (I use Belichy) No. 1,3,6-7, a large rigid brush or toothbrush.
-Lak transparent.
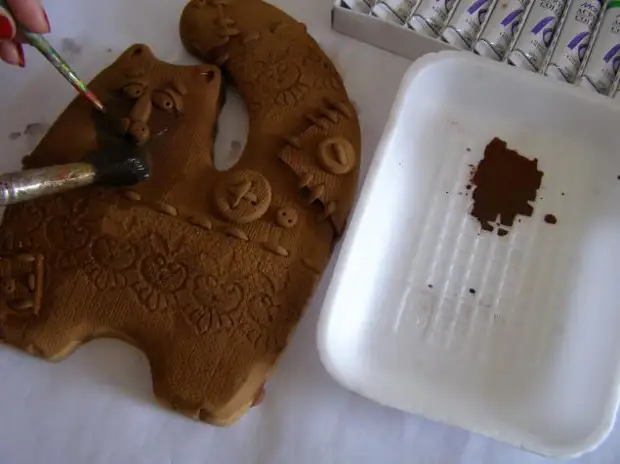
18. To begin with, we will make a light tint that will emphasize the texture of burlap. To do this, a large round brush generously wet the product with water. We carry the gouache of the dark red-brown and the little brush with the dimer of the relief. The edge of the colorful spot is immediately blurred clean water, so that there are no sharp transitions. Our cat became completely chumazim. It's time to wash it!
But not at once. Let the paint absorb a little in ceramics - 5-10 minutes. Now take a large rigid brush, or toothbrush- and go to the bathroom! Under the jet of cold water wash off the surplus of paint. Do not forget to wear apron! Otherwise you have to wash not only a cat!
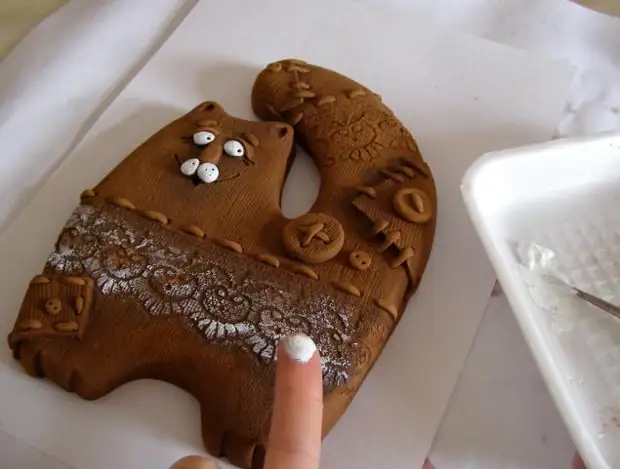
19.Tube ceramics should dry up, this will happen quickly, the unshagened burned clay absorbs water as quickly as it gives it.
We proceed with the painting with acrylic paints. Color the cheeks and eyes, the lace lines are slightly emphasized. I like to shake with my fingers. Pillows neatly hit the paint-white acrylic, I emphasize the lace texture.
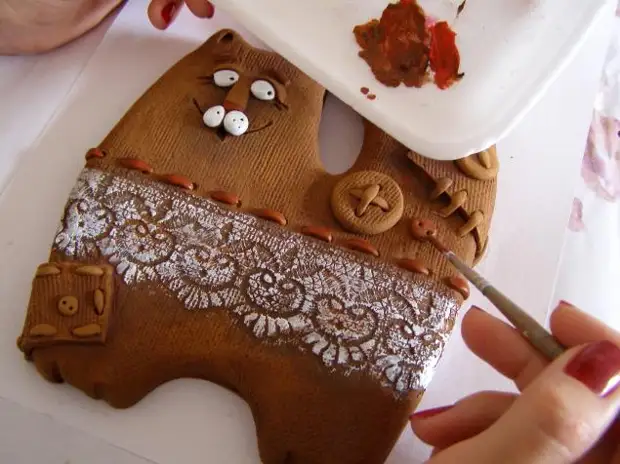
20. Different shades of red-brown paint stitches-butchers.

21. Covered eye varnish, and decorative elements.
Varnish will give a glossy shine and deepen the color.
It seems, everything .... Now we can praise ourselves, and hang our spice, just picing it by the tail on a reliable nail.
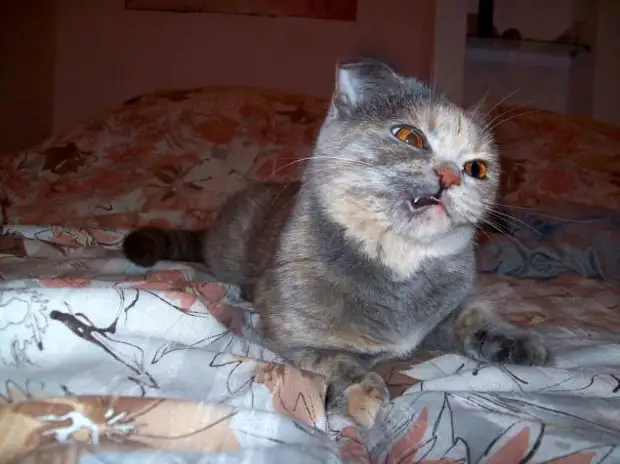
Well, in the last, my Alice-sneezed so much ears twisted !!!
All creative success - big and small, our pets - do not hurt, do not hooligan, and please!
Author of the master class Anna Herman Fusing (Anekcha)
A source