
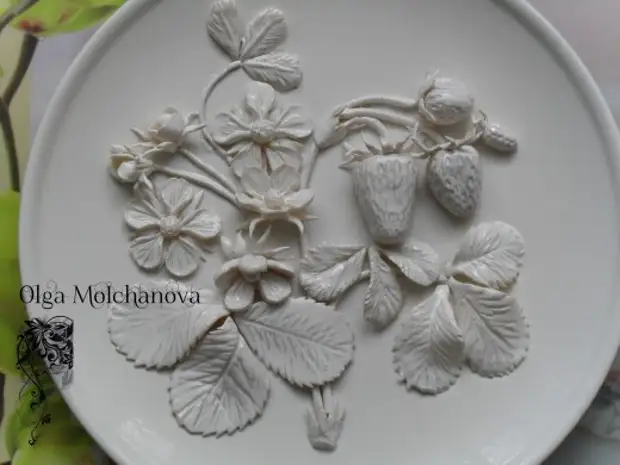
Dear my needlewomen! Greetings to all who are very interested in cold china, I would like to cook it, but it can't start it from cooking because of the non-corn starch. As it turned out, you can use potato starch, despite the negation of many masters on the network. My huge thanks to the author from the country of Masters Olga Molchanova for inspiration for creativity, for a detailed master class, for revealed all the secrets of a cold porcelain, for her wonderful work! Thank you! Next, post the text of the author.
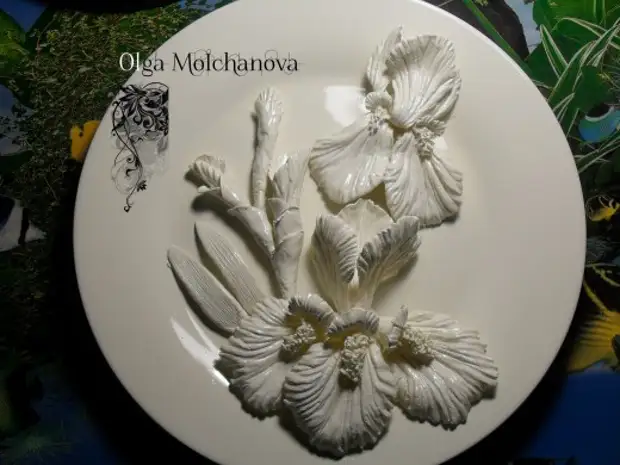
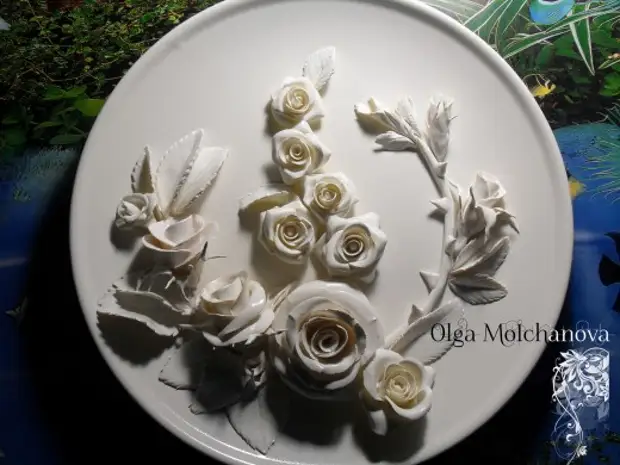
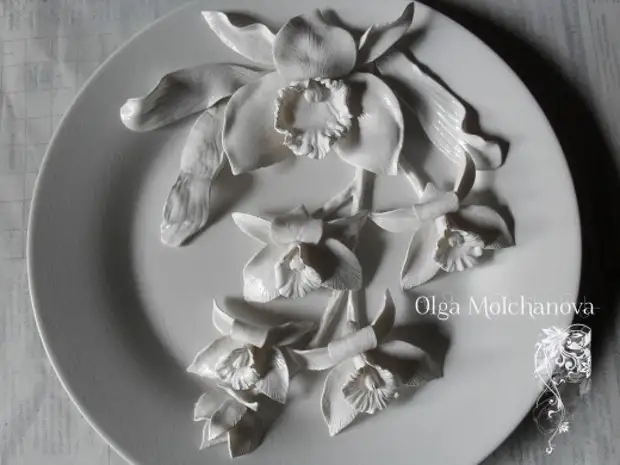
I want to note that these flowers, white, which is lower, the author first covers the white ground enamel from the can, and from above, too, from a car varnish. That is why they are so snow-white and brilliant)
So, we will need:

Starch 250 gram glass (corn or potato)
PVA glue 250 gram glass (moment-super I mix with some simple PVA)
Glycerin 1-2 tablespoons (there is in pharmacies)
Cream for hands 1 tablespoon (preferably nutritious or velvet)
Lemonic acid in a powder of 0.5 teaspoons (without a slide)

Pour glue into glass or Teflon dishes, add glycerin, cream and citric acid. Everyone is thoroughly mixed to a homogeneous state.
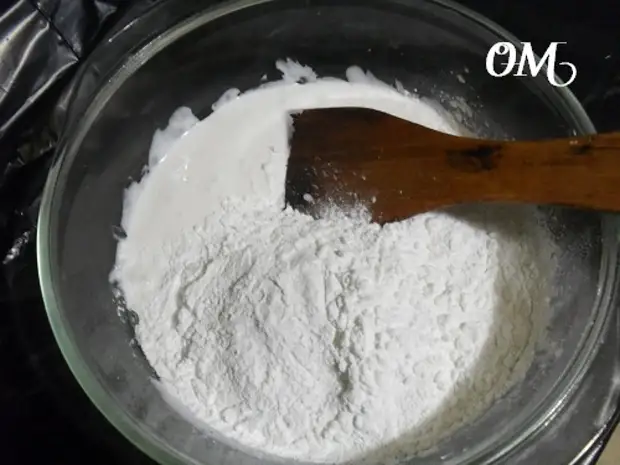
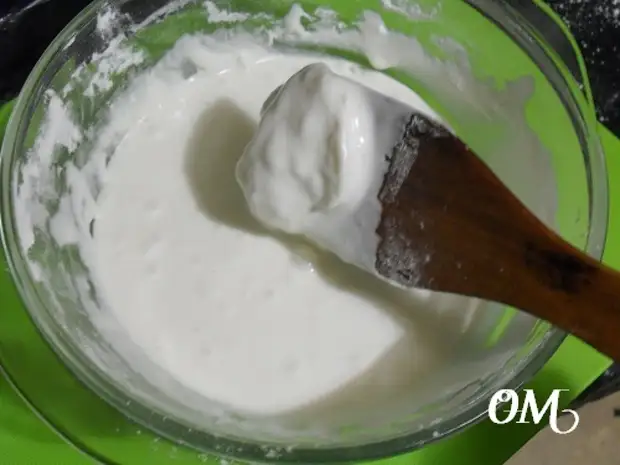
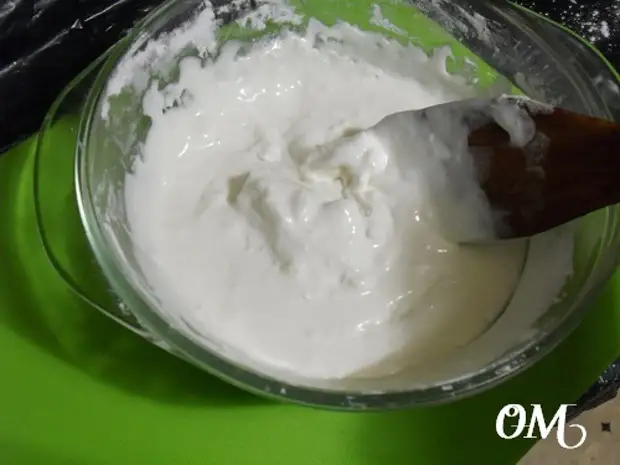
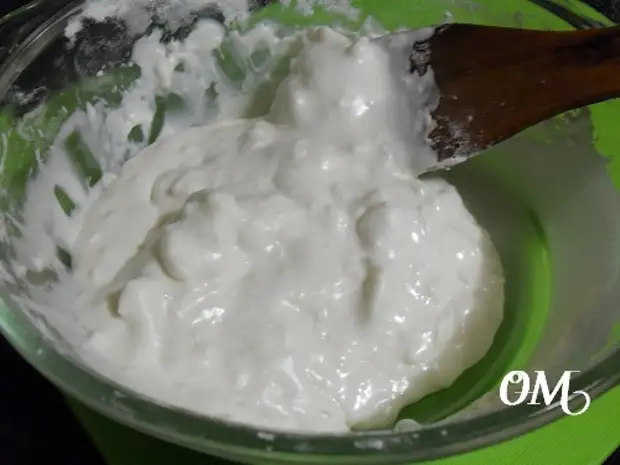
Pour the starch in our container and mix them again.
We get a lot of consistency resembling sour cream. It bubbles a little - it is citric acid, there is nothing to worry.
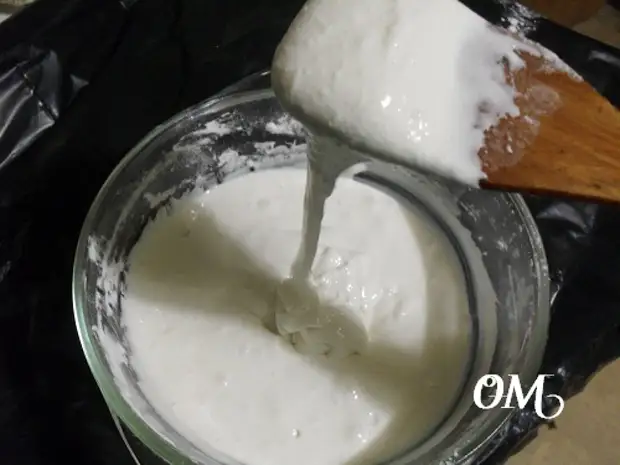
We put the dishes with our mixture on a small fire or a water bath and, constantly stirring, heated. Quick-welded lumps will begin to appear
Do not forget all the time to interfere, and then in the glass can merge.
The process is all accelerated. The mass is becoming fat. Stirring, do not forget to go around not only along the bottom, but also through the walls of the dishes.
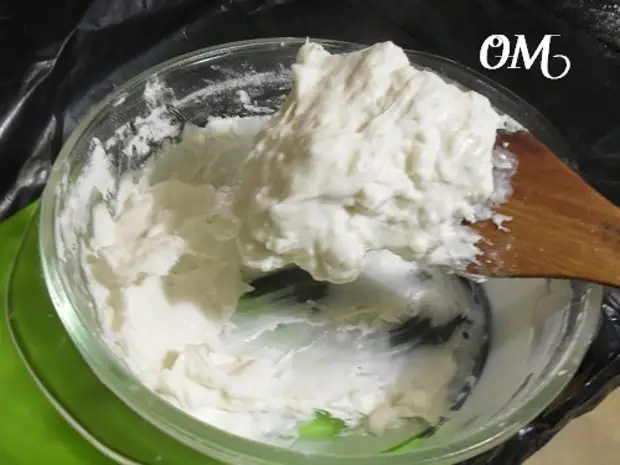
As soon as the whole mass gather in the com and will cease to be liquid - porcelain is almost ready.
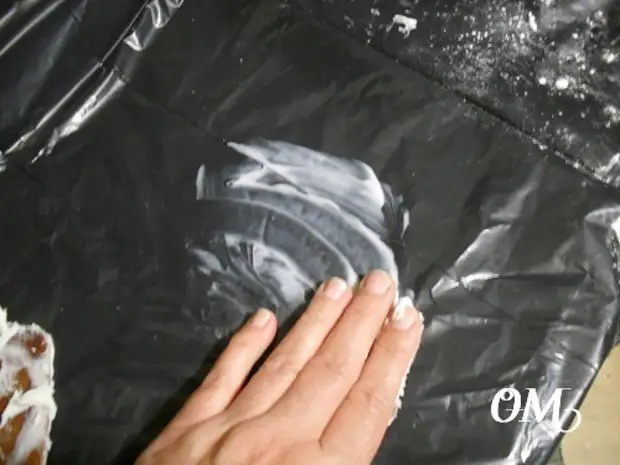
Lubricate the table with a table on which we will wash the mass.
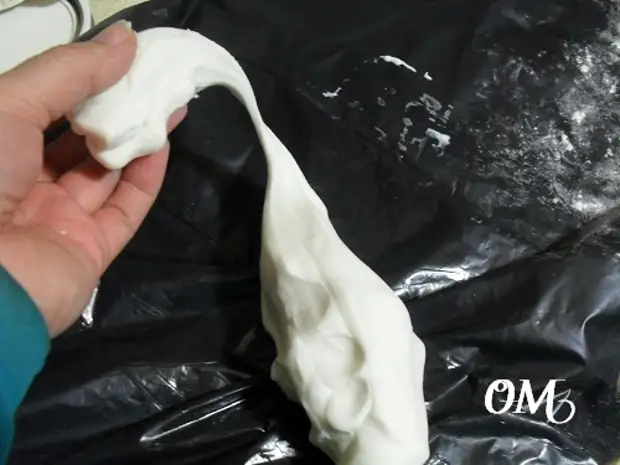
Lay out the hot mass on the table. The dishes in which porcelain cooked immediately soaked with water so that in the future there were no problems with glue laundering and there was no negative impression from the cooking process.

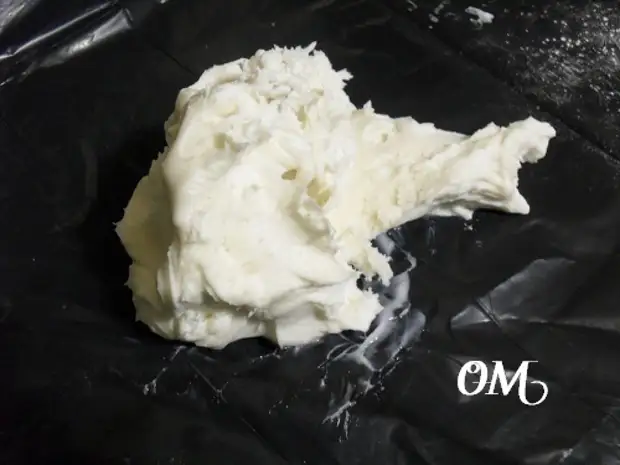
And start kneading like dough on dumplings. If the portion is small, the lump quickly begins to cool and the hands are completely tolerant. If the volume is exceeded by 2-3 times, you can wait a bit when the mass is slightly cool down, cover with a wet cloth with a wet napkin.
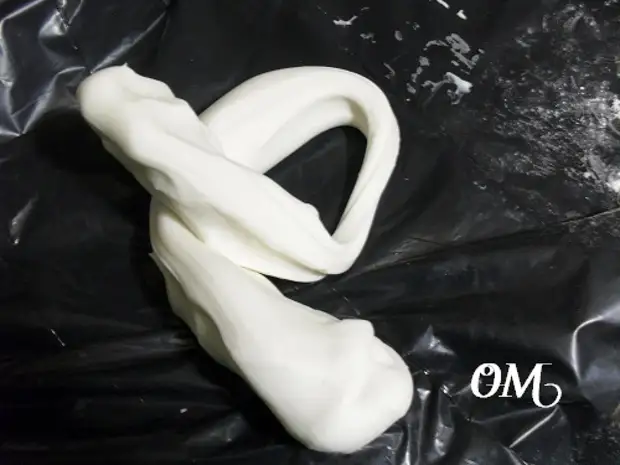
After mixing and cooling, it should turn out white, smooth, plastic and non-sticking mass
The plasticity is checked like this: capture the piece and start pulling. Normal plastic mass, suitable consistency, does not river with pieces, is not rubber and keeps the shape without spreading across the table.
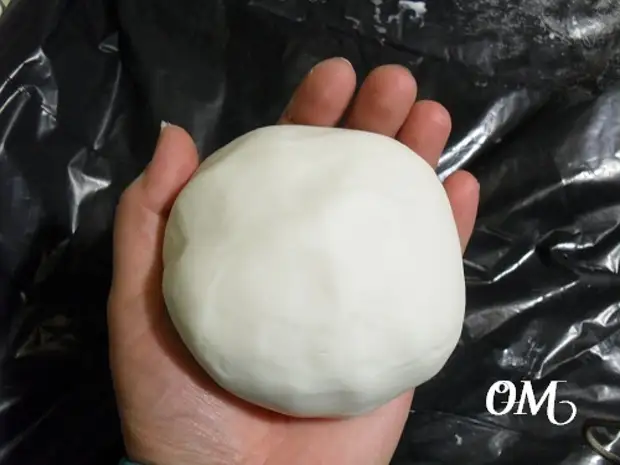
All, our cold china is ready!
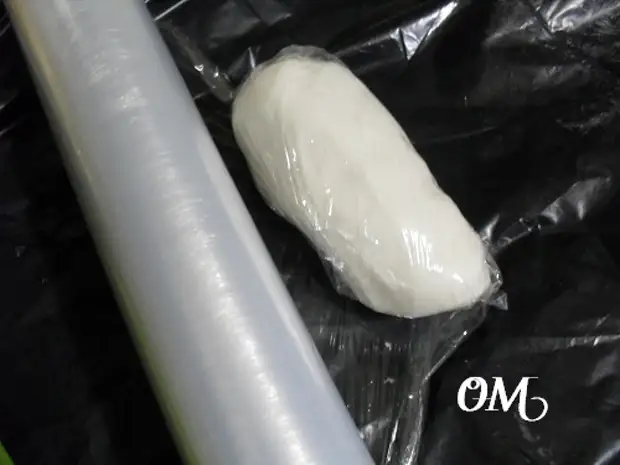
We take edible film or plastic bag and deceptively wind our cherished piece. Let him lie down for several hours. Although it is possible to sculpt almost immediately. Stored at room temperature tightly packed not because of any harm to health, but in order for our porcelain to lose their qualities and not dry before we do not piss out something beautiful. Anticipating future questions I want to add that you can cook not only on the stove or water bath, but also in the microwave. In this case, the mass is heated in several techniques with stirring after each heating. Depending on the number of tight mass and microwave power, I first warm 2-3 times for 20-30 seconds until the mass is warmed and it will not begin to thick. After that, the heating time is reduced to 10 seconds, not forgetting to mix each time, which will help to prepare a homogeneous mass.
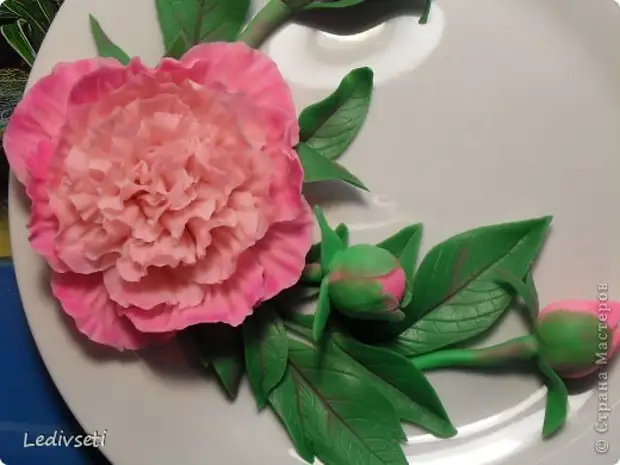
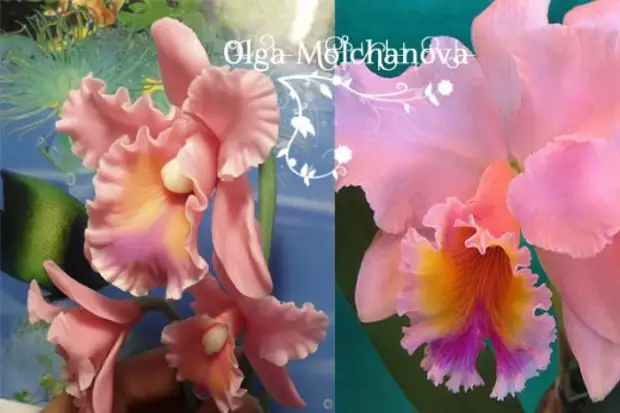
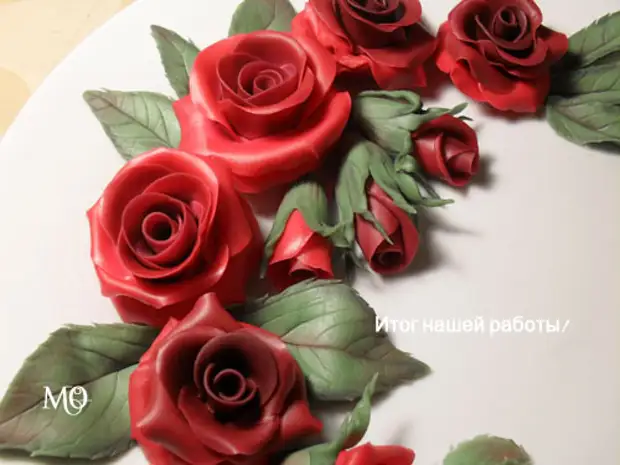
So, we will assume that with the boiling mass we coped successfully ... Seeing an extraordinary flower or a beautiful picture, we are illuminated by the idea of creating a unique masterpiece. Approximately so it was with this work, well, I liked the orchid unfortunately!
What do we need?
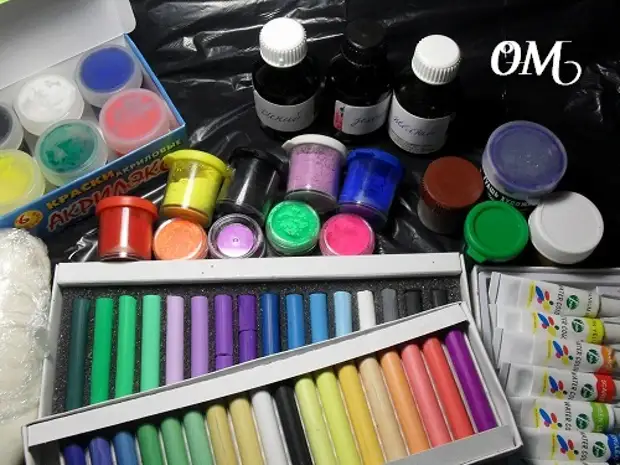
And in the photo - a set of what I use. These are acrylic paints, gouache, dry pigments (in the center), food dyes (on the photo from above), water-based paint (right below), pastel dry (shallow boxes). I want to add that in the photo there are no some components that I do not use me, but which may well be approached for beginner needlewomen - this is unnecessary, or well, very beautiful shade of shadow and lipstick. Also in the photo there are no oil paints, which are perfectly suitable for painting inward and outside. In general, we are suitable almost all that little is painted.
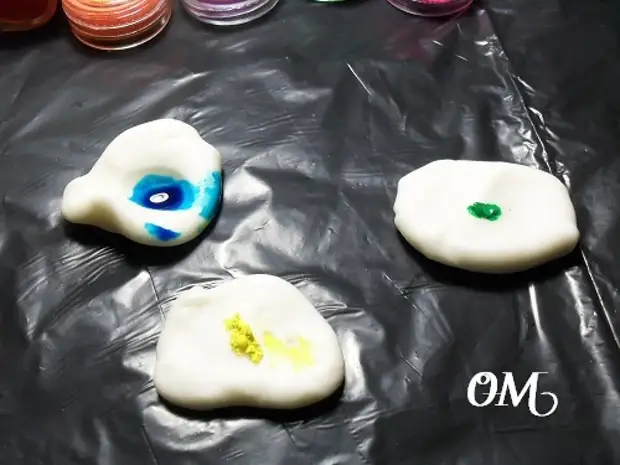
For example, we take different dyes not in color, but according to the consistency. Blue is a food dye (why liquid I will describe at the end), yellow - dry pigment, green - water-based paint. So on our cherished pieces we apply a paint.
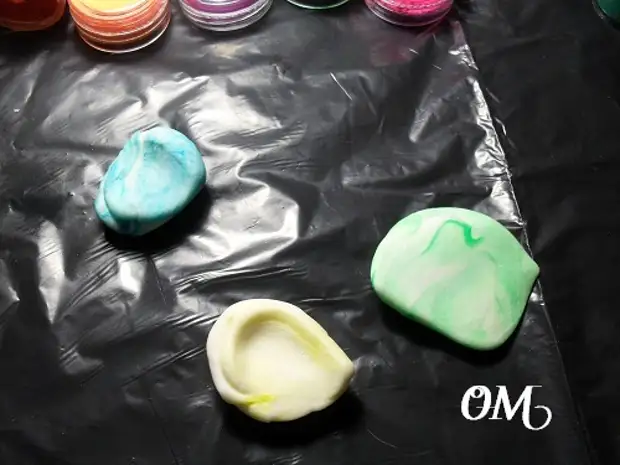
Watch inside and begin to mive.
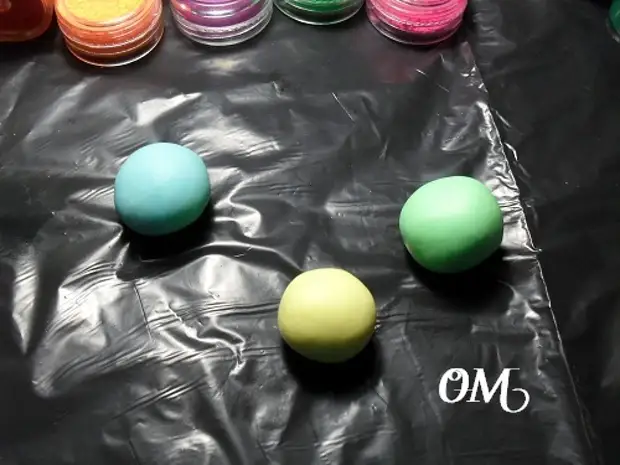
We knew carefully so that the mass is uniformly painted. As a result, an excellent result. We climb into the film and start to bang.
I also want to bring a couple of examples in order if you need color transitions in a flower, such as here.
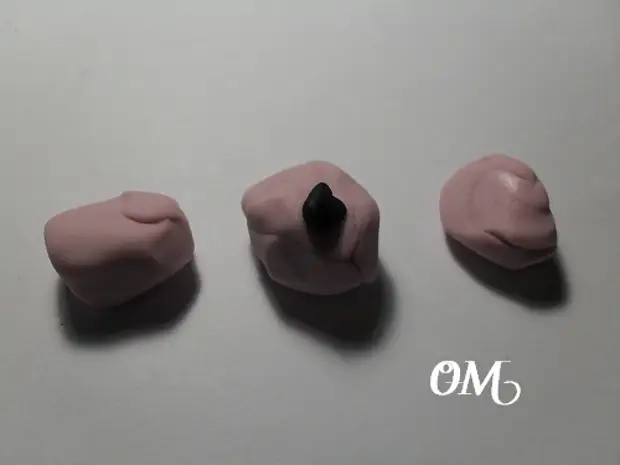
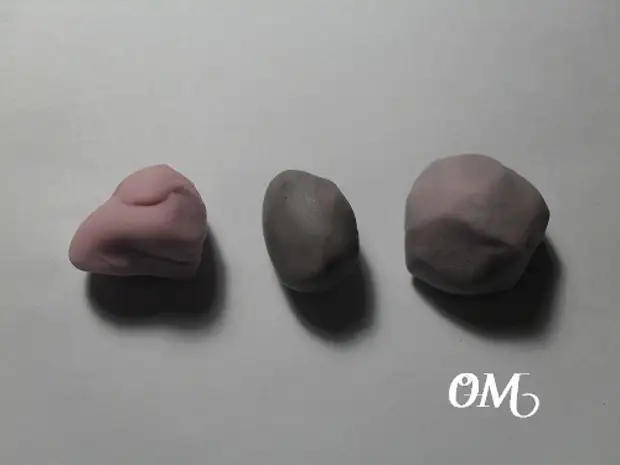
We divide the color piece into three parts. To one of them add black porcelain, quite a bit or black pigment.

Mix it thoroughly. We get the following as a result.
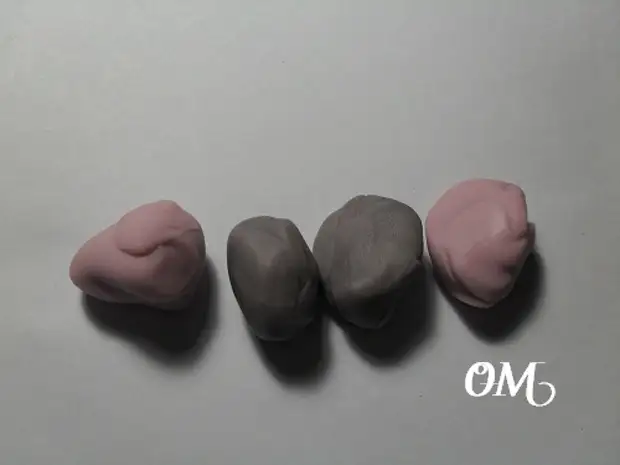
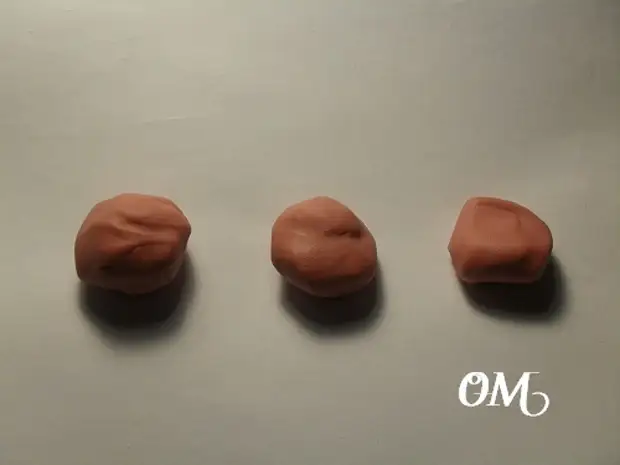
We divide a dark piece into two parts.

One of them is combined with a light piece and kneading.
Here you go. From the very dark, the middle of the very dark is a medium 2-3 row of petals, and light - external.
Secure the topic on another example:
Lighting is not very, but you can believe the word - it will be red. Why - I will describe below. We divide into three parts.
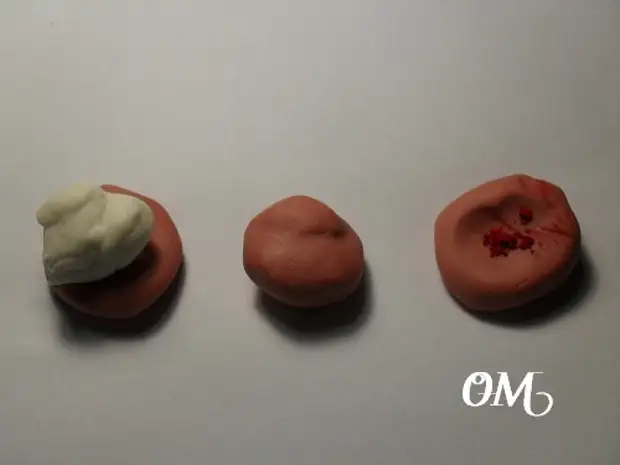
To one of them, add a piece of white porcelain, to another dry pigment or a darker shade of a ready-made mass. Each piece of pieces carefully wash.
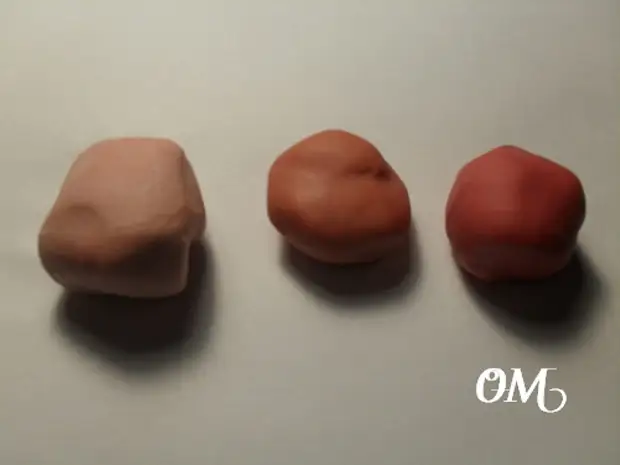
The result of our alchemical experiments! Waile! Now a few thin moments. According to some, unknown reasons, the prerequisite is most convenient to mix with your fingers, but on the palm. This is why she will not stick it for some reason, and on the fingers there are pieces of attracting porcelain, and even under the nails, he strives to climb ... Therefore, I think this is acceptable for myself such a mixing technique:
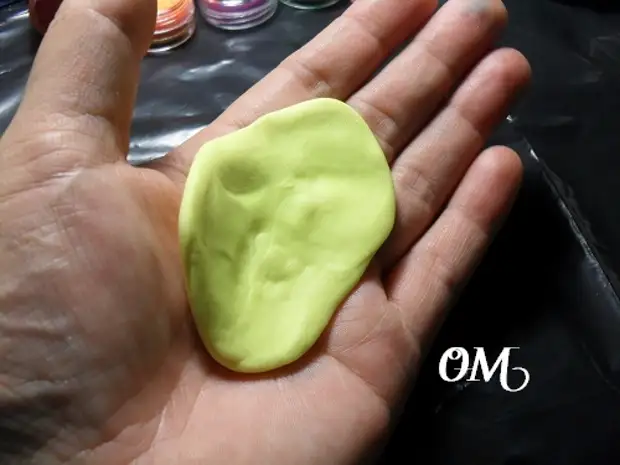
We put a piece on the palm and flatten another palm in the pellet.
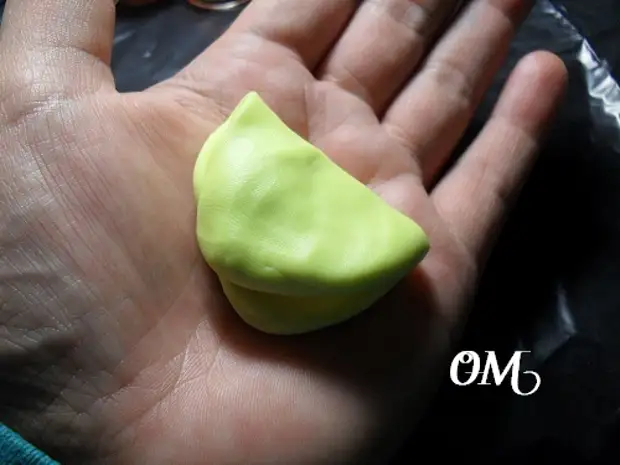
We fold in half.
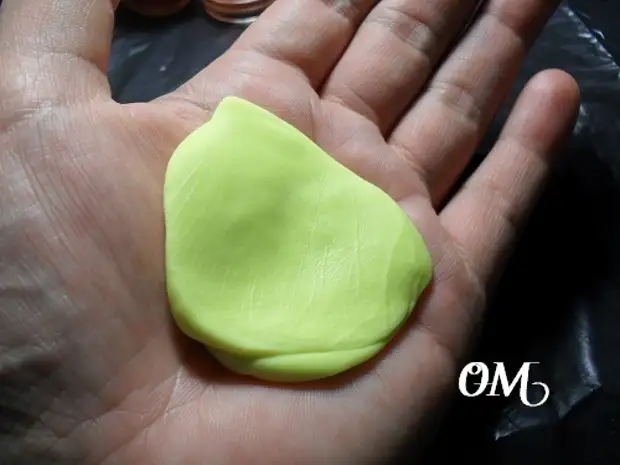
Slide with palm again. A very suitable pad on the palm under the thumb ...

Watch now on the other hand and repeat the procedure.
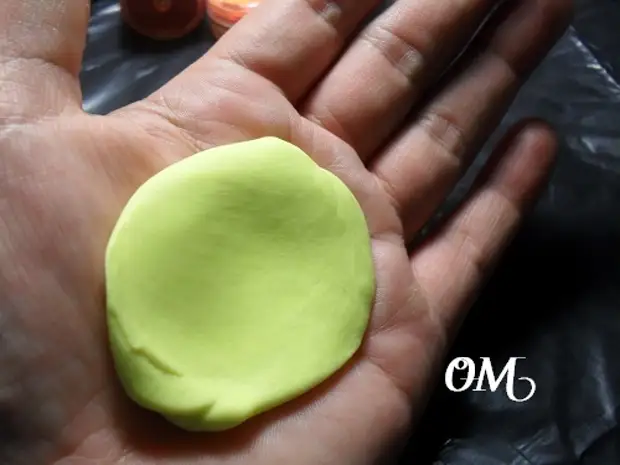
As long as it is not painted in monophonic color.
Well, now all the secrets are generally:
- Perhaps the first thing you need to know is that when drying, the painted porcelain takes a more intense color than wet, so if not sure as a result - roll a drop of painted porcelain and let it dry to make sure
- Food dyes recommend to dilute in a small amount of glycerol, so the color will be homogeneous and more convenient to dose. That is why on the example of blue paint liquid and glitters
- Dry pigments can be purchased in stores for soaps or for nail design masters
- Pastel, mainly using leaves and petals for tinting, and not inside the mass. It should be noted that there is still a wet blank to tint.
- At dry porcelain, dry pastel does not fall. Water-based paint was also bought in a nail design store. To make it, as well as oil, you need with caution, so as not to overdo it, without dilution with water.
A source