
I suggest to see work and master - class Olga, it is necessary to come up with ... a wonderful and original idea!
by El'Ga.
one.
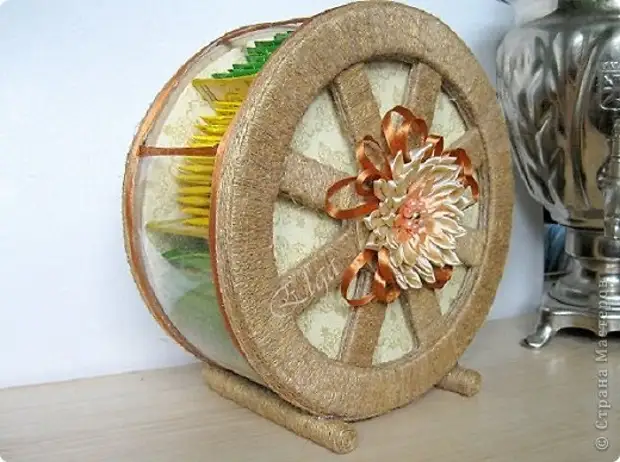
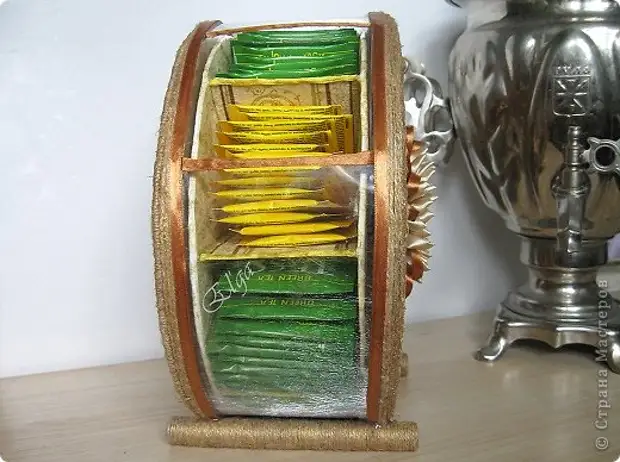
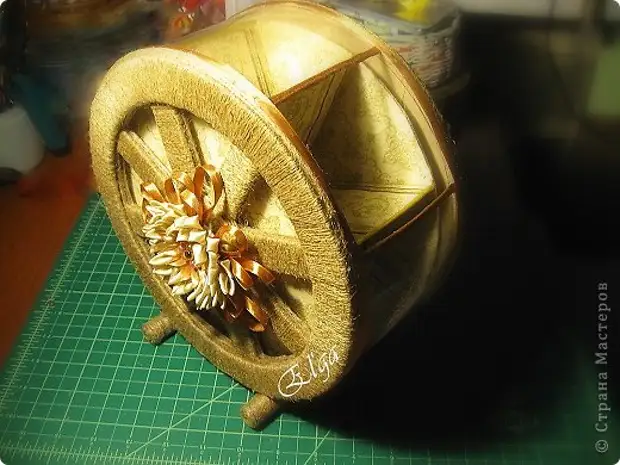
Tea addiction in our family are different. For a long time I wanted to collect all the tea bags in one place, as a result it was invented and it turned out this "tea wheel", the places it takes a little, 100 bags climbs into it easily, to use it very convenient - the inner wheel is spinning, the desired bag is easily obtained from the window. Maybe my idea still interests someone, so I want to share the main stages of creating this wheel.
five.
The following materials will be required for work: thin and thick cardboard, elastic well bending transparent plastic, needle or thick wire, 2 flat beads, recordings, greasy tape, glue;
Tools: Scissors, Mackety Knife, Adhesive Pistol, Pliers;
For decor: Napkins, ribbons, jute twine.
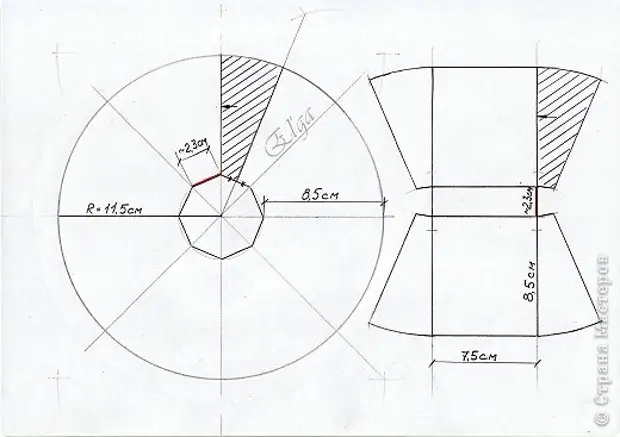
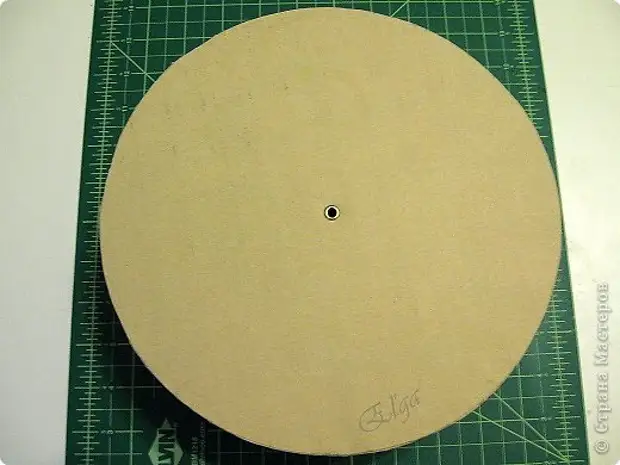
Let's start with an internal wheel. The drawing shows the dimensions that seemed to me optimal for standard tea bags. We need to cut from fine cardboard 2 circles and 8, so-called blades. No longer need to calculate the red line - just measure. The one who remembers the school geometry, the ears of the blades can paint with a ruler and circula, and you can simply copy the shaded item from the circle. For the inner wheel is better not to use thick cardboard to make it as easy as possible.
Blast bend as follows
6.
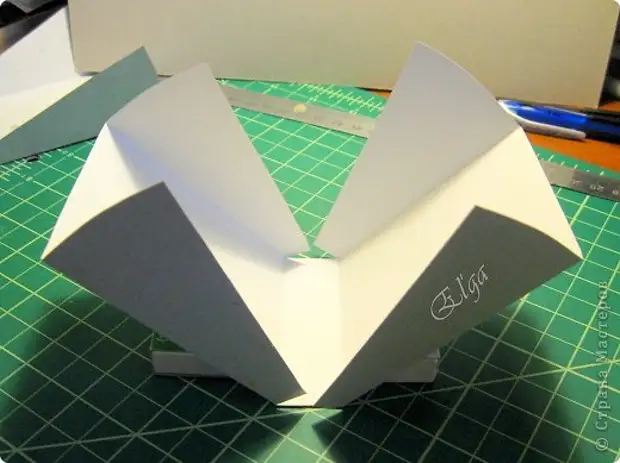
7.
and glue wide parts,

eight.
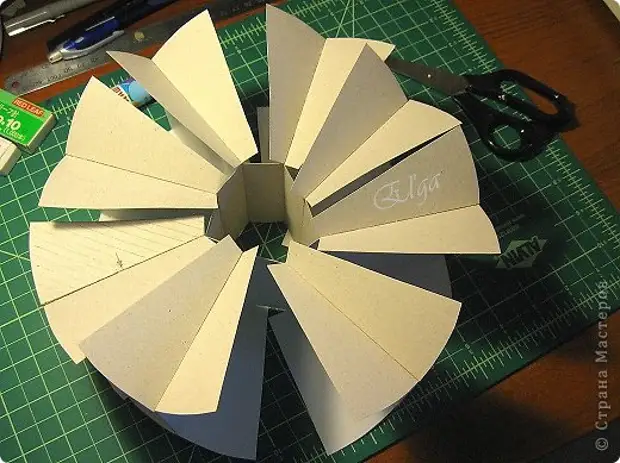
The resulting tape is closed in a circle.
nine.
Now you need to glue the remaining "wings", I took advantage of the painted scotch.
10.
It turned out such a design with eight pockets.
eleven.
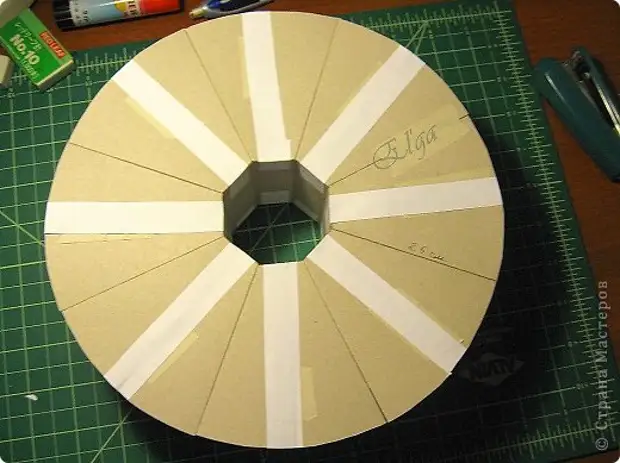
In the center of two circles, we put the chammess, in order to strengthen the holes through which the needles will pass. Circles glue plow glue on the sides.
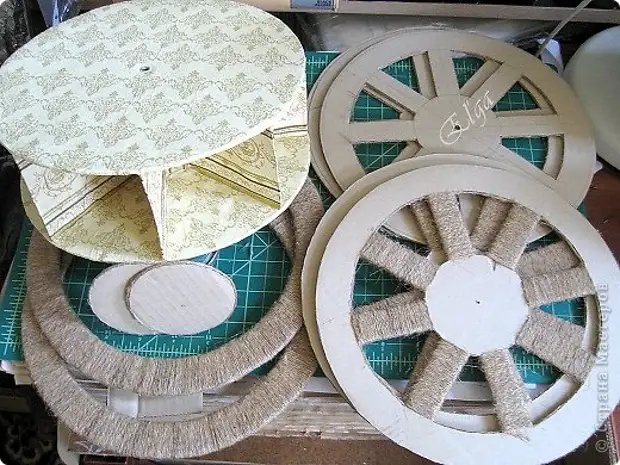
ATTENTION! At this stage, the inner wheel must be decorated. I did not photograph this process, here the flight of your imagination. My fantasy was enough to cover acrylic primer and decoupage with napkins.
12.
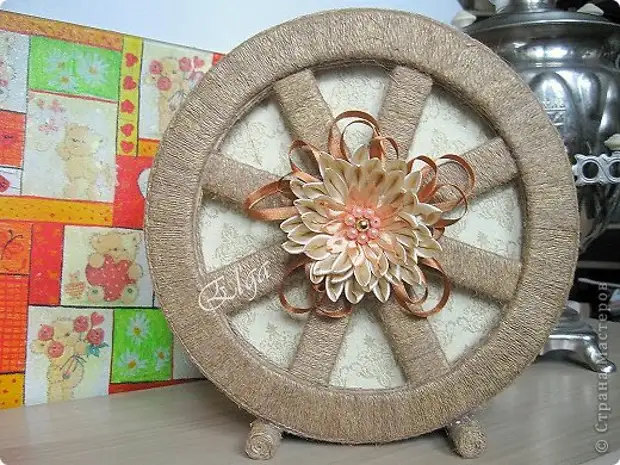
The external wheel I first made deaf, cutting 2 circles with a diameter of 0.5 cm more than an inner wheel. It turned out hardly, I wanted more lightness and look like a wheel, so the cuts appeared in the circle. To increase strength, these items can be made double, the center is also better to strengthen with records. Rim wrapped with twine and small circle is for the decor.

13.
All the details are ready and partially decorated, you can start the assembly.
fourteen.
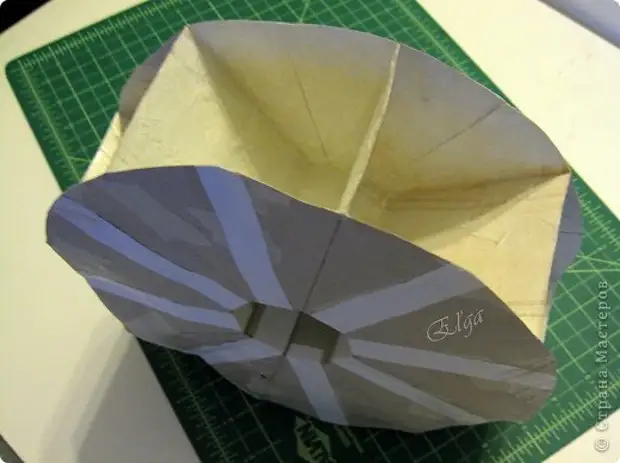
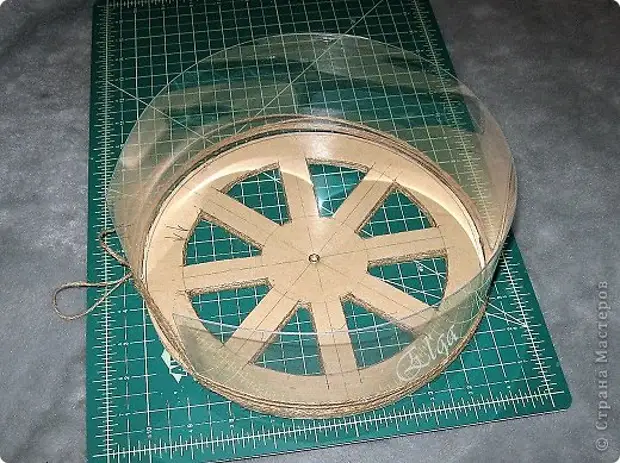
We need to glue the plastic tape to one side of the outer wheel (note that the champions of external and inner wheels are addressed to each other smooth parties). The ribbon width is equal to the width of the inner wheel plus 1 cm (do not forget to take into account the thickness of the walls of the inner wheel), the length is the length of the circumference of the outer wheel minus 9-11 cm. I have everything perfectly glued to hot glue.
fifteen.
Now the final assembly.
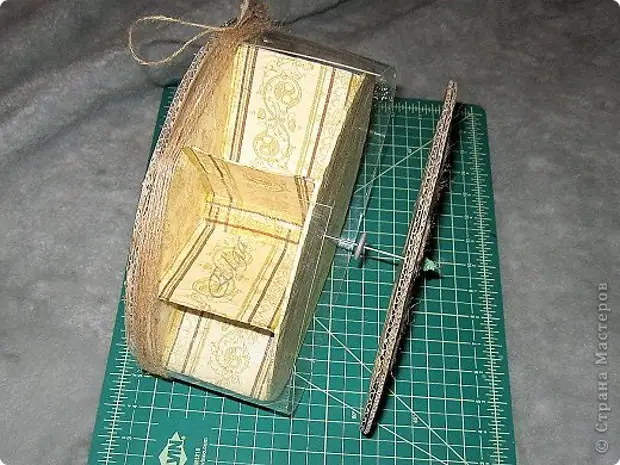
The needle or wire bend in direct angle and put onto it our items in the following order: a part of an external wheel with a glued plastic band - a flat bead - an inner wheel - a flat bead - the second part of the outer wheel. We drive the wire and glue the plastic tape to the second part of the exterior wheels. If for some reason the width of the plastic ribbon is not enough, you can not wear beads, it will still be good to spin if you are correctly placed the champs. We put wire bends with small cardboard circles, please add a detector (I added ribbons and light tinting of the twine with gold acrylic).
sixteen.
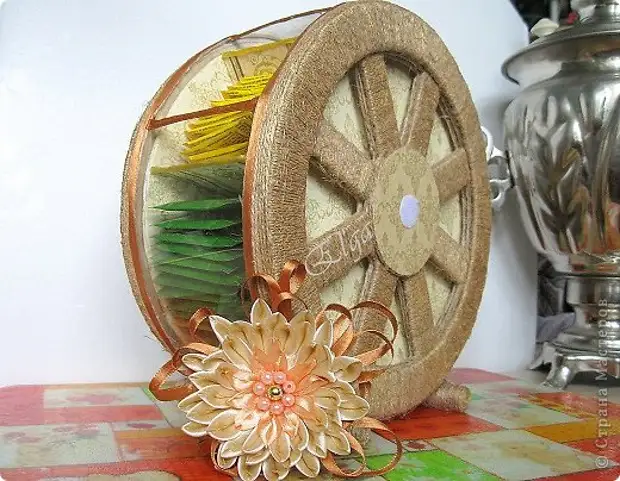
So that the wheel stood and not rigged, I stuck two sticks to hot glue below (used sleeves to which the paper for fax was wound), wrapped with twine. The window is better not to have strictly up, but to move a little down - it is more convenient to use.
17.
Here, in fact, all. Decorations-Kanzashi made on Velcro to change them by mood.
I thank everyone who watched to the end. Good luck to all and creative success!
A source