
Temari is the traditional view of the Japanese needlework, a decorative ball, embroidered with an ornamental pattern. The word "Temery" is translated from the Japanese as the "Ball of Princess", and the history of these balls begins in the eighth century.
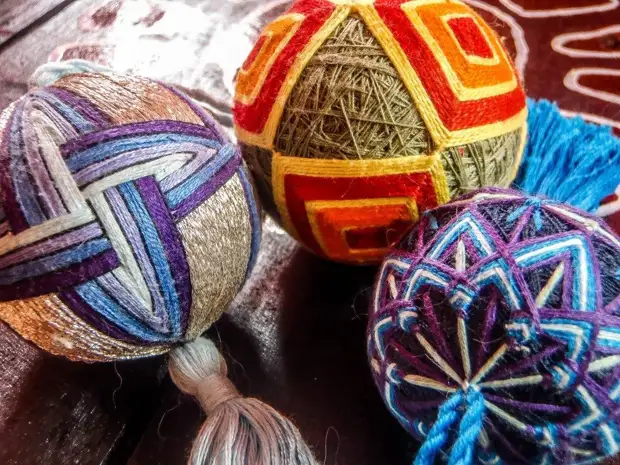
Then from China to Japan came the game "Keeri" - "football". In this game, it was necessary to throw a small leather ball with my feet, and they played exclusively aristocrats. Gradually, the game moved to noble ladies, and they preferred not to kick the ball with their feet, but to throw out of hand to hand. Since the balls now appealed much more carefully, they began to decorate with a rich silk embroidery. It became a traditional female needlework - the aristocrats were competed in the manufacture of Temari, inventing the most intricate patterns. Thus, the game gave rise to decorative art, and Temari turned into a decoration, a luxury subject, an expensive gift and a talisman.
In this master class, we will try to master the simplest, basic techniques of therapy.
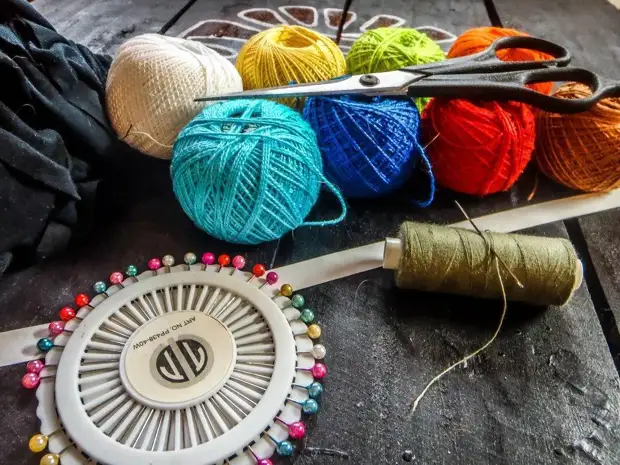
Teamwork Materials:
- Unnecessary trimming knitted fabric
- Multicolored threads ("Iris" or Moulin)
- scissors
- Pins (better with multicolored heads)
- Paper strip near a centimeter width and about 20 cm long
- coil threads;
- needle.
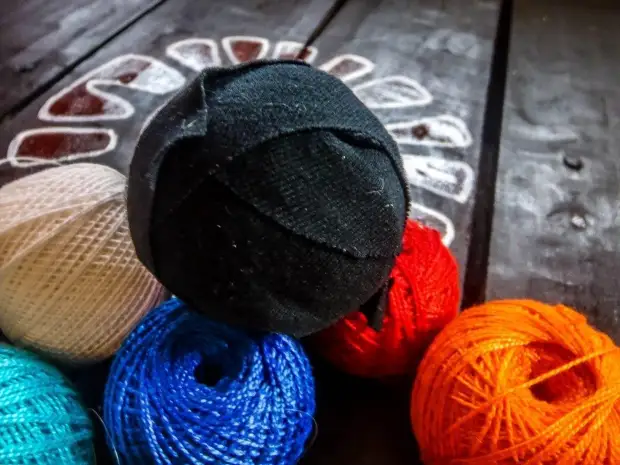
Temery ball decor do it yourself
First of all, you need to make the basis for our ball. To do this, we take knitted trimming and cut them on non-screens (1 -2 cm) stripes that weigher than in the ball. We try to wind tightly and evenly so that the form is as low as possible to the ball.
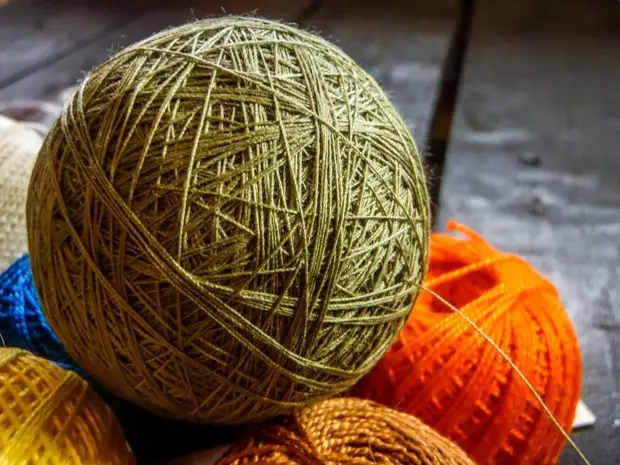
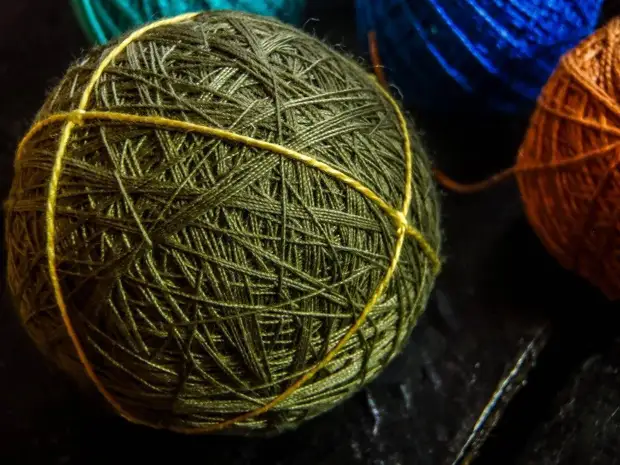
The next layer is the coil threads. We wind them over the knitted ball, pulling the stronger. It is important to change the winding direction more often to get smaller. If at the previous stage, the ball turned out to be curved, then here you can fix it here.
The layer of thread should be quite thick, I left almost the whole coil on it. When you finish the winding, leave a long end of the thread, to ingue it in the needle and make several stitches in different directions to additionally fix the upper turns. Then make the usual knot, hide the thread under winding and cut.
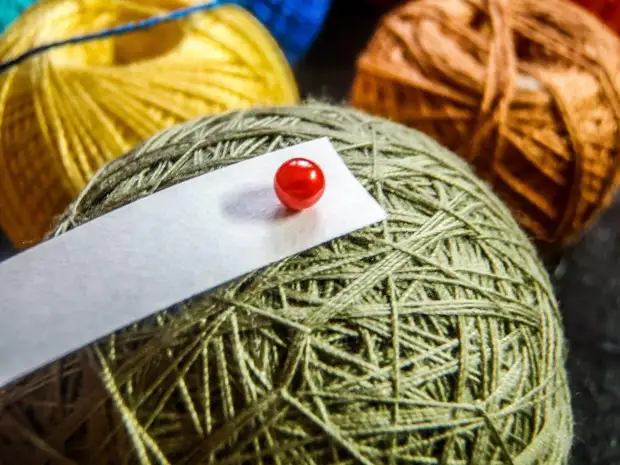
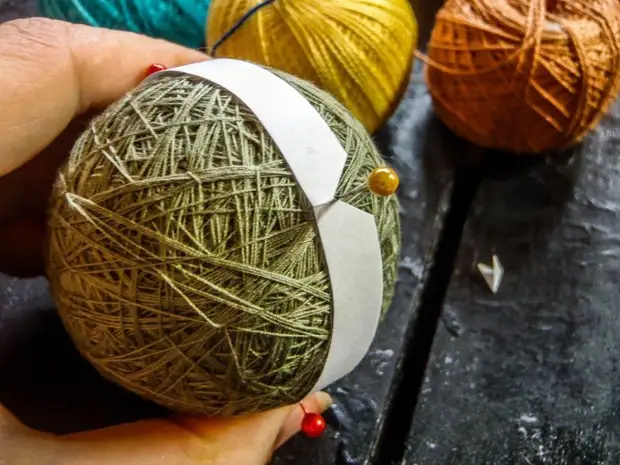
Now proceed to the most responsible stage - markup. Here we will use pins and paper strip.
We rumble the tip of the strip to the ball.
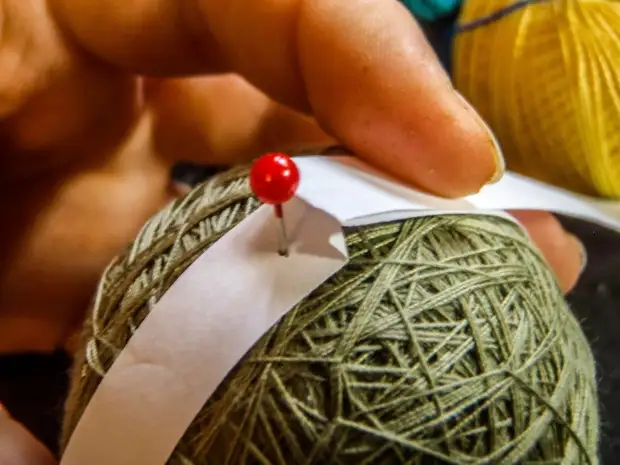
Wrap a strip around and where she will meet again with a pin, flexing it. In this place you can cut.
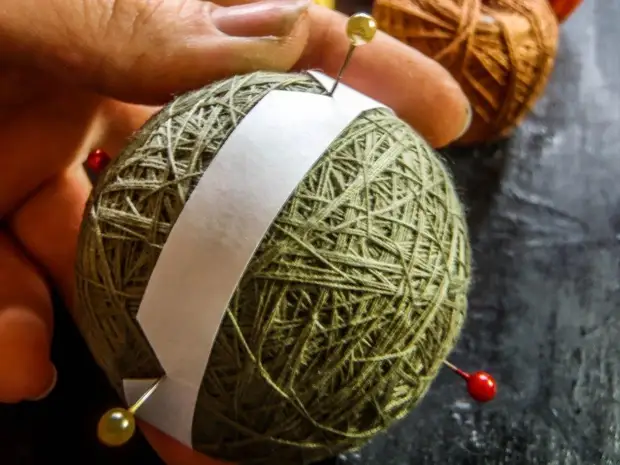
Our strip needs to be divided into four parts, for this we flex it in half and once again in half ("accordion"). Just consider that you need to bend before the hole from the pin. The short tail on the other side is not included in the total length.
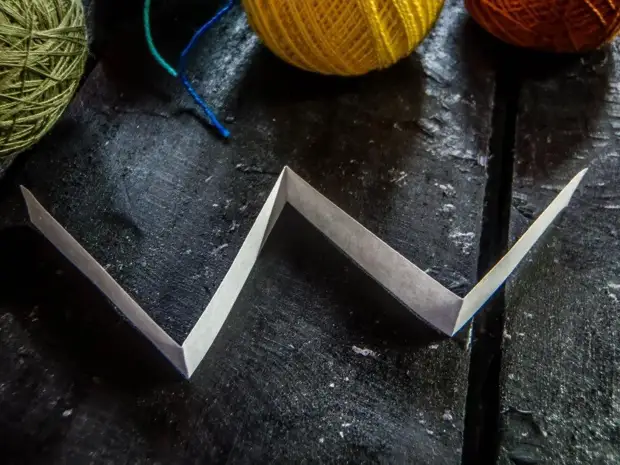
On each bend, cut out small triangles, they must reach approximately the center of the strip of width. Raise the tip again and turn the strip around the ball. The second pin must be stuck on the opposite side of the first, in the corner of the triangle.
These two pins will denote the "poles". To make sure that Poles are really equidistant to each other, bring the strip, seabling the second pin from different sides. It must all the time get into the corner all the time.
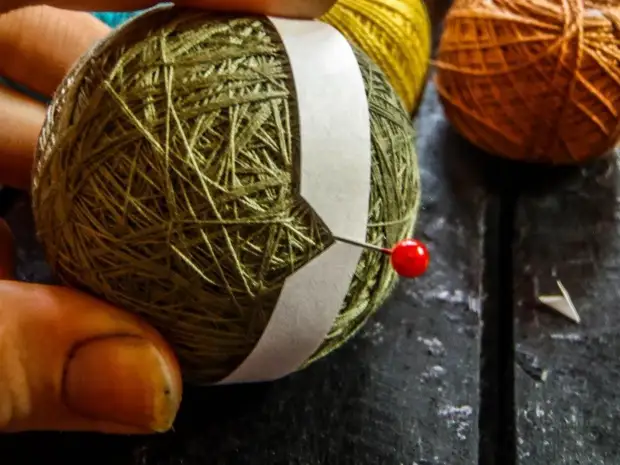
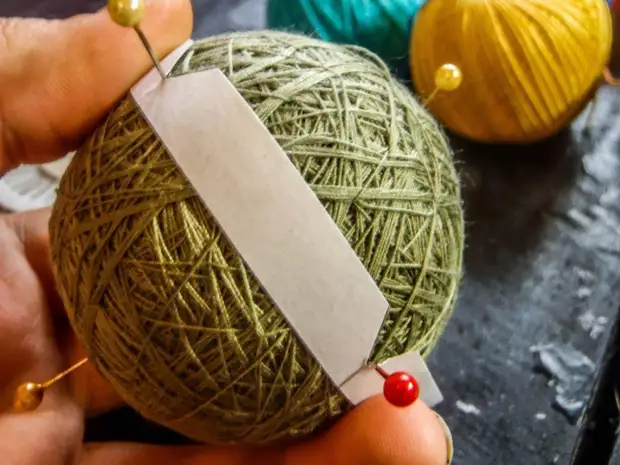
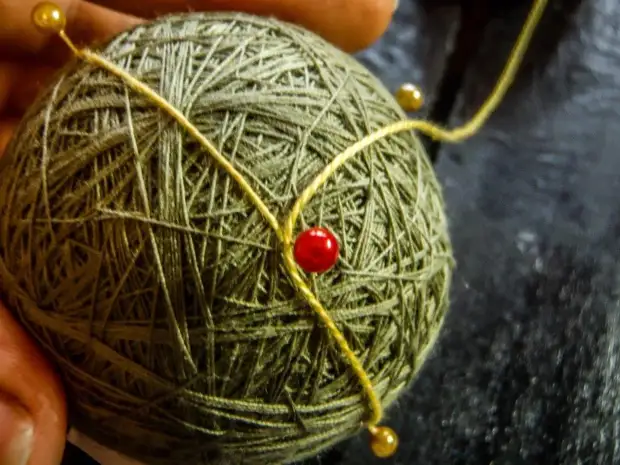
Now we celebrate the "equator" (it is better to use the pins of another color for this). We find the center between the poles, stick one pin there.
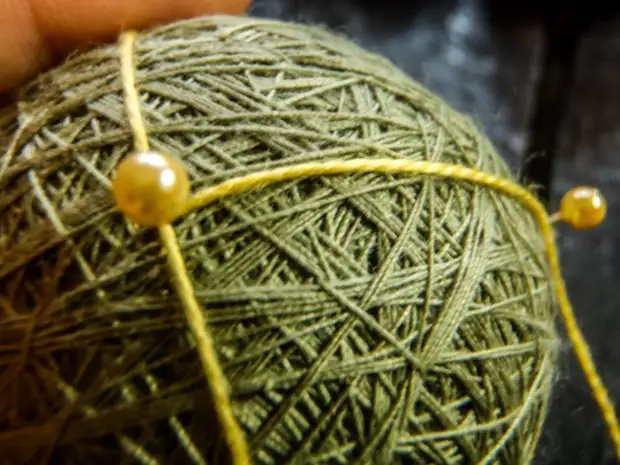
Then they pull over the strip morething so that it breaks away from the Pole, to which he was pinned. Wrap around the equator and find the rest of it.
All distances are better to double-check, just in case. After all, the more precisely the markup is made, the better the pattern will fall.
And here we come to the most interesting and creative part - embroidery pattern. In this master class, we will master the "squares" pattern, the simplest and basic one.
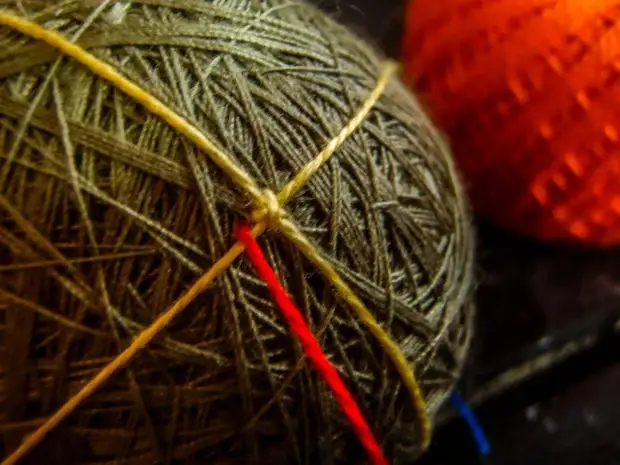
In order to embroider this pattern, you must first set the guide lines. In the needle is quite a long thread, tie the usual nodule at the end. We stick a needle to the ball and take as close as possible to one of the Poles. Stretch and twitch more accurate so that the nodules hide under winding.
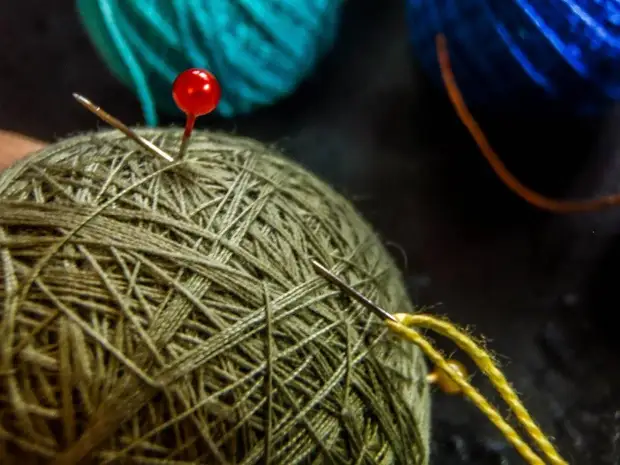
We make a turn around the ball, at the starting point, we deploy at ninety degrees and another turn.
Again, approaching the starting point, fix the coil with a small stitch.
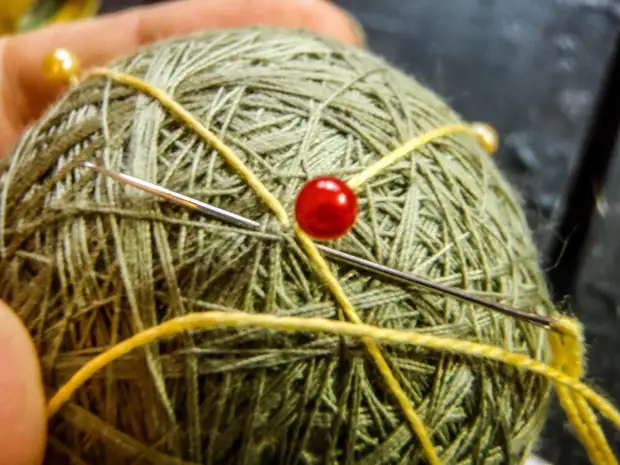
Another stitch will take place, and take the thread aside.
We move to the nearest point of the equator, enhancing a needle where the thread went out on the previous stitch. Thus, these "mining" will hide under winding and will not be visible.
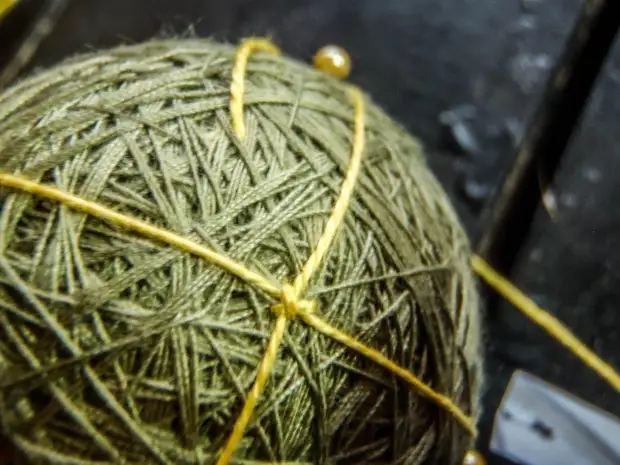
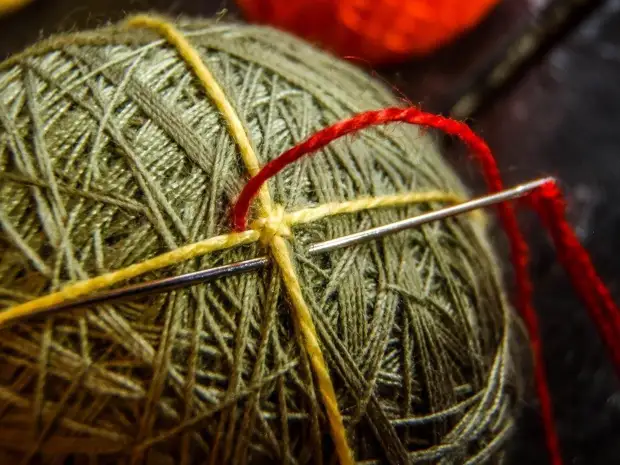
Withdraw a thread in one of the points of the equator, we make another turn.
I enshrine it with a "cross", like the previous one. And then, just bearing under the winding, we go around all the points of the preventive and make "cross", fixing the markup. All, pins can be removed.
An unnecessary thread is hiding as follows: a few stitches under winding, stretch, cut. So do with all the threads that you need to finish.
We start a new thread, you need to withdraw next to one of the "crosses".
Look carefully the next photo. This stitch will be the basis of our pattern.
Be sure to engage not only the markup thread, but also a few threads of the winding.
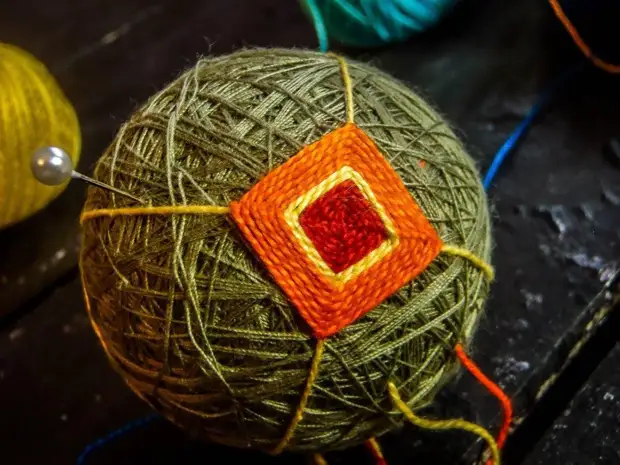
We are moving around with such stitches by spirals, having them very close to each other. Squared is gradually awarded.
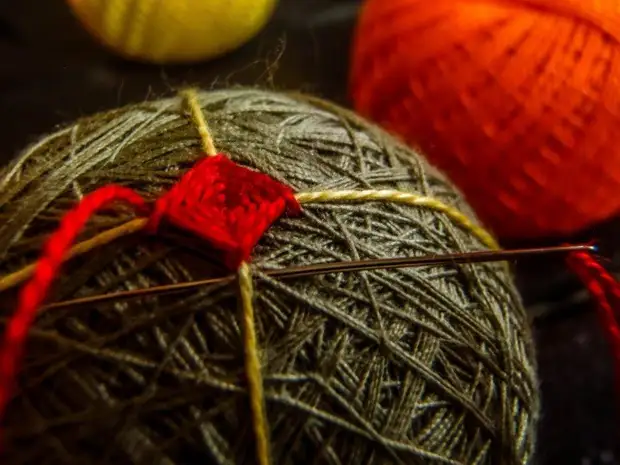
In the process, you can change the colors to look more interesting pattern. We need to reach the square angles before the middle of the lines connecting the markup nodes (for simplicity it is better to immediately mark these places with pins).
Now, if you repeat such squares in each node of the markup, they will meet the corners and the whole pattern will turn out.

That's all, your first tech is ready. Then you can improve and discover new techniques and patterns.
A source