
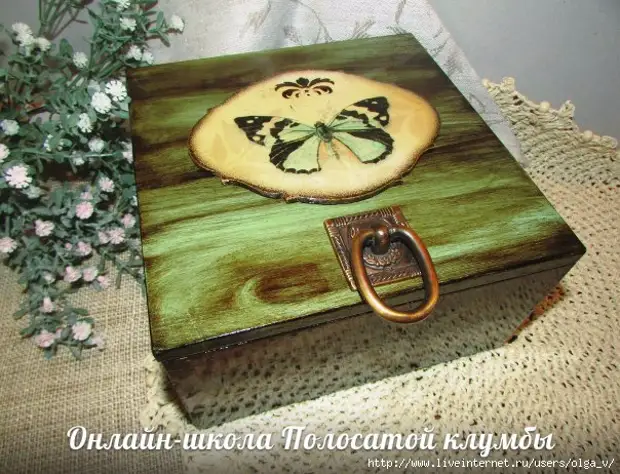
Author Irina Smirnova for "striped flower beds"
For work, we will need the following:
- Acrylic paint chosen by your color (or several colors)
- Finish water-based lacquer
- Bituminous varnish (Tair "fits very well, on the basis of White Spirit)
- White spirit (better to take purified, it is less toxic)
- Finish lacquer, preferably not on a water basis (can be lacquered)
- Decamental glue
Decoupage card
- Synthetic brush (for paint, water-based lacquer and decoupage)
- Brush bristle (for varnish not water based)
- Sponge economic
- Rubber gloves
- Unnecessary container to pour a bitumen varnish into it and after use throw out
- Sandpaper
- Stencil
- Wood blank
Stages of work:
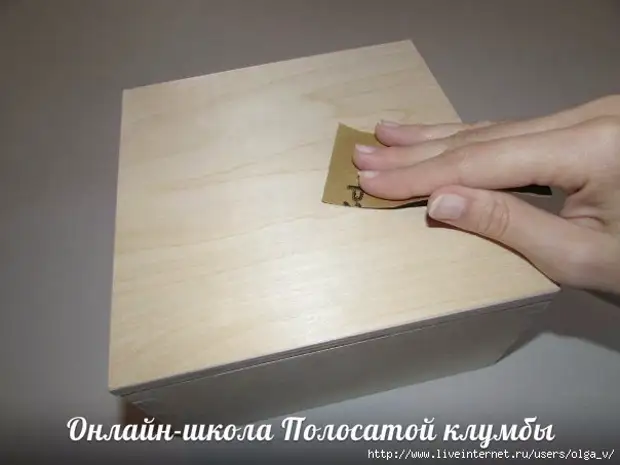
1. Through the surface, if there is a need.
2. Cover the acrylic paint box
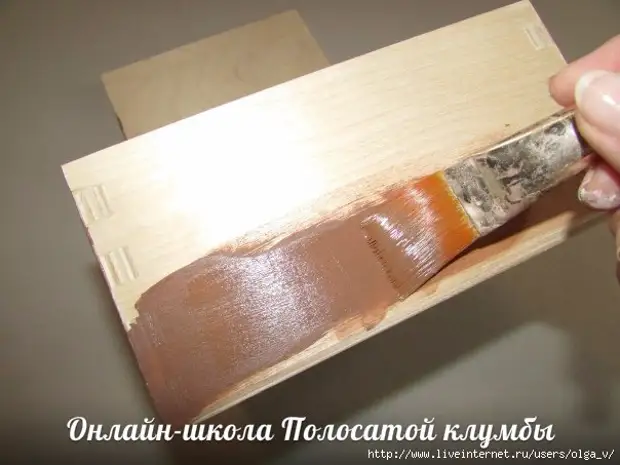
Choosing the color of the paint, consider that in the future we will apply bitumen varnish on top of it and the color will become darker. The drying hairdryer or give dry paint yourself.

3. We apply on a painted surface of a water-based varnish.
Envy.
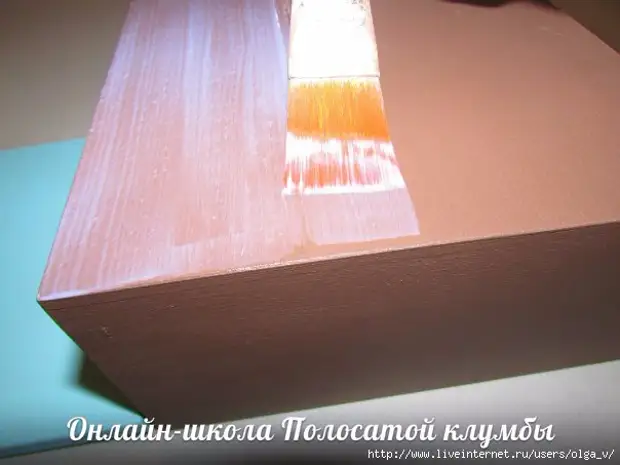
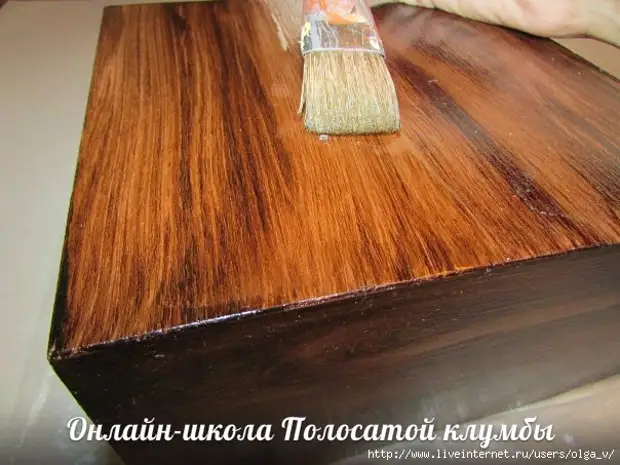
4. We wear gloves and with the help of a sponge we apply a bitumen varnish on a casket.
Since the surface is covered with varnish, then the bitumen will slide on it and you can easily draw a sponge structure of the tree, you can also use a brush brush (experiment :)).
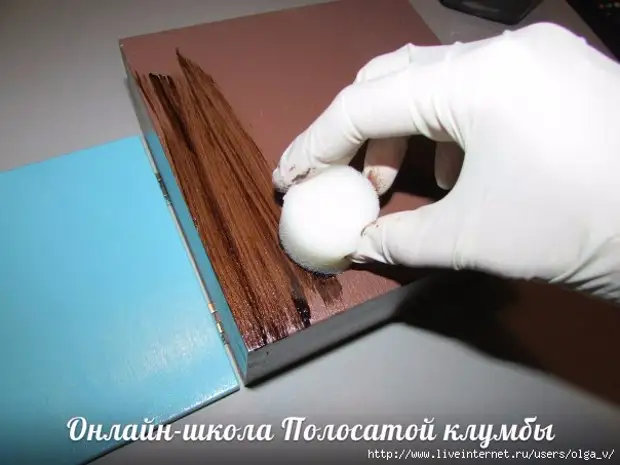
We work with each side of the casket alternately. Do not forget about the knots :)
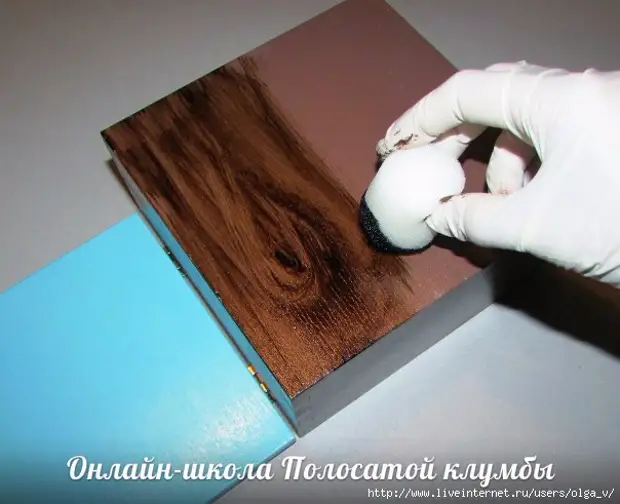
If bitumen drop, and you did not have the result, you can moisten a rag in White-Spirit, remove bitumen and start again. Be sure to give bitumen lacquer to dry (at least a couple of days)!
You can climb the warm hairdryer, whatever the lacquer stops being sticky.
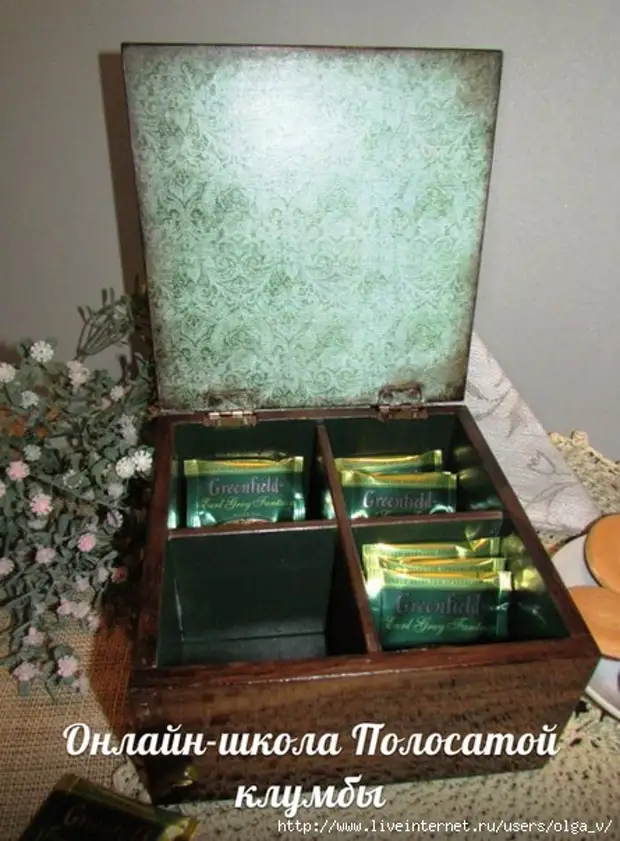
5. Decorating the inner part of the casket.
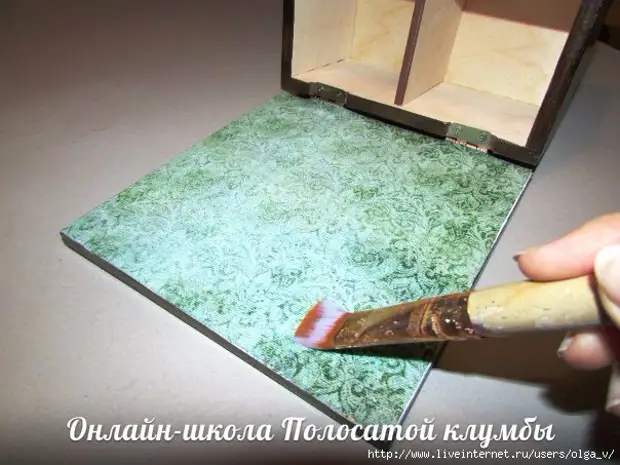
On the lid do decoupage. To do this: the surface of the surface is soaked, dry.
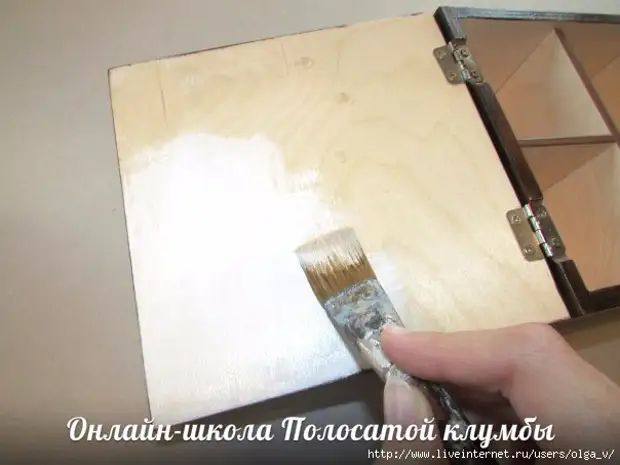
Cut the desired size decaptentate card, soaked it in water for a couple of minutes, we wash the surface of the cover with glue for cards, we apply a picture and, kicking over the air bubbles, apply glue and over the card.
Envy.
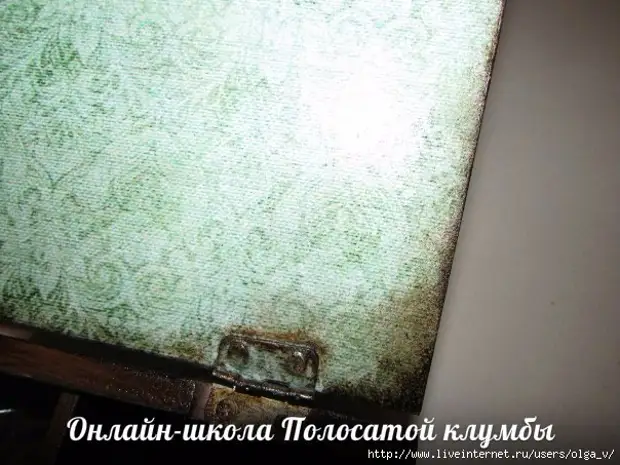
Old the edges with a sponge and bitumen.
Envy.
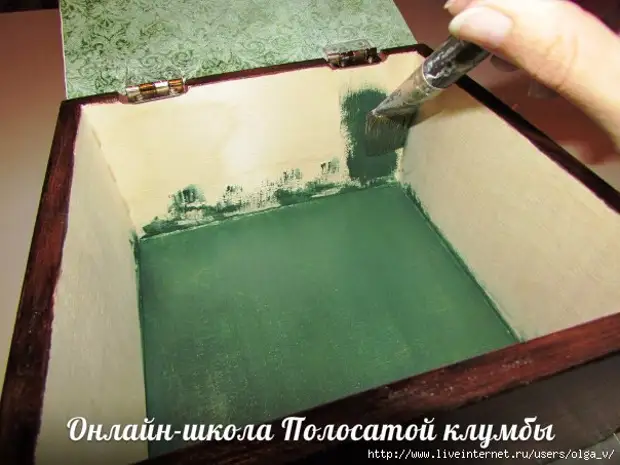
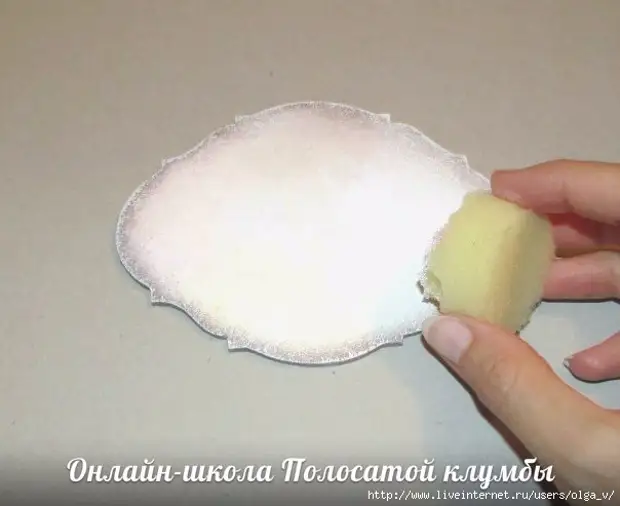
6. Drag the inside of the casket with suitable color of acrylic paint.
We are covered with varnish.
7. Cove the box with finishing varnish (according to the instructions).
I have a varnish on an alkyd basis and it dissolves bitumen if you walk with a brush one time several times.
So such a varnish need to cover the surface very neatly and try not to put pressure on the brush.
You can use varnish - spray.
But just in case, if you definitely do not know how your materials react, initially slow down the sample on which the experiments can be performed.
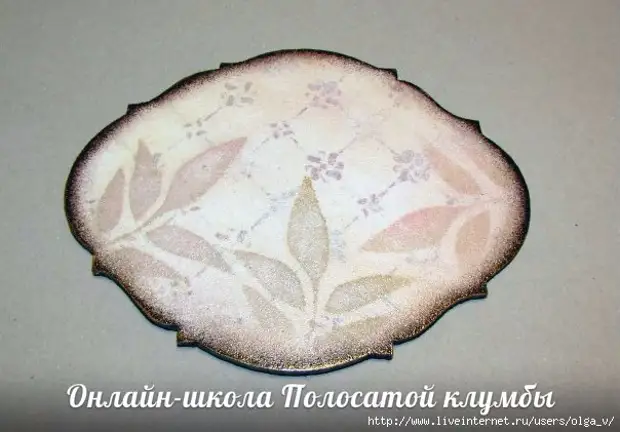
8. We proceed with the decor of the lining, which then glue on the casket cover.
Color the workpiece with acrylic paint, we apply an ornament using a stencil, with a bitumen varnish with edges and cover water based lacquer.
Envy.
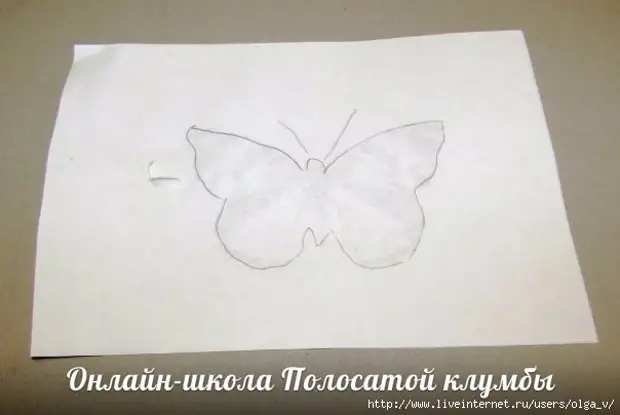
9. Making the lusion of the decapad card.
To begin with, we note the contour of the picture from the back, so that then it is easier to poison the drawing.
We put the lacquer on the workpiece and on the decoupament card, while the varnish do not dry apply the card to the workpiece and fit well, smooth.
Envy.
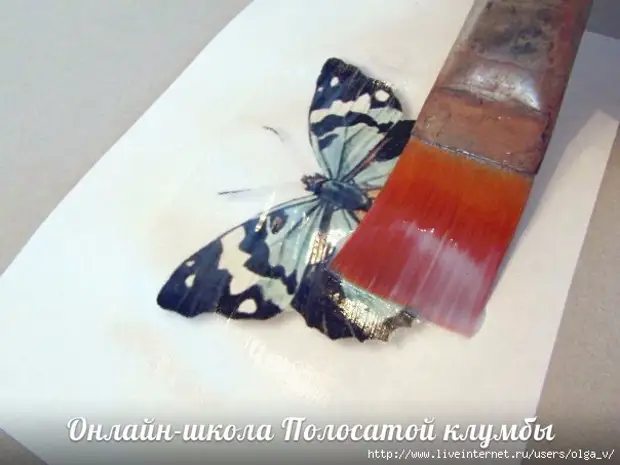
Now we remove the paper to show the drawing, for this we watter the card and gently begin to scroll paper.
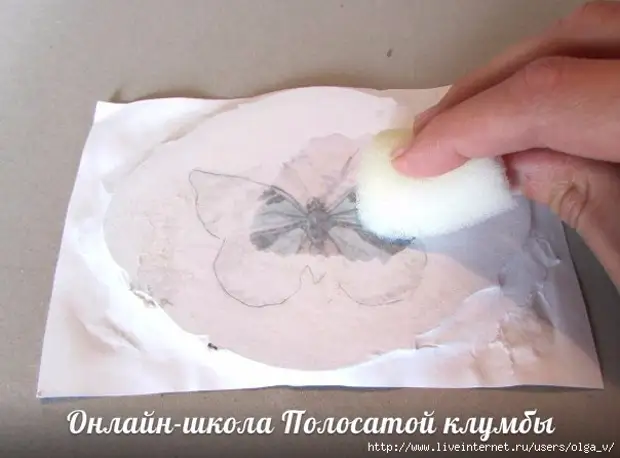
We do it until we delete all paper.
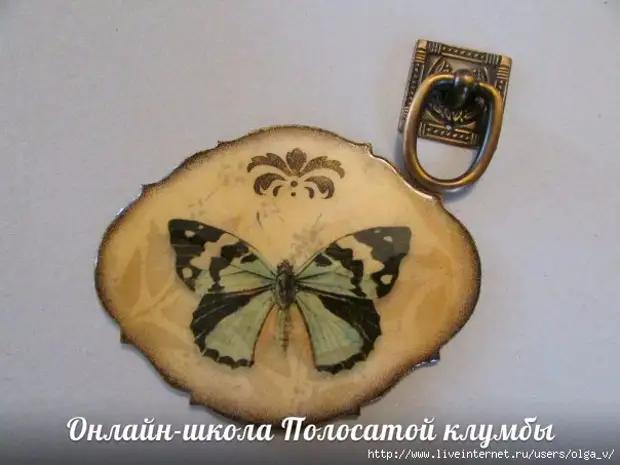
Cover the laid lacquer, dry.

10. We glue the decorative elements to the lid of the box using the "Moment of Crystal" glue


A source