
Walking in the park or forest, I lead a collective lifestyle: chronically collect something. The building, where I work, grow blue ate, a lot ... beautiful and very festive in winter.
And also - it is important for me - ate give a rich harvest of wonderful cones.
We will raise the Christmas tree trees, in the literal and figurative sense. I sowed the seeds in the pot, suddenly hesitate.
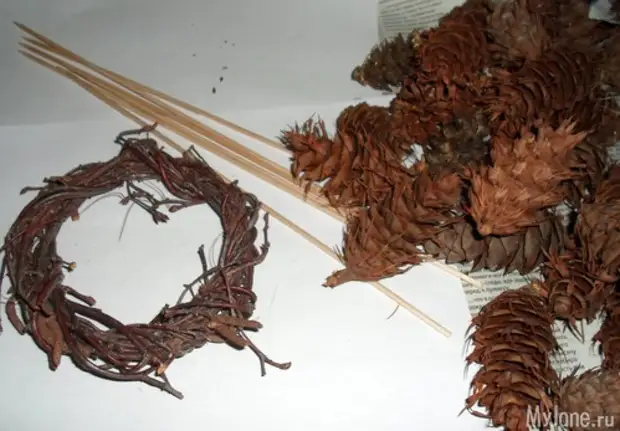
And for the handmade Christmas tree we will need:
Cones (their quantity depends on the size of the future Christmas tree), I went a little more than 60 pieces;
Wooden shockts for kebabs;
Several birch twigs - they can always be found under the birch: break from wind and bad weather. Can be replaced with a circle cut from corrugated cardboard.
Packing paper (preferably brown), a piece of cord or twine;
Acorns (not necessarily);
Decorations for the Christmas tree - at will;
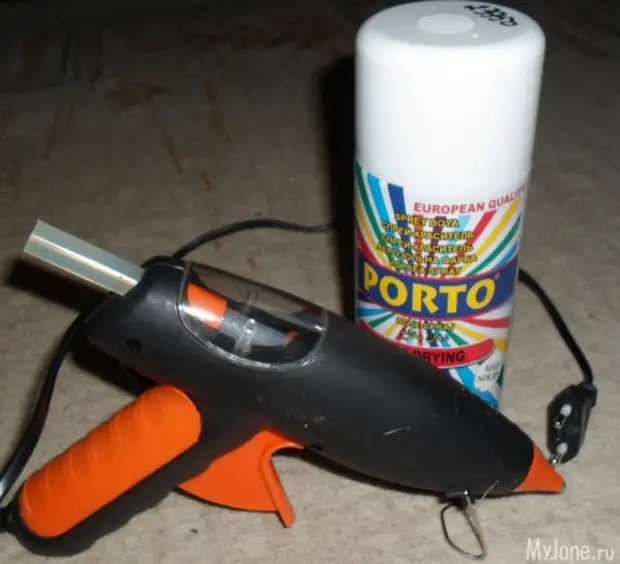
Adhesive gun and rod to it;
White paint in a spray canchine;
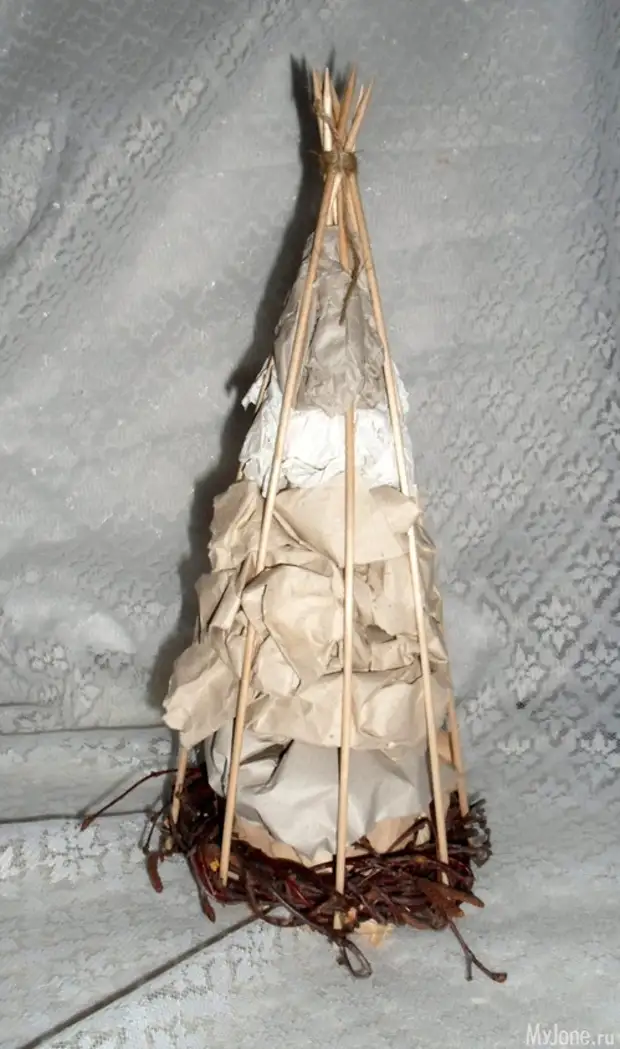
1. From birch branches we form a ring - it will be the base of the Christmas tree. It can be replaced with a circle of corrugated cardboard. We insert 6 -8 rings for kebabs into the ring, directing their edges up and tying the tops of the twine. To fastening it is more reliable, add the skeins and the basics of the hot glue to the joints.
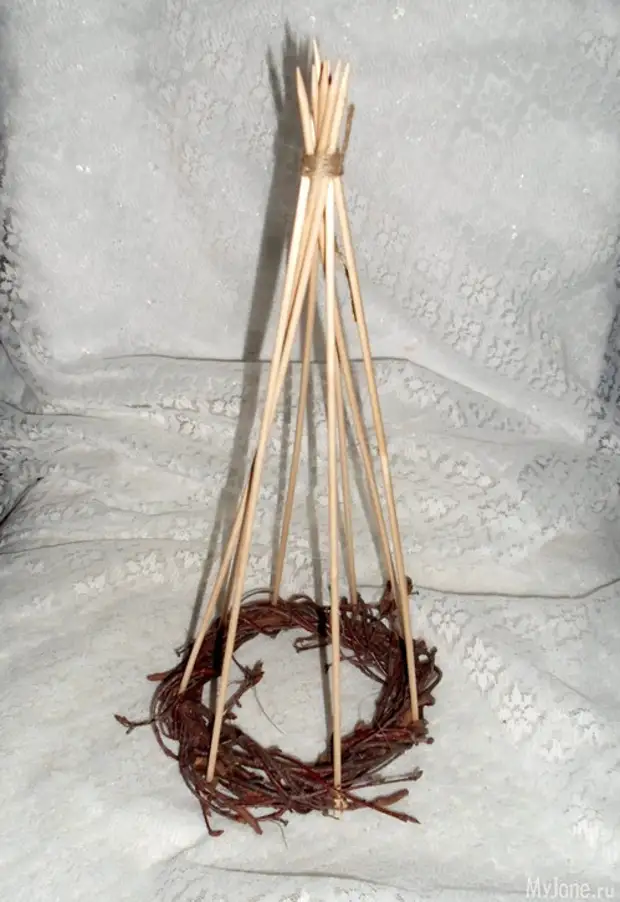
2. Put in crumpled packaging paper formed cone spat.
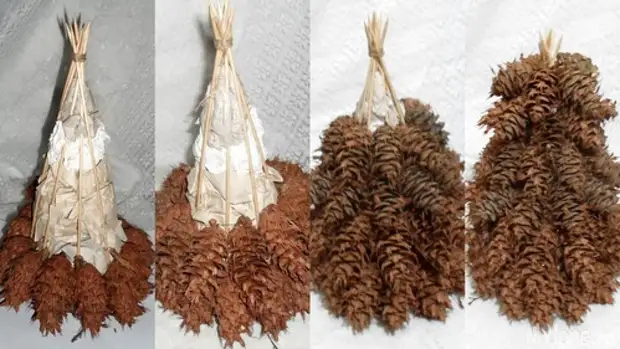
3. We begin to glue the cones to the cone rows around the circumference, the rows form upwards. Each subsequent glad is shut off the previous one.
Tip /
Looking around to the cones, it can be noted that many of them have a slightly concave-convex shape. Consider this in the "construction" of the Christmas tree. The lower row I was glued with a convex side to the outside, applying glue to a concave direction, thereby reducing the diameter of the base. All subsequent rows glued on the contrary, the convex part of the bumps to the base. This technique added a Christmas tree of pomp.
Hot glue dries quickly, but still hold each cone until the glue cools, otherwise the bump can fall off under his own weight, if the glue did not have time to grab.
4. So build a tier for a tier, tightly gluing cones, without cleansing.
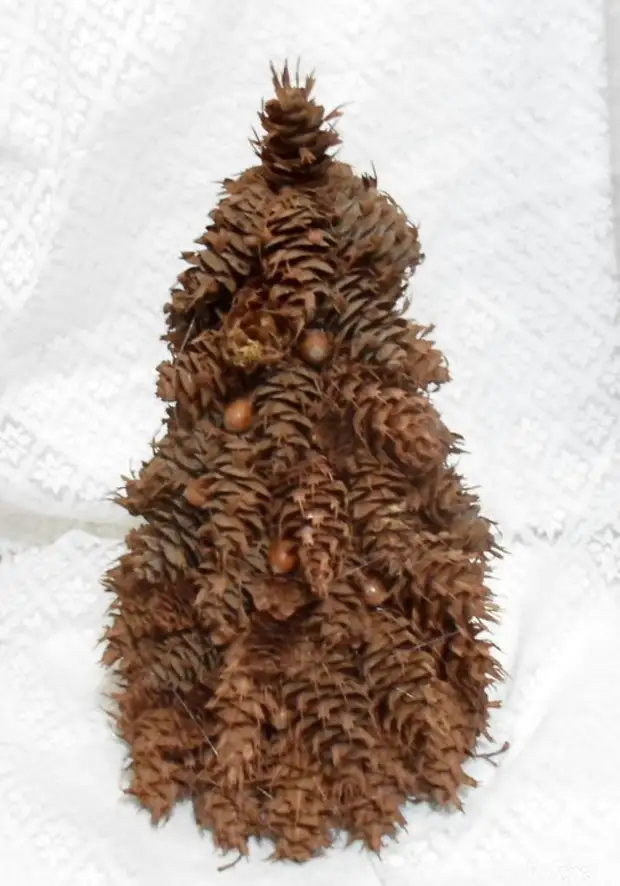
5. In each subsequent tier, the number of cones is less than in the previous one. The last tier is formed by five cones. The Christmas tree is completed with a top of one cone, directed growth point up.
6. Carefully inspect the Christmas tree for clearance detection. Additionally small cones or forest acorns are inserted into the places of lumen.
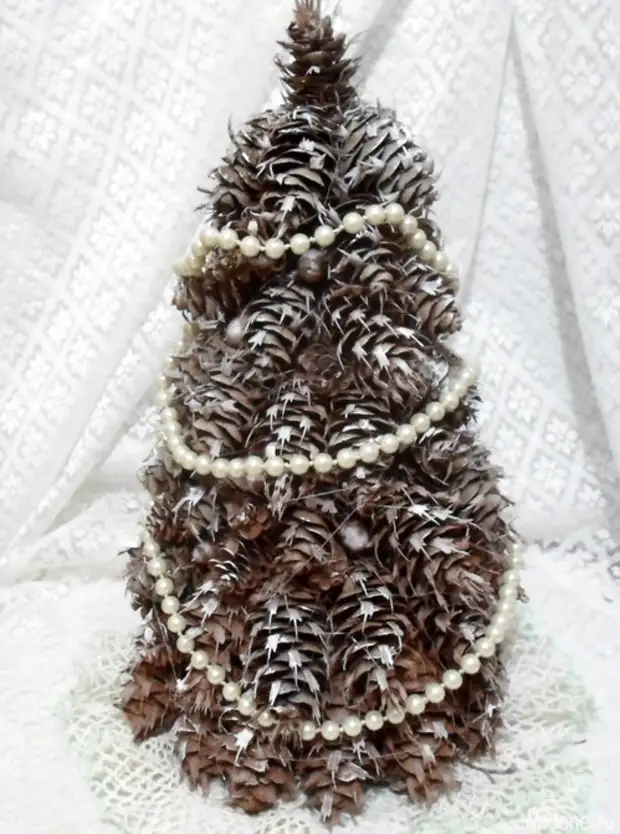
7. Slightly spraying the Christmas tree with white paint from the can, creating a feeling of snowing.
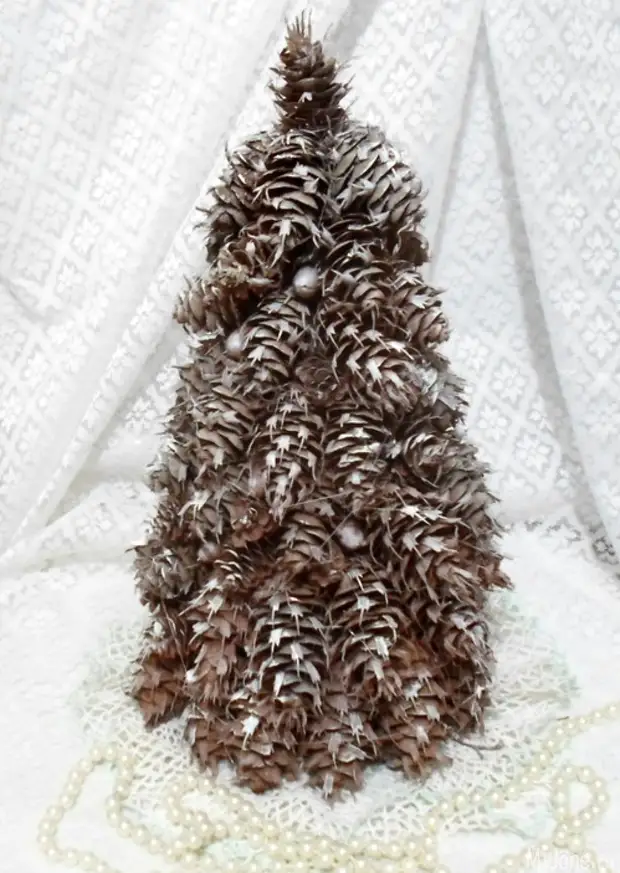
8. Optionally, you can decorate the Christmas tree with an additional festive decor.
A source