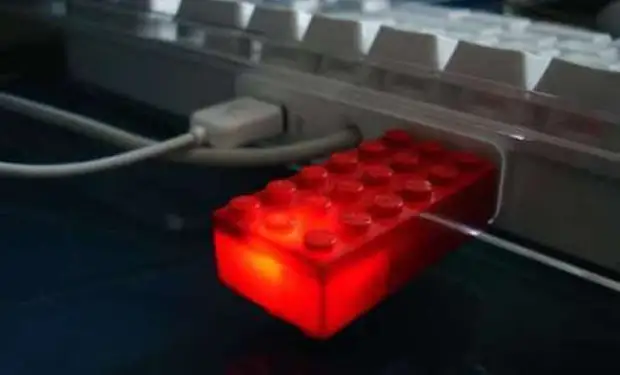
USB flash drives today have almost everyone. But with all the manifold, the range of such devices such devices is rather limited. And why not make the case for a flash drive yourself? It is not difficult, as it seems, it is only necessary to spend very little time. But you will become the owner of a unique thing.
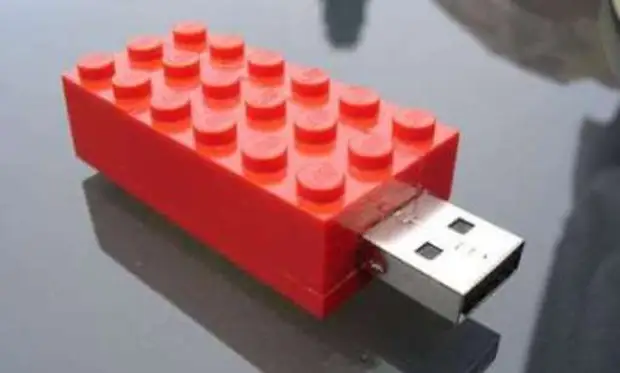
So let's get up! Following step-by-step instructions, we will make the case for our USB flash drive from bricks from the LEGO children's designer.
Tools and materials
• Personal knife
• Pliers
• Multiple LEGO cubes
• Super glue
• Sandpaper
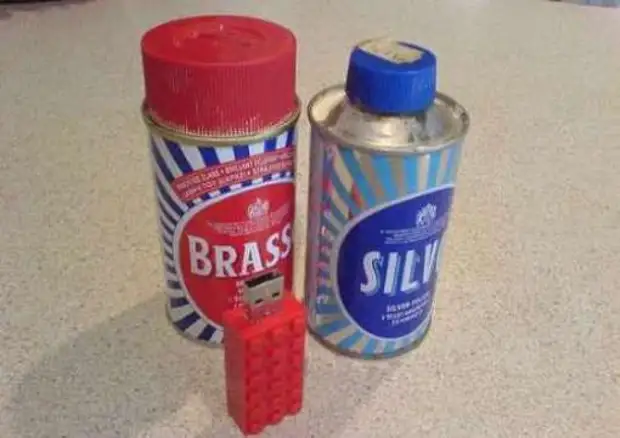
• Metal Polyrol
• Flash drive
Step 1. Basis Basis
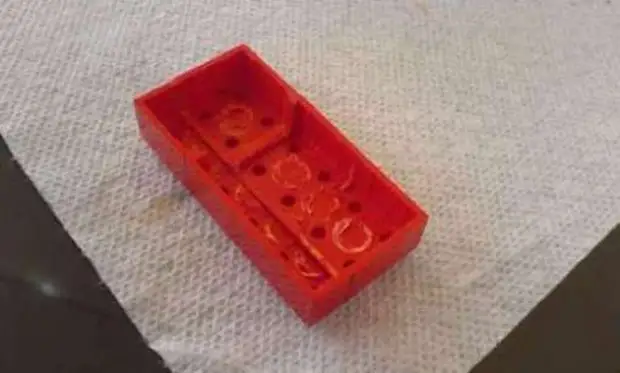
USB-memory cards are of different sizes. We will block a fairly much fee. Therefore, we need a brick from LEGO size of 6 × 3 cylindrical landing elements (we agree to call them "points").
The perico knife needs to trim all the inner partitions of the brick, and then break them with the help of pliers.
Two more low-profile bricks with dimensions of 4 × 2 and 2 × 2 "points" We use to create a cover. Also, the low-profile element 1 × 6 "points" will need (for the lid, other combinations of the designer parts can be used, and you can simply take exactly the same brick as for the base of the case (6 × 3), and gently cut off its top parallel to the horizontal plane).
Using a superclouting, glue the lid elements to get a part of 6 × 3 "points".
Step 2. Installation of the board
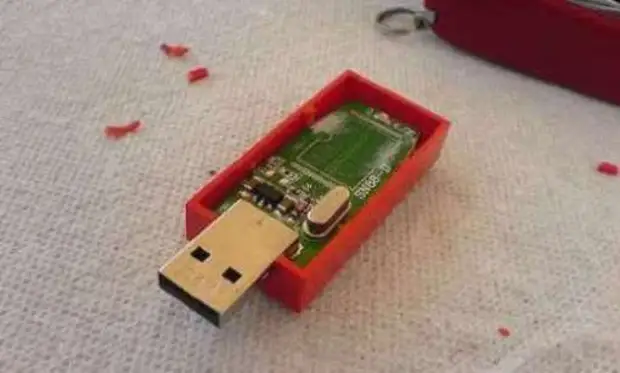
In the end of the case, we cut the groove for a USB connector, and after a small fitting with a peer knife, we set the device into the housing.
Step 3. Fasteners
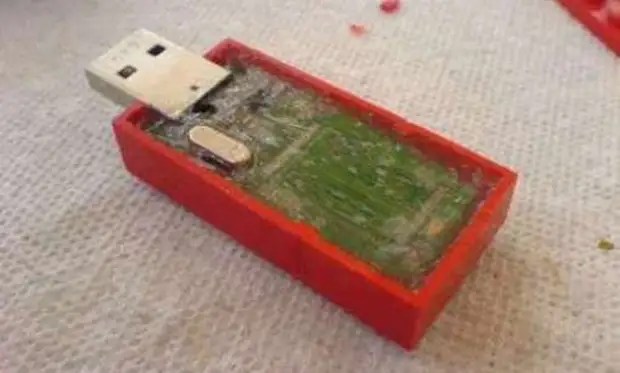
Burn brick trimming on the bottom of the case and we achieve the fee to be parallel to the horizontal plane and did not adequate. Fill out all the remaining space in the case with a transparent silicone, compacting it to reduce the possibility of any movements of the flash card inside the case.
It is important to use a transparent silicone, since the indicator LED will be shifted through it.
Step 4. gluing and polishing
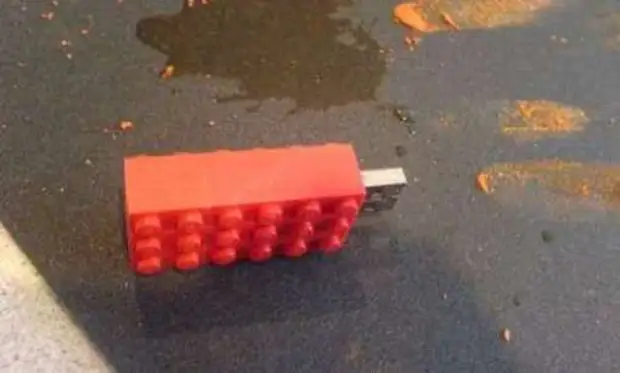
In order for between the lid and the housing there is no cracks, we take sandpaper, put it on a flat surface, and align the bottom plane of the lid on it.
After we were superlined with a cover to the housing, with the help of the same sandpaper, we remove burrs and lodges of glue from the side faces of the case.
Then finally polish the polyrolol body.
Step 5. Completion
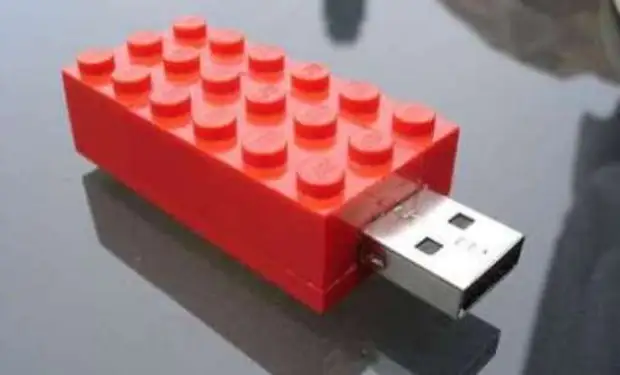
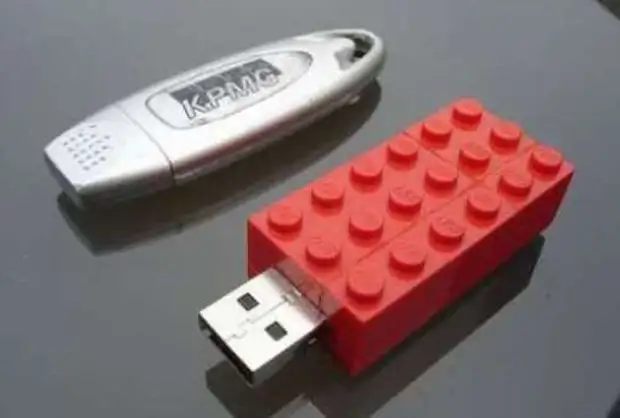
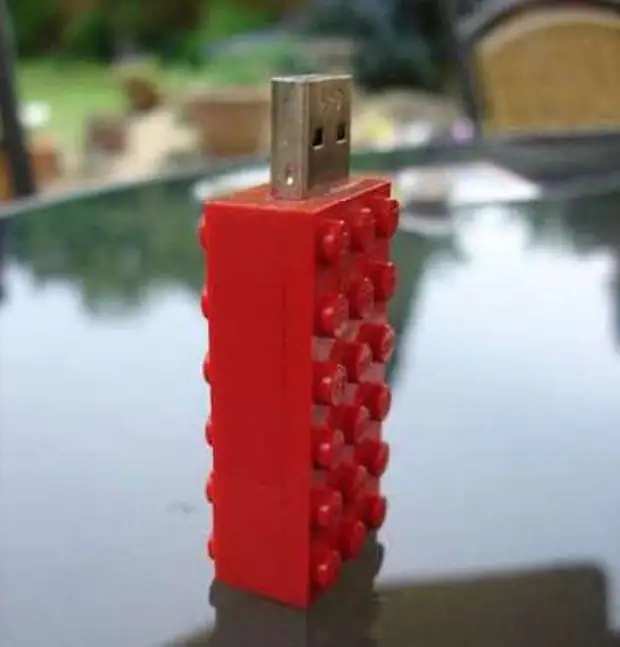
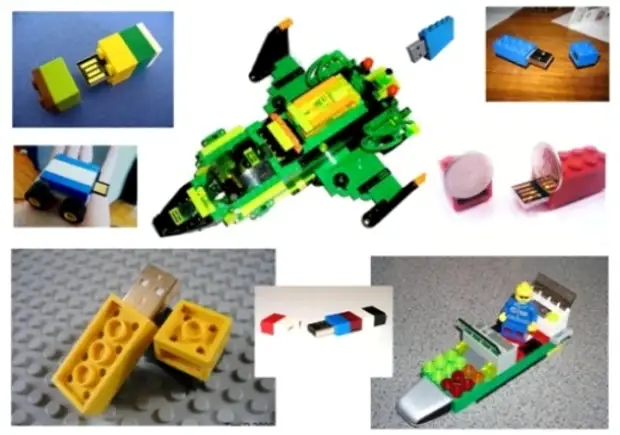
But on this, creative possibilities for creating exclusive flash drives are not exhausted. On the contrary, the types of housings for them can be an infinite set.
See what other craftsmen did.
A source
