
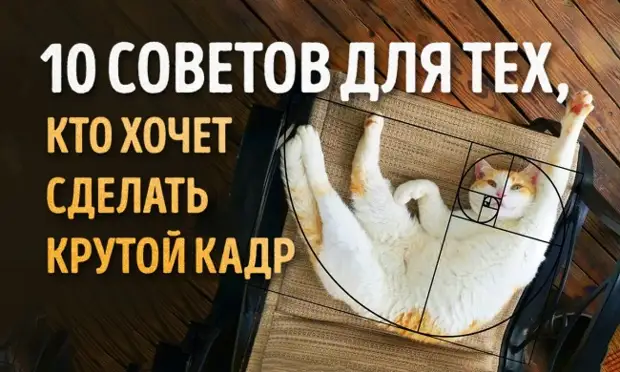
Today we want to replenish this piggy bank by others, in our opinion, important and efficient advice - with their help you can make real photos!
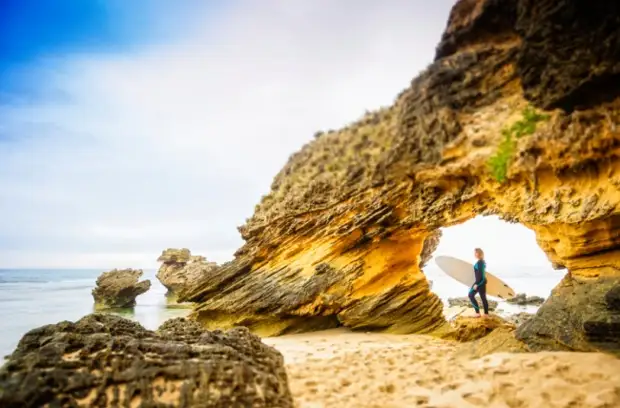
Framing / Frame
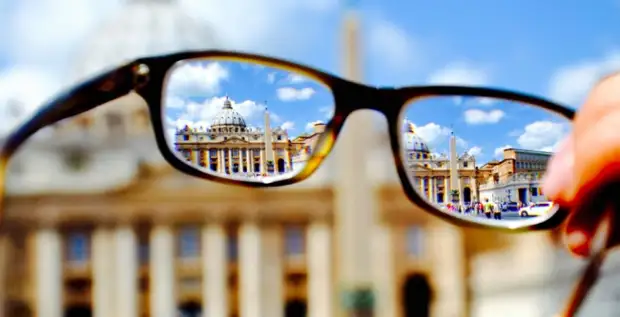
Use the elements around you to create a "natural frame" for your shooting object (it is not necessary for such a "frame" to framing the object from all 4 sides). It can be a window, doorway, trees or their branches, arch. Important: "Frame" should not "drag" the main meaning of the frame on itself.

© Elena Shumilova.
© Gable Denims. ©
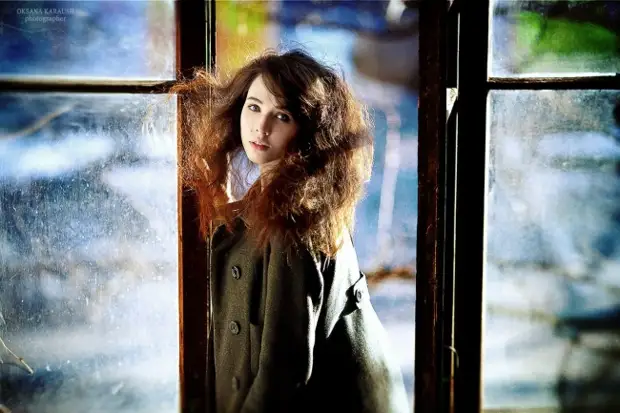
© Oksana Karauş

© Iva Castro.
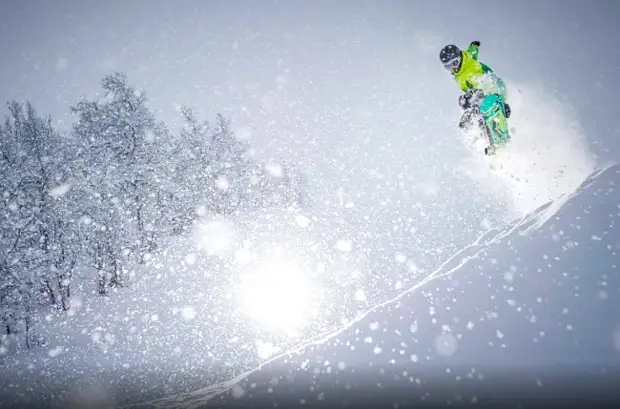
Movement in the frame
If you take off the object in motion, leave a free space ahead - so your photo will be more dynamic.
© Emil Eriksson.
© Douglas Arnet.
© Seth Sanchez.
© Lilia Tsukanova
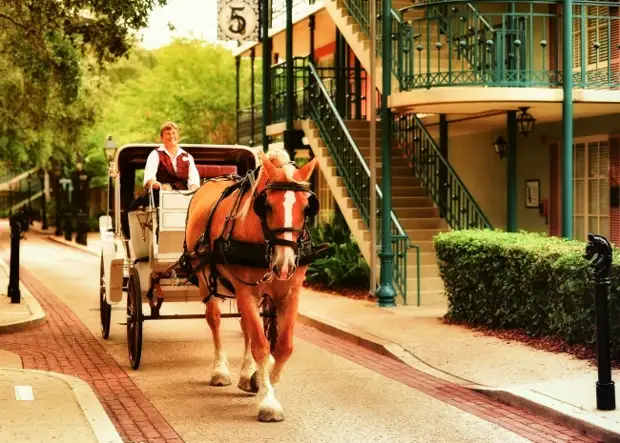
Direction
Our brain reads information from left to right, so it is best to arrange a semantic center on the right side of the frame.
© Elliott Koon.

© Alexander Hadji.
© Mikael Sundberg.
© Ramil Sithdikov
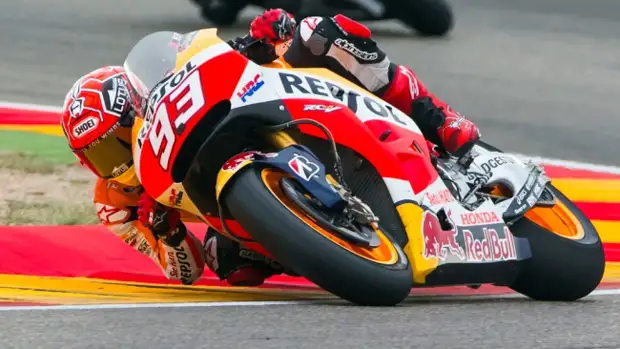
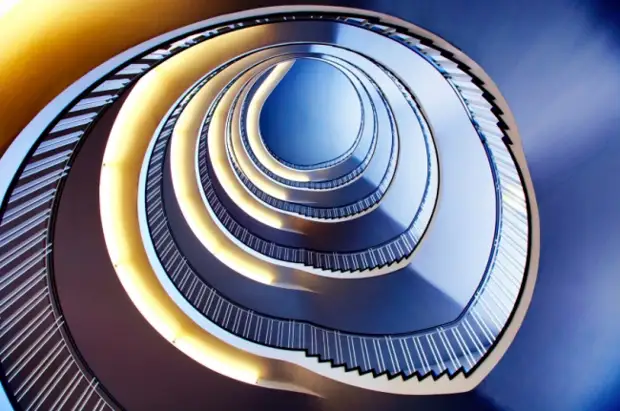
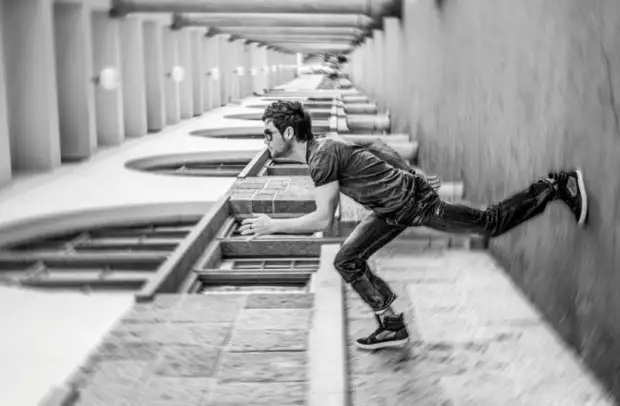
Point shooting
Experiment with the perspective (an angle) of the shooting - so you can not only show a different vision of the photographed object, but also catch a point that will make the plot in the original image.
© Tom.

© Matteo de Santis
© MJ Scott.
© Miguel Angel Aguirre
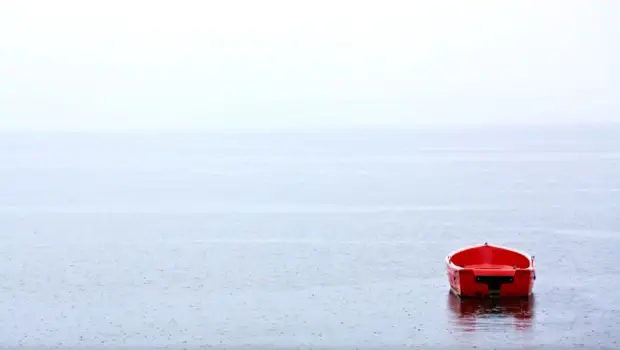
Negative space
There are two spaces in the photo:
- Positive (it shows the main shooting object);
- Negative (as a rule, this is the background, background).
Do not forget to take into account what is depicted on a negative space so that it does not destroy, and favorably emphasized the objective object.
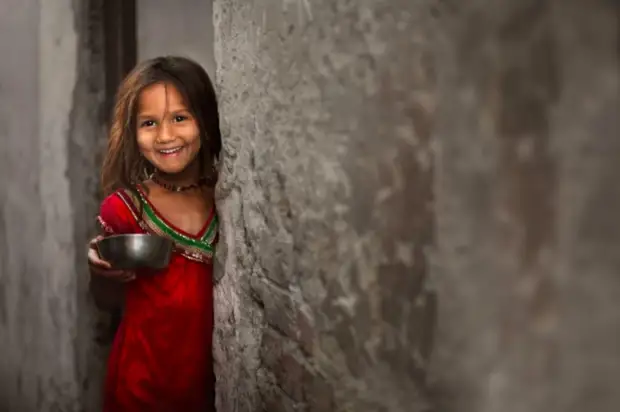
© Mohammed Baquer.
© Valery Pchelintsev.
© Veselin Malinov.
© Jonas Grimsgaard
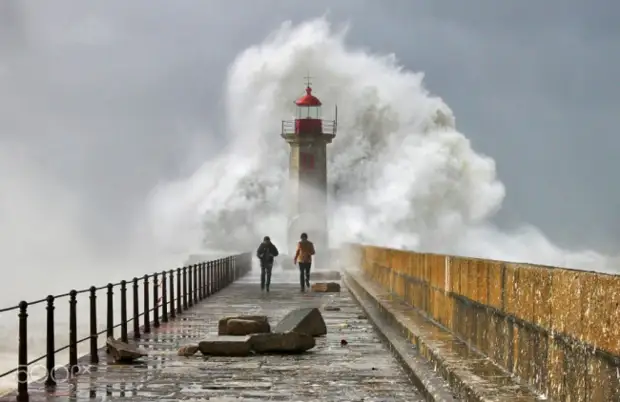
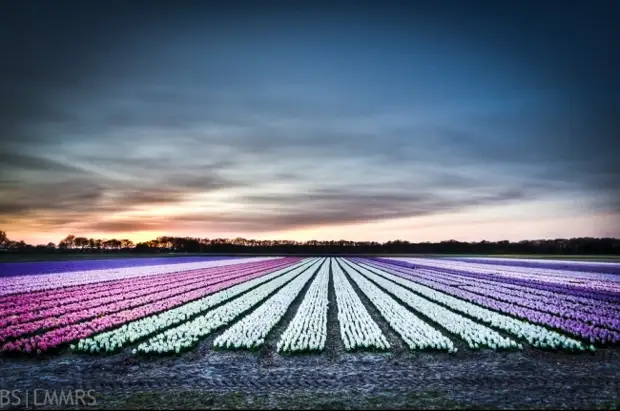
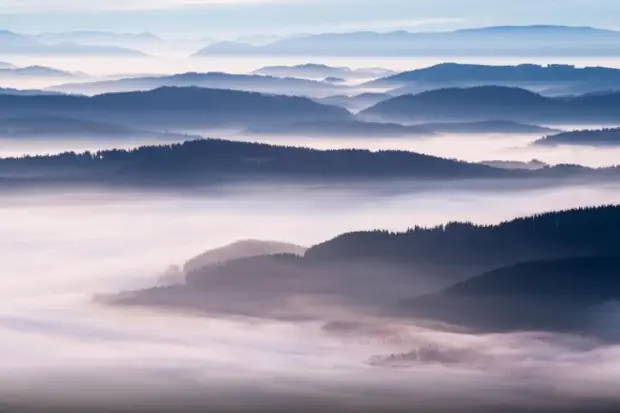
Depth
This element will make your snapshot more voluminous and saturated. To do this, you can use:
- 1) parallel lines, which, when removing, strive for one point;
- 2) fog or haze, which when removing becomes everything paler; In this case, the photo seems like folded of several layers;
- 3) frame tone (transmission of volume with color: dark items seem closest, and light - remote);
- 4) the depth of the sharpness (blur of the rear plan (background): in this case, clear objects are perceived by close, and blurred - remote).
© Bas Lammers.
© Romina Kutlesa.
© Martin Vaculík.
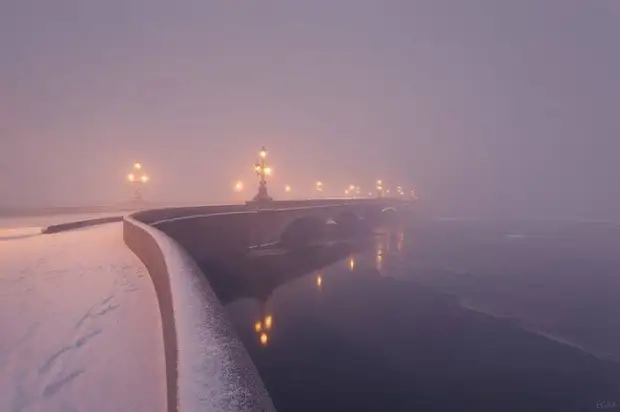
© Egra.
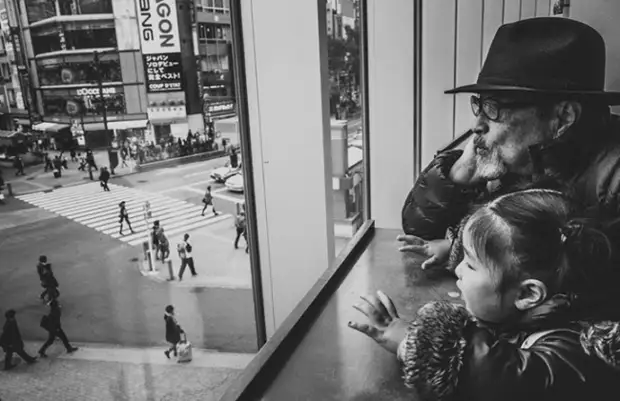
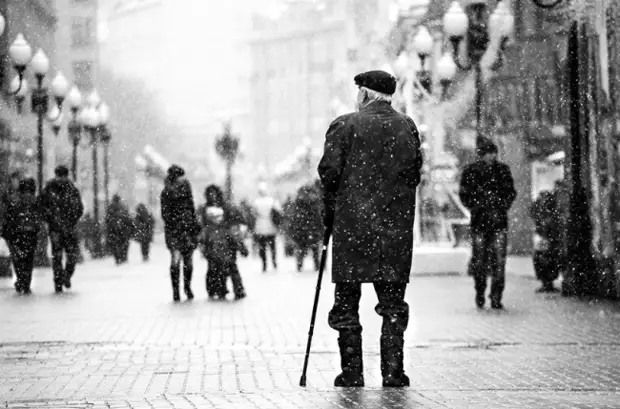
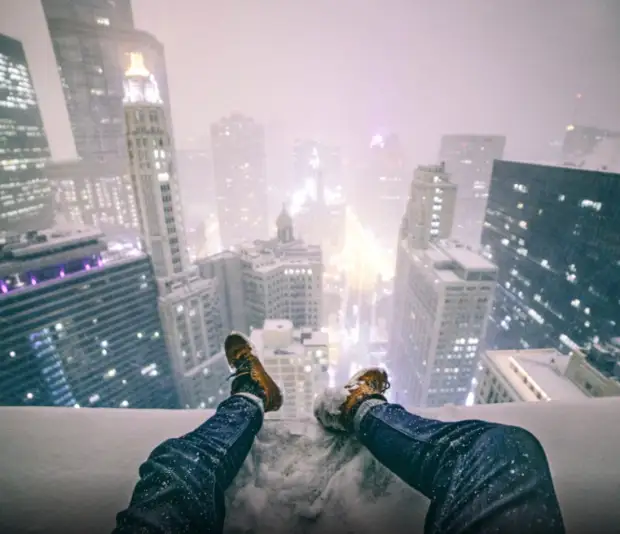
Foreground
Wanting to make a frame deep, do not forget about the foreground: if you add any object to it, then the viewer, looking at your photo, will feel like a member of your plot.
© LurkerLife.
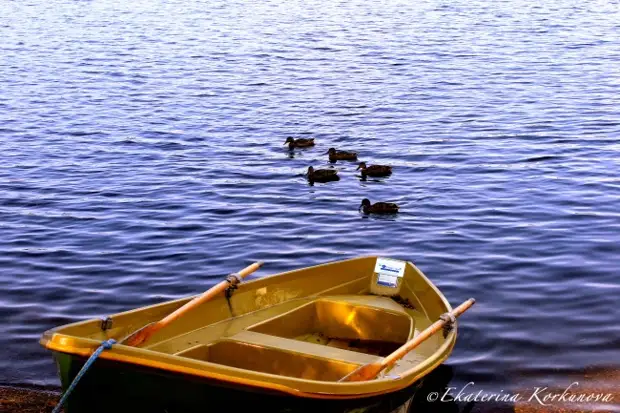
© Ekaterina Korkunova. © Ekaterina
© Murad Osman.

© John.
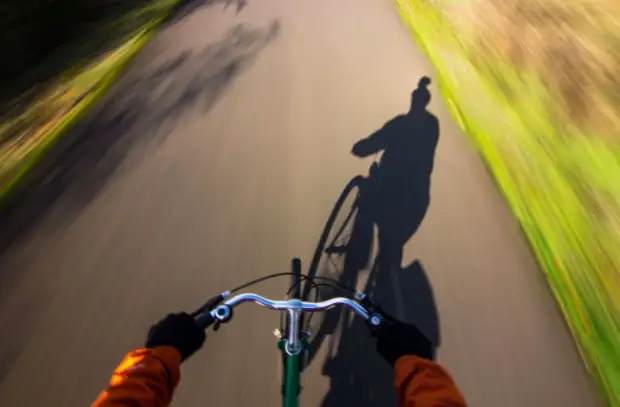
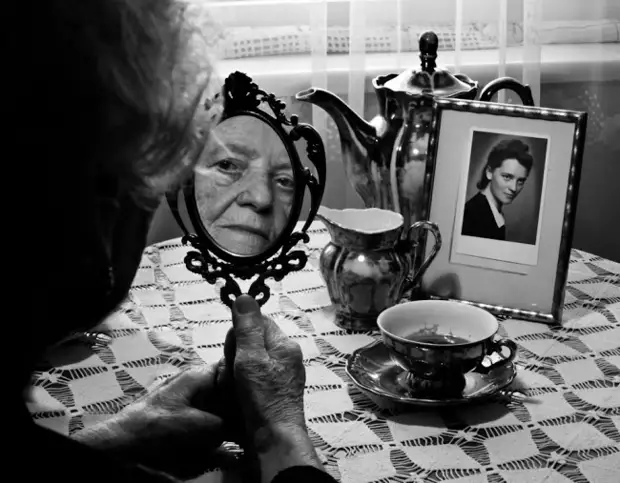
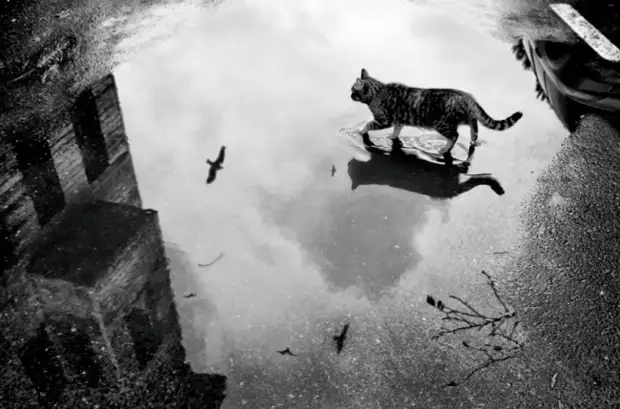
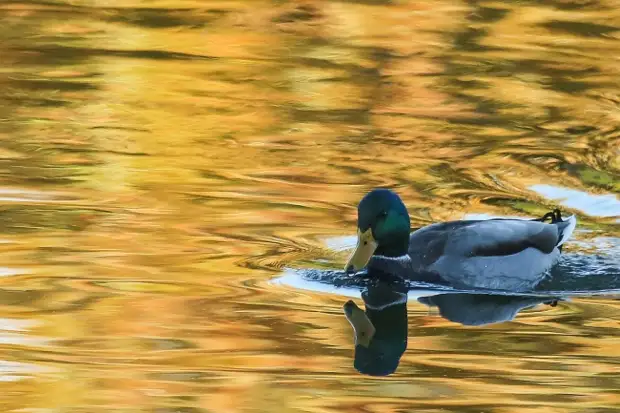
Reflection and shadow
These elements make a picture very interesting, and sometimes dramatic. Also, using the reflection or shadow, you can create a dialogue between the object of shooting and its reflection (shadow).
© Menovsky.

© Anna Atkina

© Pablo Cuadra.
© Umran Inceoglu
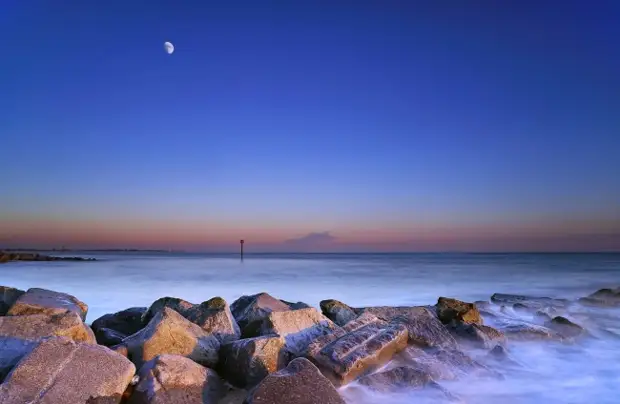
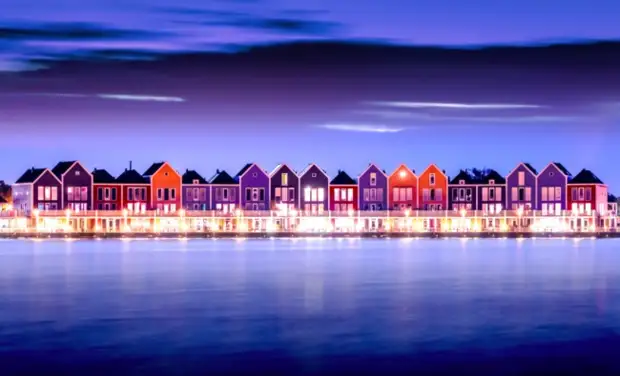
"Golden" and "Blue" watch
"Golden Hour" - This is the first hour after sunrise and the last hour before sunset. At this time, the contrast decreases, the light becomes soft, with a warmer shade. With this online computer, you can calculate the exact time of the onset of the "golden" hour.
© Olivia L'Estrange-Bell
© jpatr.
© Joe Penniston.
"Blue Hour" It lasts 20-30 minutes after sunset and immediately after sunrise. At this point, the light becomes intensively blue. Here you can find out when in the place where you plan to shoot, this magical time will come.
© Langstone Joe.
© flo.from.suburbia.
© Jeremy Hui.
Practice, practice and only then - experiments
After you master the main rules of the composition, do not be afraid to violate them - effectively: so you will not only be able to get a unique frame, but also find your style.

© Alexander Hadji.
© Jon Webb.
© Briac Robert.
A source