Creating a calendar of the house may be for you a very interesting and exciting occupation.
You can safely attract children to work on the calendar. You can make a simple and practical calendar, and you can make a whole decoration for the interior.
Also on the Internet you can find ready-made samples of calendars that you only need to print and further use to create a beautiful craft.
Calendar for a year with your own hands. Option 1.
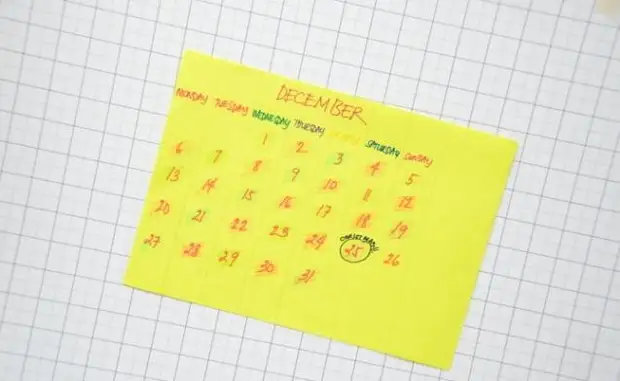
You will need:
- Cold cardboard (can be plain white A4)
- ruler
- Simple pencil
- Markers.
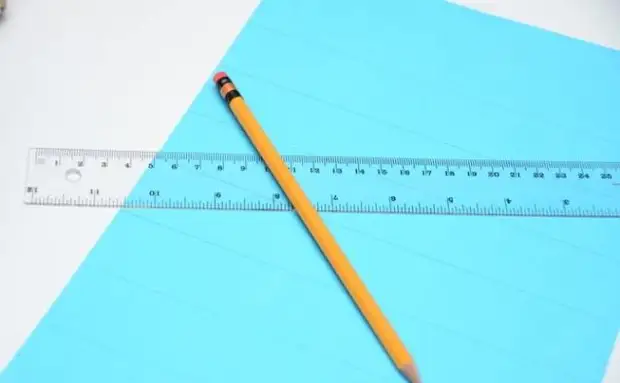
1. Take 12 sheets of color cardboard, and draw on each 7 columns and 5 lines. Use a ruler and a simple pencil.
When you all draw, you can circle a line with a marker (also using a ruler).
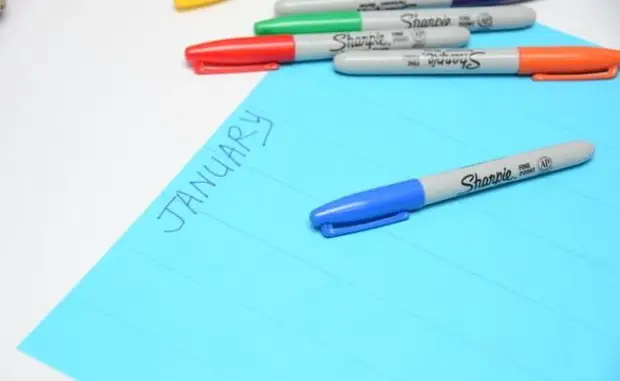
2. On each sheet, write the name of the month (desirable from above). Write large letters with a bright marker.
3. At the top of each column, write the name of the day of the week.
4. In the remaining cells, enter the dates - in the upper right or left corner.
* To know from what day to start counting can check the calendar in the phone, a tablet or computer, or just look at the calendar last year - for example, on December 31, 2015 was Friday, it means January 1, 2016 Saturday.
* You also need to know how many days in every month, especially this concerns the month of February - in 2016 in it 29 days. September, April, June and November have 30 days, the rest (not counting February) have 31 days.
5. Each sheet of calendar can be decorated as you like more. You can use, for example, color pencils, markers, wax crayons, stickers, stickers, sparkles, etc.
6. Do not forget to celebrate important dates: Birthdays, New Year and Christmas, Vacation. You can cut pictures for each such day or stick stickers.
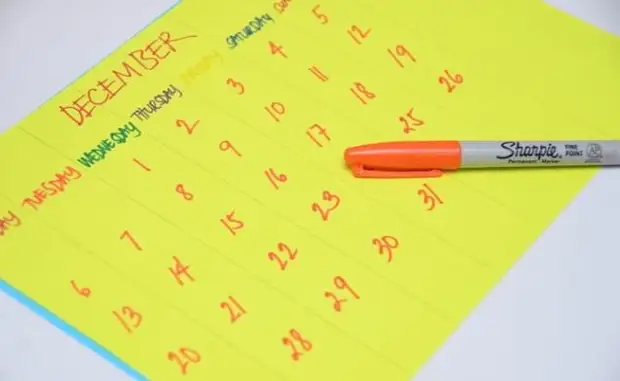
* For example, if mom has a birthday on March 10, then you can draw or glue into the appropriate floral cell. But the new year can be glued with snowflake or Santa Claus.
7. To hang the calendar you can make holes in each sheet (in the same place), to go tape or rope.
How to make a calendar from postcards with your own hands. Option 2.
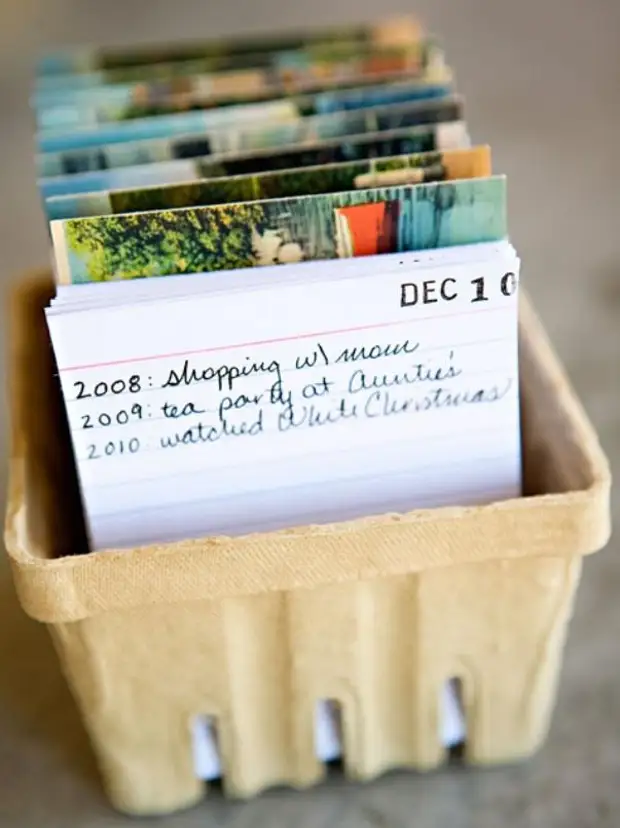
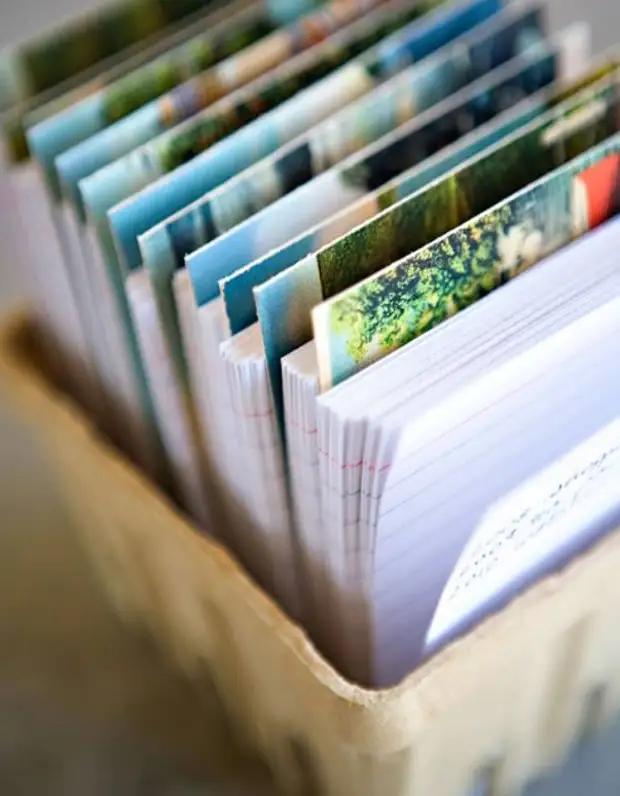
Some of us led (or still) diaries, and sometimes it's nice to remember some fragments of your life. In this calendar, 2 subjects are combined at once - the calendar and diary for the year.
For years, you record all the interesting things that happened to you or your child in the other day, and after a year you read all these records.
If you do a similar diary every year, after 10 years it will be very interesting for you to remember what has happened a decade ago.
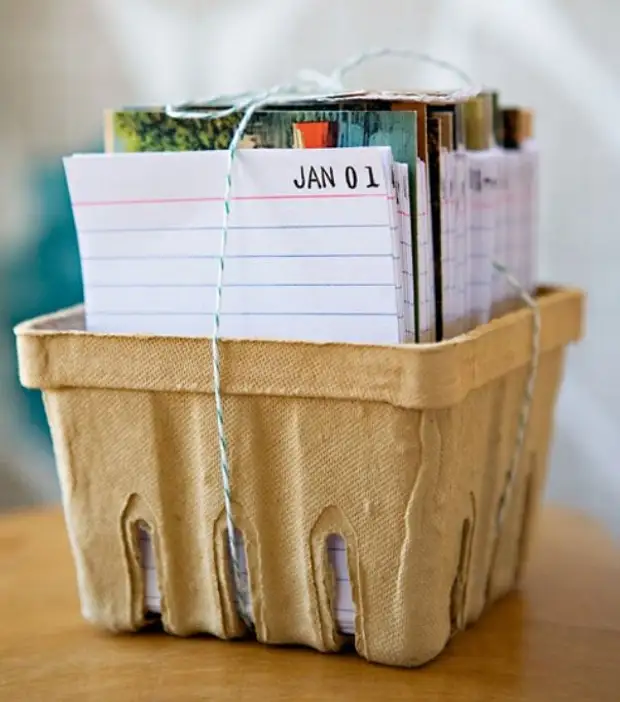
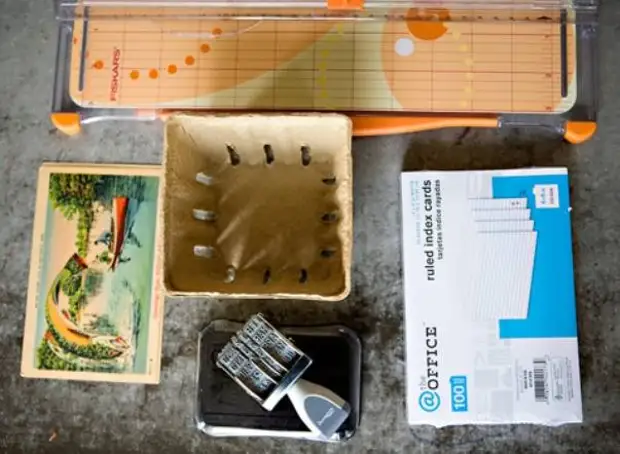
You will need:
- Small box
- 12 postcards
- print with the date (if not - you can manually write all the dates)
- scissors
- Notebook in a wide line
- Grimka.
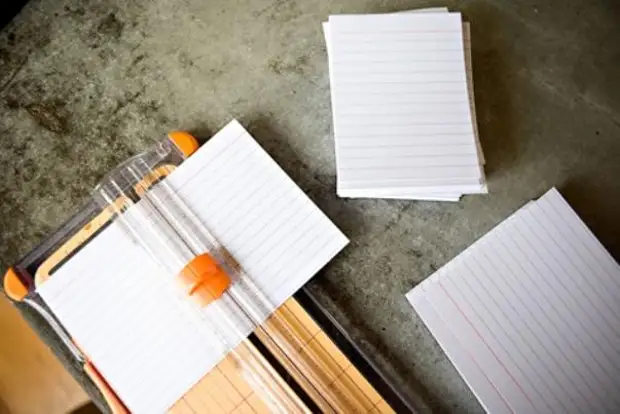
1. Cut the notebook pages into a wide line on the same sheets. You can just in half.
2. On each piece of paper, write the date. You can just write a month forward to not spend a lot of time prescribing dates ahead.
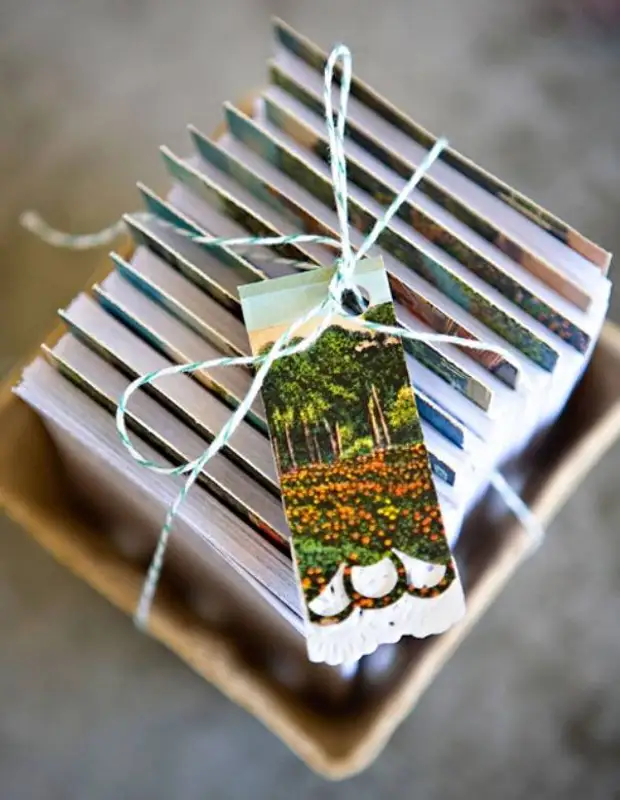
3. Cards can hang so that they are a little more sheets.
4. Spread all the papers and postcards in the box.
Advent Calendar in the shape of a Christmas tree for children
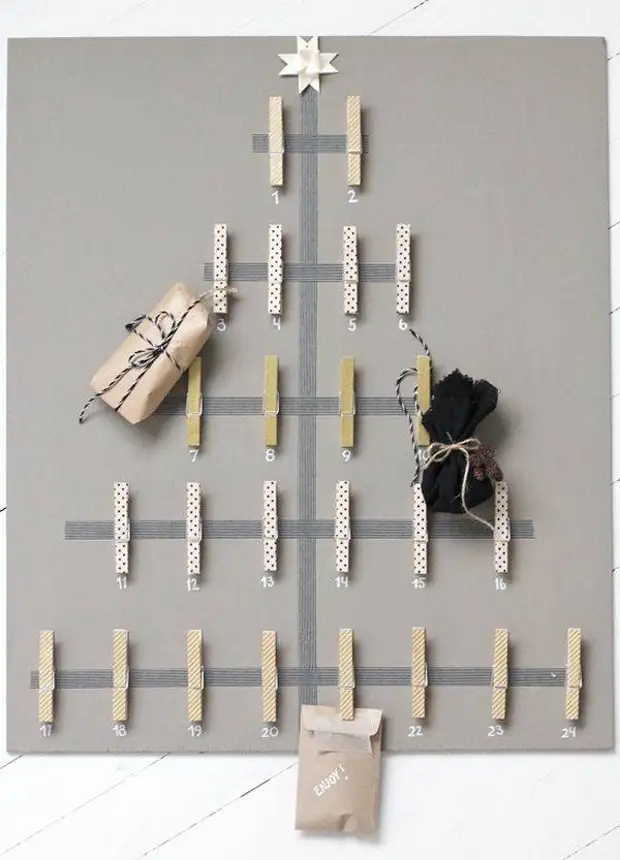
This exercise is made for December, but you can do for any month, for example, when you have the most holidays in your family.
You will need:
- Wooden clothespins
- Color Scotch (Vasi-Tape)
- Double-sided tape
- Marker
- Acrylic paints (if desired).
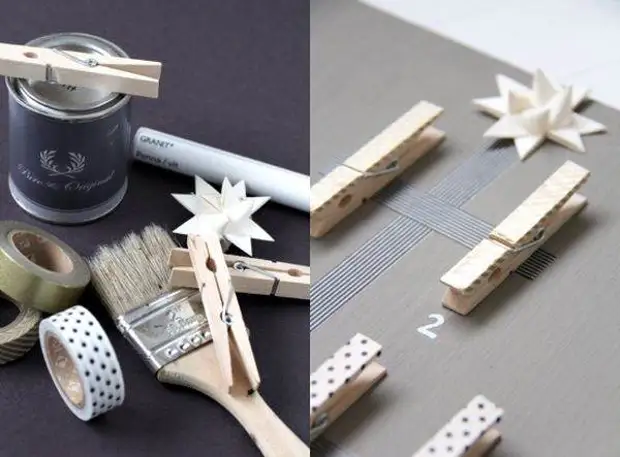
Make a symbolic Christmas tree with a scotch.
The clothespins can be decorated with paints or the same scotch.
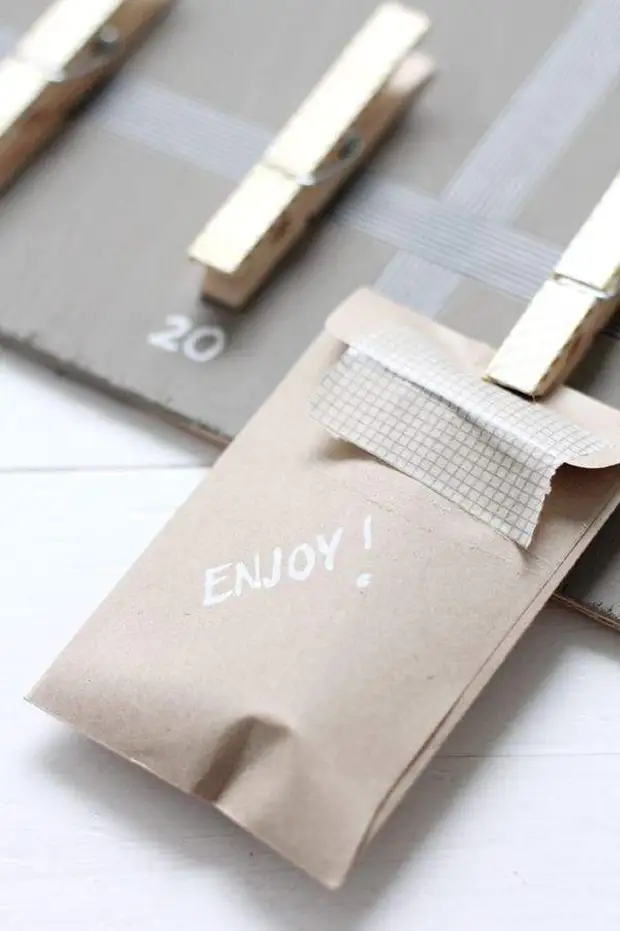
Stick clothespins to the Christmas tree with the help of bilateral tape.
Write a white marker to a date, and you can attach a small gift to each clothespin (or some clothespins).
How to make a calendar with photos from Instagram. Option 3.
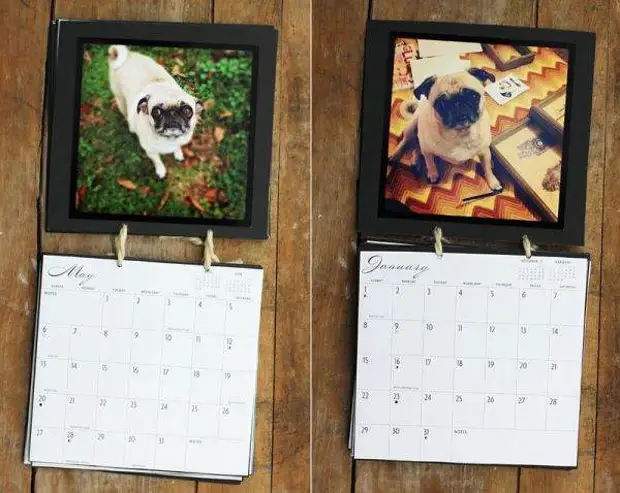
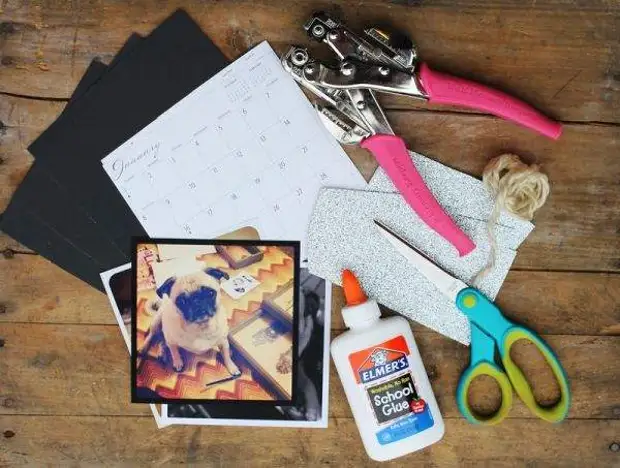
You will need:
- photos
- Cardboard
- printed on the leaves of the year months (you can find on the Internet)
- scissors
- glue or double-sided scotch
- twine or satin ribbon
- wrapping.
1. Decide what size your photos will be.
2. Based on the size of the photos, cut your printouts of the month and cardboard to which you stick the pictures.
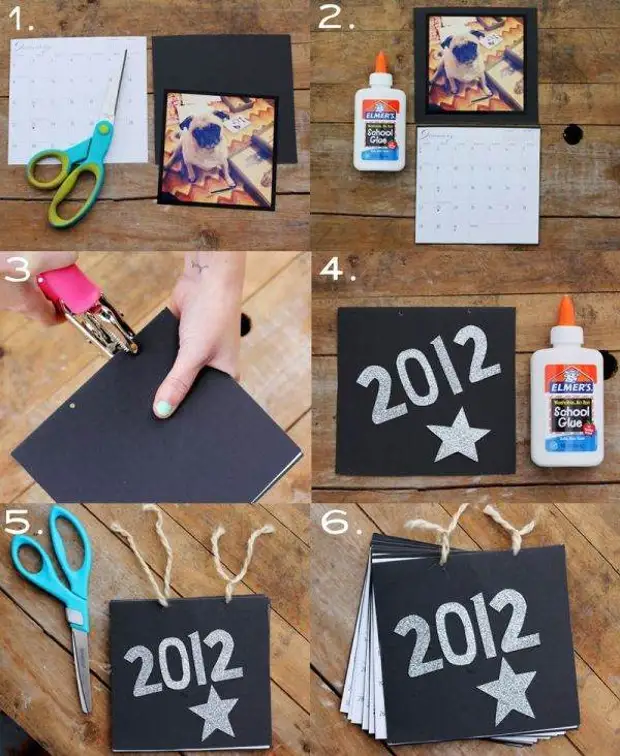
3. Use double-sided adhesion to glue photos to cardboard sheets.
4. Make two holes at the bottom of the sheets with photos and in the top of the sheets with months.
5. Build sheets with the help of a twine or tape.
How to make a calendar for a year on canvas. Option 4.
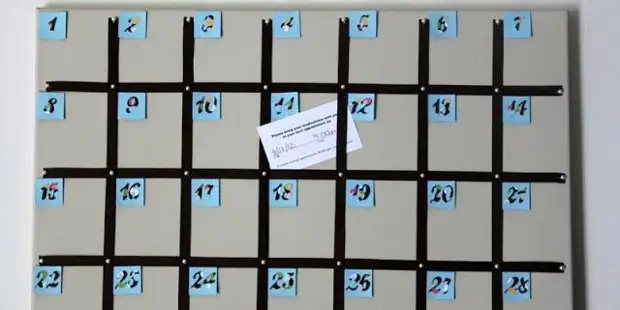
You will need:
- canvas (in this example, 40 x 50 cm size)
- Satin tape or color scotch (Vasi-Tape)
- Pins
- Kusachachi
- hot glue
- Colored paper and double-sided adhesive tape or stickers
- Cold cardboard.
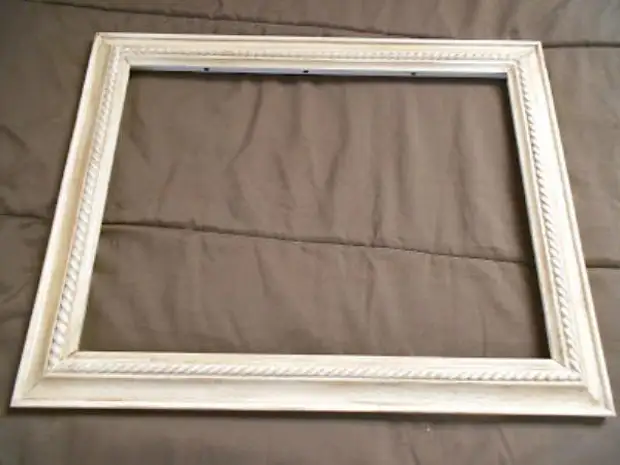
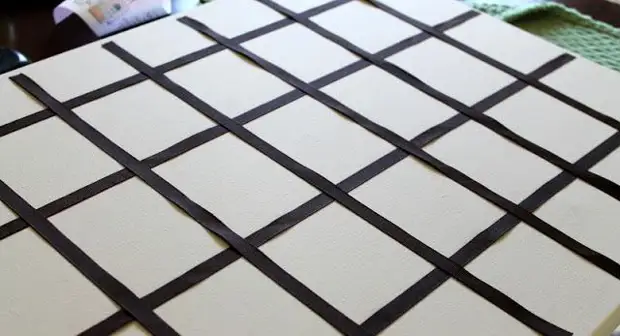
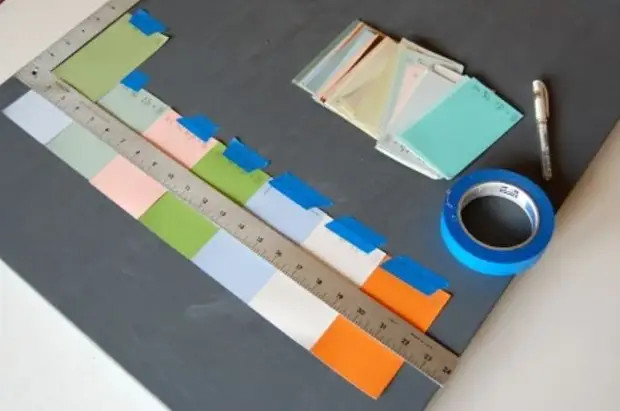
1. Using satin ribbon or scotch, divide the cloth into several cells.
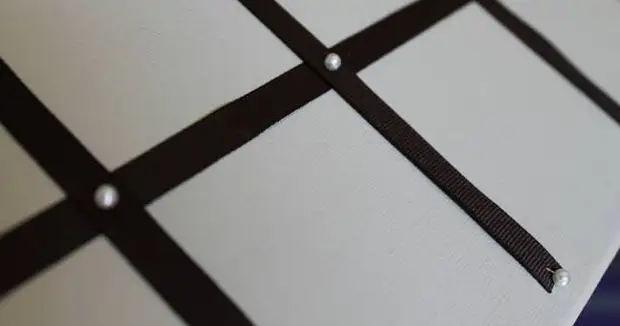
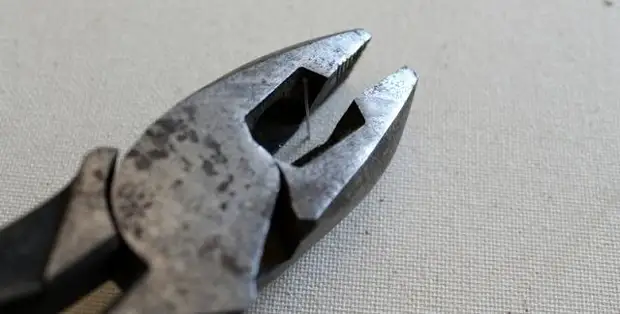
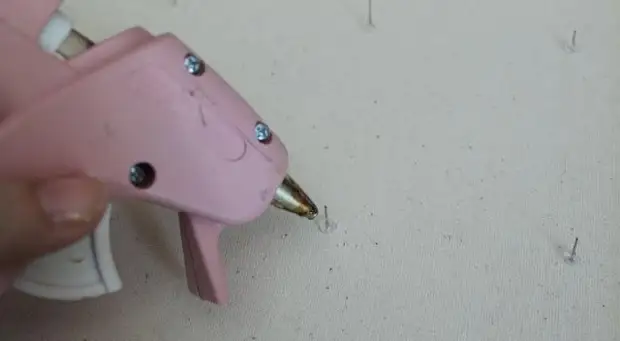
* In case of use of the tape, it can be fixed with pins, which should be trimmed with plaques on the back side of the canvas and secure hot glue.
* In this example, the cloth is divided into 7 columns and 5 rows.
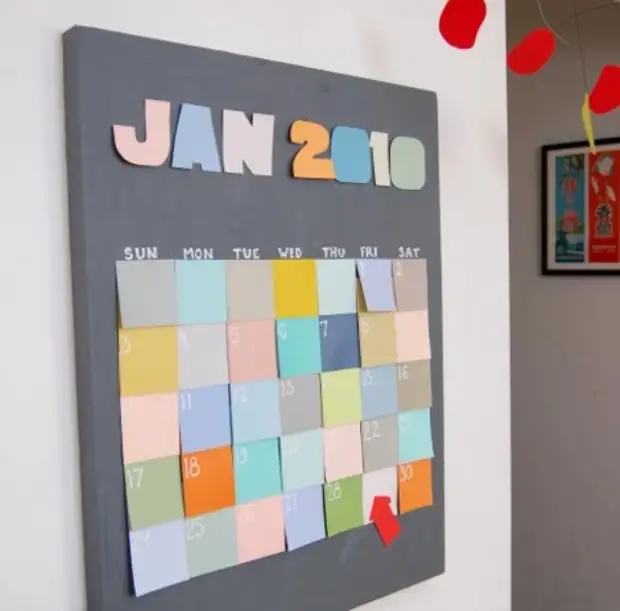
2. Cut the colored paper on 31 pieces and numb each. You can use stickers that are also worth numbered.
* This example uses small pieces with numbers, but you can use larger leaves so that you can write important reminders.
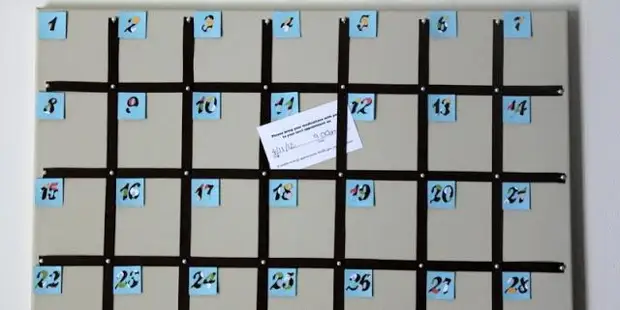
Stick each piece of paper to its cell using bilateral tape. If you use stickers, then the tape is not needed.
3. On other color or cardboard, write or type the name of the month.
4. Now you can change the month and rearrange the days, while you can write important events on paper.
How to make an erasing calendar with your own hands. Option 5.
You will need:
- Color palette or stickers of different colors
- Frame for a photo or picture with glass (in this example, its size is 30 x 40 cm)
- scissors
- Water based marker (easy to erase marker for white board) and sponge
- double-sided adhesion (when using the color palette).
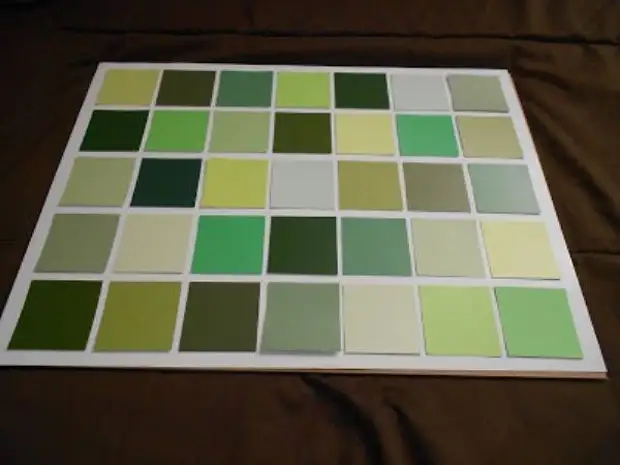
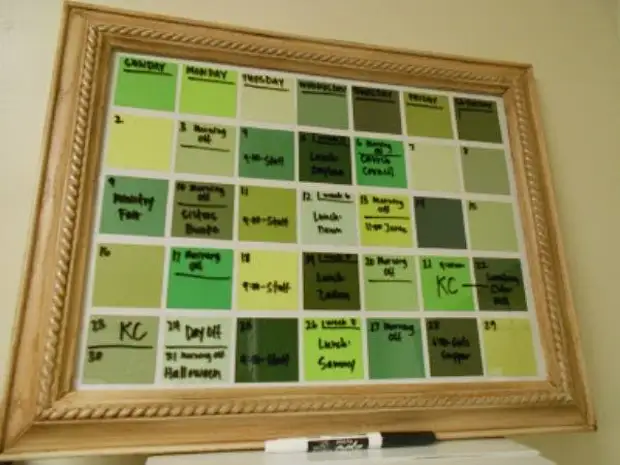
1. Visually divide your frame so that it can accommodate on it 31 days.
In this example, each cell has a size of 5 x 5 cm
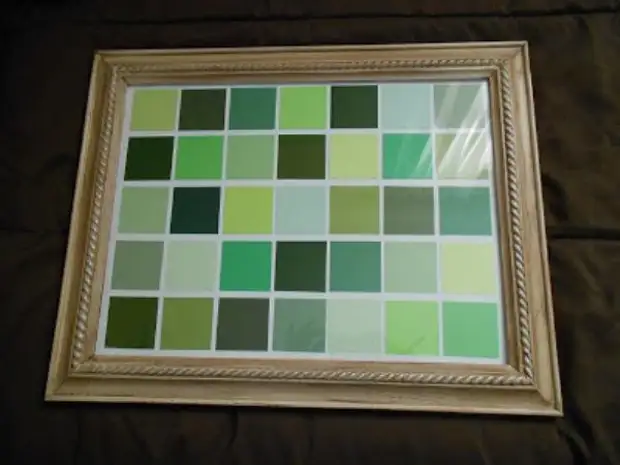
2. Stick to the wall frame stickers or a color palette (using bilateral tape).
3. Cover the frame with glass and you can write on it an easily erasing marker and washed when necessary.
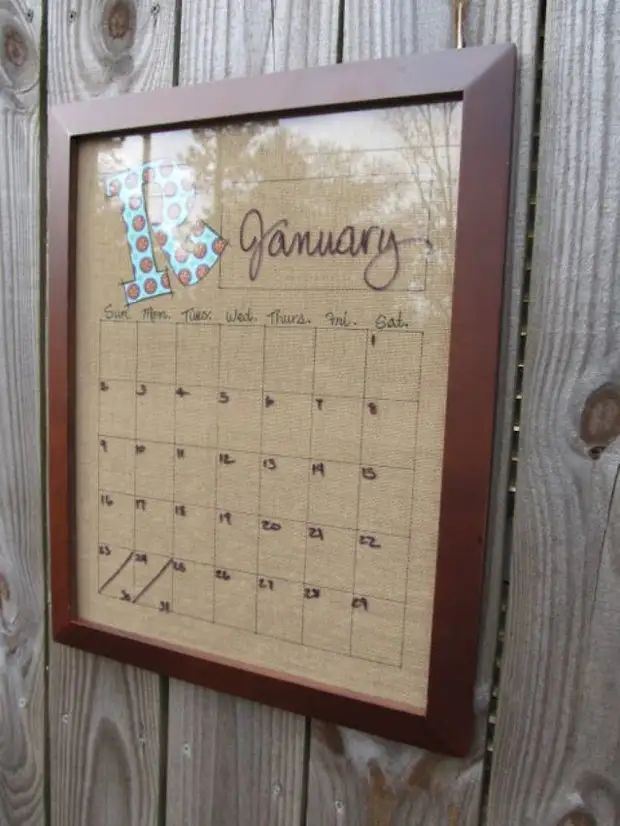
A similar option can be done using the fabric at the frame wall. On the fabric you need to draw lines and cover with glass.
How to make a school calendar for a year with your own hands. Option 6.
You will need:
- Cork board
- Buttons
- Marker
- scissors
- Color cardboard or color palette.
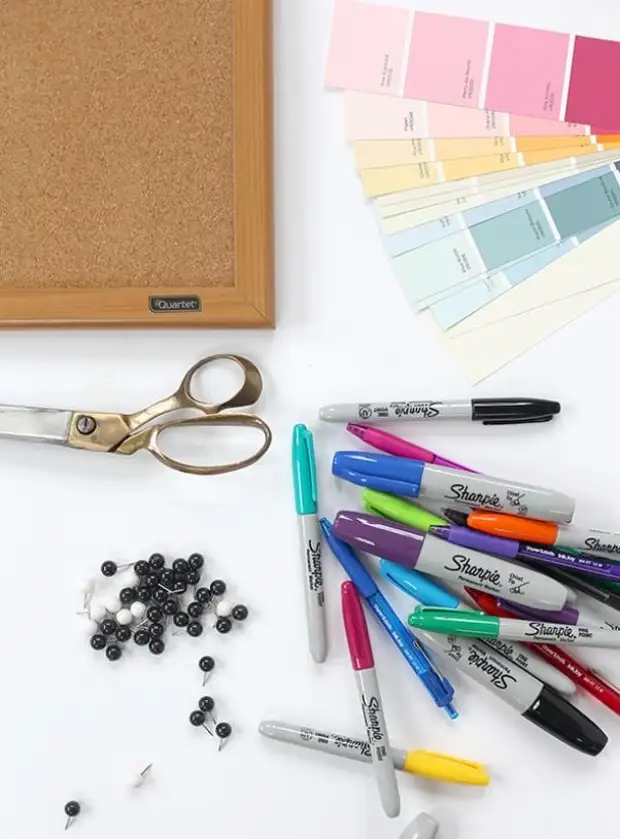
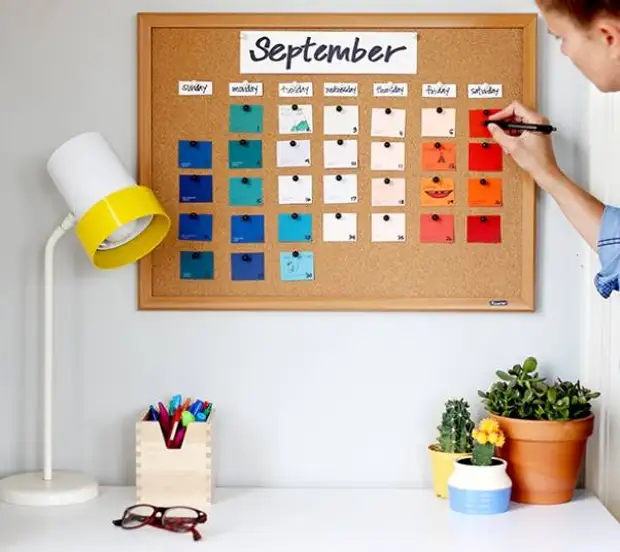
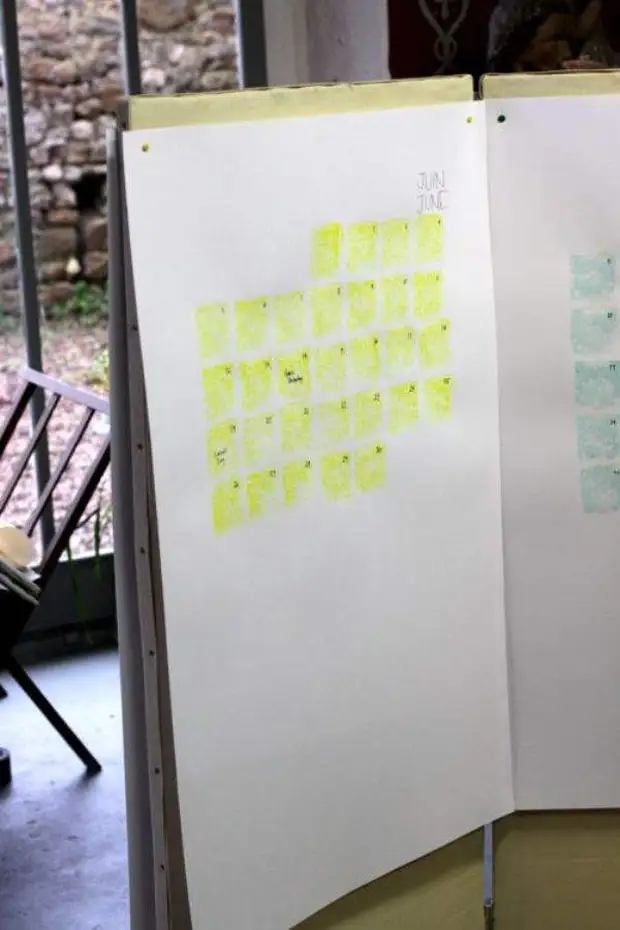
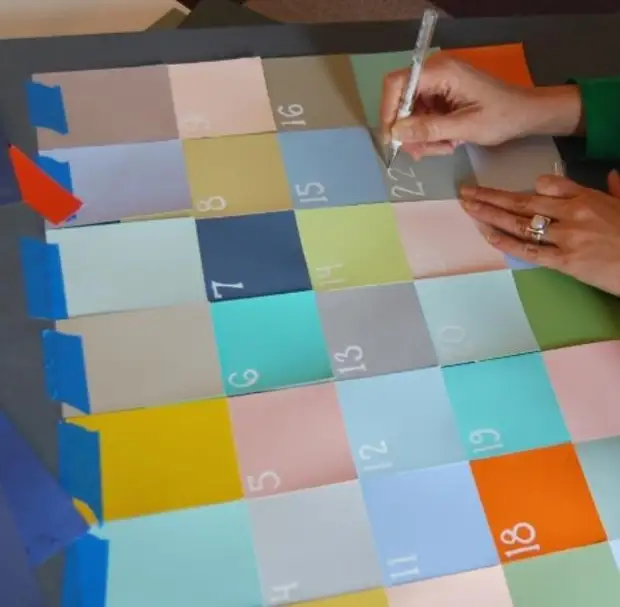
1. For each month, select your color gamut and, pushing out from it, cut as many pieces of paper as many days in the corresponding month. You can cut a color palette or color cardboard.
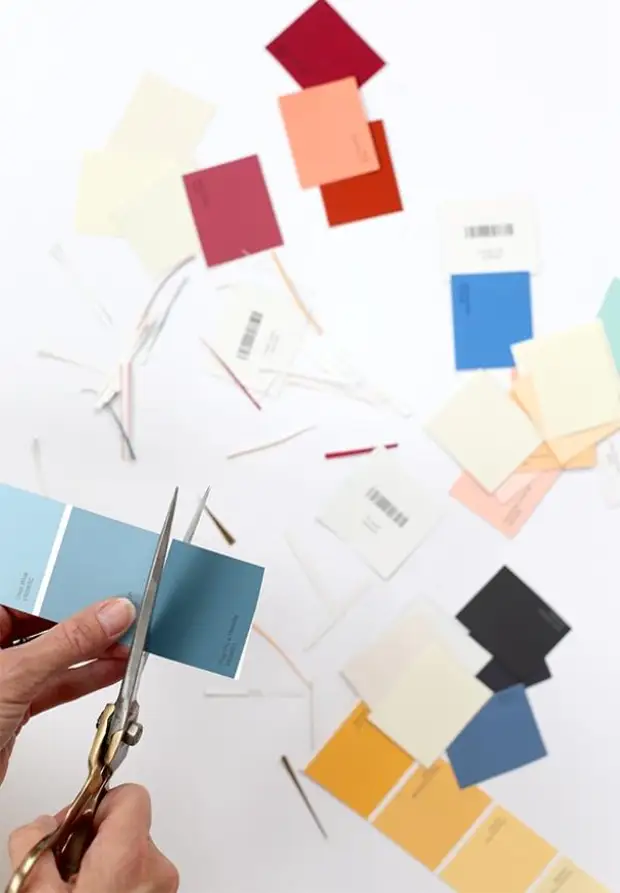
2. Use the button to attach the paper to the chalkboard and the marker number them in accordance with the numbers of the month.
3. You write the name of the month on a separate cardboard rectangle and also attach buttons to the board.
* On paper, you can write important events or draw something.
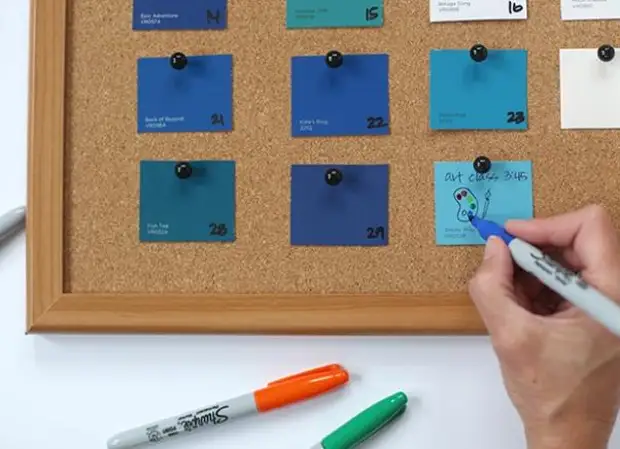
4. It remains to hang the calendar on the wall.
* Every new month can decorate the board, as you like more, and do not forget to change the dates in accordance with the calendar.
Simple Wall Calendar from Color Scotch. Option 7.
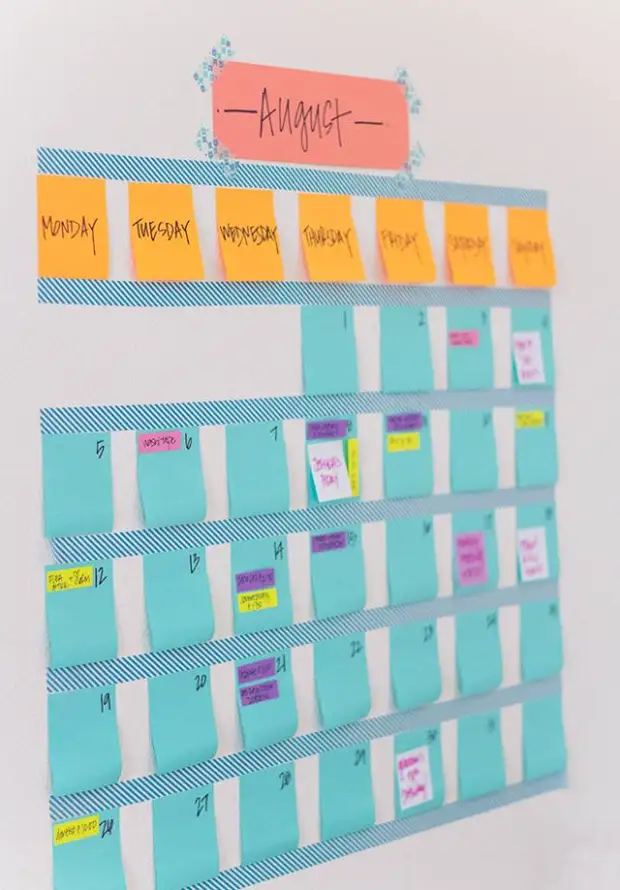
You will need:
- Color Scotch
- Stickers
- Marker.
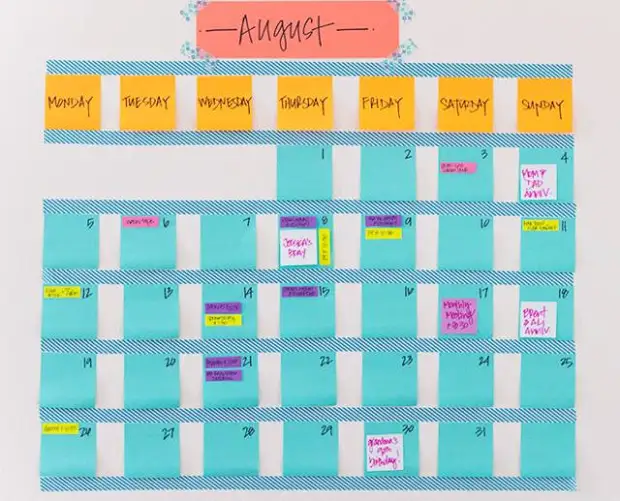
We make a wall calendar on velcro. Option 8.
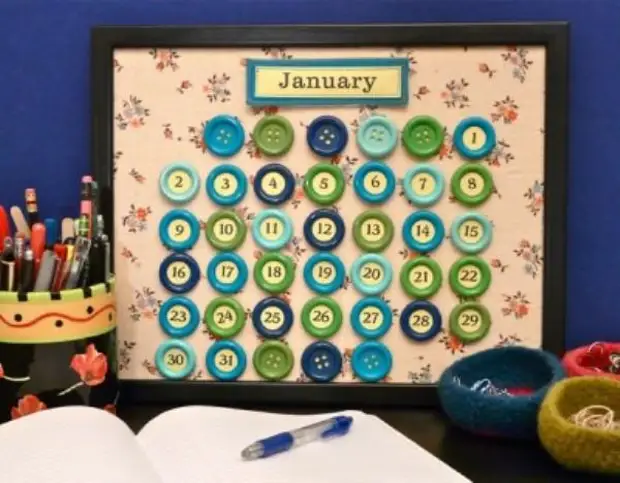
You will need:
- Frame
- plywood or cardboard (size must match the photo frame)
- a piece of fabric (to wrap the plywood)
- Porolon
- Buttons
- Felt
- Knife
- hot glue
- Scotch
- scissors
- Colored paper
- Water soluble fabric marker
- Threads and needle
- Velcro.
1. Fanoire or cardboard wrap the foam rubber, and over the top wrap the cloth and secure the tape, glue or stapler.
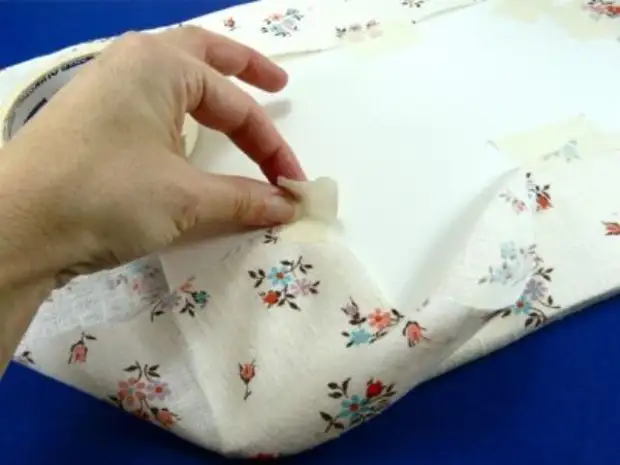
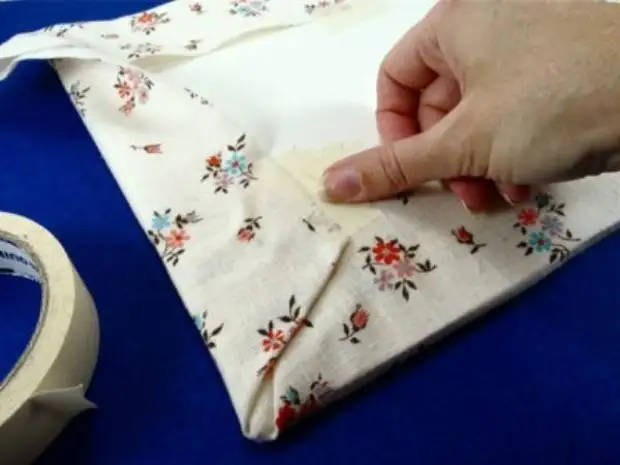
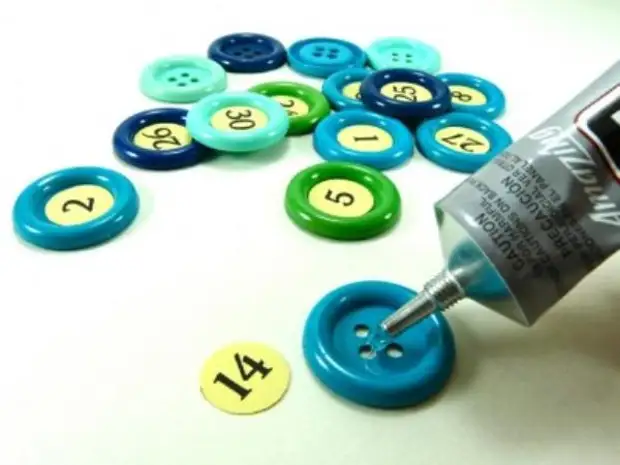
2. From the colored paper cut out small circles and write numbers from 1 to 31 on them. Sharpen these circles to the buttons.
* Check all buttons (31 pieces) are placed in the frame. Perhaps it is necessary to choose smaller buttons.
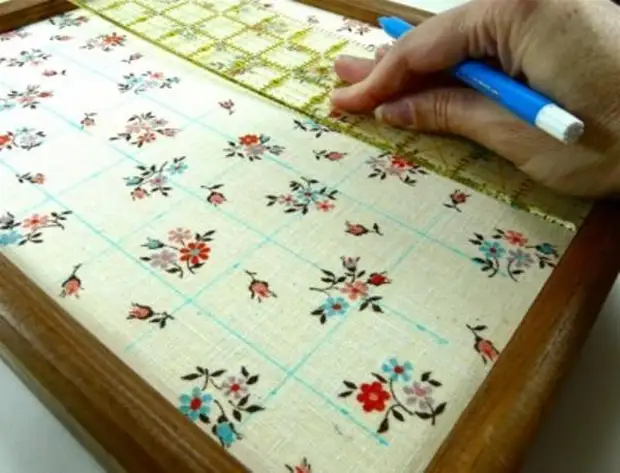
3. Pencil and ruler make marking on the fabric in order to smoothly attach buttons with numbers into place.
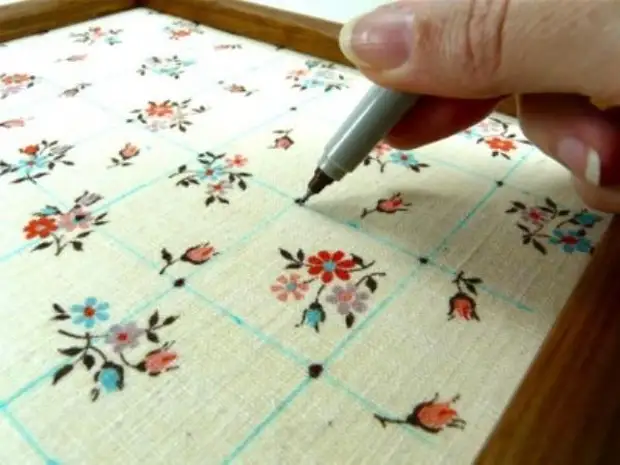
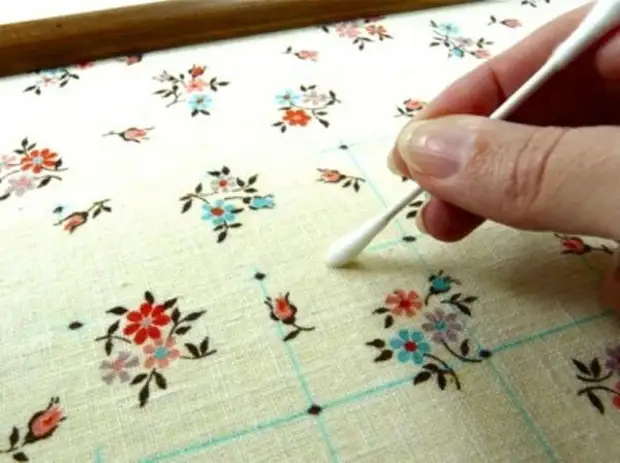
4. Stick buttons to buttons.
5. Cut the rectangles from felt. Also from the cardboard cut the rectangles, but a little less. Write (or type) on cardboard rectangles. Name of months and detail the paper to the feta.
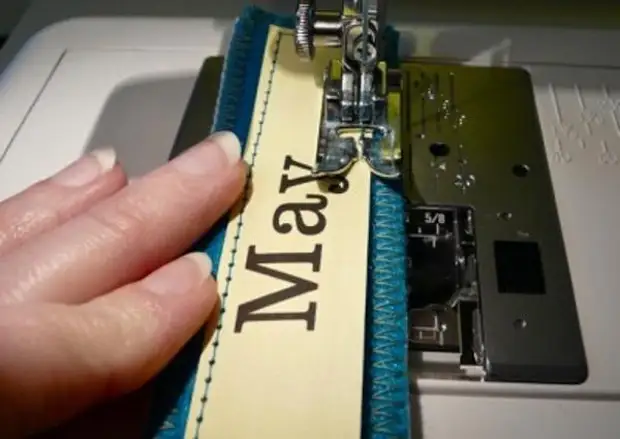
6. On the reverse side of the plates with the name of the months, glue velcro. A second half of the velcro stick to the fabric.
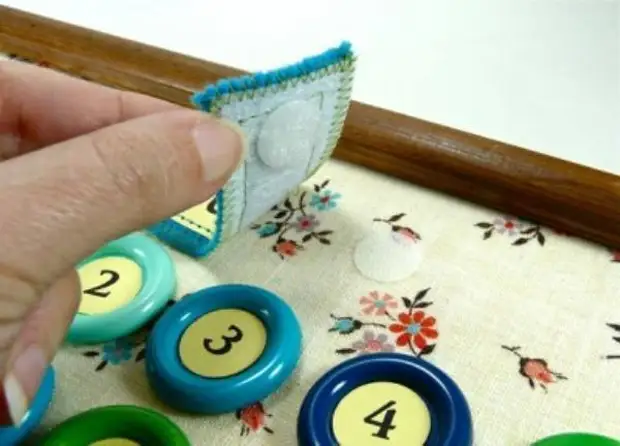
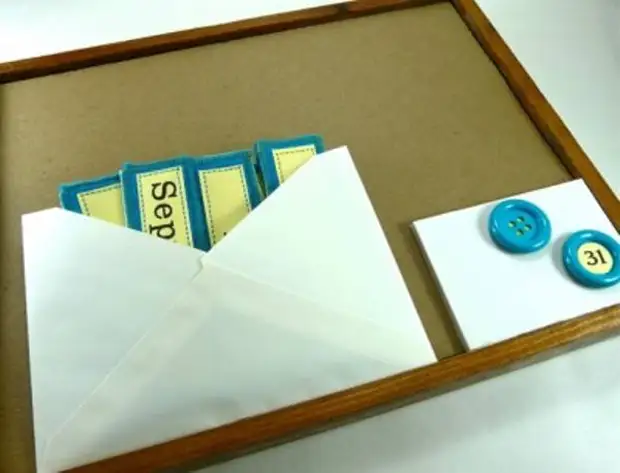
7. Connect all the details to get a calendar. To its reverse side, you can glue the envelope and store all the necessary parts in it (signs of months and buttons with numbers).
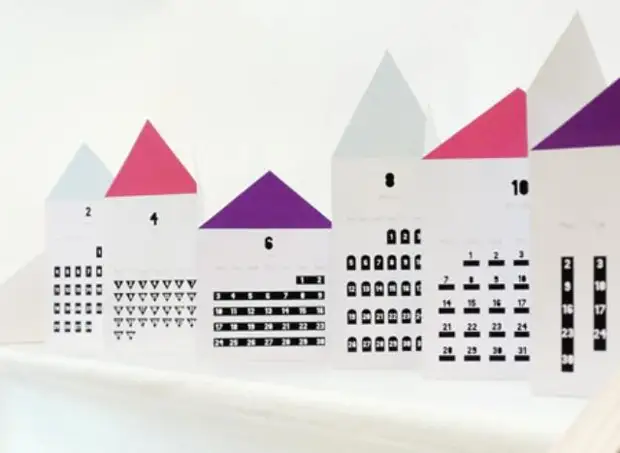
Calendar templates in the form of houses. Option 9.
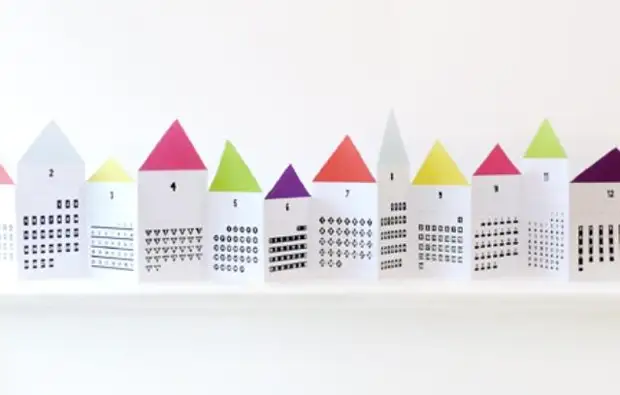
Print templates can be HERE and HERE.
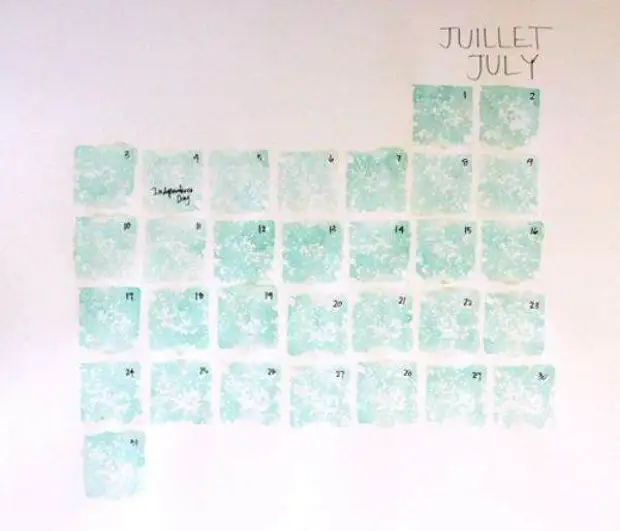
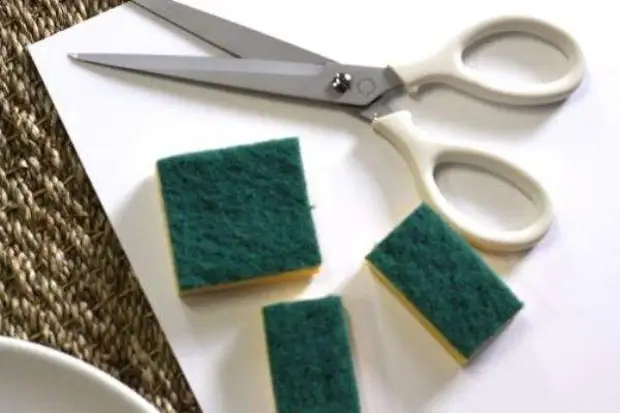
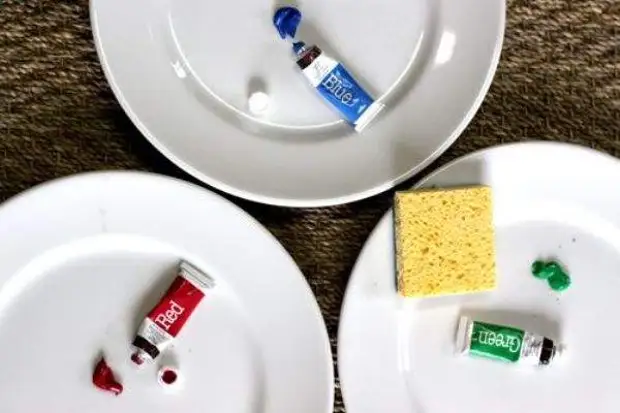
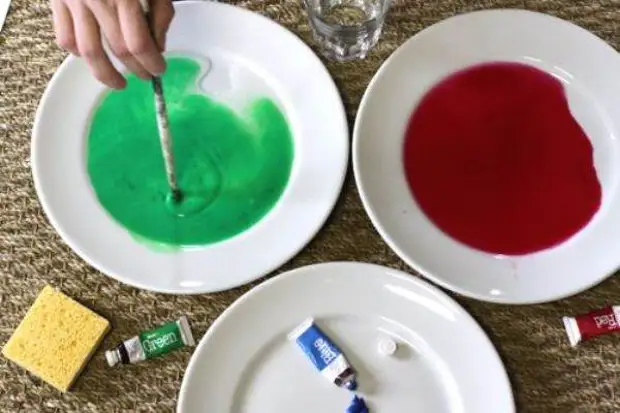
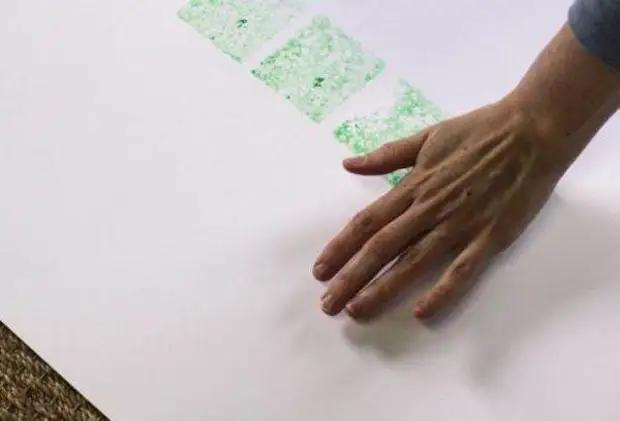
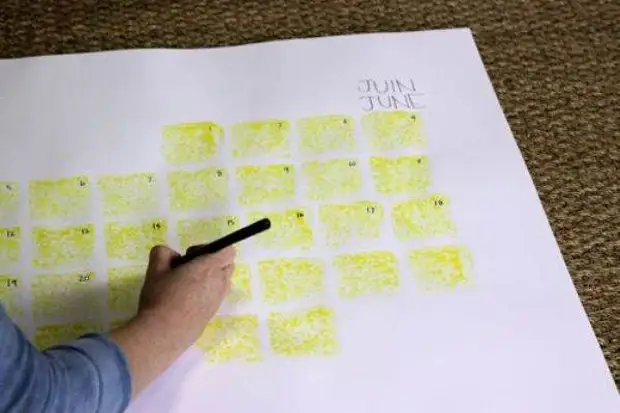
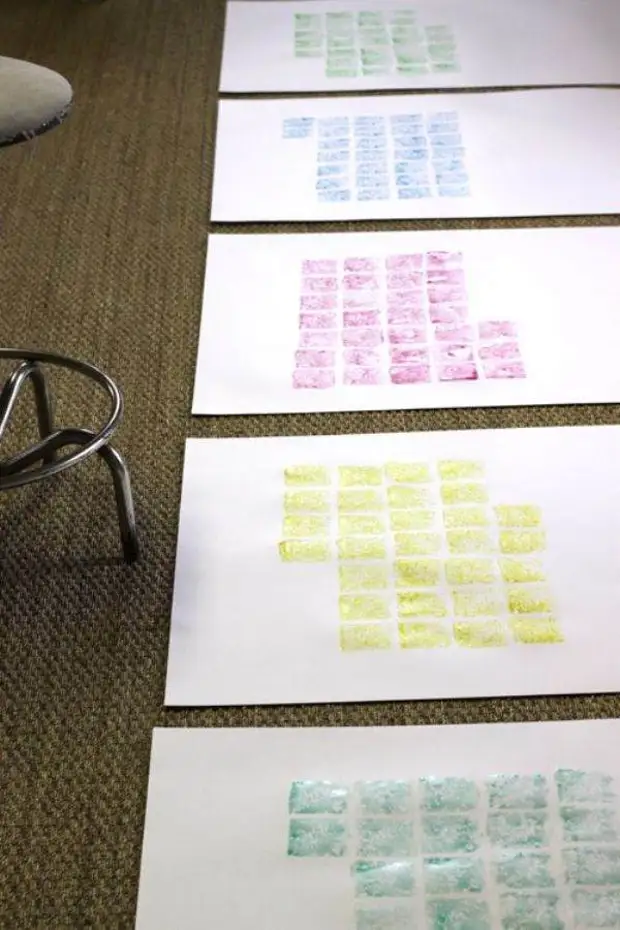
How to make a calendar for free (photo instruction). Option 10.
How to make a wall calendar yourself (video)
Advent calendar do it yourself (video)
New Year's Advent Calendar
Part 1Part 2
Calendar do it yourself (photo)
A source
