

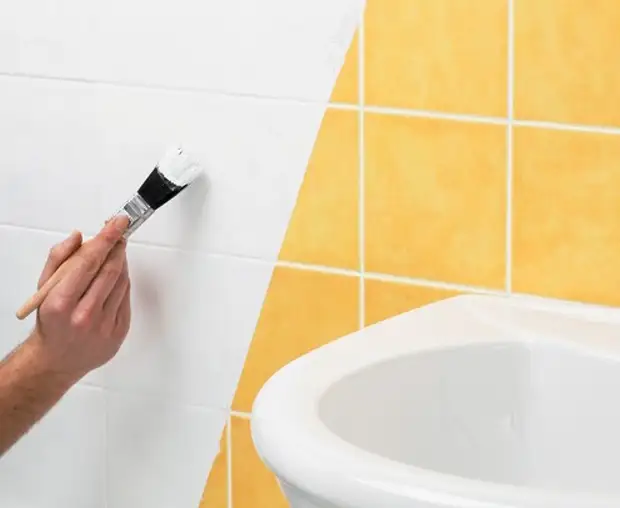
Painting ceramic tiles do it yourself
Ceramic tile - an indispensable and compulsory thing in every home, without it we do not represent a bathroom, kitchen, etc. This is a solid thing designed for many years. But over time, tastes change, fashion, annoying the same interior, fade colors and you have a desire to update something, but I don't want to turn your house again into the dusty construction site, especially since repair work is not cheap.

Many people wonder - why not take and just not repaint the tile in a certain color you like? Other people, the so-called "specialists" argue that it is impossible to do this. And while alone is asked by this question, and others respond - the third has long been doing it successfully.
In America and EU countries, whole complexes of paints and varnishes are also popular for painting tiles in the kitchen, in rooms with high humidity (in the bathroom) and even for tiles on the floor in wet rooms. So this is no longer a myth, but a reality. This is evidenced by a large number of videos at the world-famous video hosting YOU TUBE, if you type in English in his search engine Painting Ceramic Tile, you will see hundreds, if not thousands of videos on painting tiles do it yourself. One of these examples look at the end of the page.
Is it possible to paint ceramic tiles?
And for the designers, a unpacked tile is a canvas for the implementation of individual creative ideas, since the smallest thing that can be done is to decorate the tile patterns with the help of stained-in ceramic paints that it is not difficult to get it (using stencils for those who do not know how to draw) . Unfortunately, in the post-Soviet countries, it is difficult to find similar western paints to repaint the tile, especially in the bathrooms (in large volumes), but nevertheless there is an alternative.
Consider ways of painting tiles feasible with us:
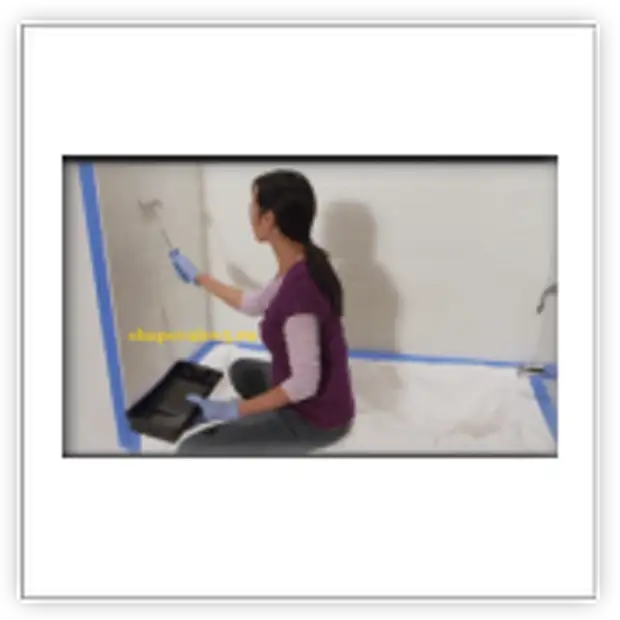
1 way. Let's start with the surface preparation.
The preparation of the surface includes the cleaning of the tile by any effective detergent with a soft abrasive: cleaned the rigid seams from fungi, degreasing is performed, since the surface cleaning is one of the very important components of the durability of your coating. The second important thing is the primer surface. Primer - liquid composition for pre-processing of the surface with its subsequent finish. This is the most important component of any technological chain involving the restoration of the old or the creation of a new outer surface. In our case, you need Primers on surfaces that do not absorb water, which are also called primers of increased clutch. They possess one single, but very important property - well hold on very smooth, dense surfaces (glass, tile, laminate, plastic), which allows you to paint the surfaces on which ordinary paints will not hold on. Primer concrete contact, concrete contact, Betocontakt Knauf and Ceresit CN 94 are also included in their number and show themselves in similar situations, such as laying (sticking)
Most importantly: primers should not contain quartz sand.
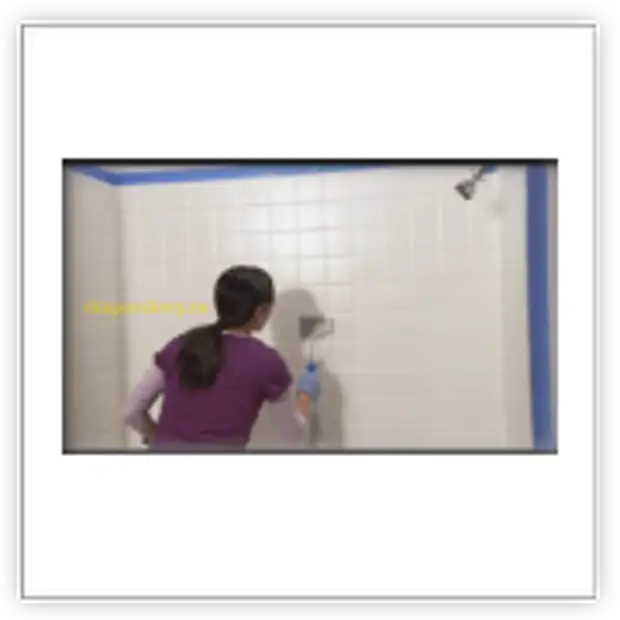
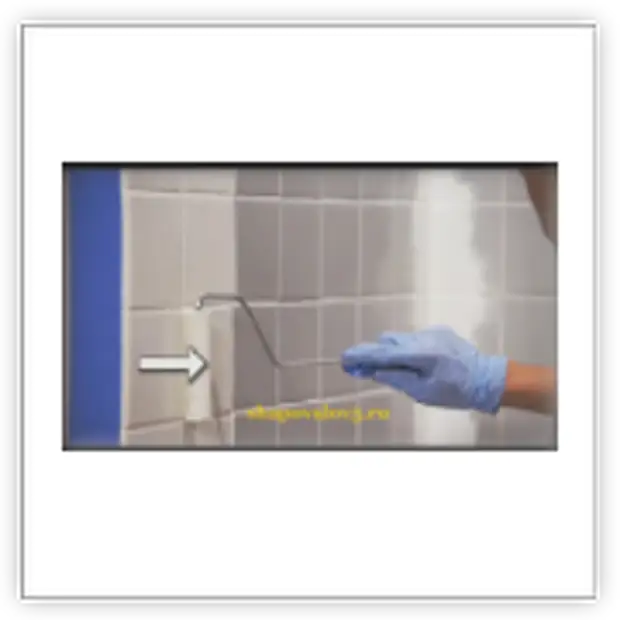
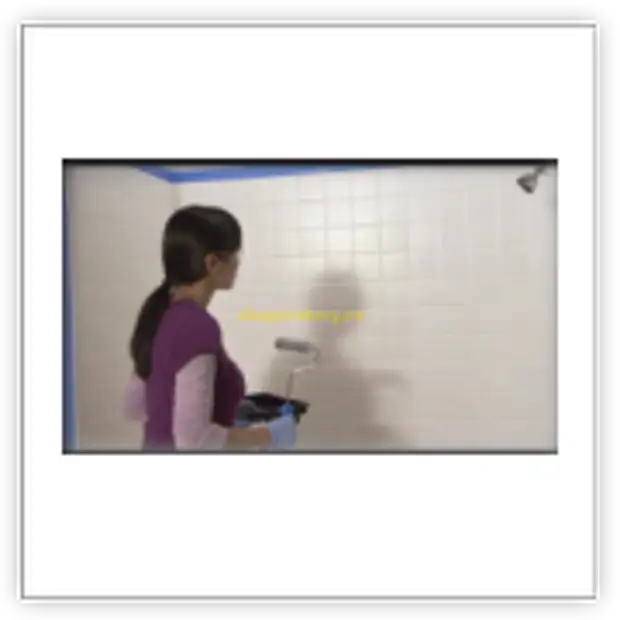
After the primer of the surface and its complete drying (the drying time is indicated on the package) we apply the water-based paint for wet rooms, it is easily clean, forms a resistant coating, contains special additives that prevent the formation of various fungi and molds and is easily applied by appropriate paint pigments. The paint is perfectly applied with a roller or tassel. Such paint can be painted the surface of the ceramic tile in the kitchen, near the stove and on the walls of the bathroom. After its complete drying, the time of which is also indicated on the package, fine-grained emery paper, we gently compare the sumps left by a tassel or roller and apply 2-3 layers of aqueous acrylic varnish of glossy or matte (at your discretion). I use for such purposes panel or facade (it is more powerful) Luck Irkom. If the tile was not very smoothly laid initially, then I recommend painting with matte acrylic varnish, then the tile irregularities will be practically not noticeable.
Note: Luck must be applied only after complete drying of paint, otherwise, when interacting with water varnish, the old tile will be shocking from below it.
The second way.
Fold the entire surface of the tile using a detergent containing soft abrasive (COMET or CIF). Then gently passionate the surface with the skin to remove the film and the flare. After grinding, dry the paper towel into acetone and clean the tile from extra particles and soap plates. The surface of the primer intended for epoxy paints, we are waiting for complete drying, take into hand roller or tassel and cover the epoxy paint tile. In conclusion, after complete drying of epoxy paint, we apply a couple of layers of aqueous acrylic varnish, as above.
Tile can also be updated, painting it partially.
Partial painting of ceramic tiles

1. Select Pattern
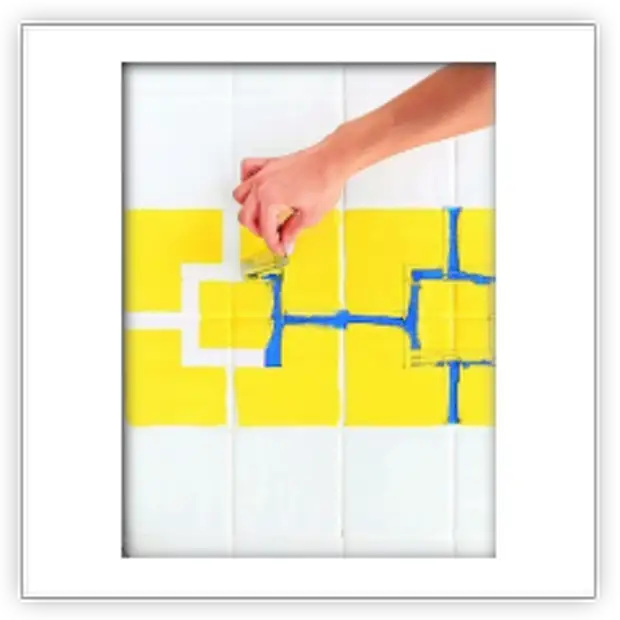
It is easiest to make a geometric pattern - while you can use horizontal and vertical stripes, diamonds, or choose a drawing, like us (tile size 10 × 10 cm).
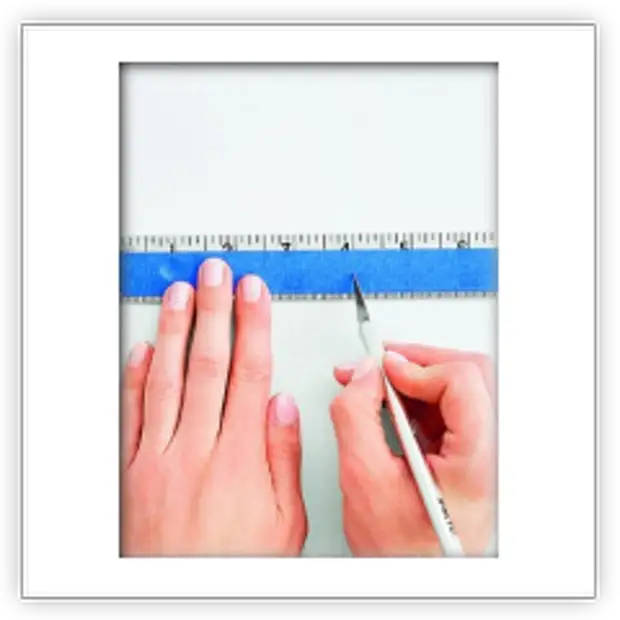
To make such a square, cut the 4 strips of a 10 cm long tape (for cutting the tape, use a dump knife). The square of the four bands is glued to the center between the four tiles. Prepare also 4 bands 3 cm.
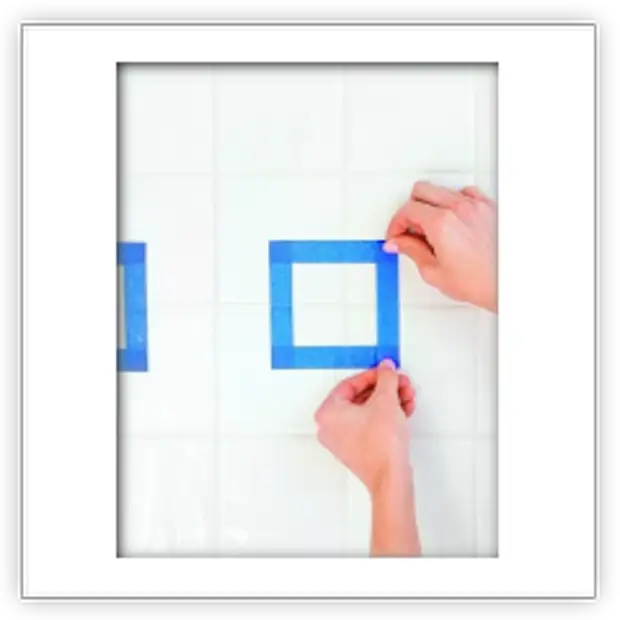
2. Apply markup
Using the level, stick the tile between the tiles in the form of a square. Do not worry if you immediately did not work out exactly, you can remove and cross the tape again. Place each square of 10 cm from each other. Then around the squares on the joints of the tiles, take short stripes (5 cm). Prepare long stripes tape and place them on the side, as well as on the upper and lower tile joint.
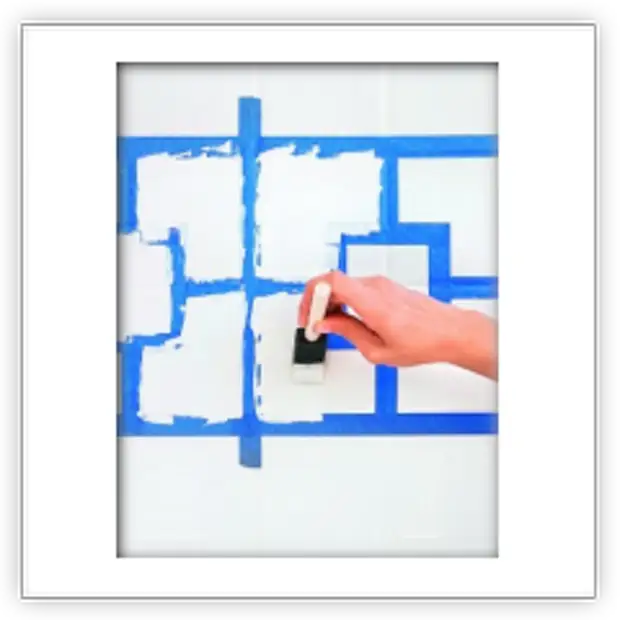
3. Start the surface
With the help of a small brush-sponge, gently apply a thin layer of primer to the tile inside the resulting squares from the tape. Give her to dry out at least 3 hours. Do not attempt to speed up the process of drying the tile using a construction or ordinary hairdryer. During drying to the surface, dust particles can be attached and sticking to the surface, which is not entirely desirable for further work.
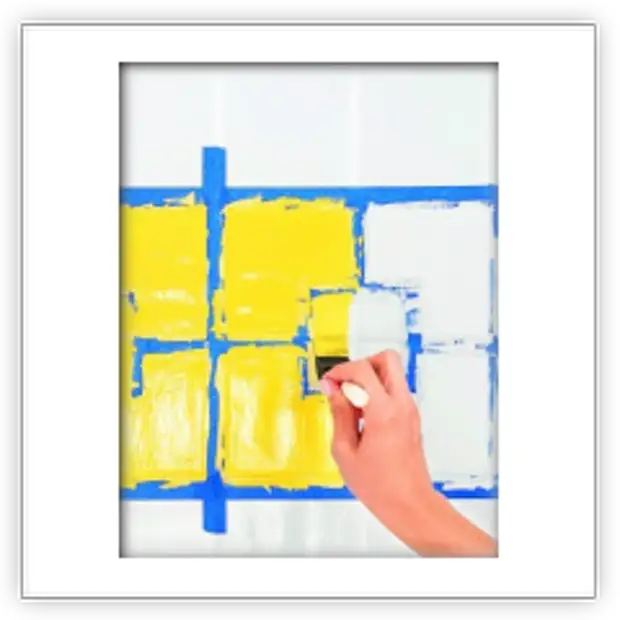
4. Painting Tile
Fill the squares of the epoxy paint any shade you like. The paint is quite persistent and retains its properties up to 10 years. After complete drying, the tile can be washed and not afraid of getting droplets of water onto her surface.
5. Remove the isolent
Within 24 hours, do not allow moisture to enter the tile. Give her to dry. After that, gently and slowly remove each strip of the tape. In the future, when cleaning the surface of the ceramic tile, do not use abrasive tools.
Temporary effect
If you do not want to dispel your bathroom forever, you can use a quick and easy way: waterproof vinyl stickers of different colors and shapes.
A source