
To work, we will need: Capacity from soap, glass, napkins, PVA glue, crabeller lacquer, paint, primer, brush fan, soft brush, Faila, sandpaper.
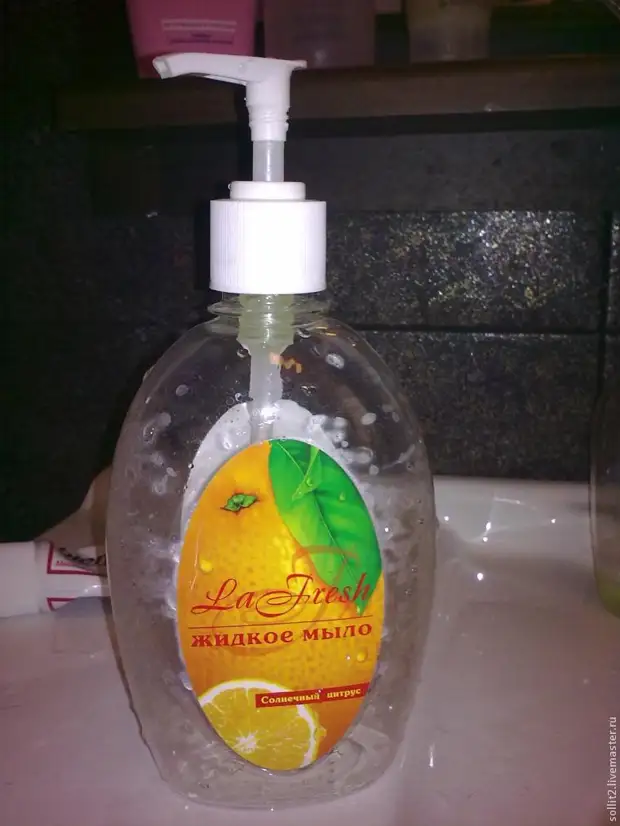
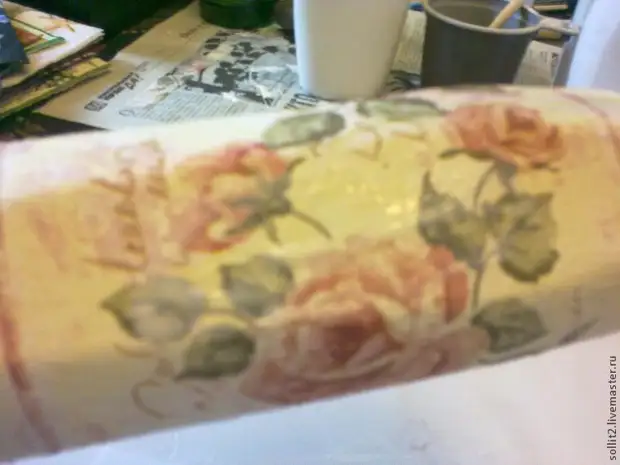
In the morning, the bathroom discovered this container from soap and began ...
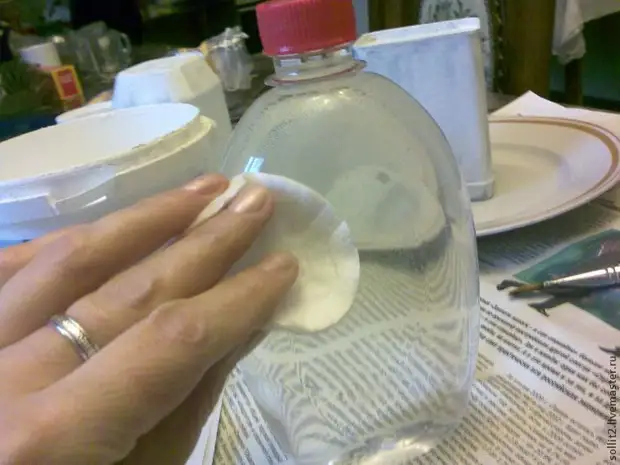
Cleared from labels, degreased and went through the skin for a better clutch with the soil. In the container scored water and closed the lid so that it does not be bitten.
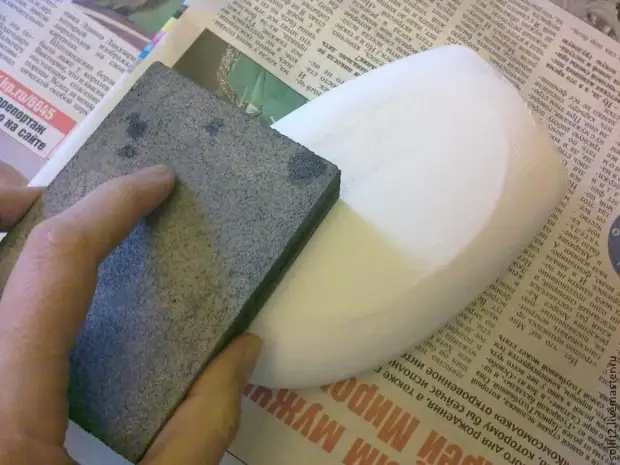
The soap and a glass has been reloaded in two layers of white acrylic paint, I have a water-building for external work, so more economical, than artistic acrylic, because the water poured water - the paint sued instantly, literally under the brush.
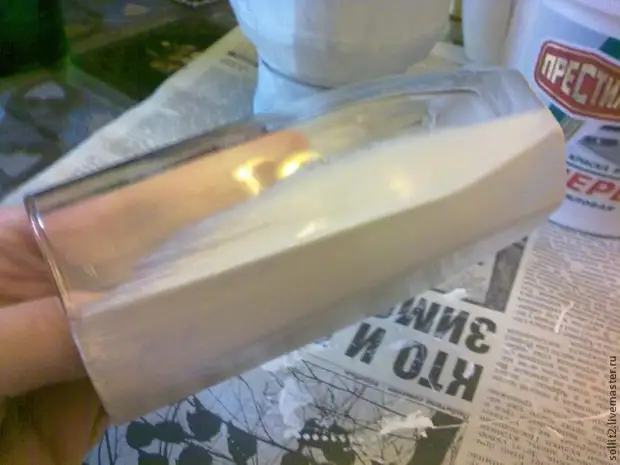
After the soil is dry, hovered opening No. 0 for smoothness.
From the napkins you like cut out fragments, I had enough of one 25 * 25 into two objects. The napkin came across very thin, so glued through the file (thank you who came up with). I put a fragment on the file with the colorful side of the down and a fan tassel, slowly pouring the water to smash the napkin.
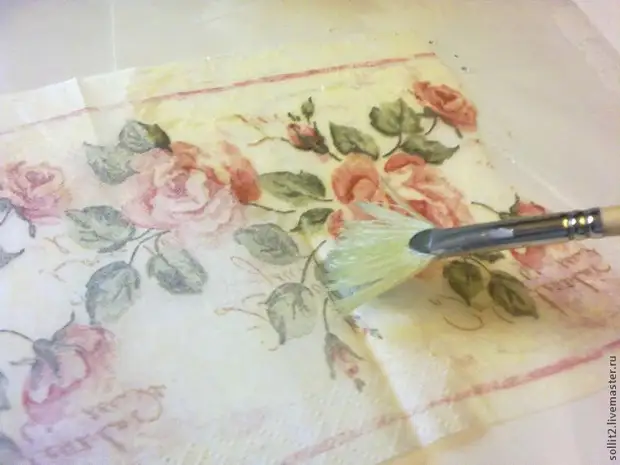
Excess water drain from the file (the napkin holds hard and does not drive from the file).
We apply the napkin to the subject and fit well, the file is removed, if the folds were formed, they can be dissolved, watered with a brush or finger in water.
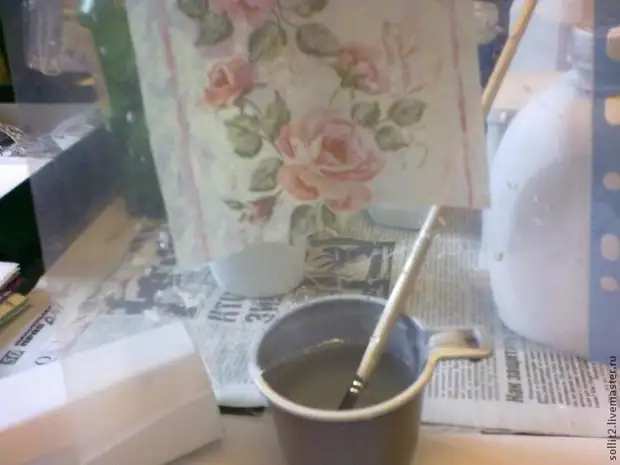
Divide the glue PVA with water 1: 2 (it should slide, if you dilute strongly, then the folds are difficult to remove) and cover the product, you can be a fanic bruster, and you can also with your finger - it's more convenient for my finger: a better napkin is felt and you can immediately smooth out the folds.
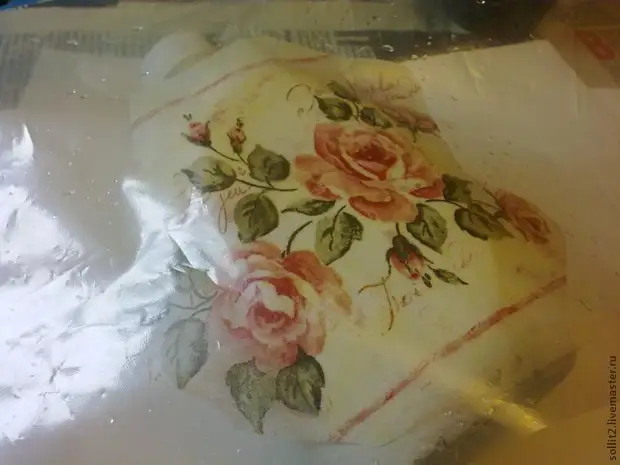
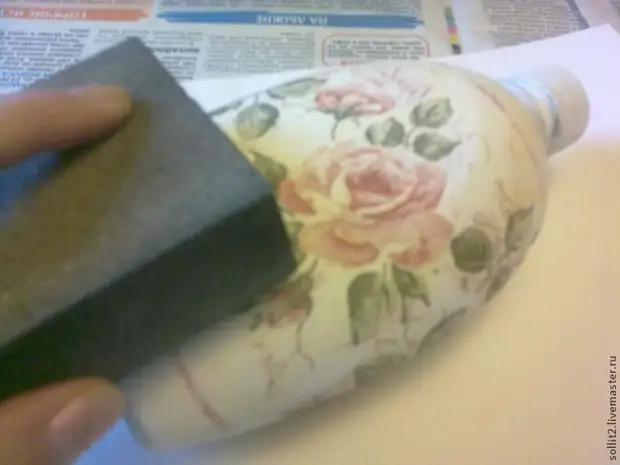
After the glue is dry, we pass the eye to clean the roughness.
Gold acrylic paint passes the places where I will make cracker.
After the paint dried with a nano, one-component multi-component composition (I have decola) and waiting for two hours (this is important) if the time is not to withstand, the girls complain that the cracker does not work. I was enough for 1 hour 50 minutes, but nothing is the result.
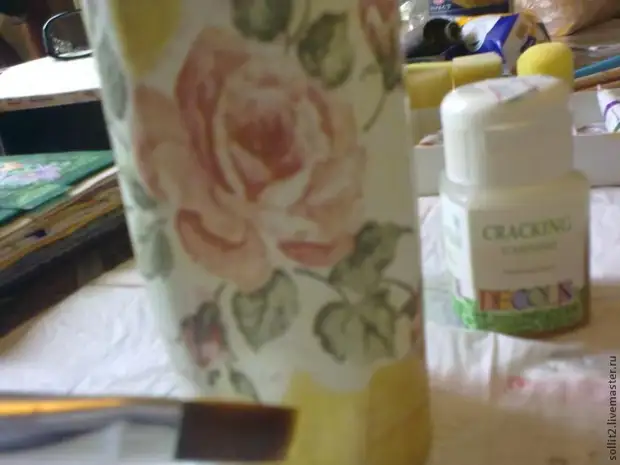
We cover places with crustured varnish acrylic paint, cracks appear immediately, literally under the brush and, in my opinion, very cute.
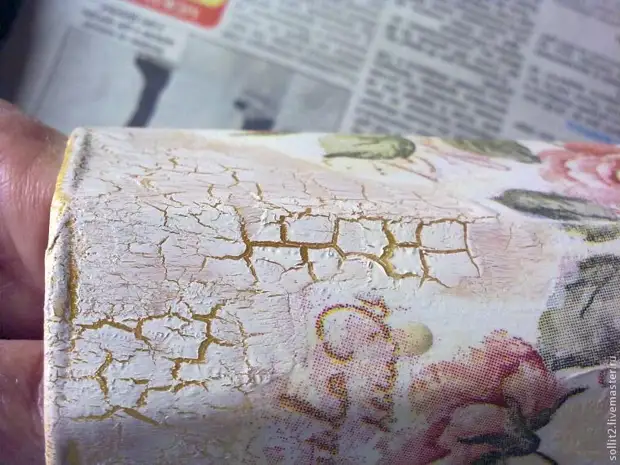
After drying, the paint flows the edge of gold for the completion of work. Cover several layers of varnish, usually I use aerosol, and here I have a tragedy - an aerosol ended, I had to use the construction acrylic varnish, to smear his tassel (I did not like it). I read the reviews of girls on the site that the napkin napkins clings, I did not understand what we were talking about, and then I myself felt. True, on this set, everything is fine, I just did 8 things at the same time, and there were problems on them.
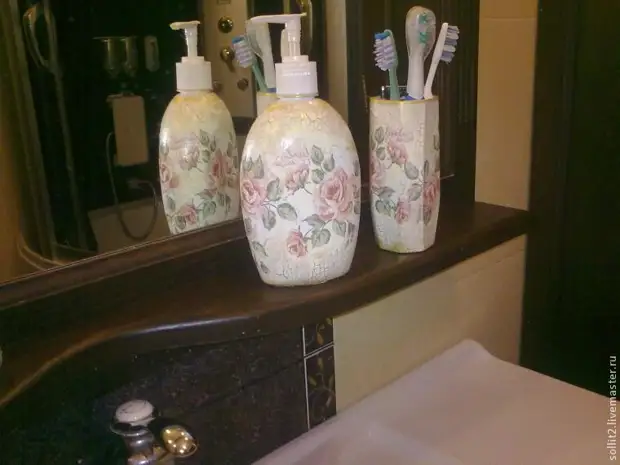
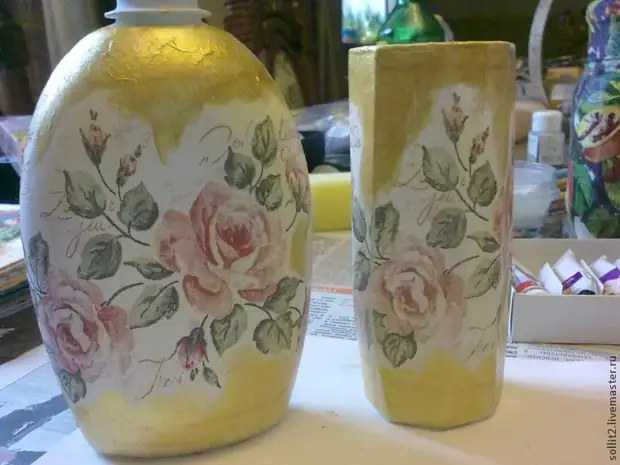
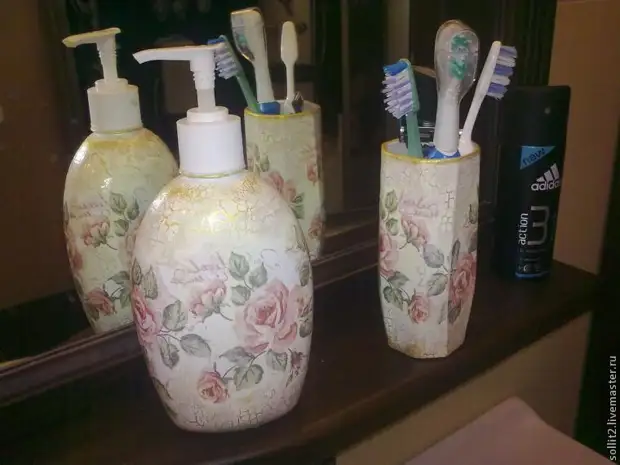
That beauty turned out.
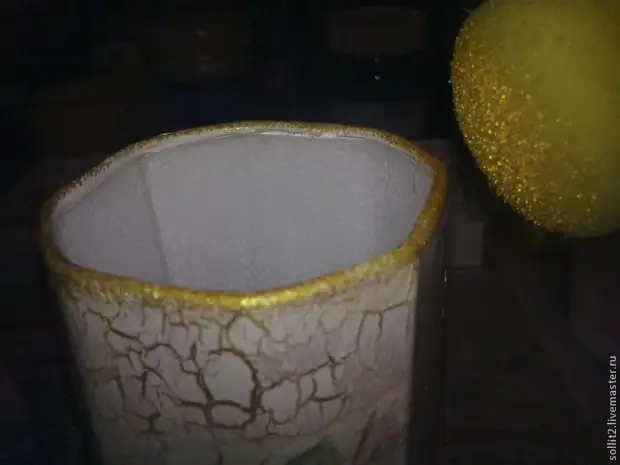
So the squabbler is better visible.
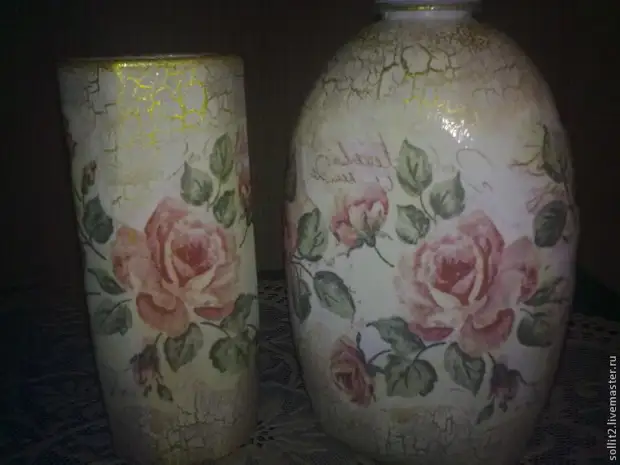
She took his place in the interior.

A source