
Making a window mosquito net on the frame with your own hands for 150 minutes and 300 rubles.
Wanted to make the grid with your own hands.
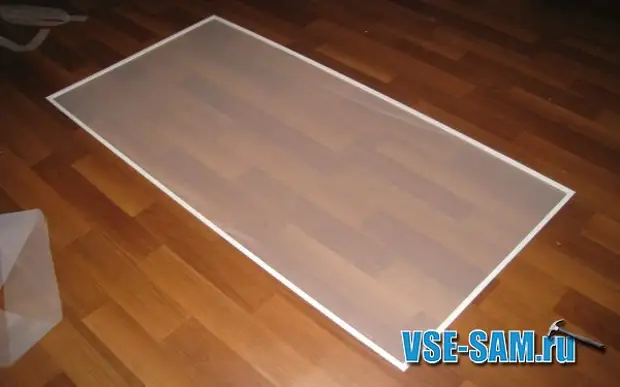
That's what happened.
Required materials and approximate prices:
In my case, the grid is 175 * 80 cm.:
- Cable Channel (15 * 10mm.) - 4 pcs. for 2meters, (2m = 15p.) Total: 60r.
- Metal corner -4 pcs. (I do not remember the sizes. It must enter the channel cable) (1pc. = 14r.) Total: 56r.
- Exhaust snapper (4.0 * 6) -16 pcs.
- glue super moment Profi 1pc. (bottle * 5 gr.) Total: 80r.
- Mosquito grid (1m. * 2m.) (Preferably thin, it is easier to work with it.
- remnants of sandpaper or grinding lump with large grain.
- Remains of a plastic corner 3 * 3cm. -20cm.
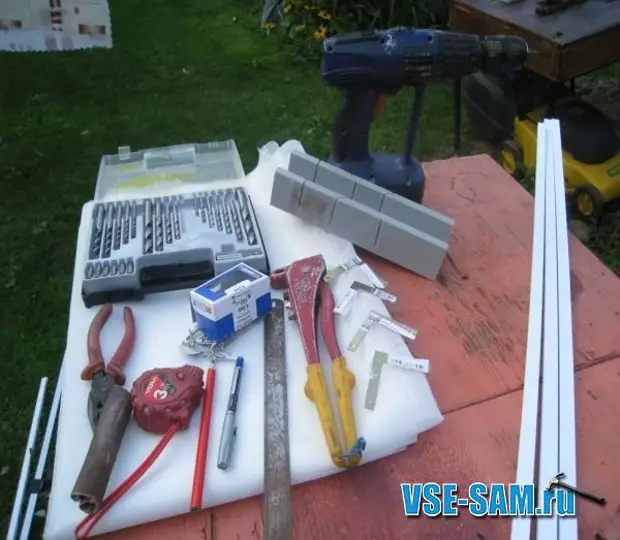
Tool:
Sculpture or drill
Drill
Close pistol
Roulette
Metal canvas
Pencil
Pliers
Stuslo
Order of work:
We measure the window, cutting off the web for metal cable Channel at an angle of 45 * in size and grind the place screamed with a skin.
1) Measure the window, cut off the web for metal cable-channel at an angle of 45 * in size and spinning space dug out with a skurt.
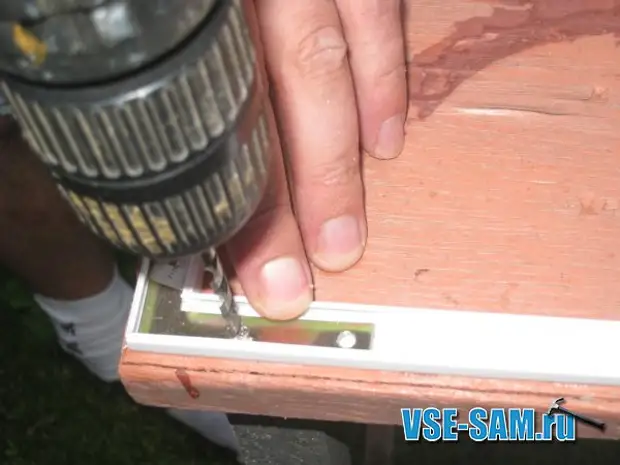
2) connect the billets of the frame and insert the methows into its corners. Corners, after which drills in a cable-channel hole for a rinse.
3) Fresh corners to cable cable rumble. Be careful! The cable should be on the side of the cable channel or when the cable-channel cable is burst.
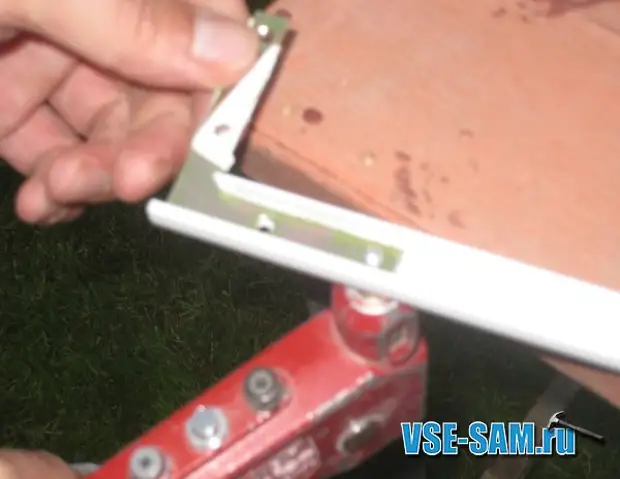
It turns out such a design:

4) The most responsible and difficult moment comes, we need to pull the grid on the frame.
We impose a mosquito net to the frame so that with each side of the frame there was a stock from 2 cm., And with the help of the second person, we start stretching the grid and snap (the long side-short-long) top part of the cable channel (it is important to choose all the provisions, but not Throw the grid - it will depend on the view on the window). After that, we cut the surplus of the mesh blade and "point", we sample the response parts of the cable channel throughout the perimeter of the frame so that the cable channel did not understand itself during operation.
(Unfortunately, there were no free hands for this operation).
That's what we did:

Mosquito net is ready, it remains to make fastening and consolidate it on the window:
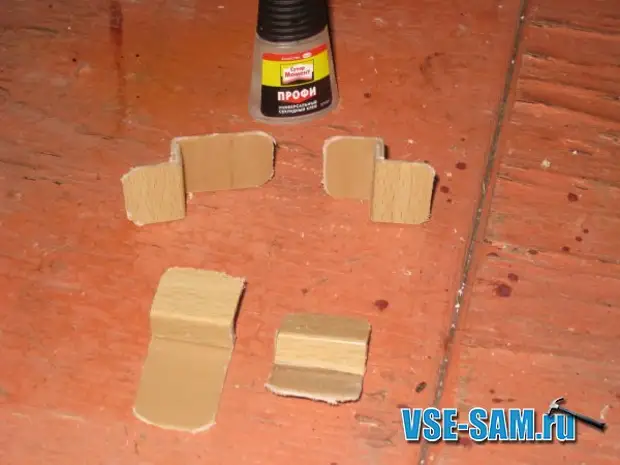
Method 1: From a plastic corner 3 * 3 cm. Cut off the pieces of 2.5 cm., and measure the "depth" of the step (the thickness of the Cab. Channel). Cut off the excess scissors. Then glue two corners with back sides to each other (with something the upper fasteners one side must be twice as long). The resulting "z" fastened self-tapping screw to the window frame and insert the grid, first in the upper mounts, then into the bottom, and omit.
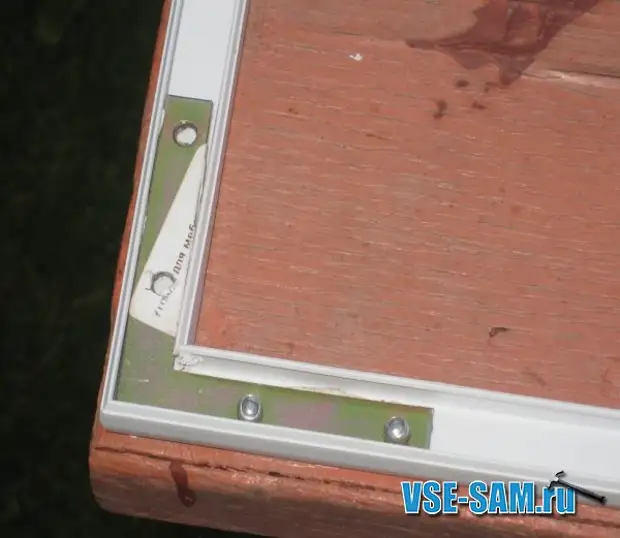
Method 2: From tin or sheet metal cut off pieces of 1.5 * 3 cm - 2 pcs. and 1.5 * 4cm.-2 pcs. Bend them so that the letter "Z" is turned out, we drill the hole in them with one side of the hole for the self-tapping screw, then it is described further to the window frame as described in the method-1.
The easiest and fastest way: we drill in the window frame and our grid 4-6 holes and screw the screws with a flat hat!
Mosquito net for 150 minutes and 300 rubles.
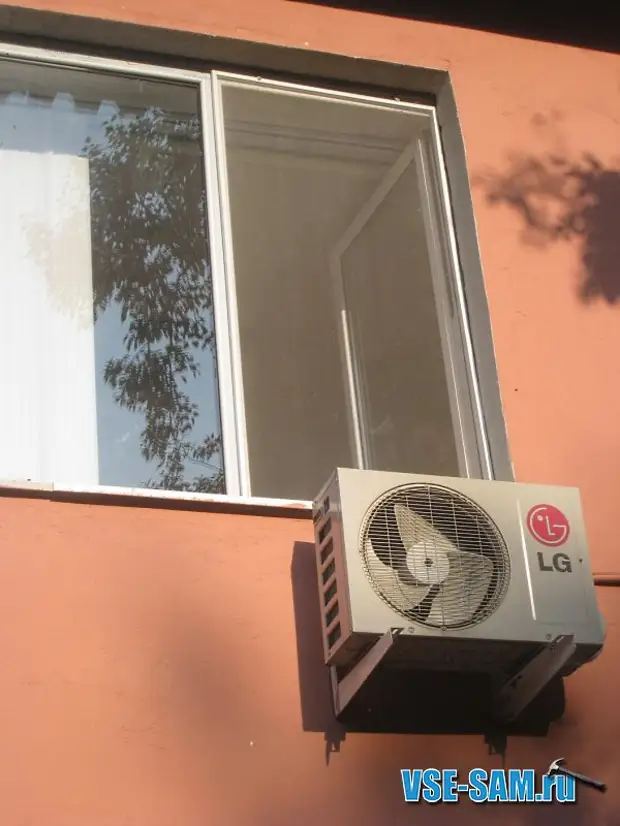
This grid has three seasons.
This mesh stands on the second floor window. In the fall, I remove it, but I put it in the spring. In the future, the season is going to wash it, soapy solution and a soft-belt brush.
It was a description of the first mosquito net. In the manufacture of subsequent grids changes in the process I did not contribute. The manufacture of subsequent grids is spent much less time. To date, on this technique, a 12-diminished mesh was made.
A source