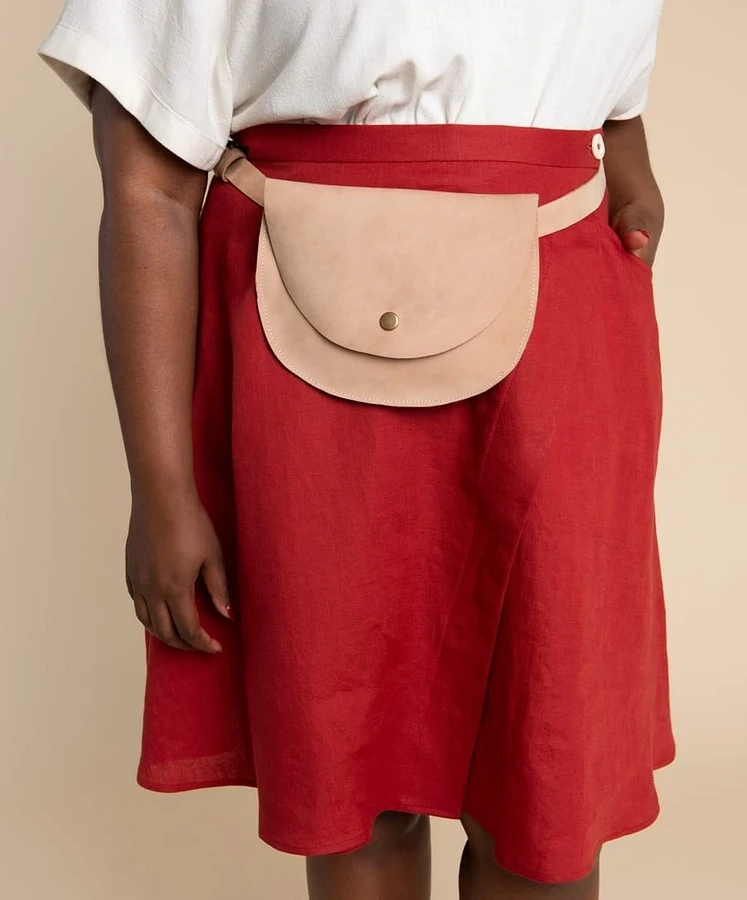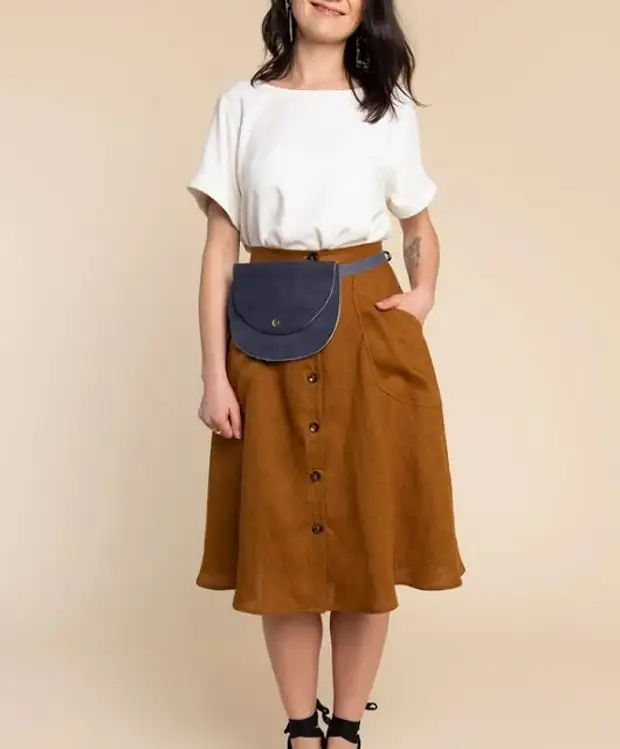
This handbag is easy: she has no lining and unnecessary parts. But it looks like this no less nice!
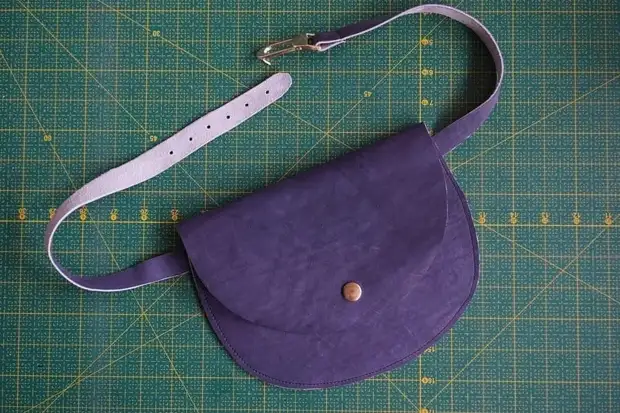
This simple and laconic handbag is sewn from genuine leather and is on the belt. It closes on the button, inside her - a small pocket, by the way, you can make it more or add a second. You can make a bag of more or smaller, while we need to take into account that there is no side part for creating a volume of the bag. The belt holding a bag on the belt can be made with your own hands, as in this master class, or use ready. In any case, the belt is easy to remove and change, changing the appearance of the bag.
For the bag it will suit a sufficiently dense, well-holding skin shape.
Before work, we recommend that you remind yourself of skin tips:
You will need:
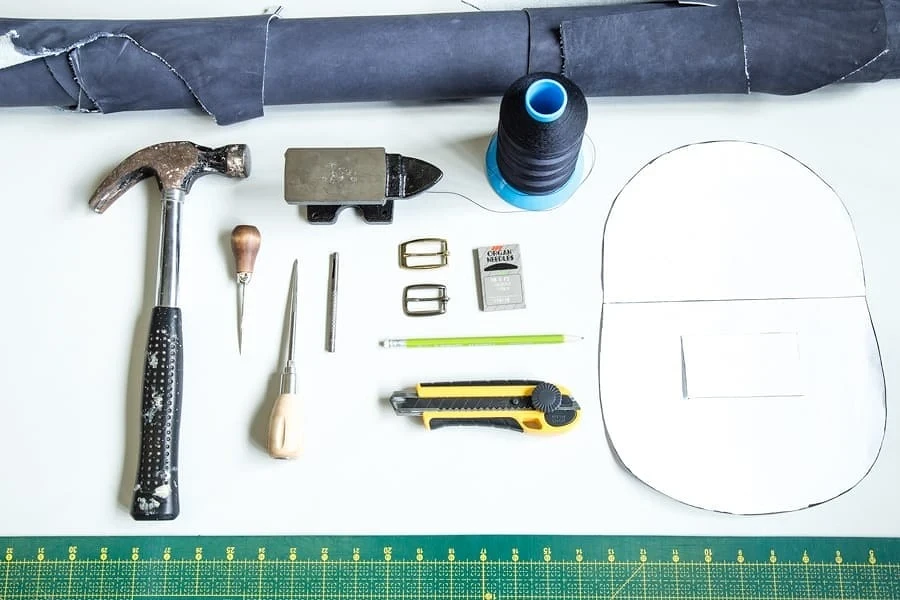
- genuine leather for the bag;
- Pobbing button;
- belt buckle;
- Sewing machine and needles for skin for leather;
- Teflon or roller foot;
- enough thick durable threads, here - from nylon;
- Mackety knife and mat backing;
- pencil or marker;
- metal line;
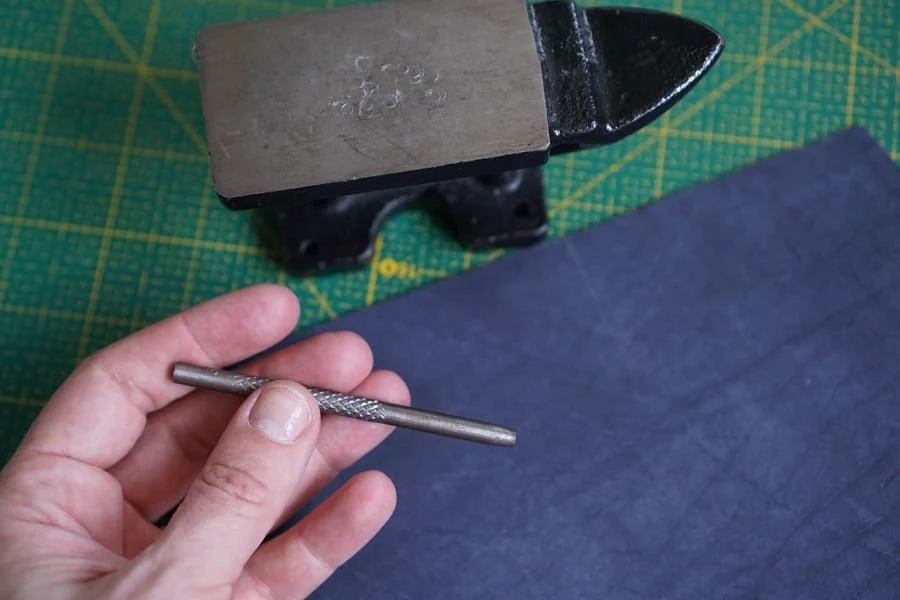
- sewn or special tool for punching holes in the skin (pass wheel);
- a hammer and anvil (the bottom of the cast-iron frying pan can be used in its quality);
- Thick needle for manual sewing;
- clamps;
- Paper and scissors for paper for template.
To install the button, you need a special press, nippers or set to set buttons. If you do not have these fixtures, you can set the button with the help of remedies. Then you will need something that will be used as bits - it will be suitable, for example, a remedy tip for dumping or screwdriver. In the master class below there is a video, how to install a button without the press.
STEP 1
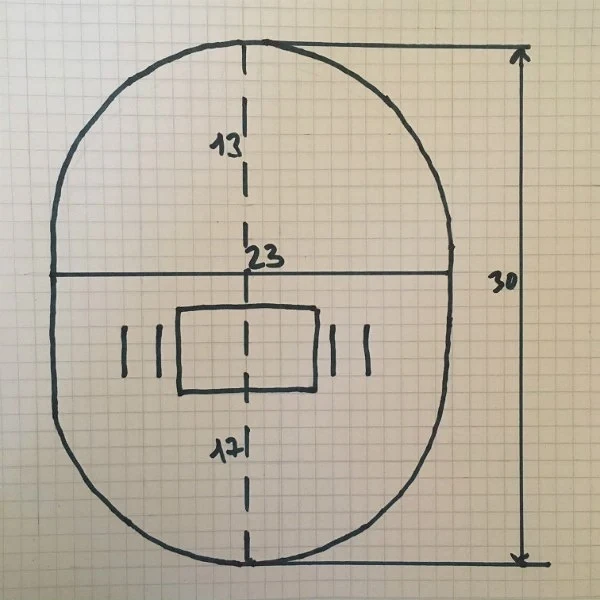
First you need to make a template. Here are approximate dimensions, you can use them (for them the bag will be 23 cm wide and 17 cm tall) or increase / reduce the bag. Make a similar pattern and cut out from paper 3 parts template:
1 - the back of the back of the bag, one with the valve (take the place of sewing place of pocket and places for inserting the belt);
2 - detail of the front of the bag, this is part below the horizontal line;
3 - detail of a pocket.
Challenged slits, focus on your belt width. To the width of the belt (ready or made independently) add 4-5 mm - it turns out the length of the slot. The distance between two spaces located nearby - 1.5-2 cm.
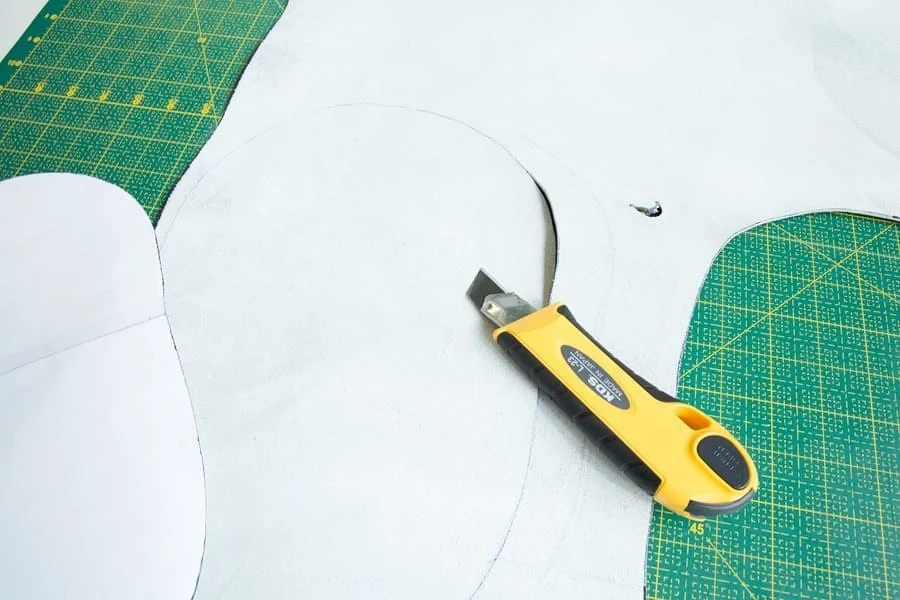
Then pick up 3 details of the skin with a bug knife.
Step 2.
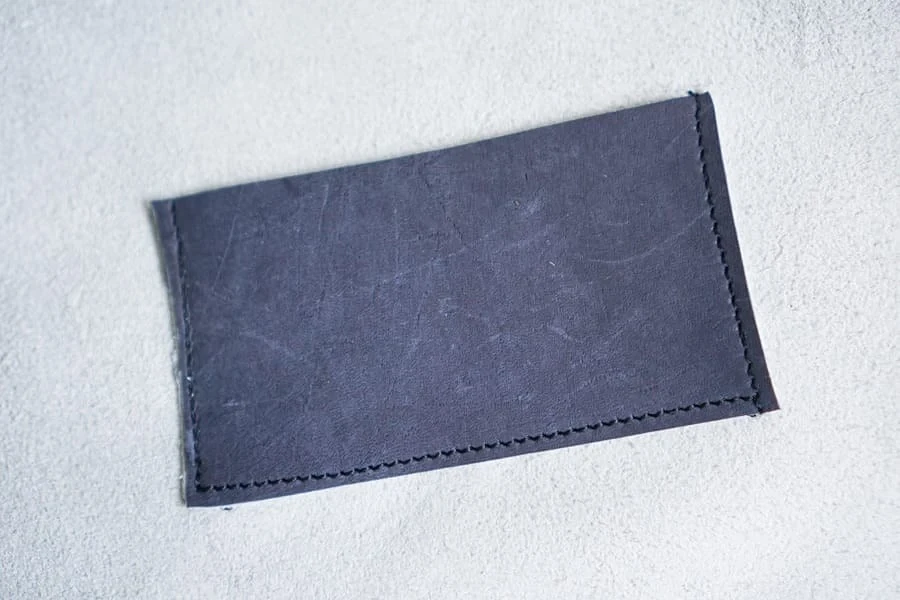
First, sew pockets according to the marks from the wrong side of the main part. The battery is about 2-3 mm. Take the ends of the threads to the side of the pocket, firmly tie and cut. Make slots by tags.
Step 3.
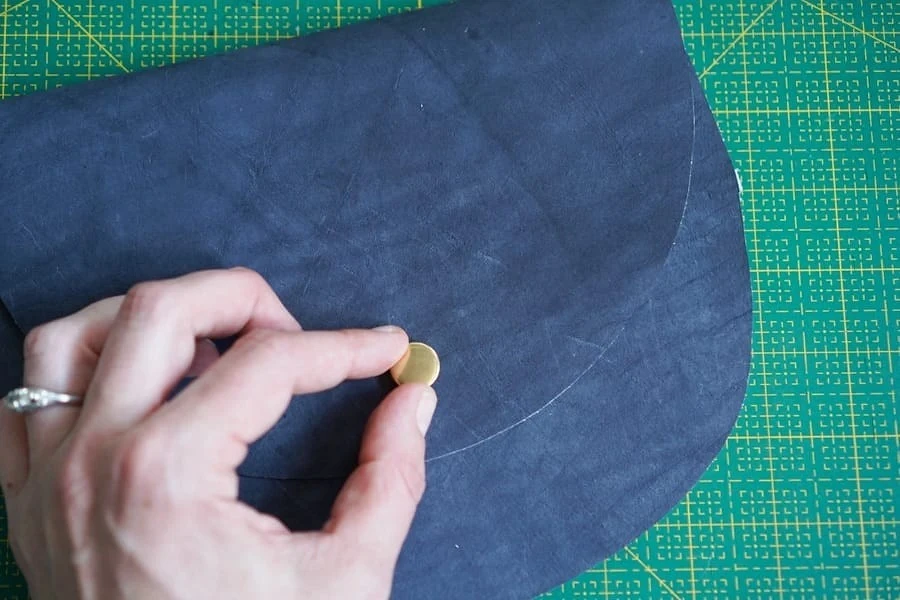
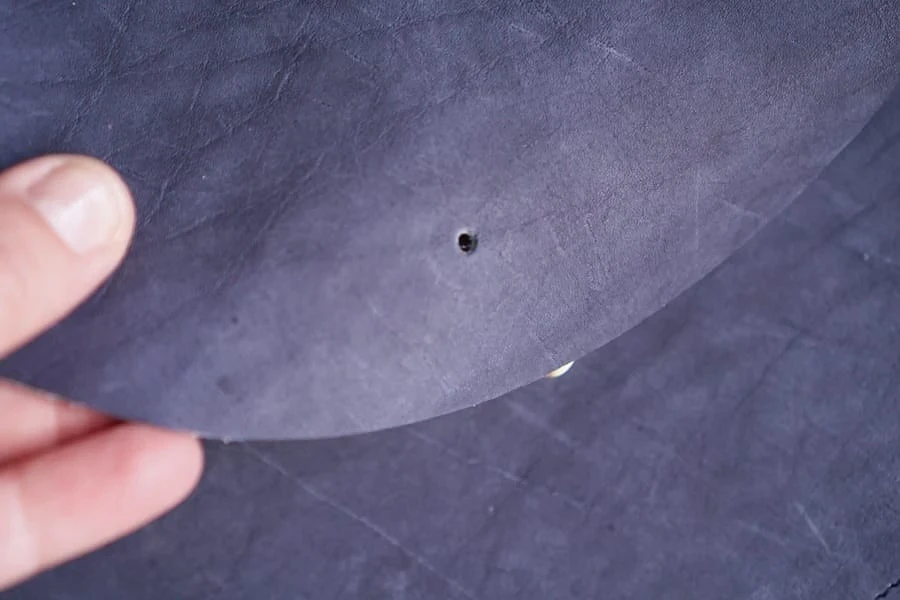
Install the button. Put a large detail on the working surface with an inlet up, on it - the detail of the front of the bag face up, align the lower and side edges. You can bore their pair of clamps. Valve wrap down. Find a place to set the button: It should be located in the center of the bag 2x above the valve edge. The place can be outlined by pressing the top of the button into the skin:
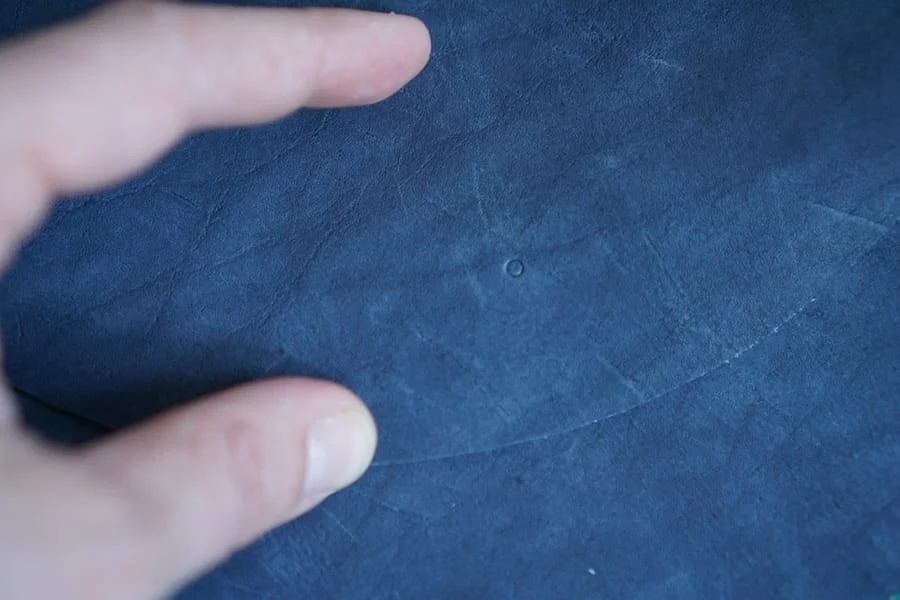
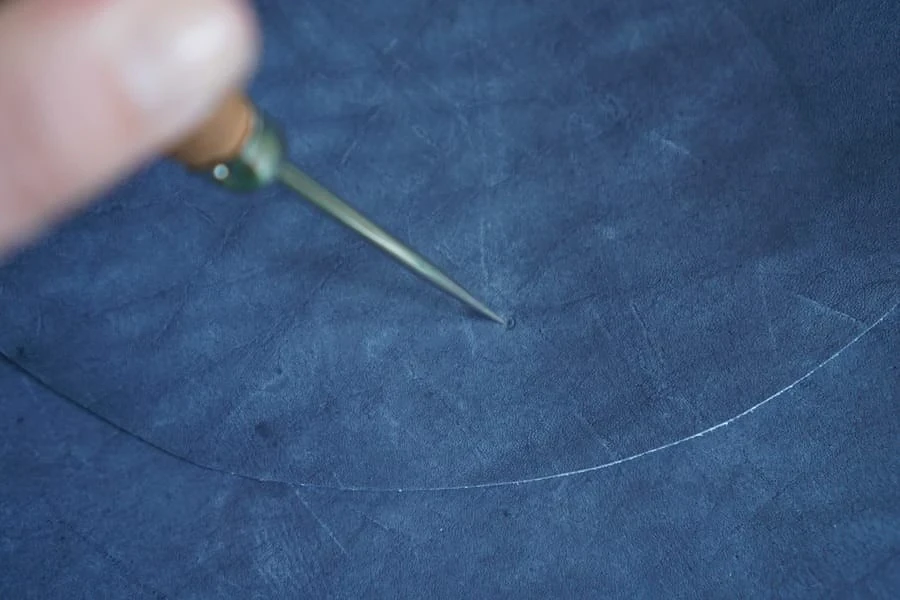
Make a hole with a seboard.
Or a device for punching holes.
Install the top of the button:
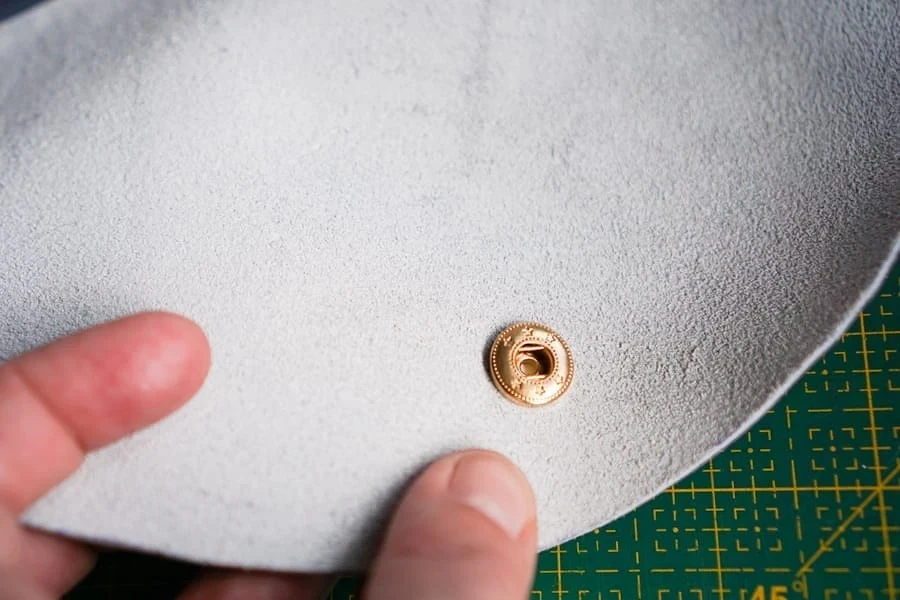

Find a place for the second part of the button on the front part of the bag and install it.
How to set a button using a setup:
If there is no special press or set for installation, use the way this video is:
Step 4.
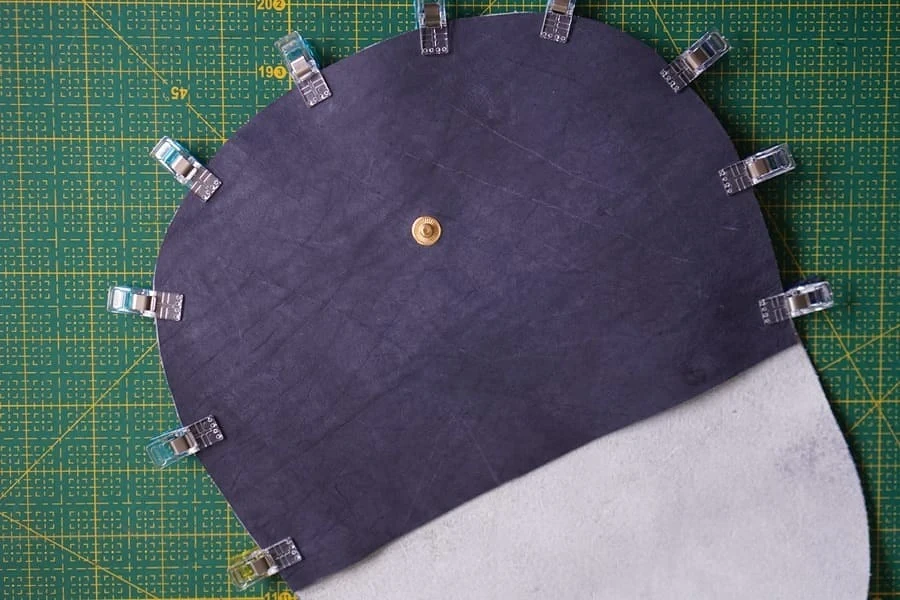
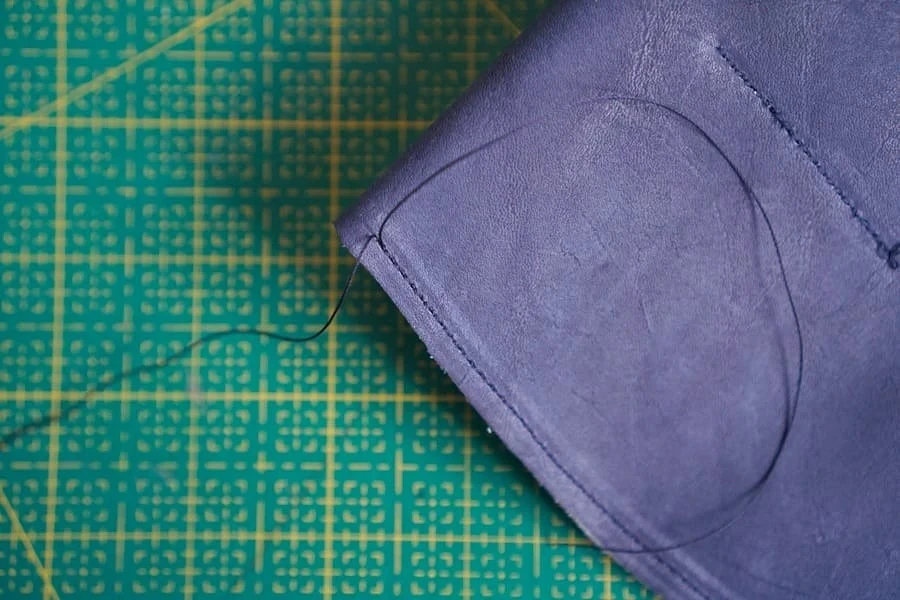
Fold a large part and the detail of the front of the bag with an invalid, align the lower and side edges and secure the clamps. Lay the line connecting the parts on the sides and below. Lock 3 mm. The ends of the thread with the help of a manual needle firmly secure, and then cut.
Step 5.
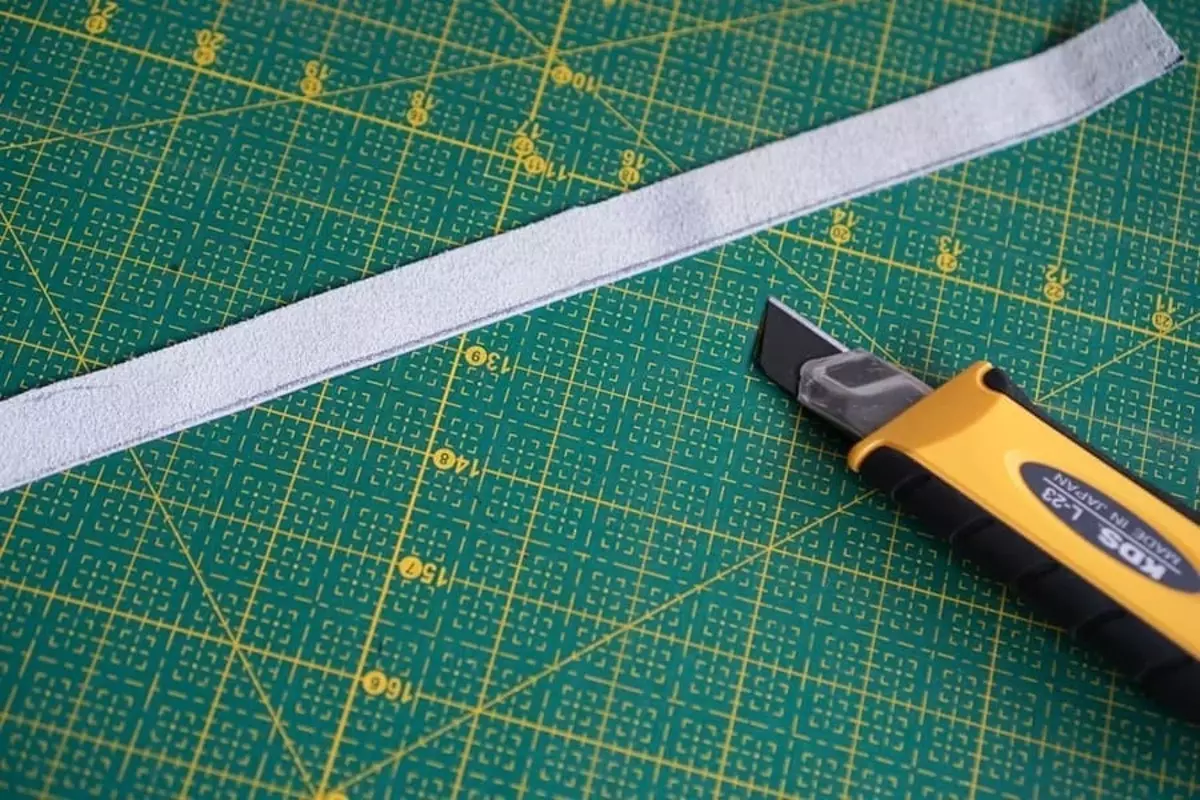
Now you need to carve out the belt if you make it yourself. To calculate the desired length of the belt, quite freely measure the waist girth and add to this value of 15-25 cm so that you can wear a bag slightly below the waist or that it is fastened over the coat. Belt width Choose to your taste, but not less than 2-2.5 cm, depending on the skin thickness. Using a ruler and knife, take the strip of the desired length and width.
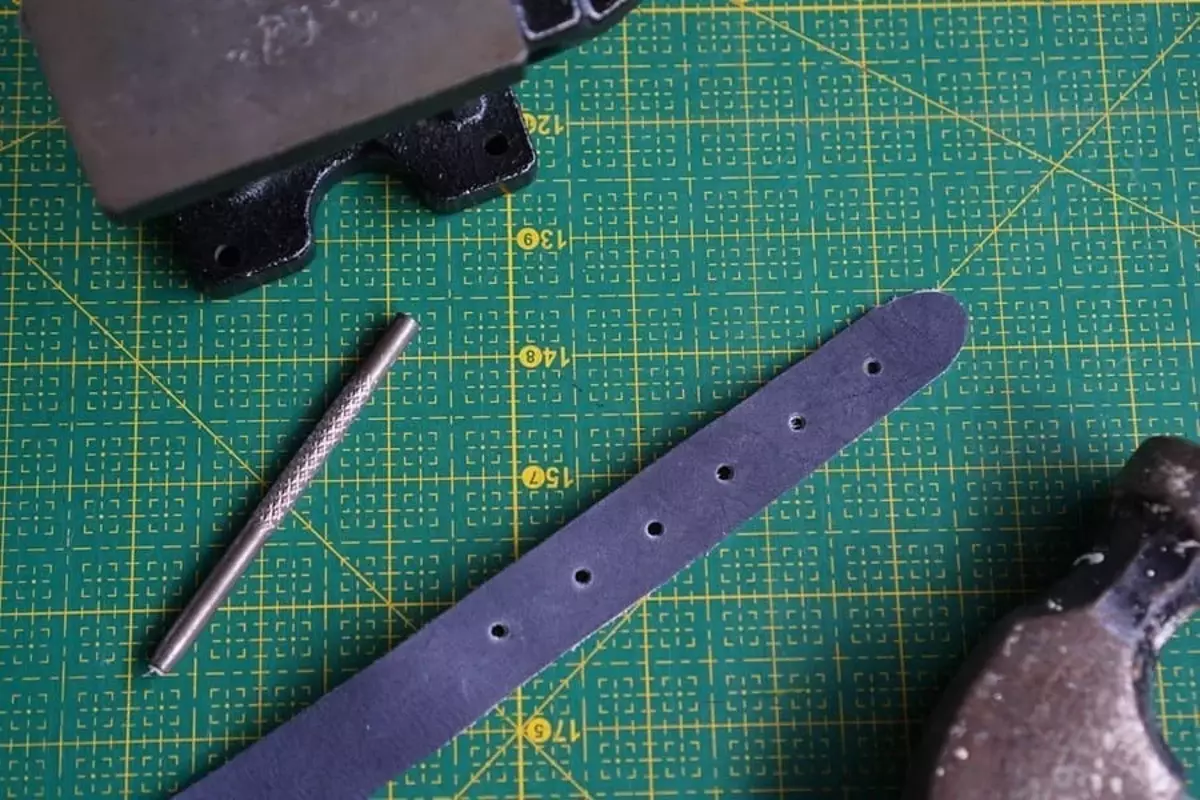
One end of the belt raguay and jerk a hole with a hole.
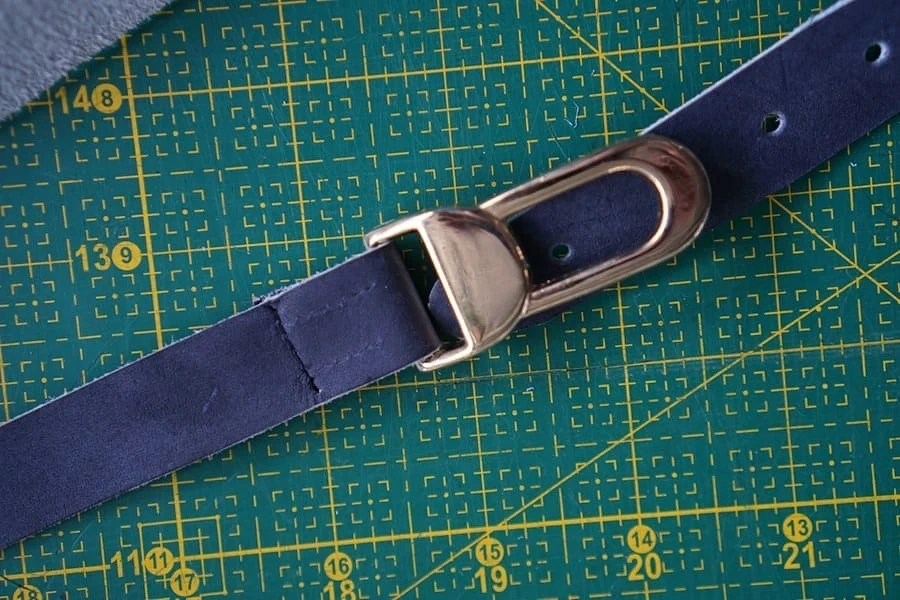
At the other end of the belt, the buckle.
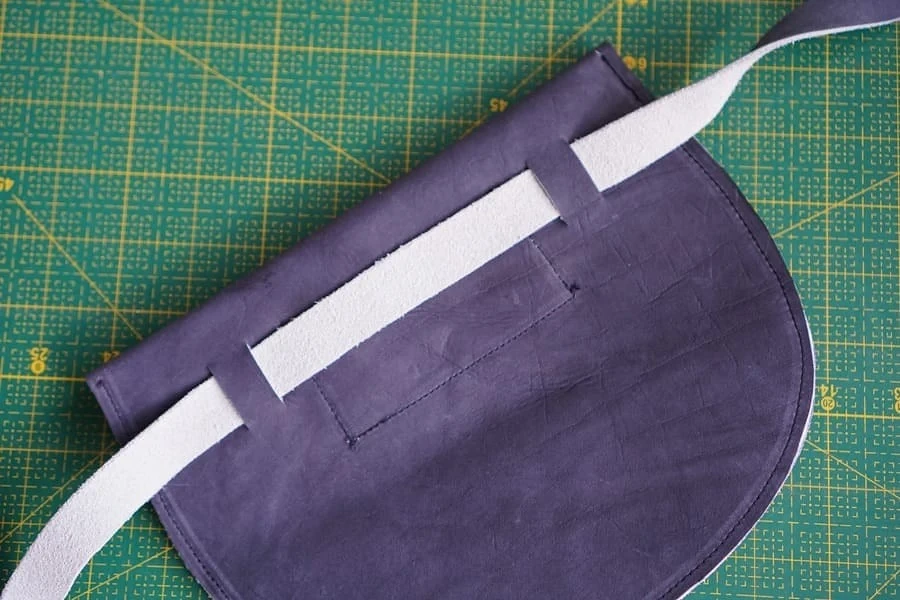
Take the belt in the slots. Ready.