
I am glad to welcome everyone who looked to look at what we have done.

On the Internet found video (See the application) of the Master class of Portuguese masters "How to mimic a stone." I looked carefully, read the comments and decided to try to make a stone jar. Fascinated, liked the process. He herself jumped from joy that it was so simple and beautiful. From joy forgot to make photos of the whole process. My friends asked to show how it was done, and to spend a master class with them. In general, I will tell you and show that we ended up with us that you need to consider you if you decide to use this technique.
one. We collect the necessary material, what we have.
We find that you can decorate under the stone: Glass jar, bottle or tin can, Wooden blank. Acrylic varnish on a water basis "Technologist", glossy magazines with thin i. Thick sheets. PVA glue, Better construction. Take photos of printouts, you can decoupable cards, napkins. Prepared a putty on a tree and stencils, Mastikhin. Be sure to need Acetone and soft rag. And as always, paints acrylic, roller, alcohol for degreasing glass, sandpaper and good mood.
2.Fimal and if needed pre-work.
Glass is better to degrease and Option 1: Protect paint desired color. They looked inside, and there are expanses of the blue lake. Option 2. : I forgot my jar to be tagged, the numbers turned inside. Option 3: Girlfriend made a reverse decoupage, glued a beautiful girl on one side of the bottle. From the front side covered white paint, Okaril and once walked lacquer. In general, everything is relying.
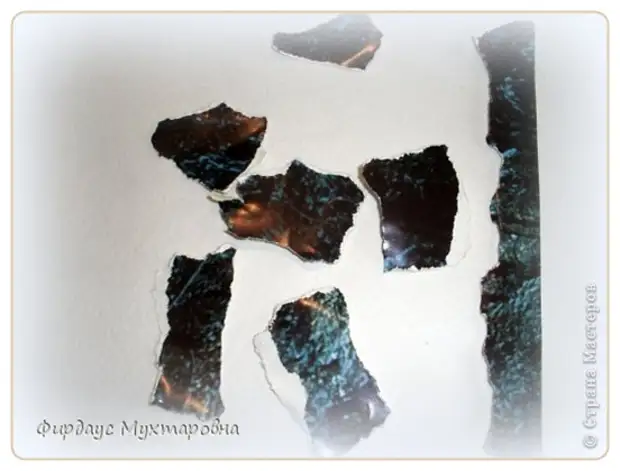
3. They took the sheets of the glossy magazine and narrowing pieces of different sizes.
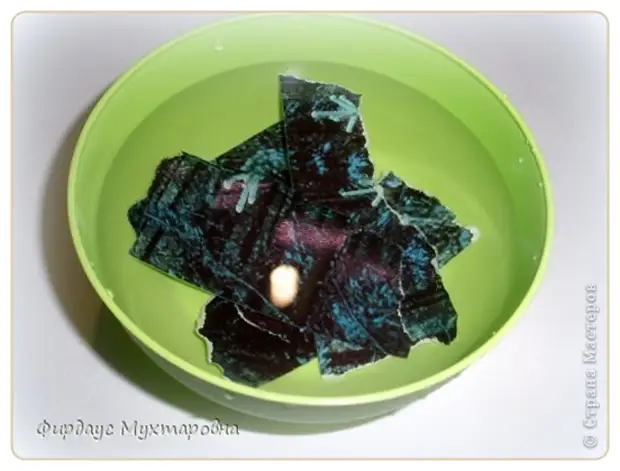
Someone ripped a thick calendar sheet, and the other glamorous women's magazine. Thick scraps were soaked in pre-warm water, so that it was impregnated with water and was easier to glue.
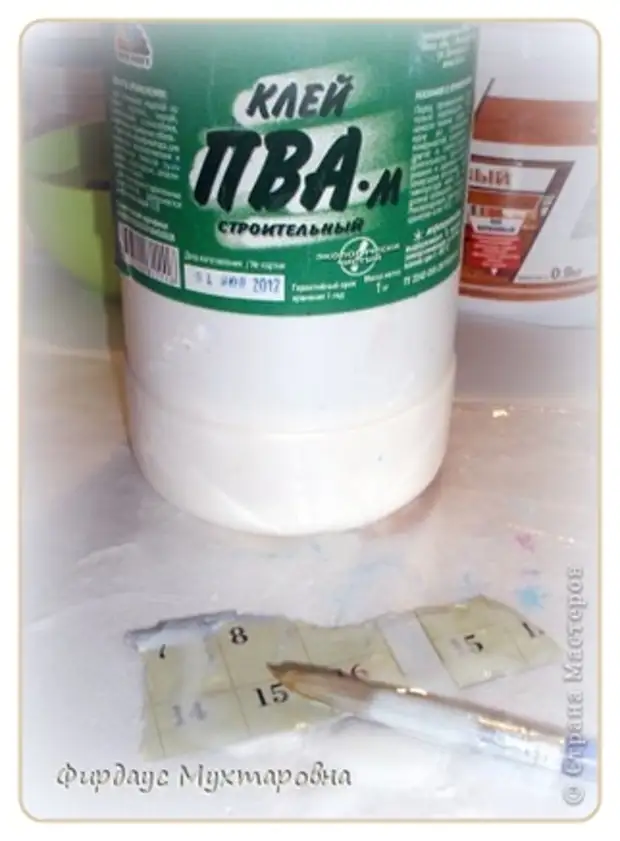
4. He was cute and glued with PVA glue their torn pieces on the selected surface.
Adhesive as we liked: you can close with a little on a hlinker, you can go a little leaf to the sheet more, you can come up with your interesting stacking scraps.
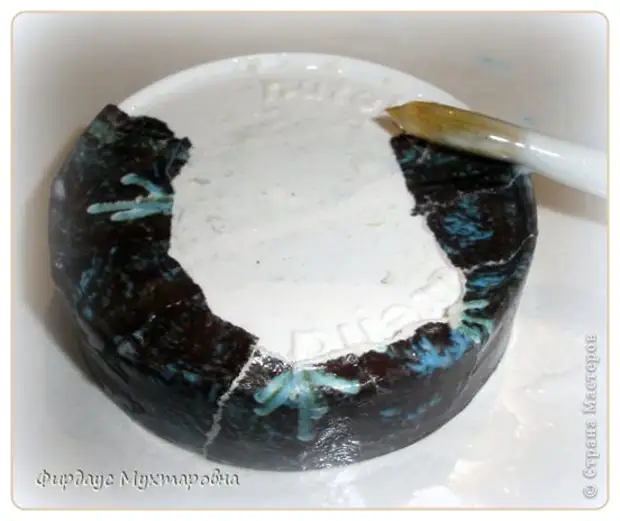
Mainly considering The more the leaf comes on the leaf, the more interesting and the texture is harder. Beautiful and smoothly glue edges and neck.

We glue the slim sheets of glossy paper on the jar.
That's what happened as a result of sticking scraps.
5. Everything dried. You can sue a hairdryer.
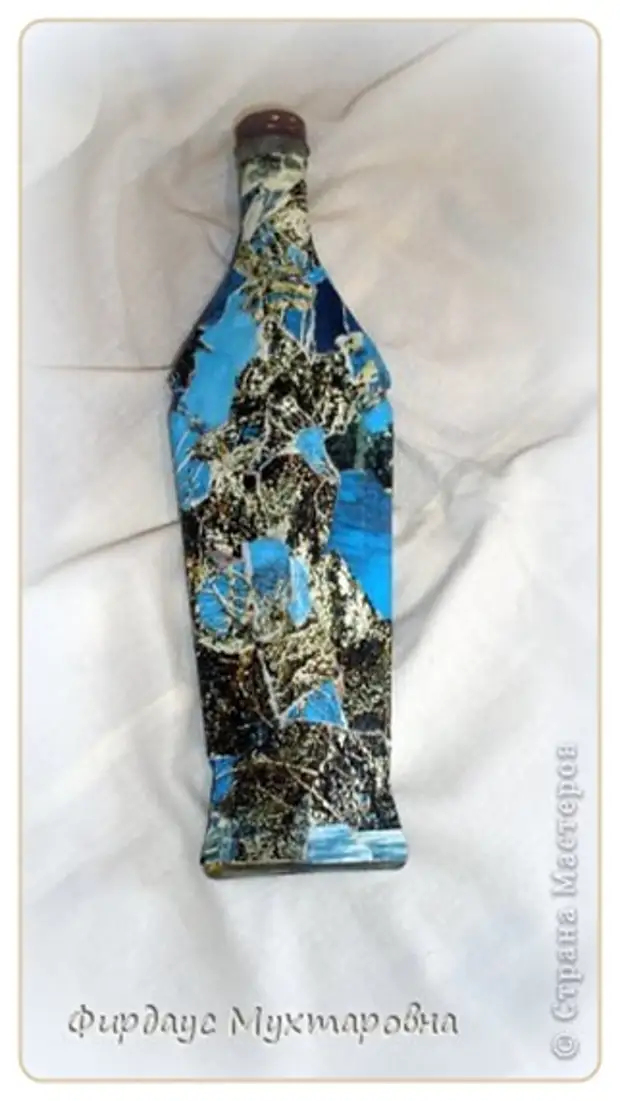
Option 1: This bottle is covered with scraps of a glossy calendar of nature.
Option 2: This jar with thin glossy leaves.
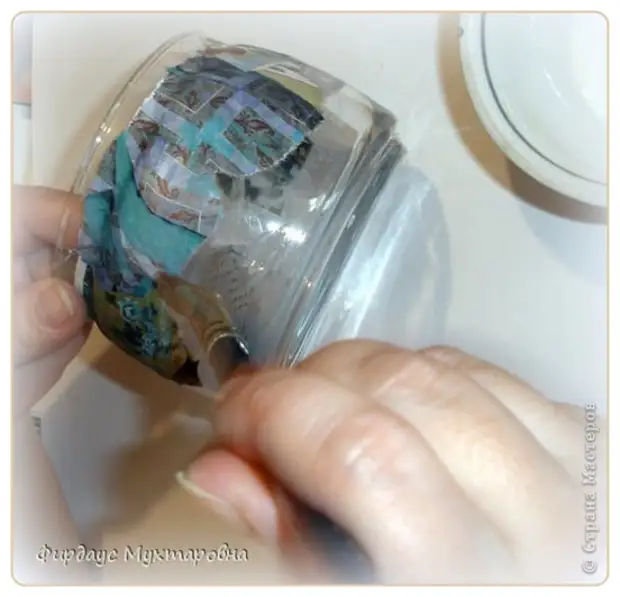
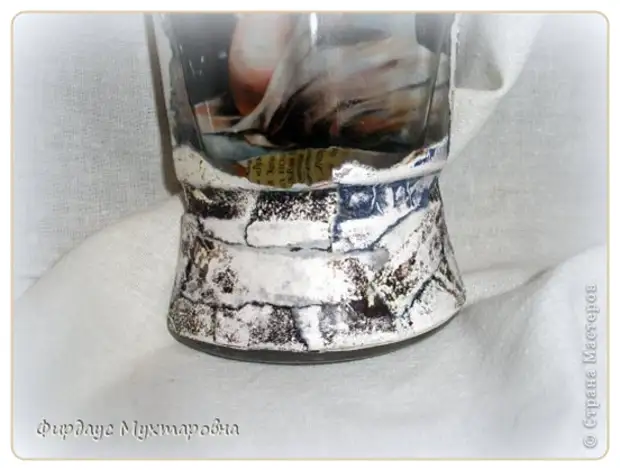
6. Opened the window, well ventilated the room. They took a soft cloth, wetted in acetone and began to erase the paint from the surface of our scraps on the product. Here we had a small shock.
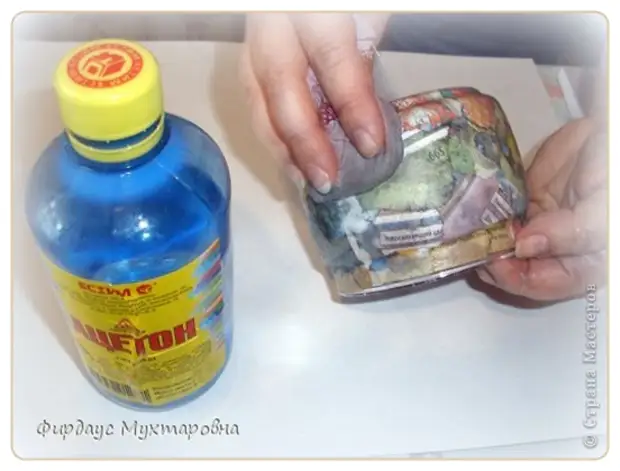
Important: In some paint, the paint was erased and the texture was erased, while others were not filled with acetone, the paint with thin glossy paper could not completely erase.
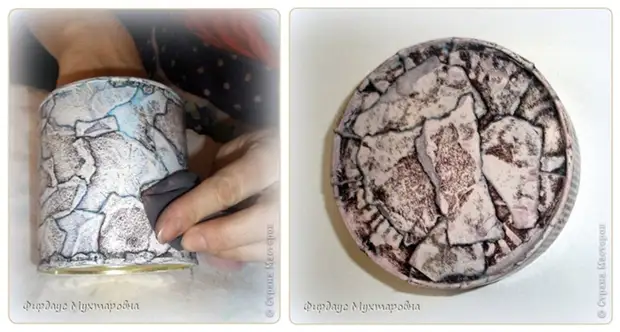
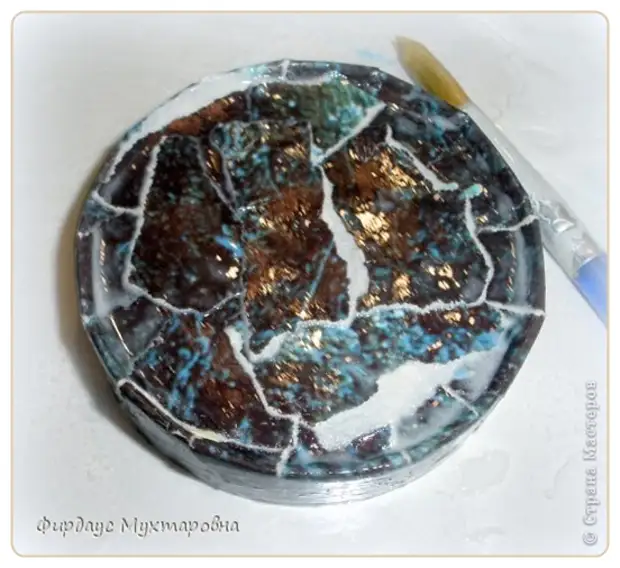
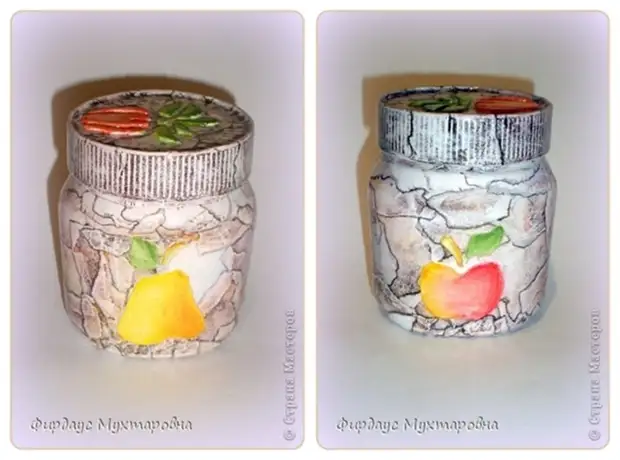
The color of the stone depends on the color of glossy paper.
On my jar there were more brown and yellow colors.
Came to the conclusion. Take better thick glossy calendars or covers. If thin sheets, then overturn only monochrome scraps, without faces and inscriptions and sort them in color, in accordance with the idea. We wash in acetone and three to the shade and text we need. The more three, the brighter becomes the background of our stone.

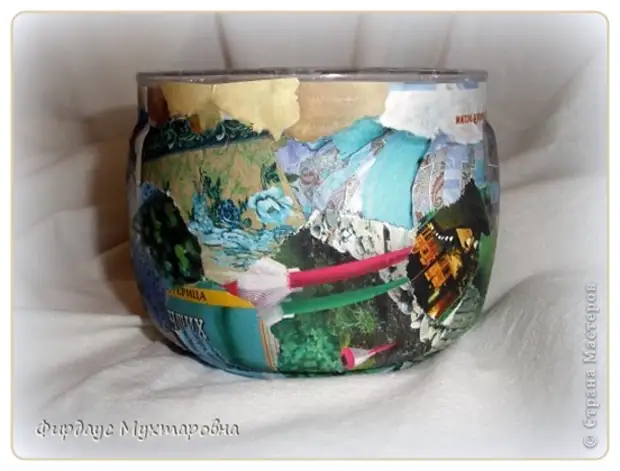
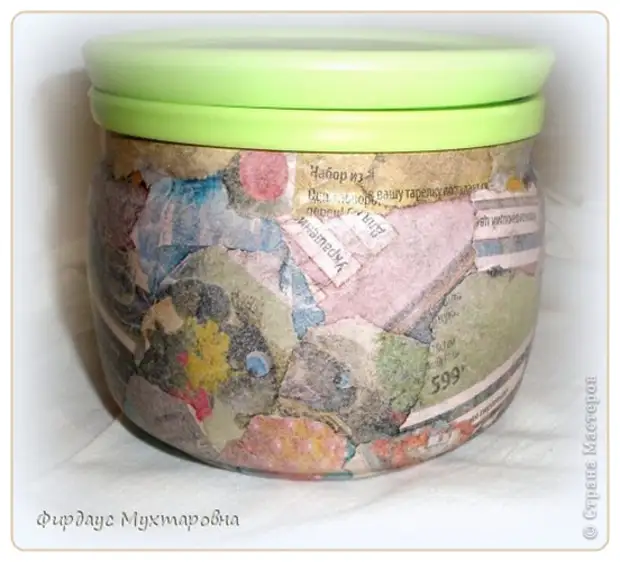
The effect has not turned out this jar. The lines are thin and paint with inscriptions remained.
8. I liked the result, then we are dried and covered with varnish. Again envy. So 3 times. If we needed to go the sandpaper, the surface surface.
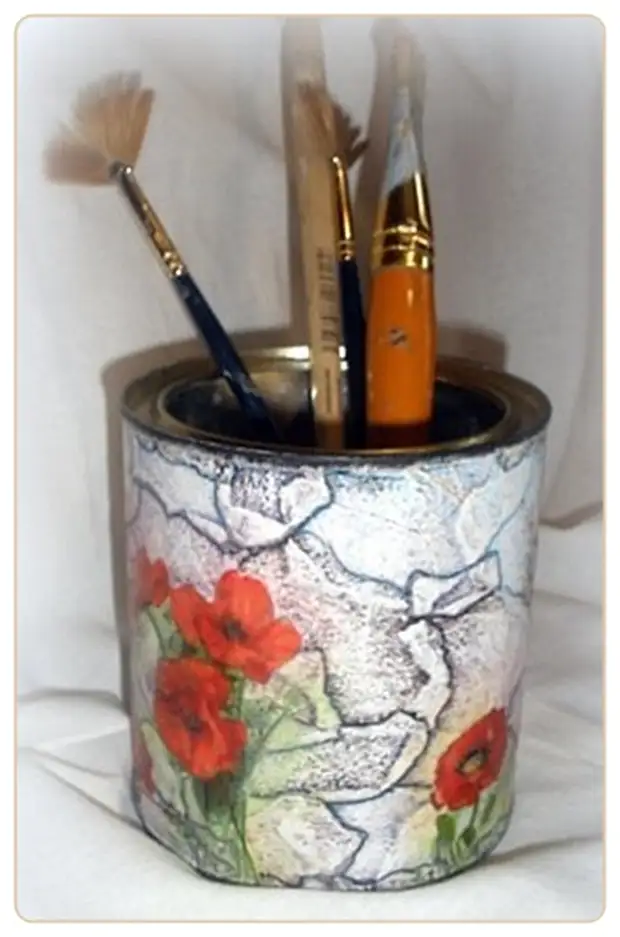
9. We decorate our product. You can glue a photo printout, napkin, a decapage card and make an artistic image. Covered with varnish.
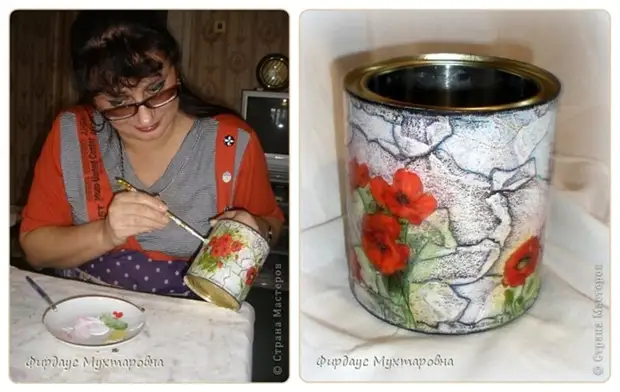
In this jar, Zhanna will keep his brushes.
It remains to check for another 2 bottles from this collection and decorate the covers.
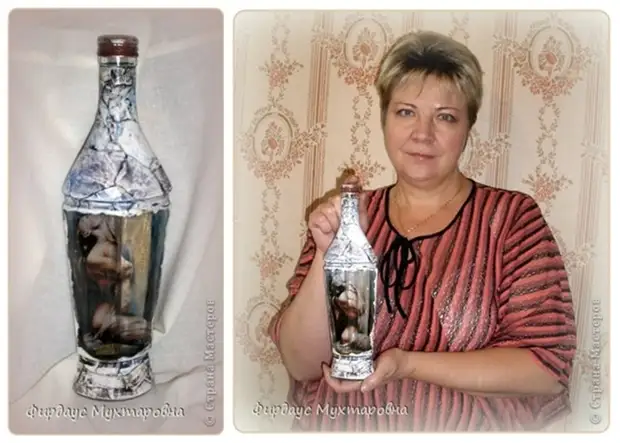
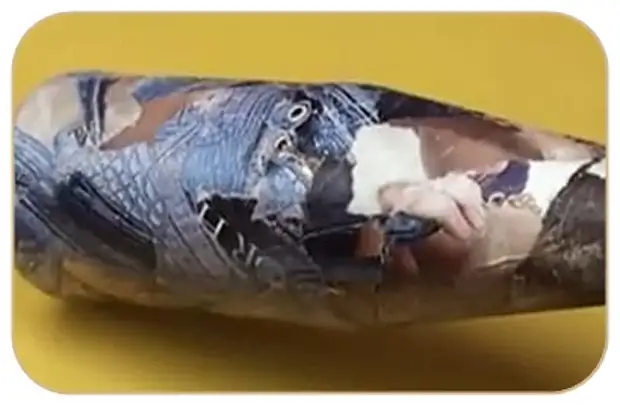
This photo shows an error.
Did not paint the background inside, you can see the letters. Decided that this is a love message.
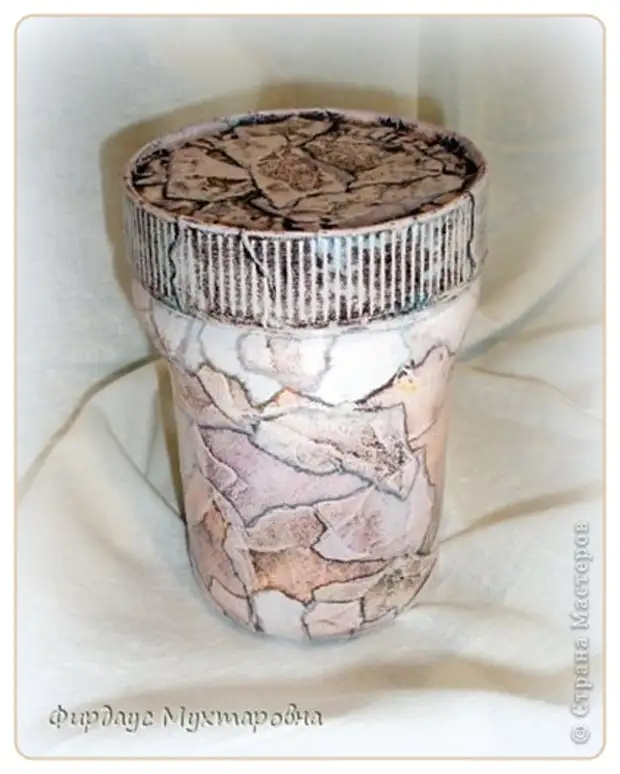
I decided my jar to decorate with a bulk pattern. Used fruit stencils and with a putty made volume. When the drawings were dried, passed by sandpaper and painted acrylic paints.
It is difficult to paint the finished product. Probably it is better to immediately make a color putty and then just go from above on the sides of a semi-dry brush with paint. Decide yourself how you will decorate.
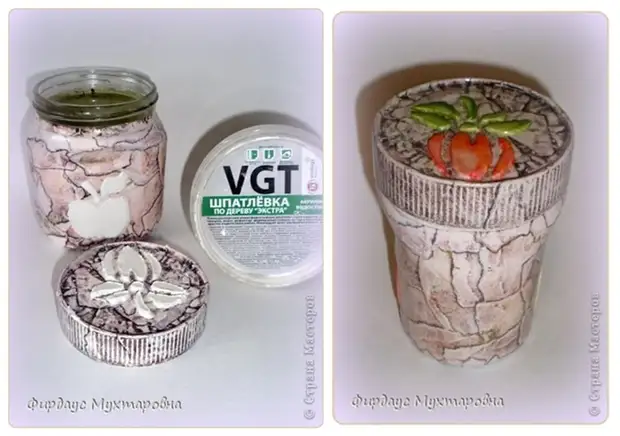
In this jar, the daughter will store herbs to store.
Thank you for attention!!! My girls and I tried.
I will be glad if you leave your comments and reviews.
-----------------------------------------------------
Author: Firdus Mukhtarovna
A source: Country Masters
-----------------------------------------------------
Application. Video lesson: "Imitation of the stone surface"
Author: DERCY MIRANDA.
A source