
Gently, beautifully - female. An excellent idea for needlewomen is to refresh the tile with your own hands and in your favorite shades, I imagine: the idea of decoupage with a cloth on a tile. I am delighted, I hope and you will like it.
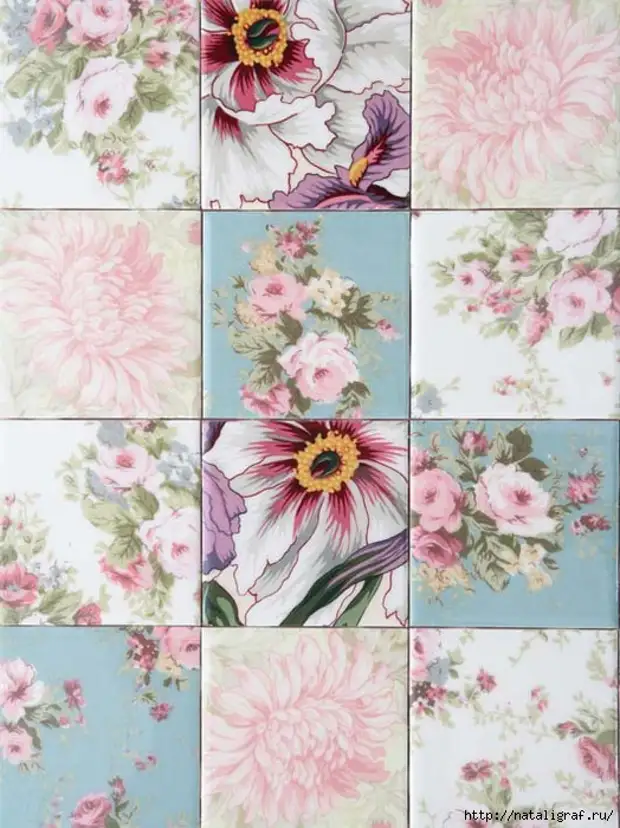
And it will be needed to us: a monophonic tile and flap cotton fabric (it is easier to work with it)
Idea and photos of DeilyFix magazine
Modge fat man (glue varnish for decoupage - it is now sold), but you can do without it without him, just replace PVA and acrylic lacquer glue), a sharp knife, scissors, resins (good tool, but I replace the resin acrylic varnish in several layers) , measuring circles (when working with resins you will need), paper cups, spatula or ice cream sticks
Here tiles are decorated even before laying on the wall. My tile is already on the wall. And would we mess around with the decoration of the new tile? Very doubt. But the old tile in the update needs exactly, and therefore we study the master class, but ... We work after all the scenarios
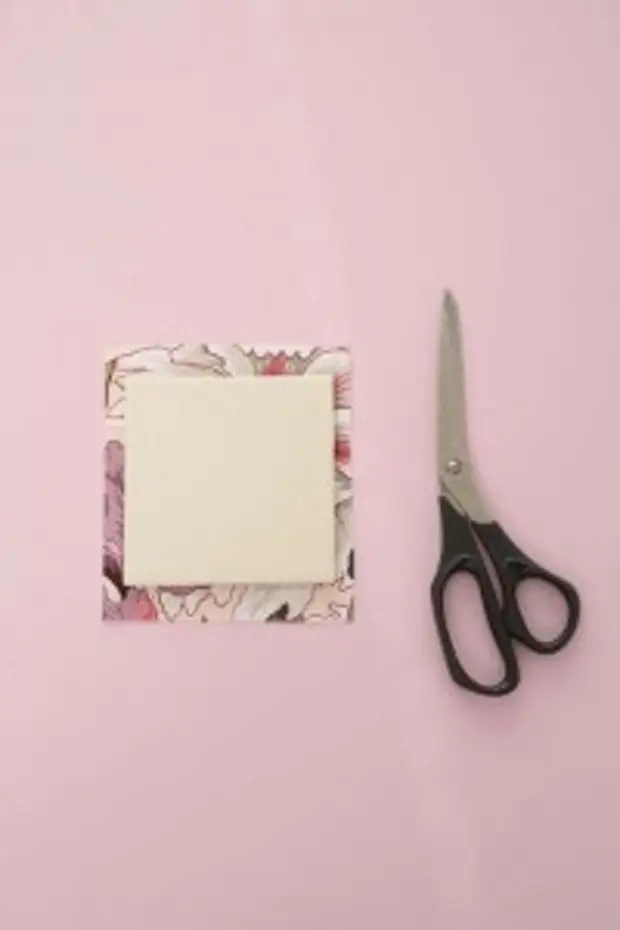
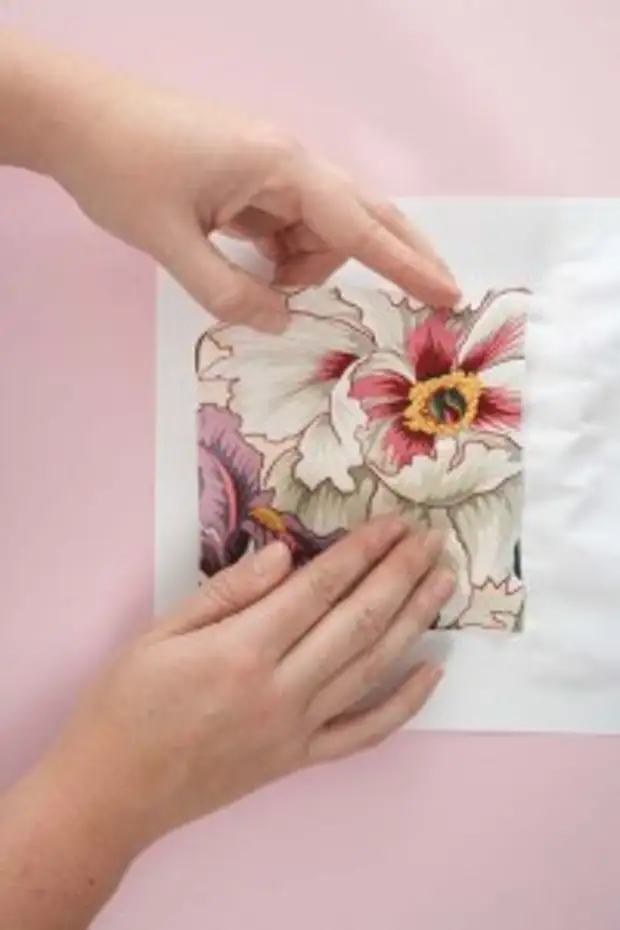
So, we cut the cloth a little more than the tile size.
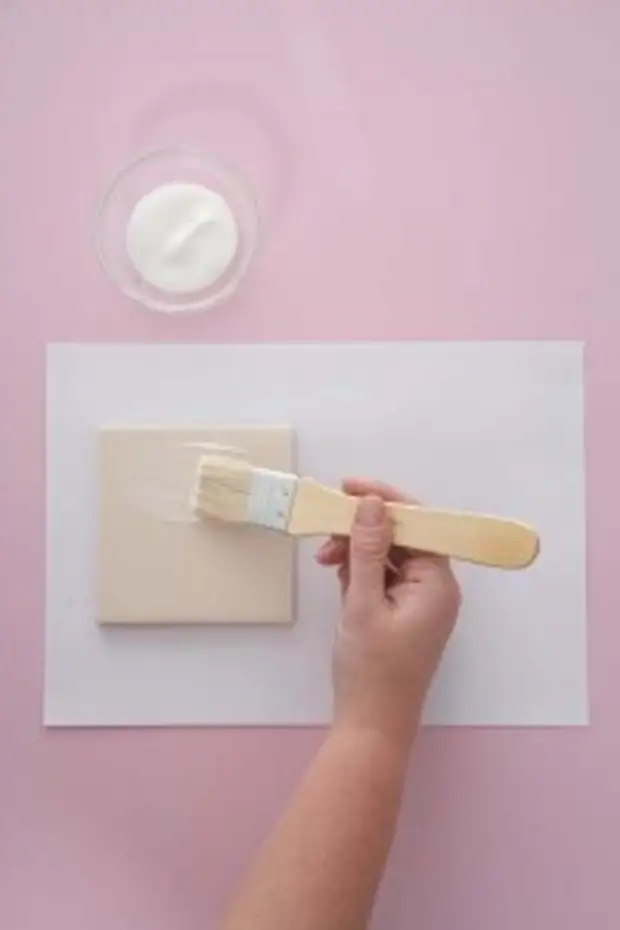
We apply on the front side of the MODGE tile fat man and leave until complete drying.
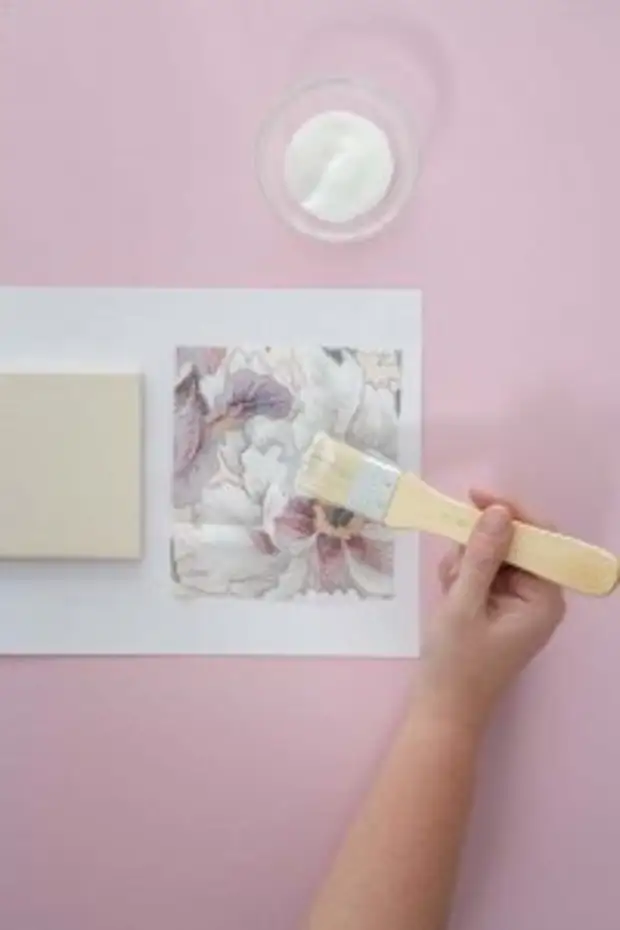
We apply another layer MODGE fat man. And lubricate the involnee side of the fabric.
We put the tiled fabric (still wet from glue). I think, removing-releasing all bubbles. Apply from above another layer of glue, we leave until complete drying.
We turn the tile and carefully cut the extension tissue along the edges.
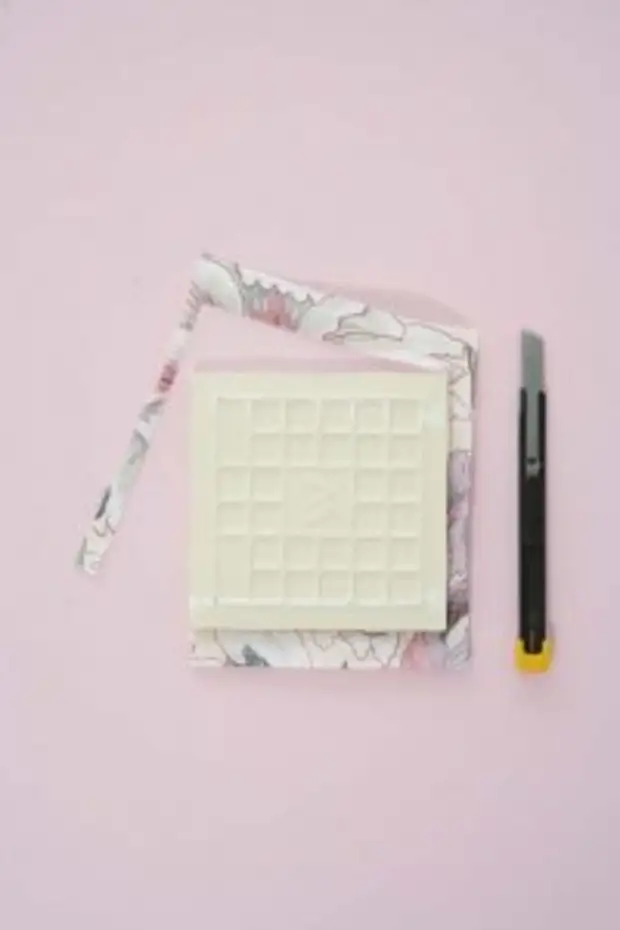
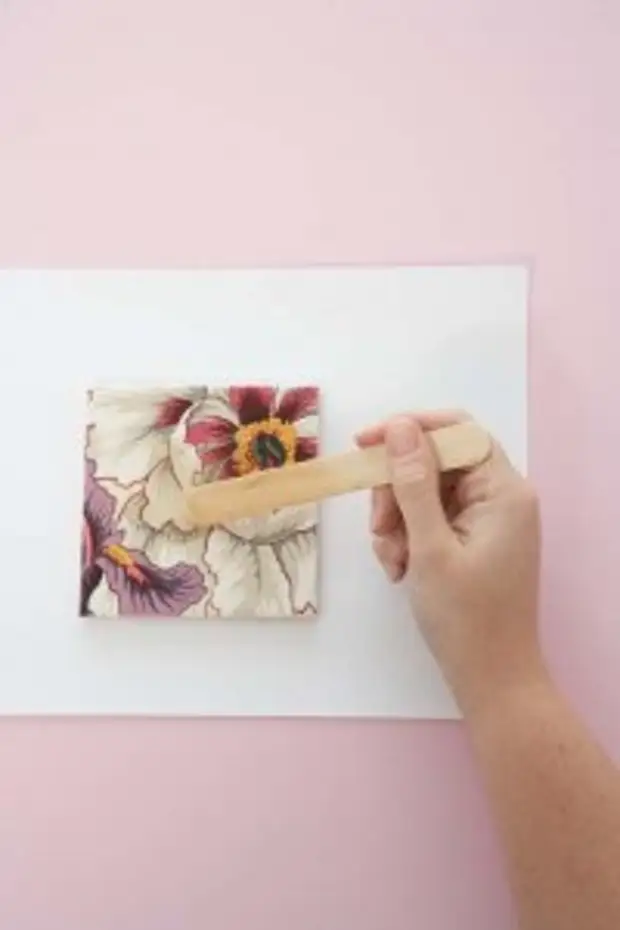
Once again, cover the layer of MODGE fat man, dry
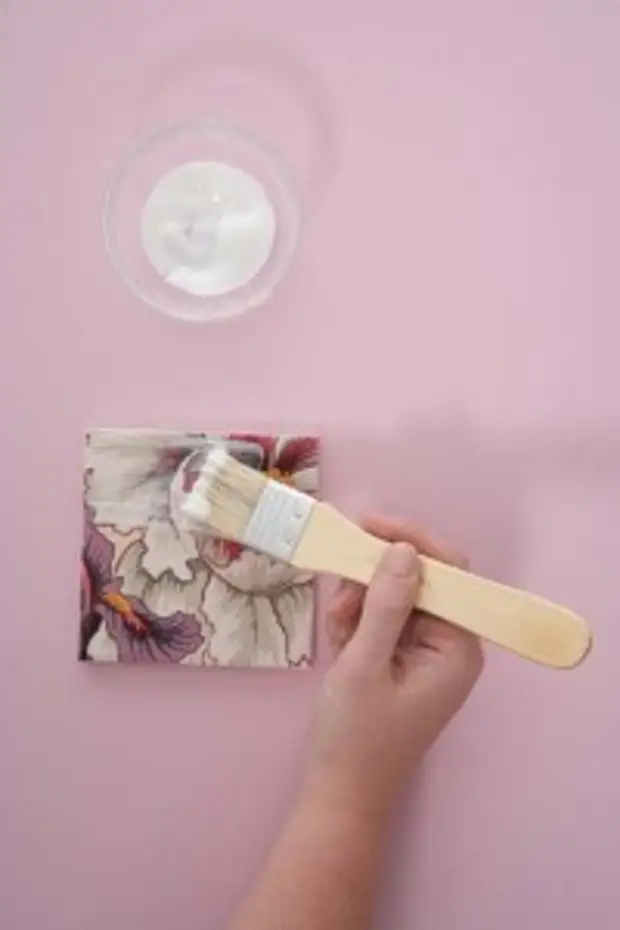
We mix the resin in paper cups, carefully follow the instructions of the manufacturer. Weigh or measure quantities for sure. Pour a bit of a mixture on the tile and a spatula or wand from ice cream to smear over the entire surface. Leave to dry and harden in place without dust and drafts. (text from English adapted something you want)
from ideasmag.co.za.
From personal experience: I made a decoupage of the tile of kitchen apron. Napkins. PVA glue and acrylic varnish. Right on the wall. I did how they learned: I washed the tile, degreased acetone, stressed the motives, smoothed bubbles, covered with acrylic varnish in a few layers and splashed a little gold and silver paints from the can, creating shadows + finishing varnish layer. It was three years ago - still keeps everything and looks decent. My - wip out a wet cloth. True, adhesive napkins around the perimeter so as not to hurt the "hard" places - at the stove - where the splashes are fat :-) The process liked, the work is fun and moved quickly. Now I want to change the design. Therefore, I found an idea with a cloth.
I think: the cloth is needed to cut a little less than the tile, the tile under glue is distributed in size, and then it is difficult to cut it on the wall. Between the tiles of the seams all the same already embedded and if it remains around the fabric Idle the tile - nothing terrible. The main thing is to choose flaps combined in color with tile color. And you can do not do the entire apron, but somehow in your own way: around the perimeter or in two or three tiles, or groups of several.
And there is still more resistant varnishes - for example, the yacht is on it and can be replaced with acrylic.
A source