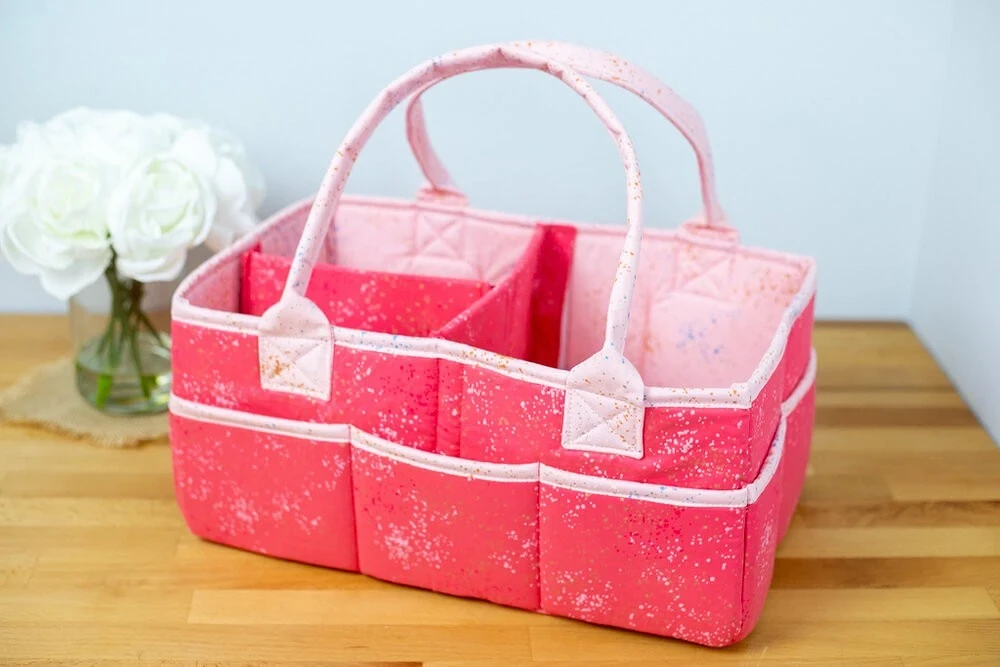
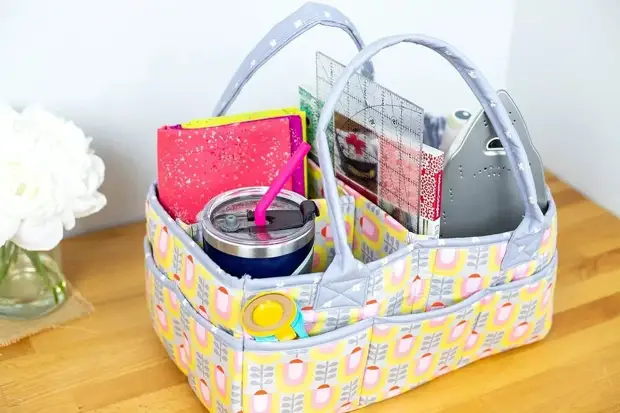
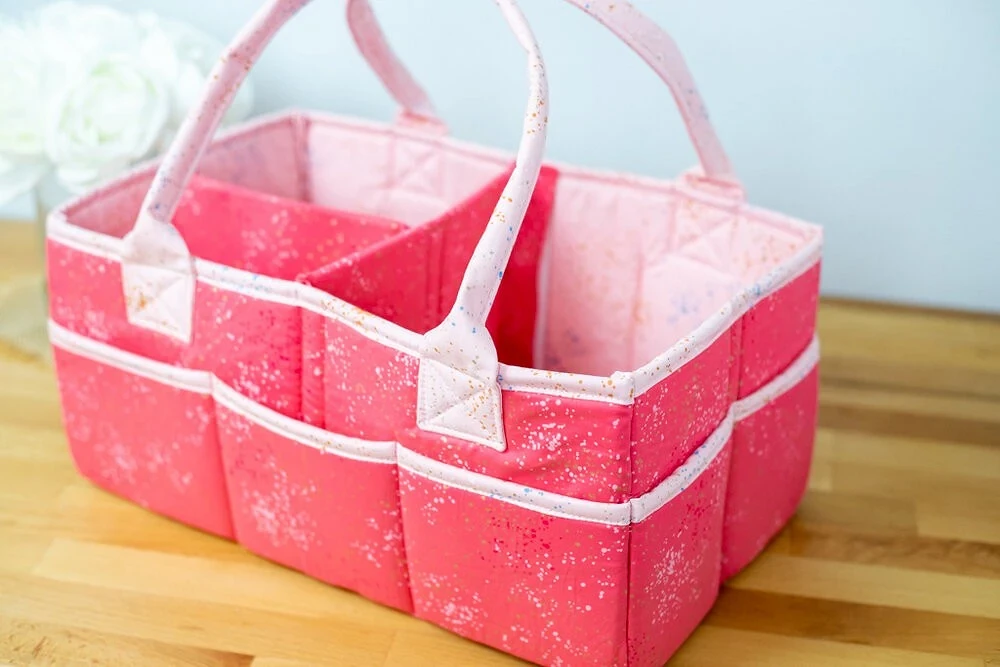
In such an organizer, it is convenient to store a variety of things, from children's toys to sewing accessories.
This organizer is obtained convenient and versatile. Its dimensions are about 18 cm in height, 38 cm long and 23 cm in width (not counting the handles). Pens, by the way, you can do or not. Between the layers of tissue, the organizer is reinforced with a special dense stabilizer, but you can use a dense double-sided adhesive duplicate material or any other material that will make it possible to make the walls of the organizer dense, for example, sheet plastic, foamyran, non-fat tight felt and so on. Just make sure that your machine will easily sew fabric in several layers + selected material for sealing.
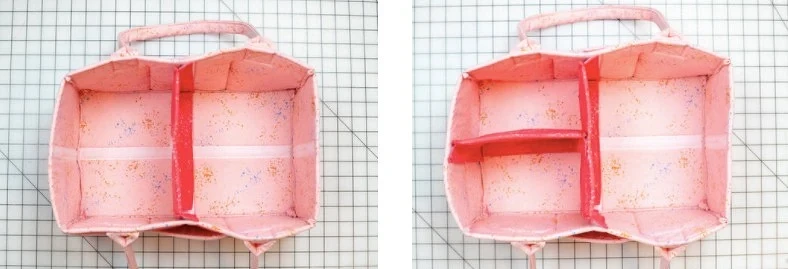
The organizer provides two types of velcro separators. They can be inserted or removed depending on what items you want to put it.
Separator 1 divides the organizer in half a cross, and 1B joins it and divides half the organizer in half:
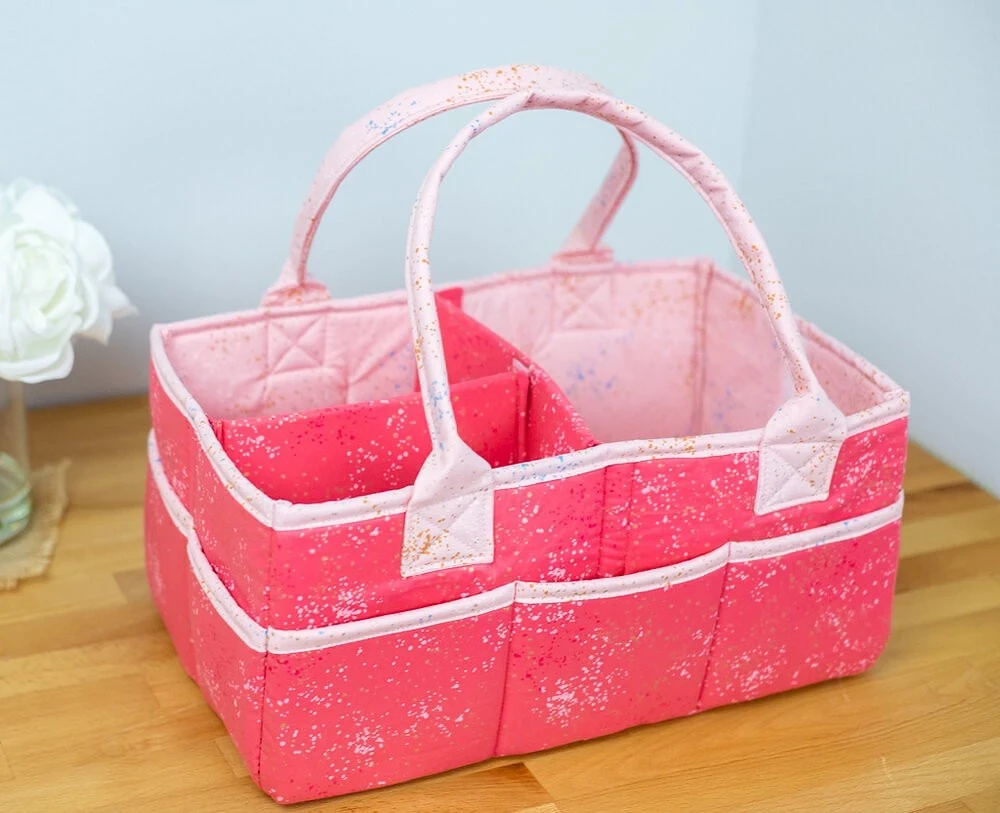
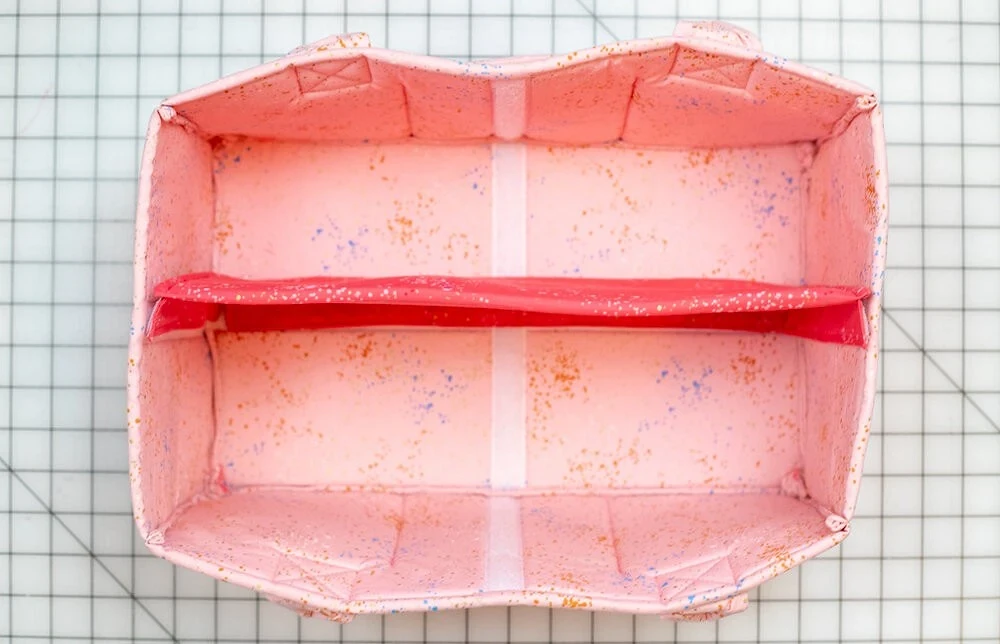
Separator 2 divides organizer in half along:
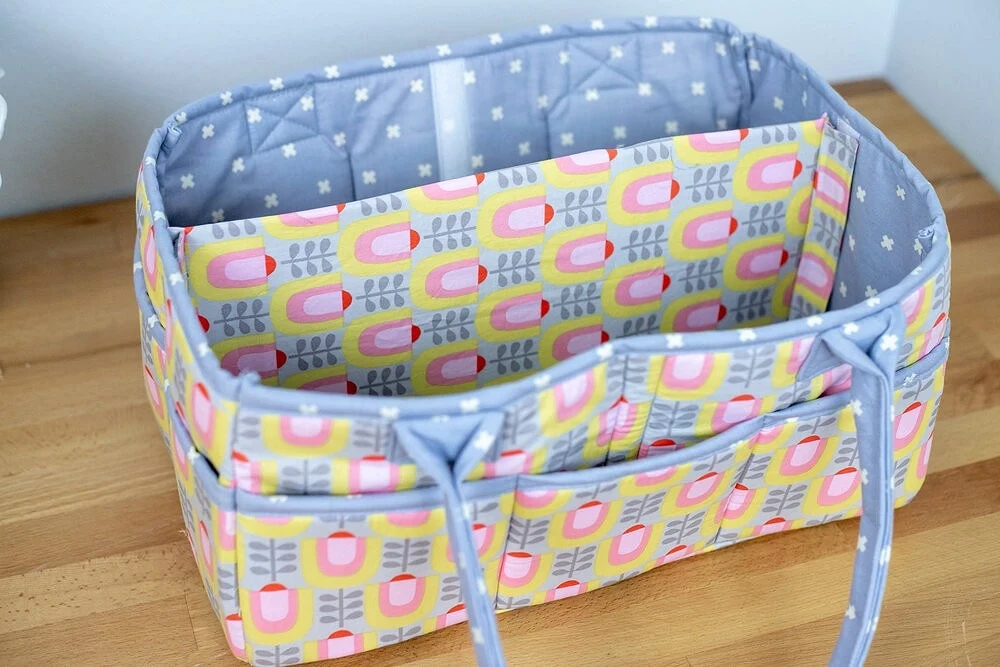
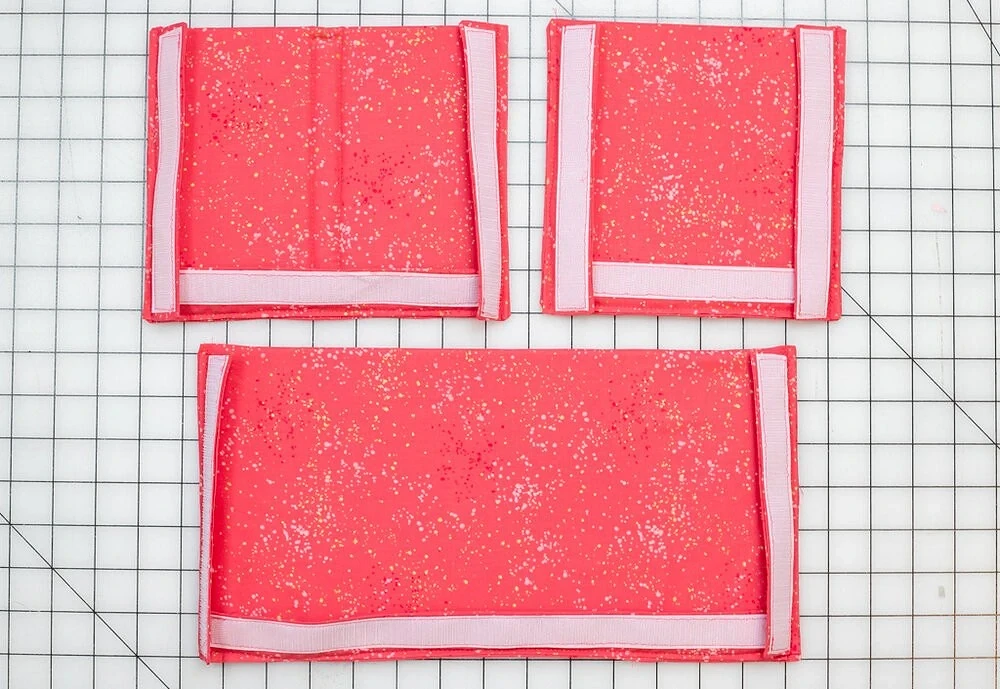
In addition, on the walls of the organizer outside - 10 small pockets for trifles.
You will need:
- - cloth for the outer part of the organizer;
- - fabric - companion for the inside of the organizer;
- - something dense to strengthen the walls of the organizer;
- - one-sided adhesive duplicate material (to strengthen the handles);
- - a good adhesive spray;
- - Velcro 2 cm wide (2 m);
- - disappearing marker for fabric;
- - line;
- - cloth scissors;
- - Portnovsky pins;
- - clamps;
- - Iron and ironing board;
- - Sewing machine and thread.
STEP 1
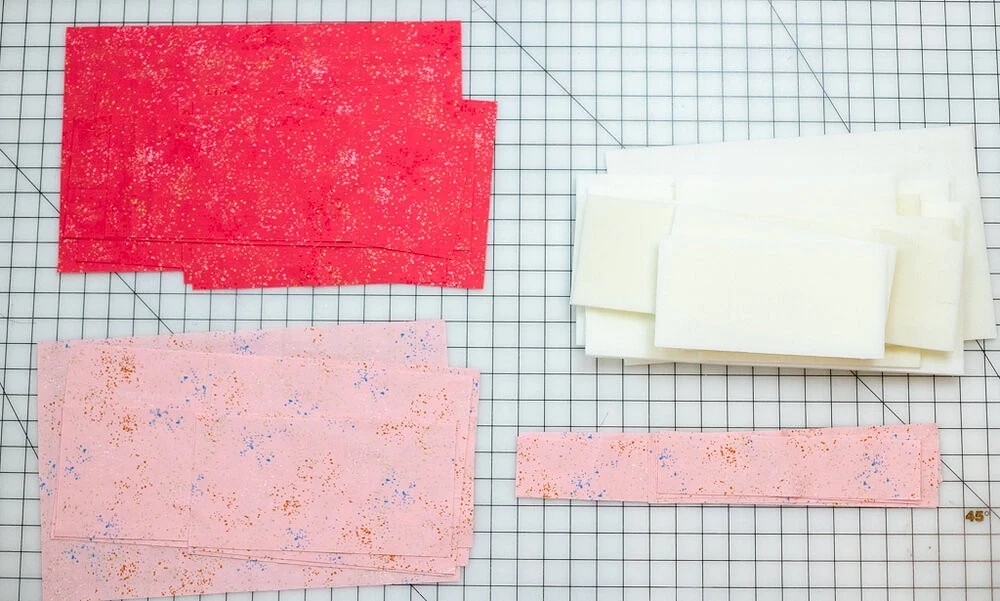
Put the details.
From the main fabric:
- - 1 part for the bottom of the container 25.5x40.5 cm;
- - 2 parts for long sides of 19x40.5 cm;
- - 2 parts for short lateral sides of 19x25.5 cm;
- - 2 parts for lateral pockets on long side sides 13x40.5 cm;
- - 2 parts for lateral pockets for short side sides 13x25.5 cm.
From tissue-companion;
- - 1 part for the bottom of the container 25.5x40.5 cm;
- - 2 parts for long sides of 19x40.5 cm;
- - 2 parts for short lateral sides of 19x25.5 cm;
- - 2 parts for lateral pockets on long side sides 13x40.5 cm;
- - 2 parts for side pockets for short side sides 13x25.5 cm;
- - 4 parts for processing long lateral parts and pockets for them 5.7x40.5 cm;
- - 4 parts for processing short lateral parts and pockets for them 5.7x25.5 cm;
- - 4 parts for handles 6.5x61 cm.
From the material to strengthen the walls:
- - 1 part of the bottom of the organizer of 21.5x37 cm;
- - 2 parts for long lateral sides 17x37 cm;
- - 2 parts for short side 17x21.5 cm;
- - 2 parts for pockets for long side sides 11.5x37 cm;
- - 2 parts for pockets for short side sides 11.5x17 cm.
From adhesive duplicating material:
- - 2 parts for handles 6.5x61 cm.
Details for separators (we write separately, in case you do not want to make them or want to do one or two of them):
For the separator 1, which divides the organizer in half, across:
- - 1 part of the fabric 35.5x23 cm;
- - 2 parts from tissue 7.5x18.5 cm;
- - 1 part of the fabric 7.5x21 cm;
- - 1 part of the material to strengthen the walls 17x21.5 cm.
For separator 1B, which joins the separator 1 and divides half of the organizer in half:
- - 1 part of the fabric 35.5x19 cm;
- - 2 parts from tissue 7.5x18.5 cm;
- - 1 part of the fabric 7.5x17 cm;
- - 1 Detail of material to strengthen the walls 17x18 cm.
For separator 2, which divides the organizer in half along:
- - 1 part of the fabric 35.5x38 cm;
- - 2 parts from tissue 7.5x18.5 cm;
- - 1 part of the fabric 7.5x36 cm;
- - 1 part of the material to strengthen the walls 17x37 cm.
Step 2.
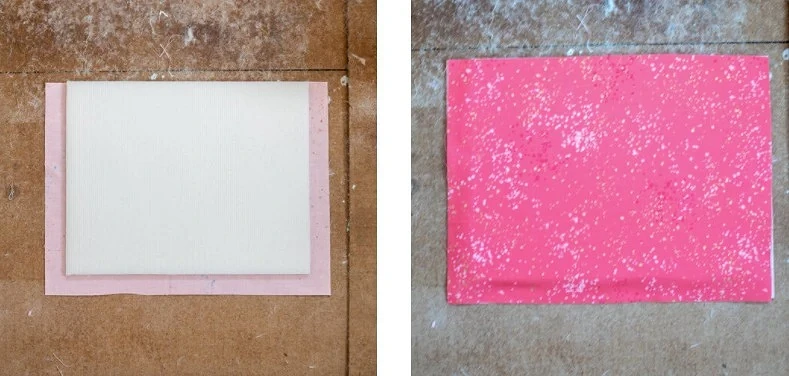
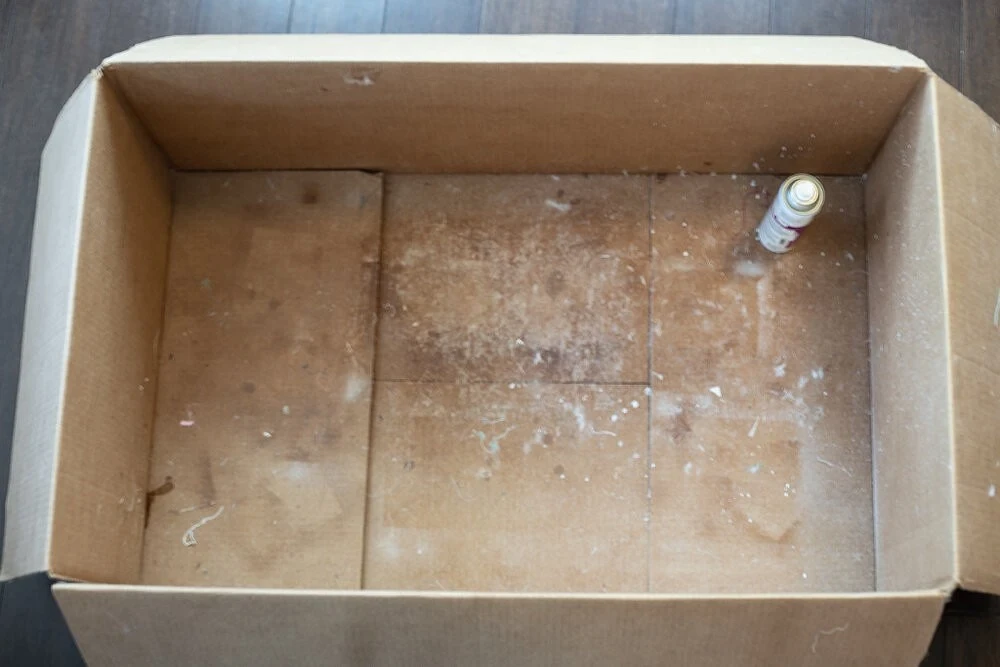
Take two paired parts of the organizer, for example, 2 parts (1 of the main fabric and 1 of the fabric companion) for short side. Place 1 fabric detail face down. Sprinkle with a slightly sprinkle, which will be on top, spray for hint. By the way, not to spat everything around, it is convenient to do it at the bottom of a large cardboard box:
From above in the center, put the appropriate material detail for strengthening, aligning the upper edges. Still sprinkle the spray for hints and on top. Cover the second fabric detail face up.
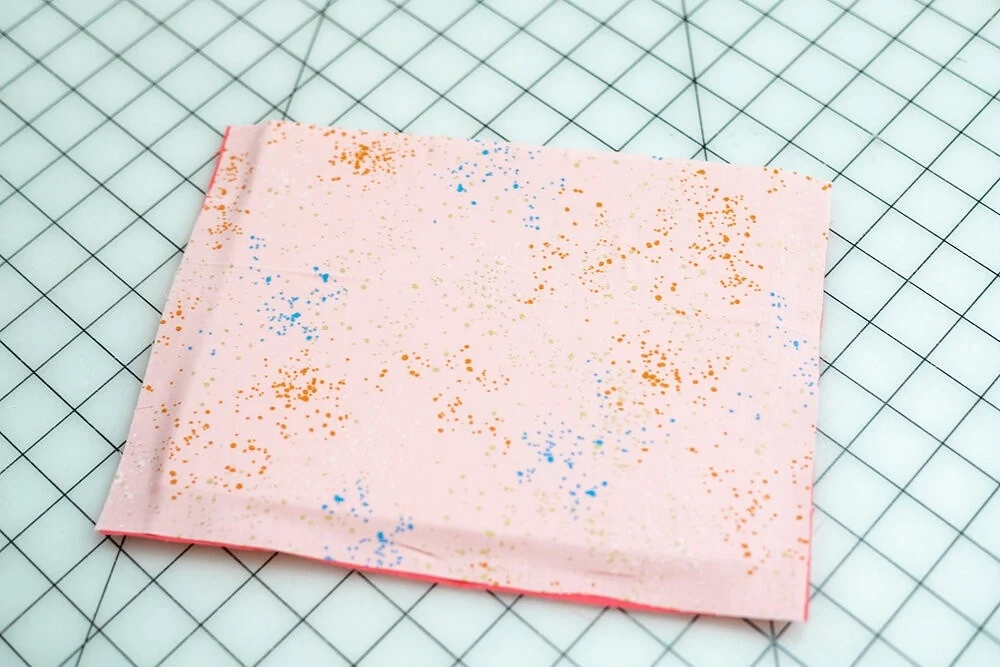
Press and split the cloth on both sides.
Repeat the process with other parts of the organiser side, short and long, plus with all the details of the pockets.
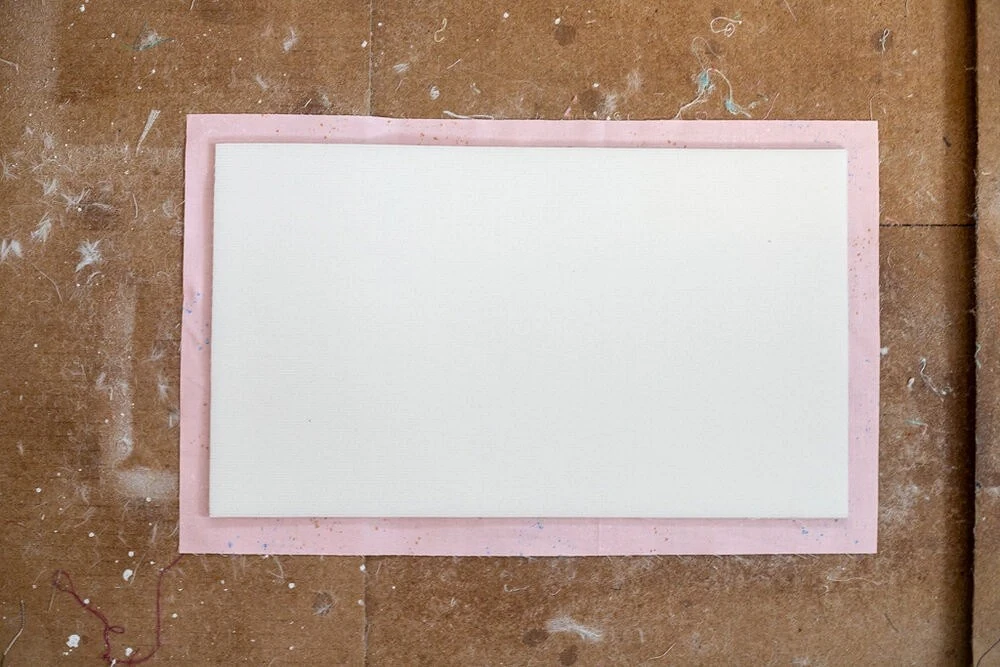
With the detail of the bottom, repeat the process with the difference that the allowances will be left from all 4 sides.
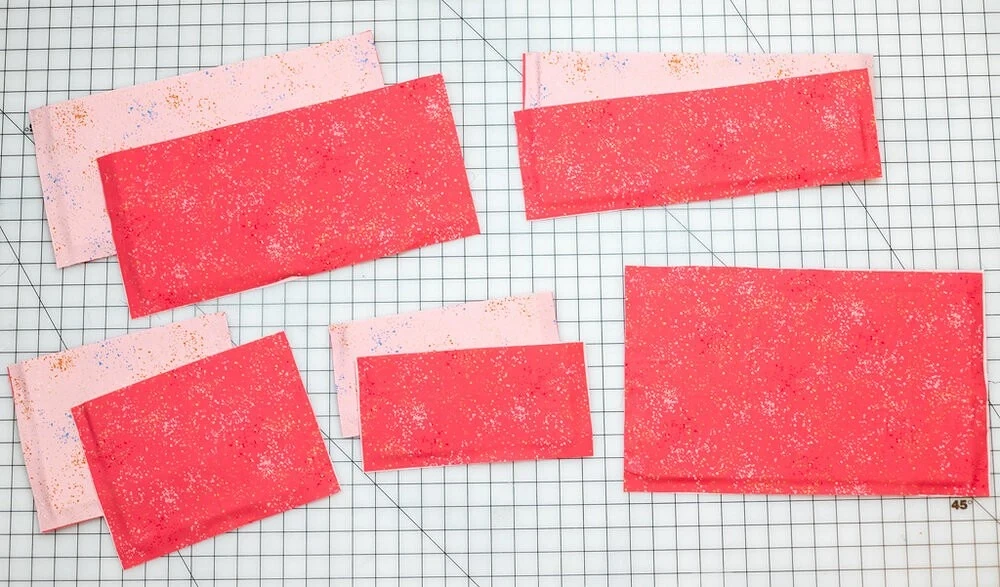
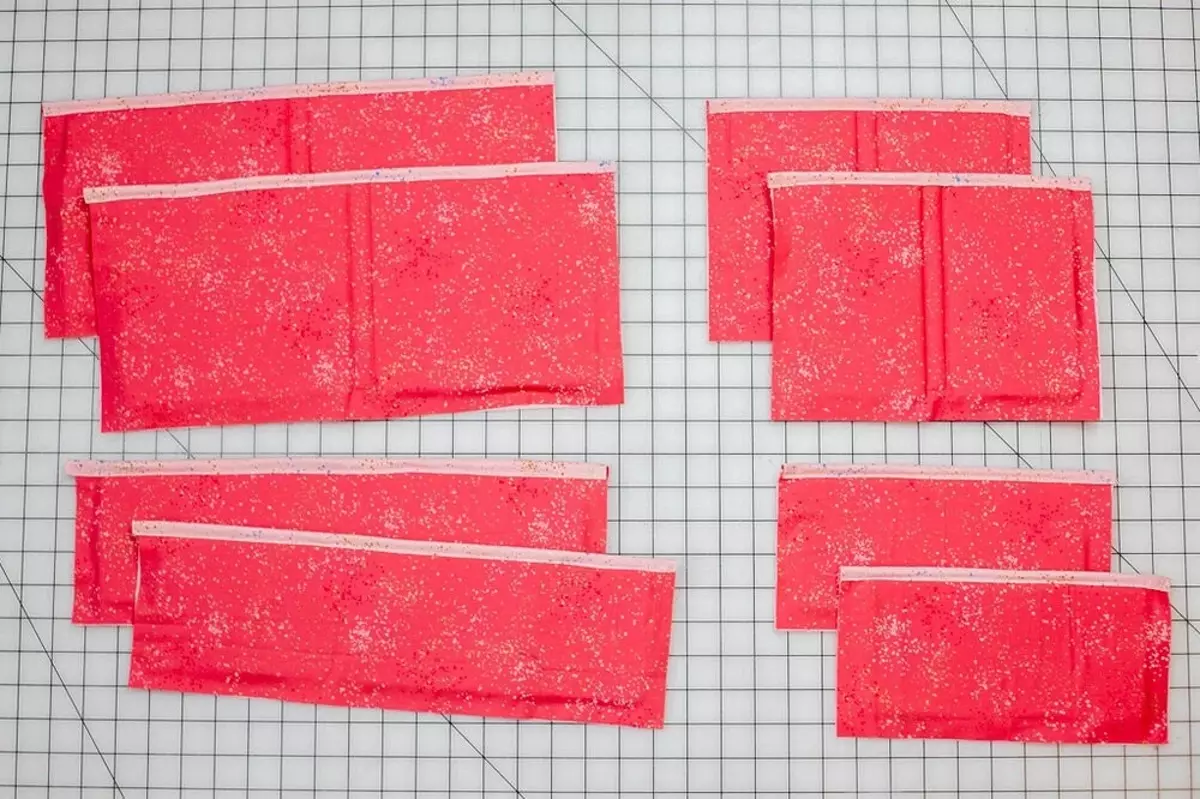
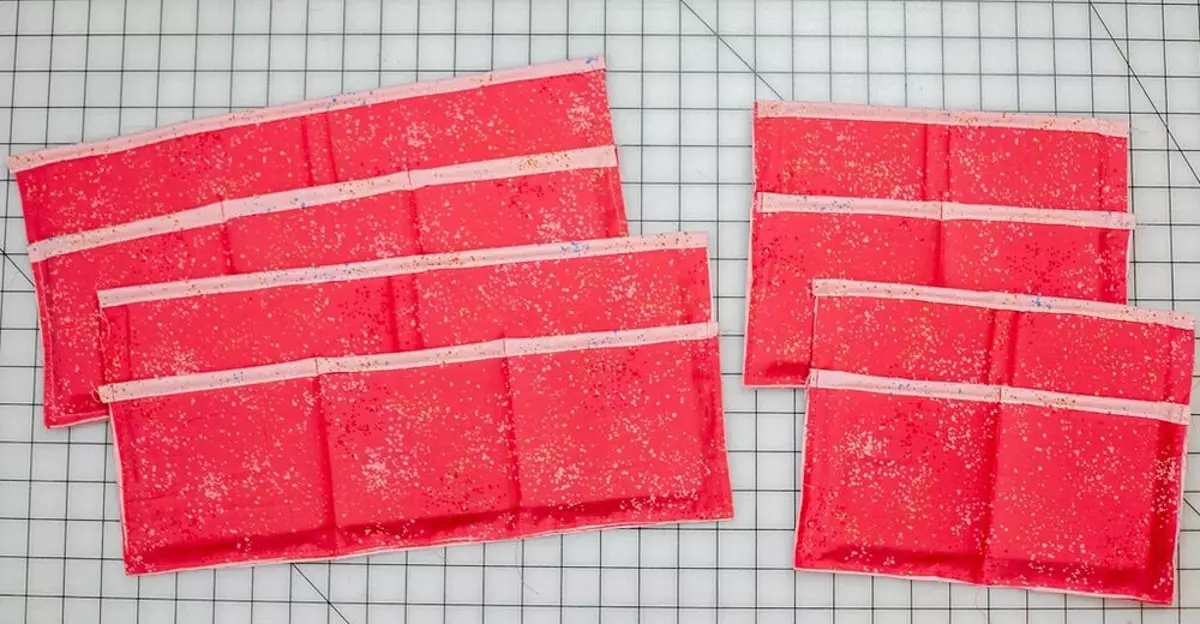
It should be 9 "Sandwings":
- - 2 long sides;
- - 2 short sides;
- - 2 pockets for long sides;
- - 2 pockets for short sides;
- - bottom.
Step 3.
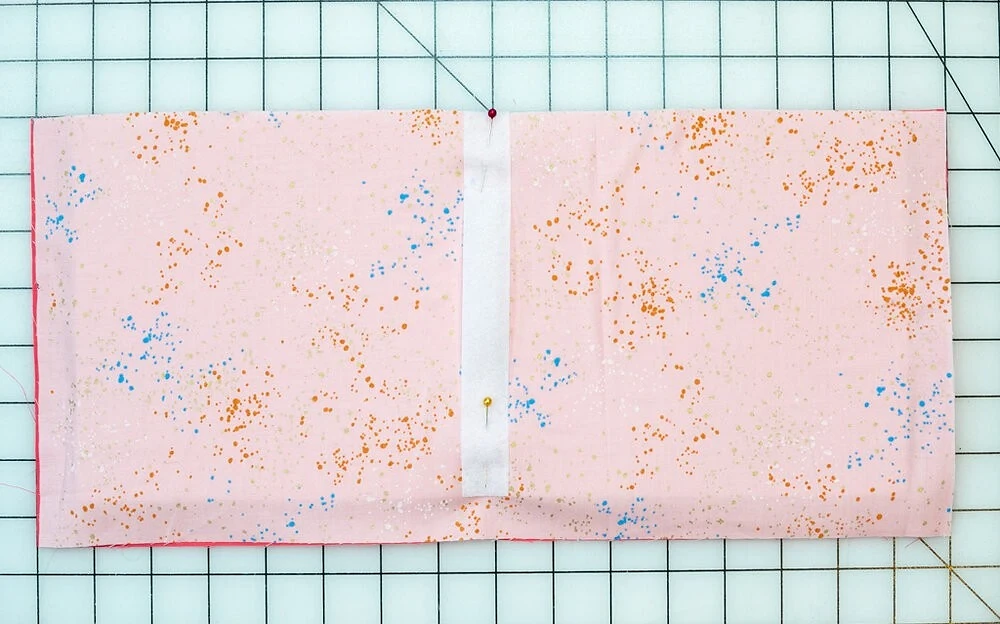
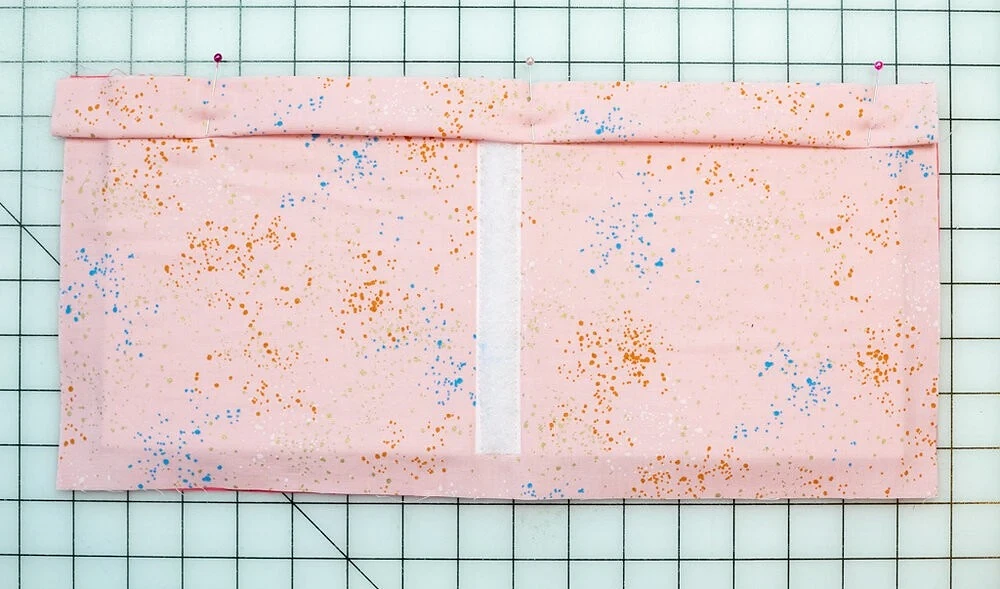
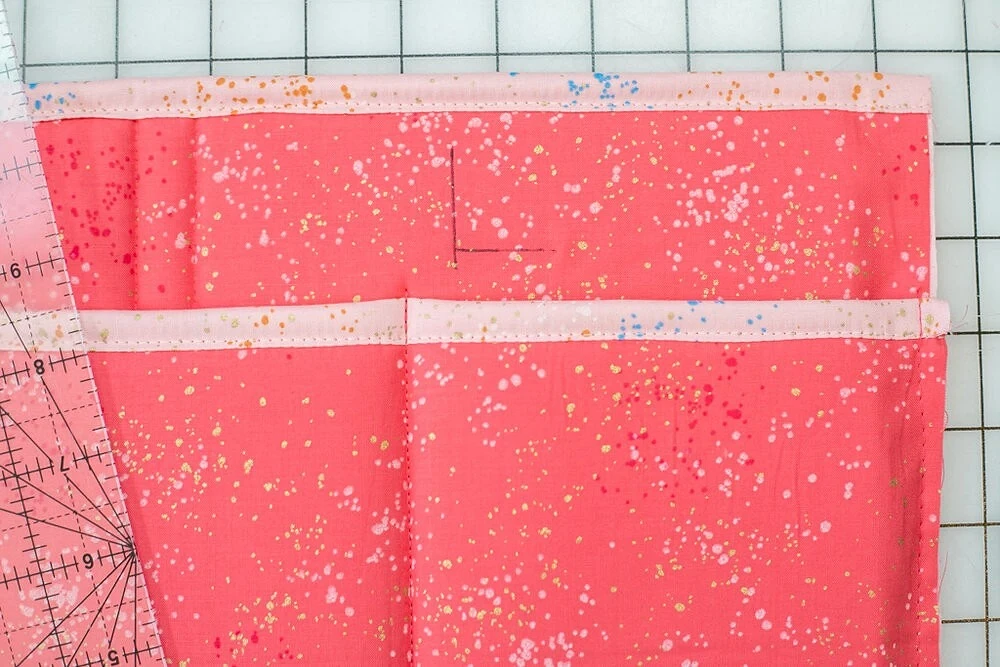
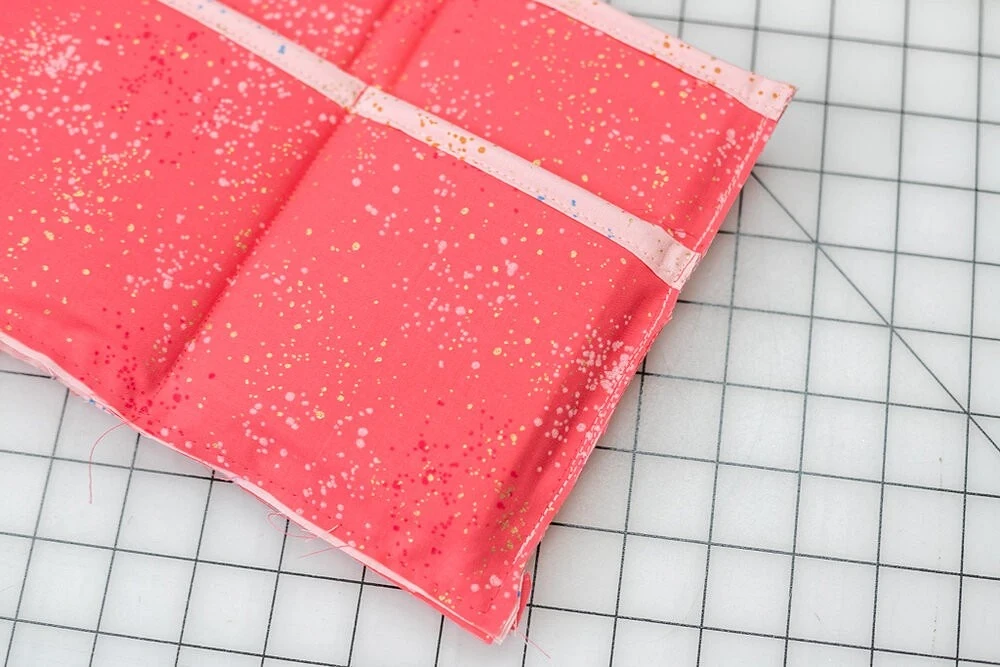
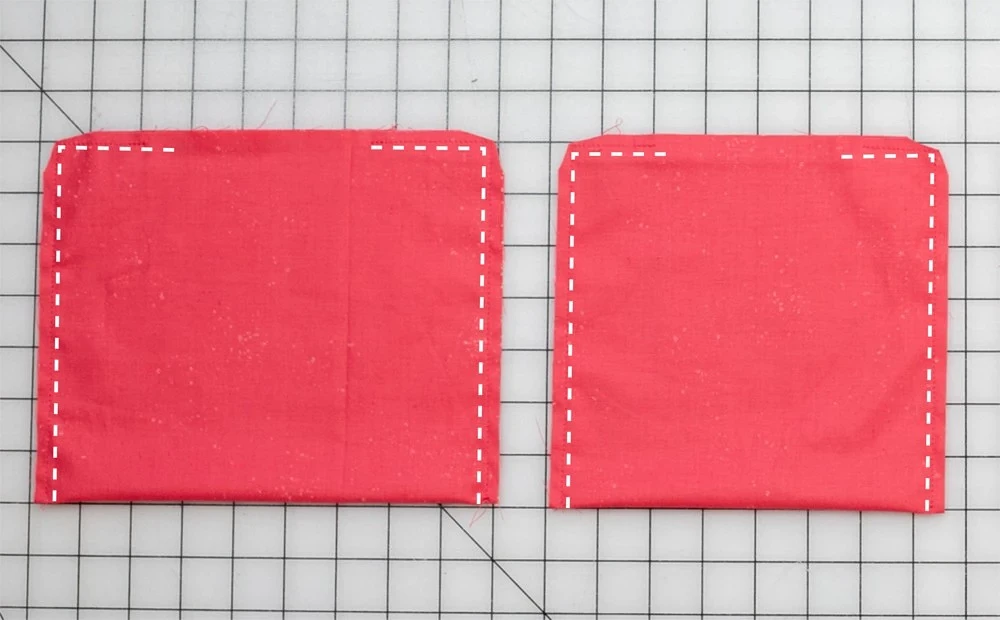
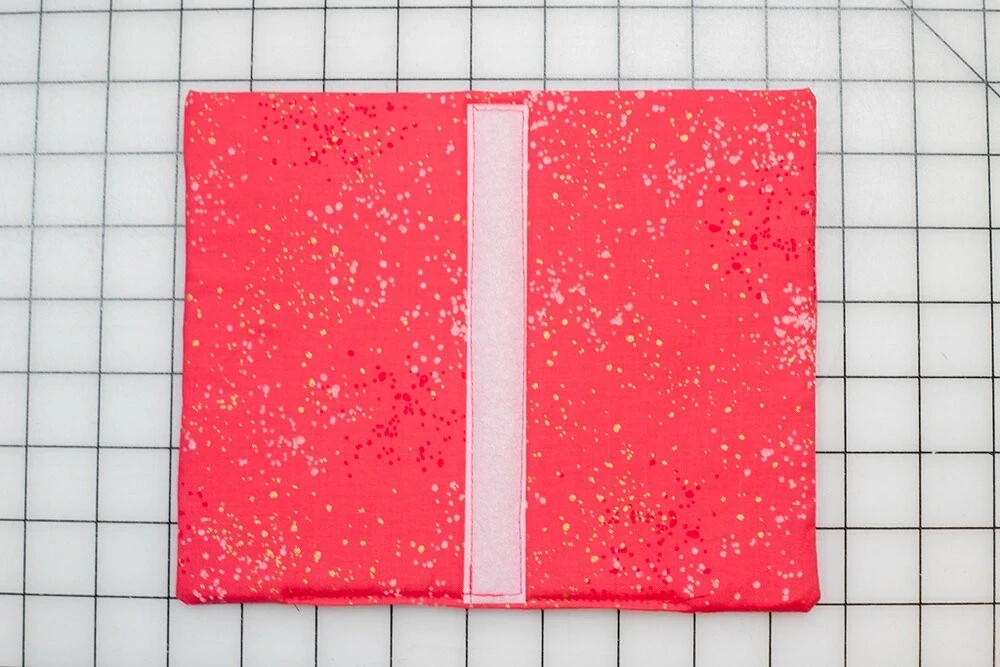
Cut 4 pieces of soft piece of velcro with a length of 17 cm each. Take one of the long sides, from the side of the fabric companion, find its center (see photo) and pin the vertical vertical cut. The tape should be adjusted to the upper edge and from the bottom to end where the firming material ends.
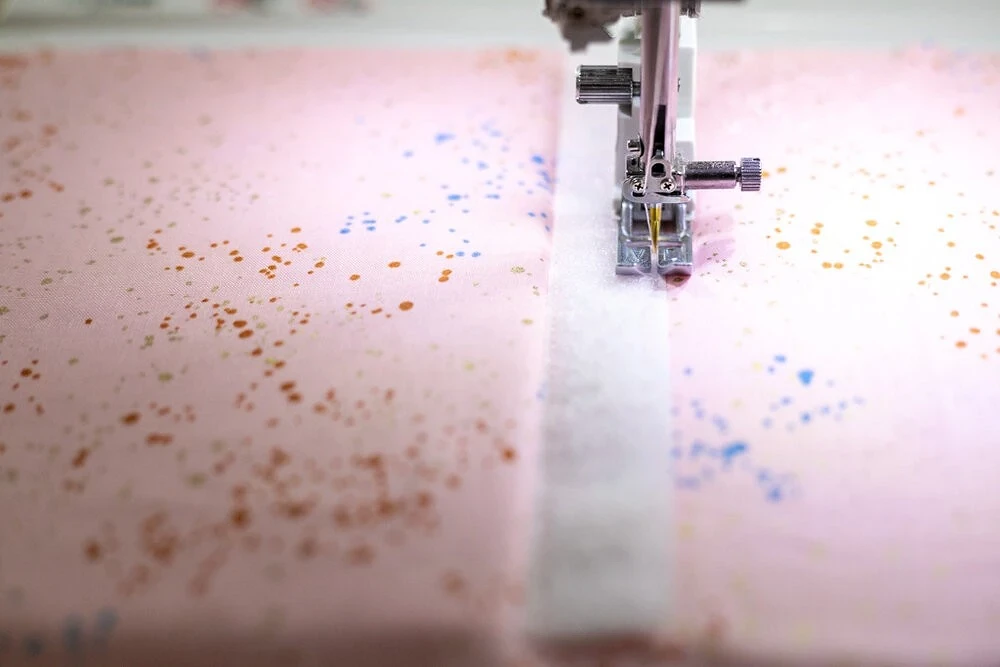
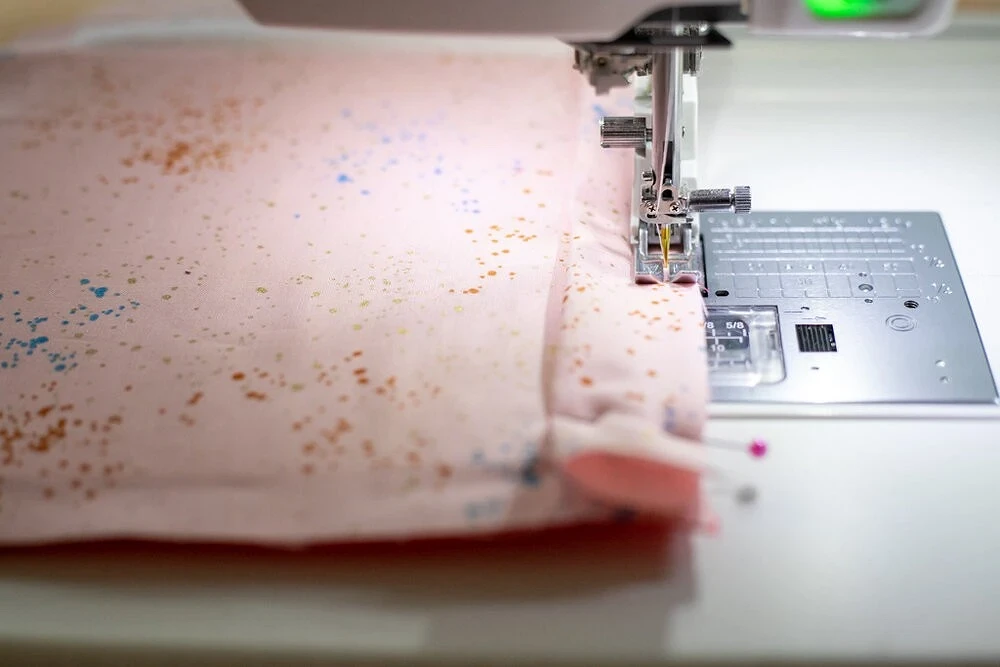
Single the ribbon around the perimeter to the edge.
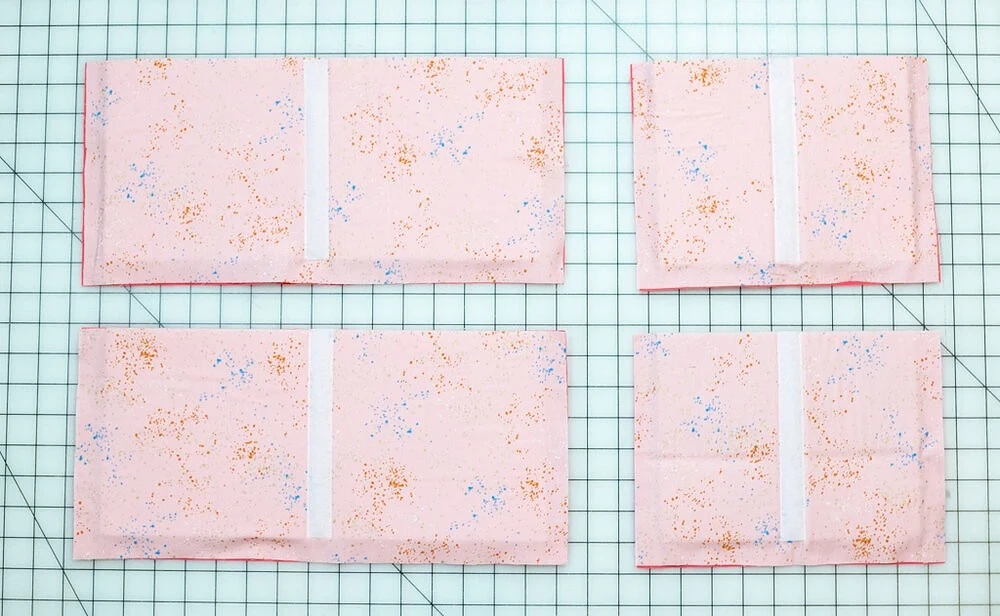
Repeat with the rest of the lateral details.

For the bottom of the bottom, cut 2 pieces of the soft part of the velcro with a length of 37 and 21.5 cm and a cross, as shown in the photo.
Step 4.
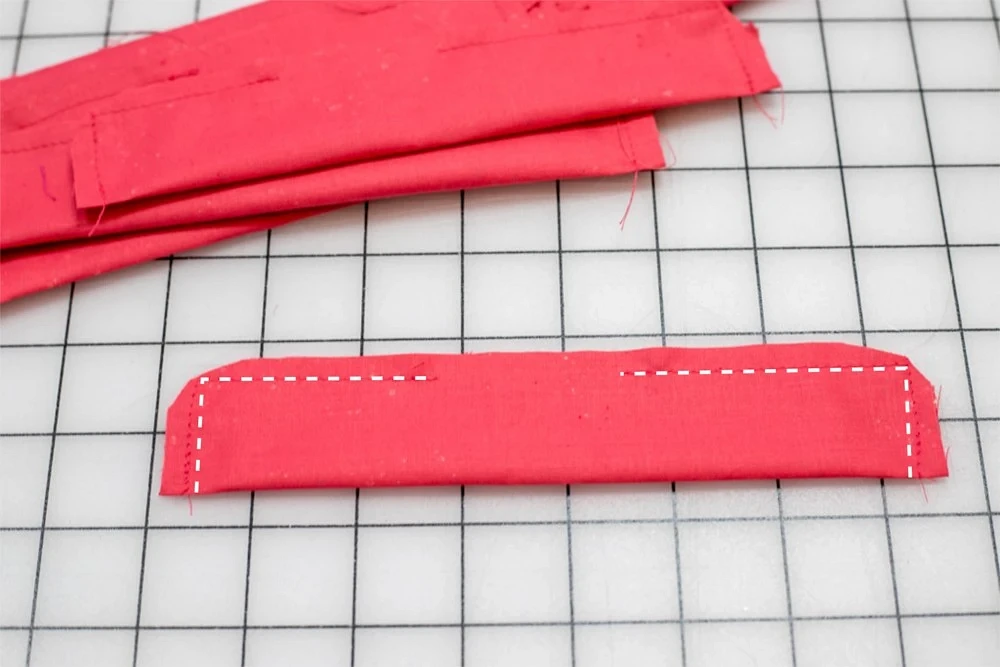
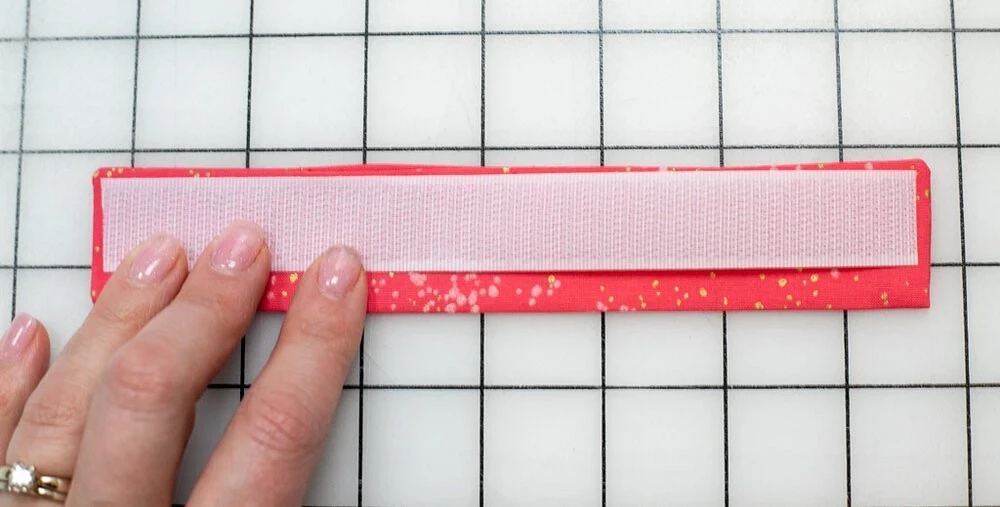
Take one detail of the long side and the part for its processing. Detail of treatment fold in half along the inside inside. From the wrong side, attach it to the upper side of the wall detail, aligning untreated edges. Print pins.
Take 0.6 cm with 2.6 cm.
Remove the item for processing on the front side, attach the clamps and set to the edge.
Repeat with all the side details and details of the pockets.
Step 5.
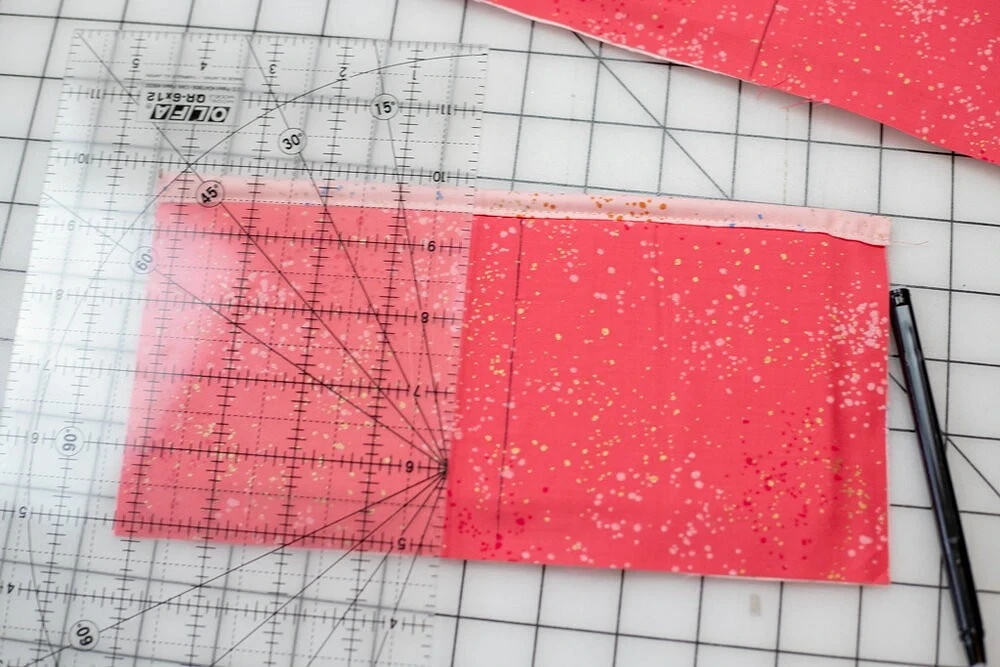
In the center of the details of pockets for short sides, spend the vertical lines of the disappearing marker.
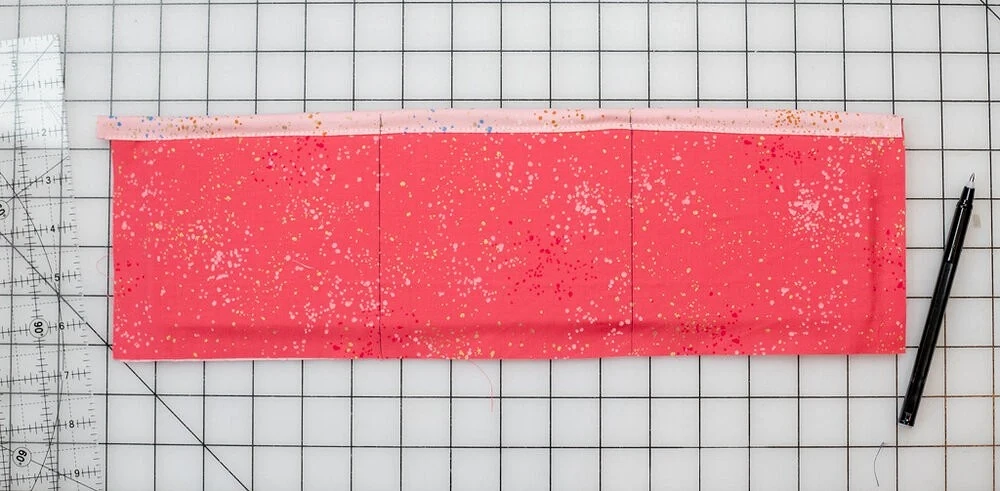
Pockets for long sides divide into 3 parts with 2 lines.
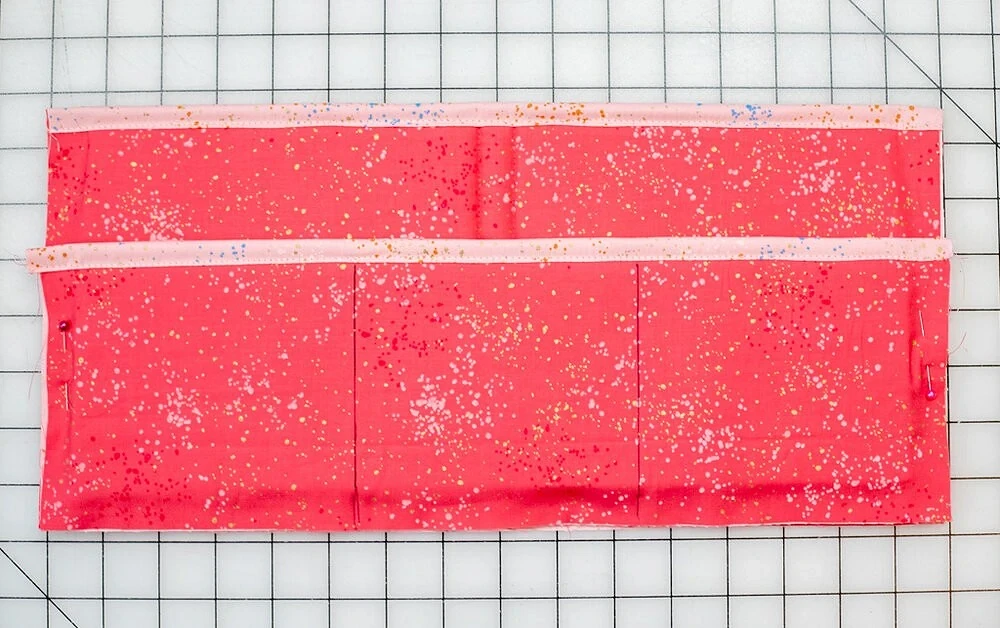
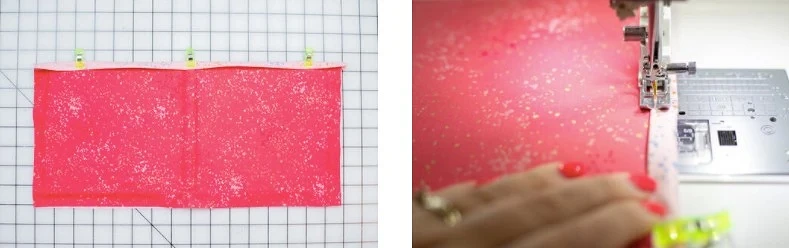
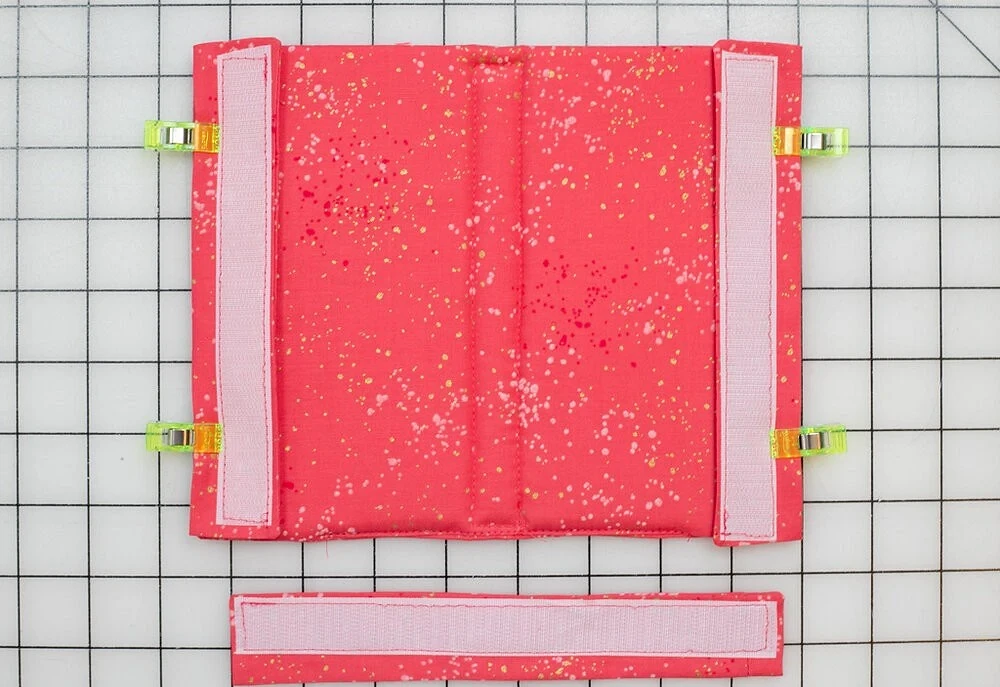
Pocket fold with the part side with the corresponding part and scalulate the pins.

Put the lines on the sides and below.
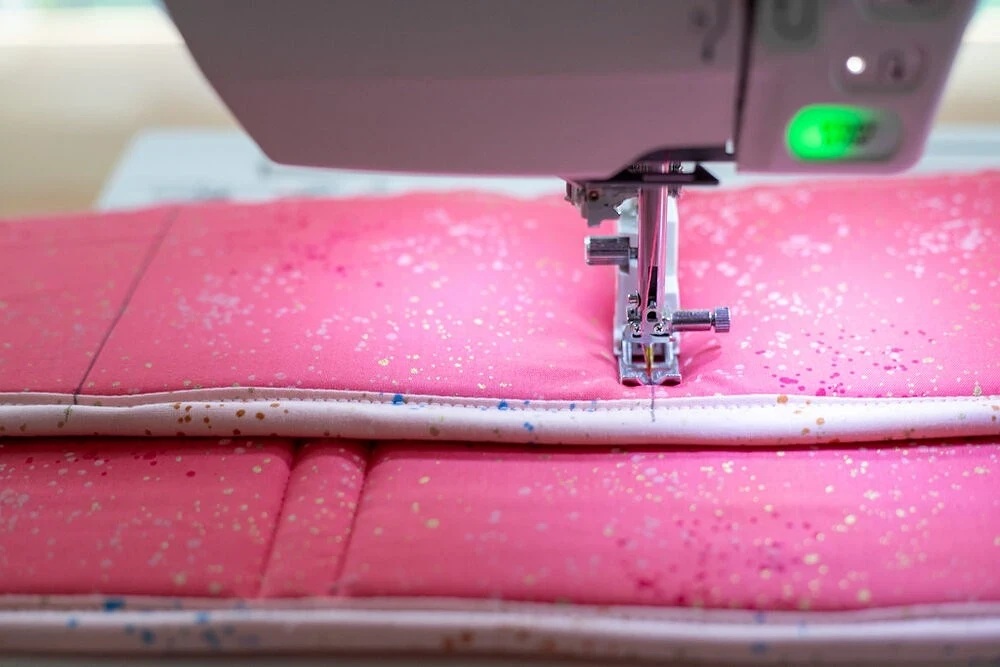
And then - by separation lines (do not forget the leaf).
Repeat with the rest of the walls and pockets.
Step 6.
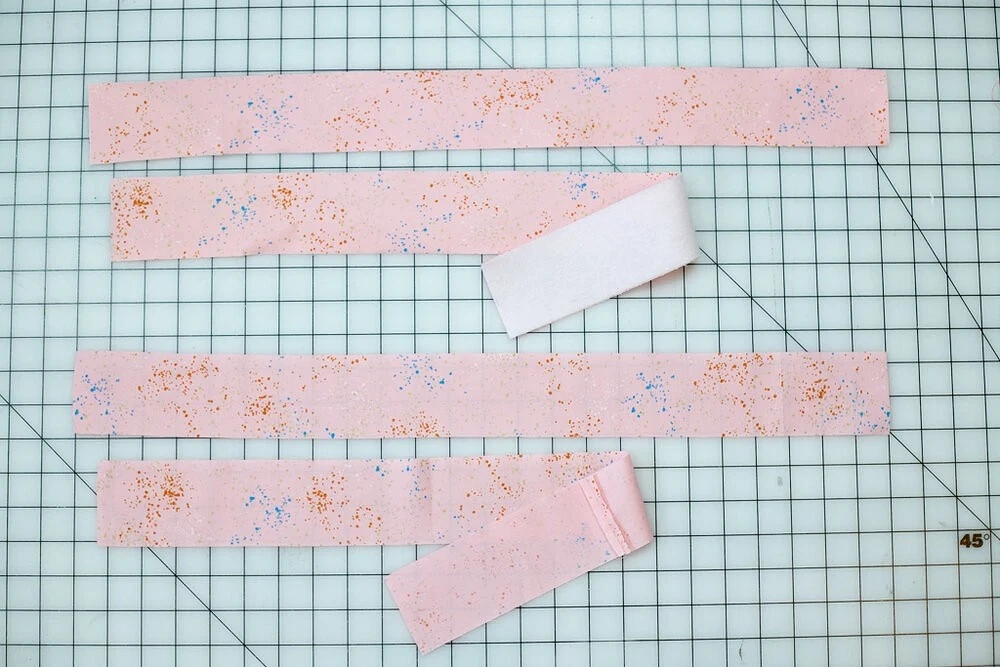
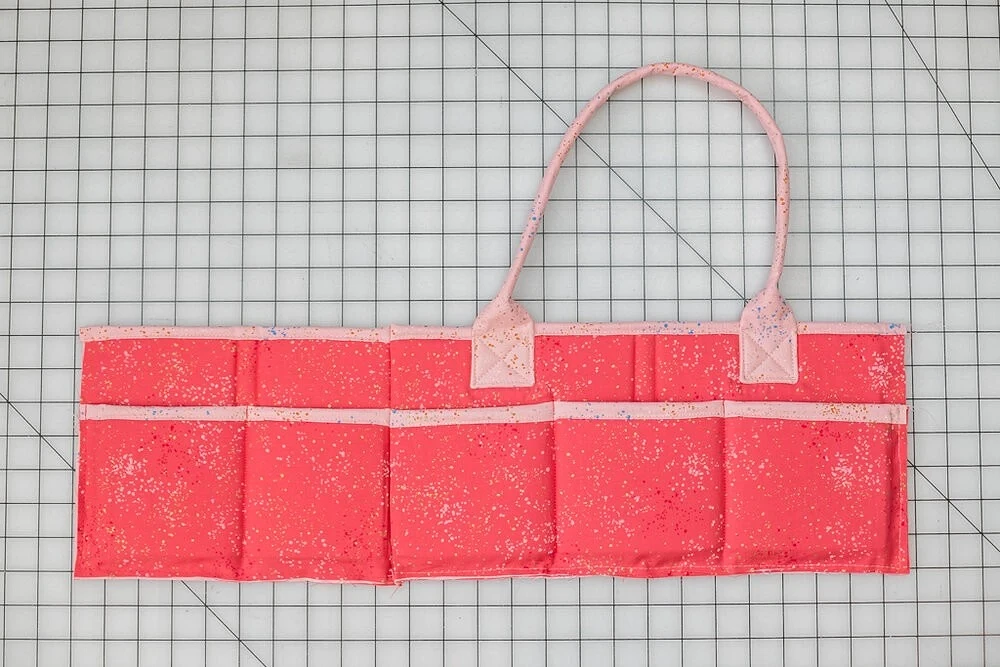
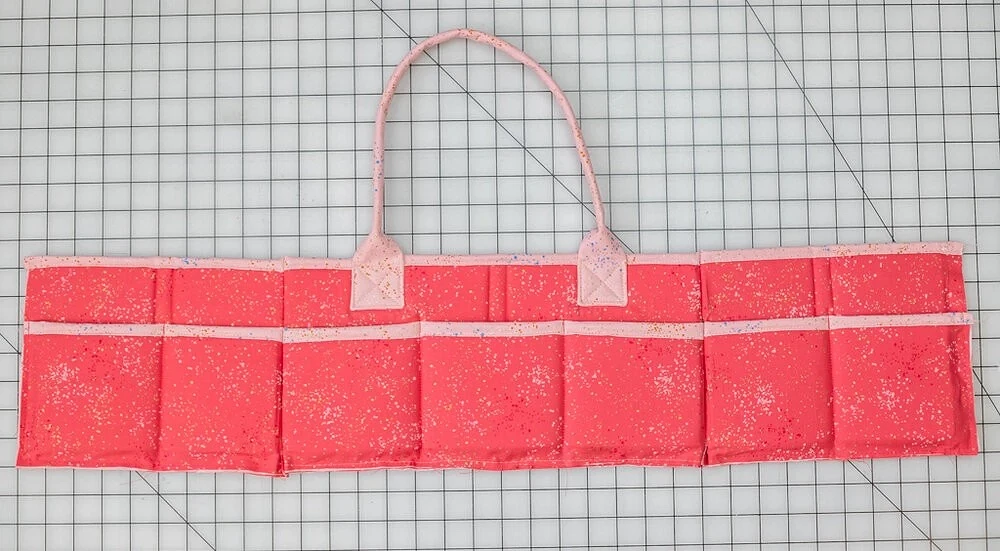
Duplicate 2 of 4 parts of the handles. Figure the details in pairs (duplicated and no) face to face and laid a line around the perimeter with a 0.6 cm 2. cm. Leave a hole for turning. Corners cut, remove the details and reveal.
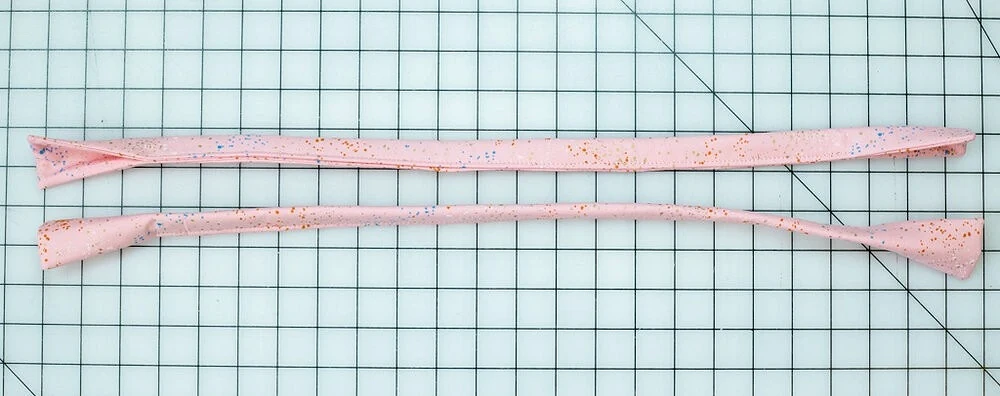
Details fold along so that the duplicated side is left on top, scroll the pins and launch the line, bonding them. For the sewing of the handles, leave free ends with a length of 8-10 cm.
On the long side of the disappearing marker, take a place of sewing of the handles. Here they are sewn at a distance of 1.3 cm from the beginning of the pocket of the pocket (measure this distance from the center) and at the same distance up from the beginning of the entrance to the pocket.
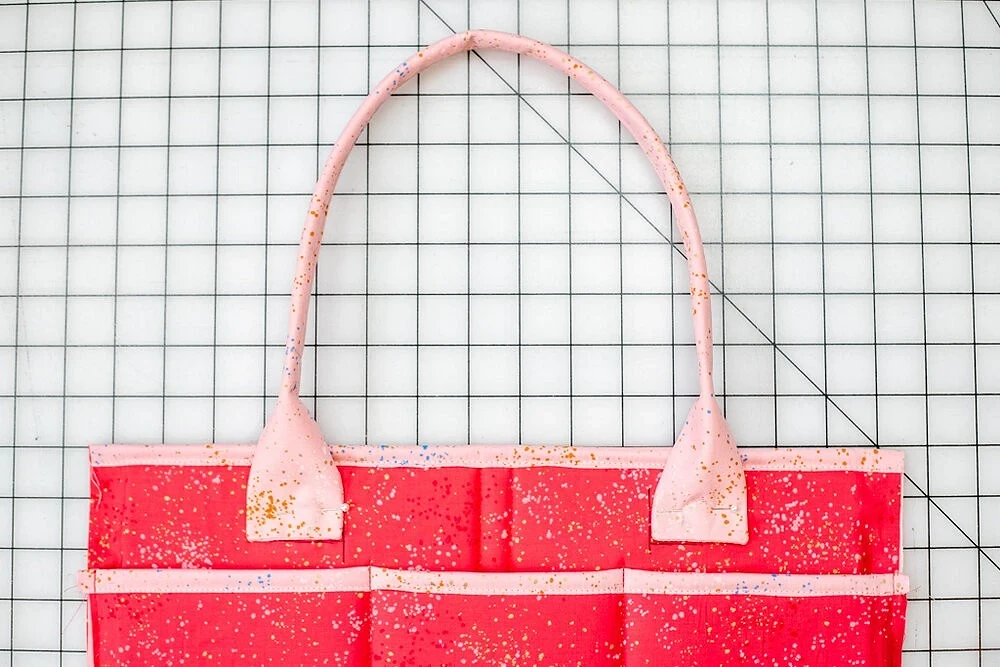
Print pens.
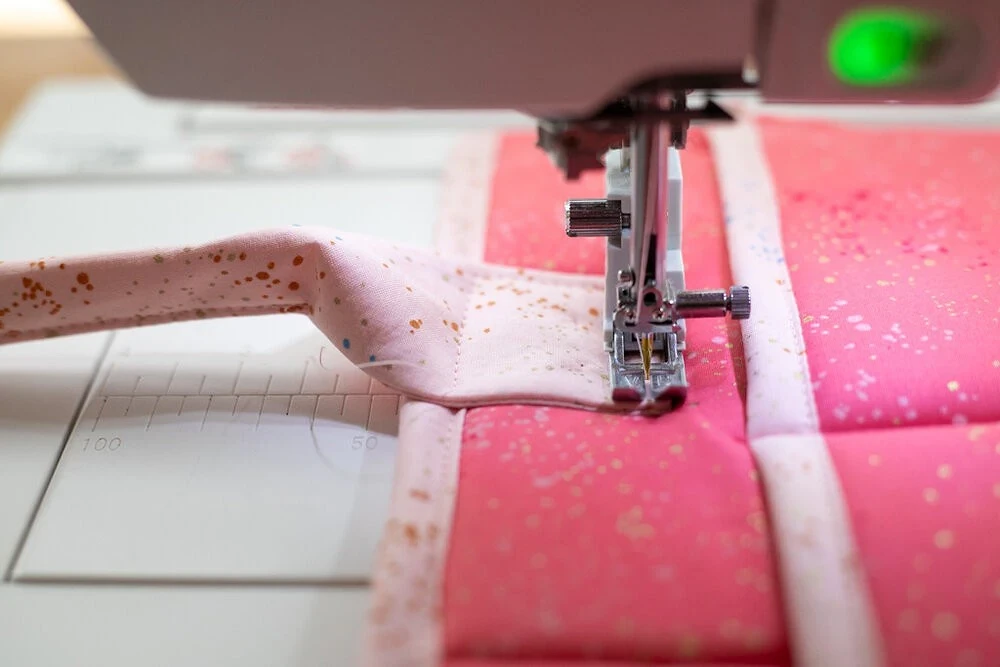
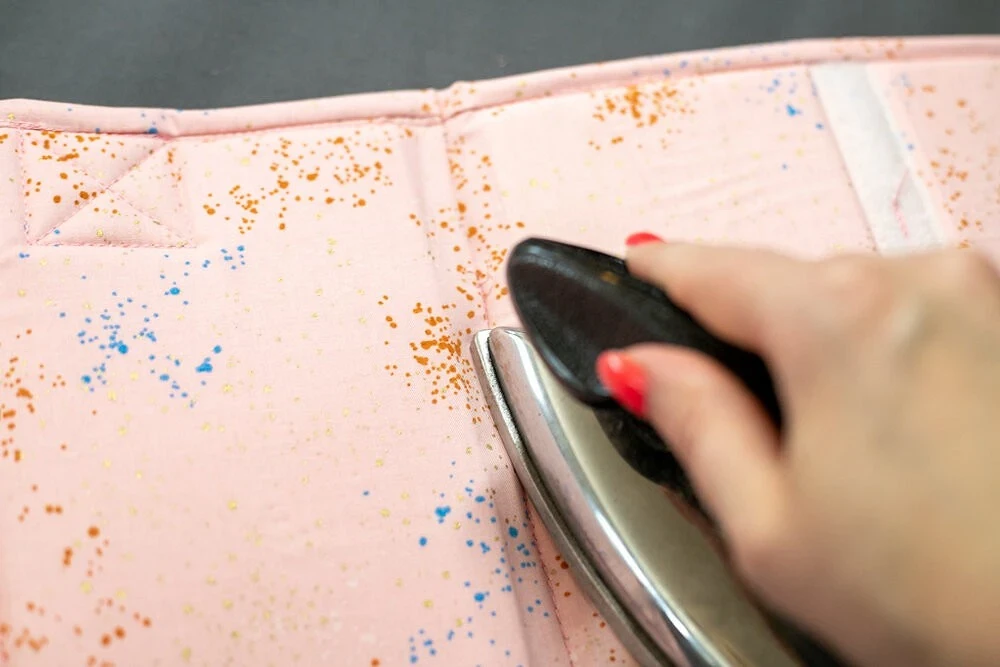
And set them on a rectangle and crosswise.
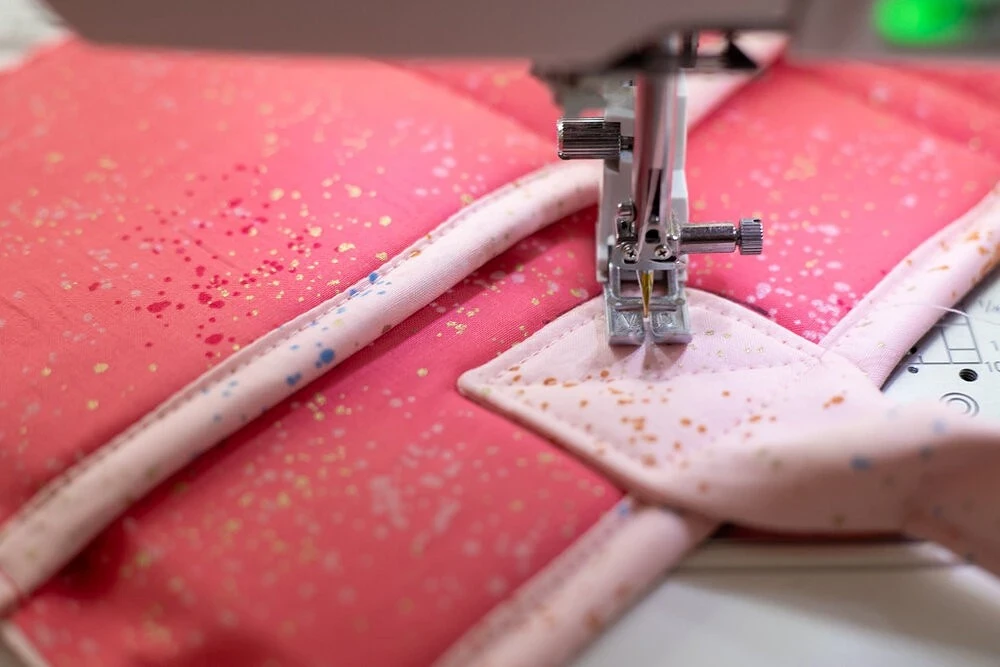
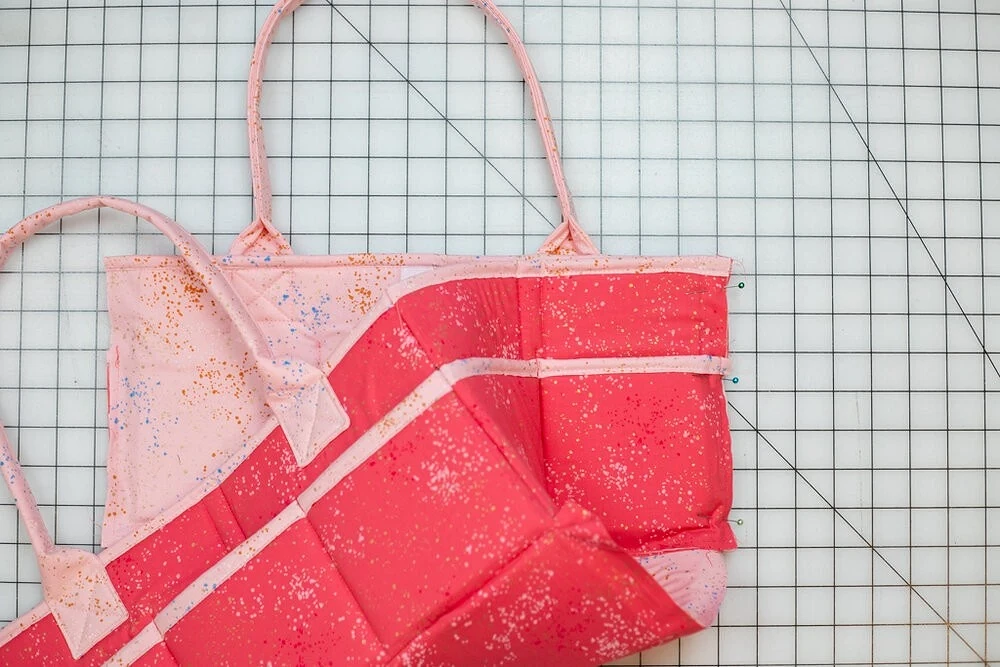
Sun is like both knobs.
Step 7.
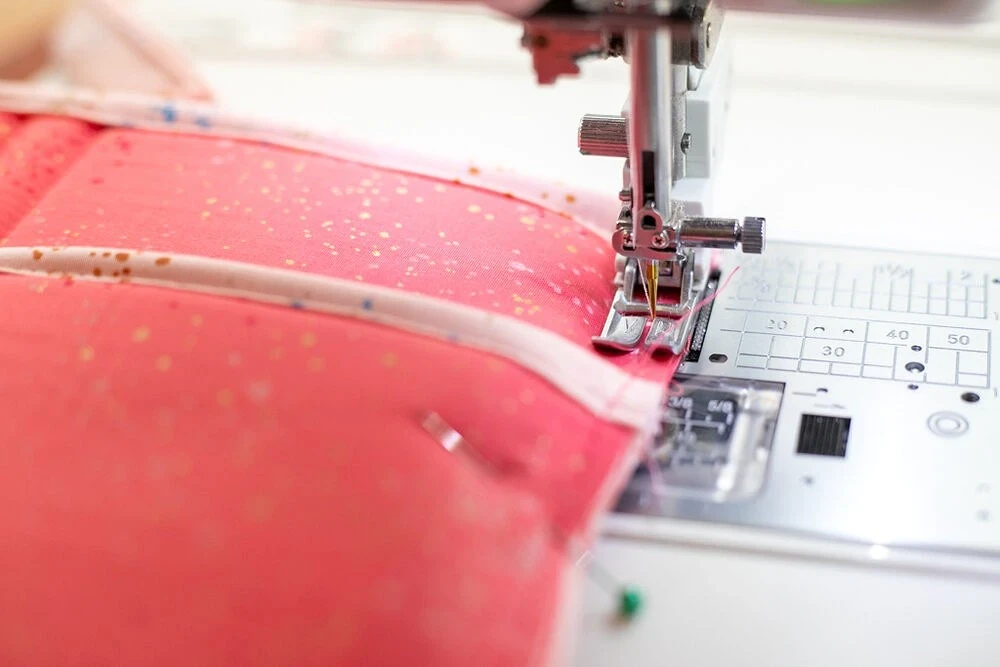
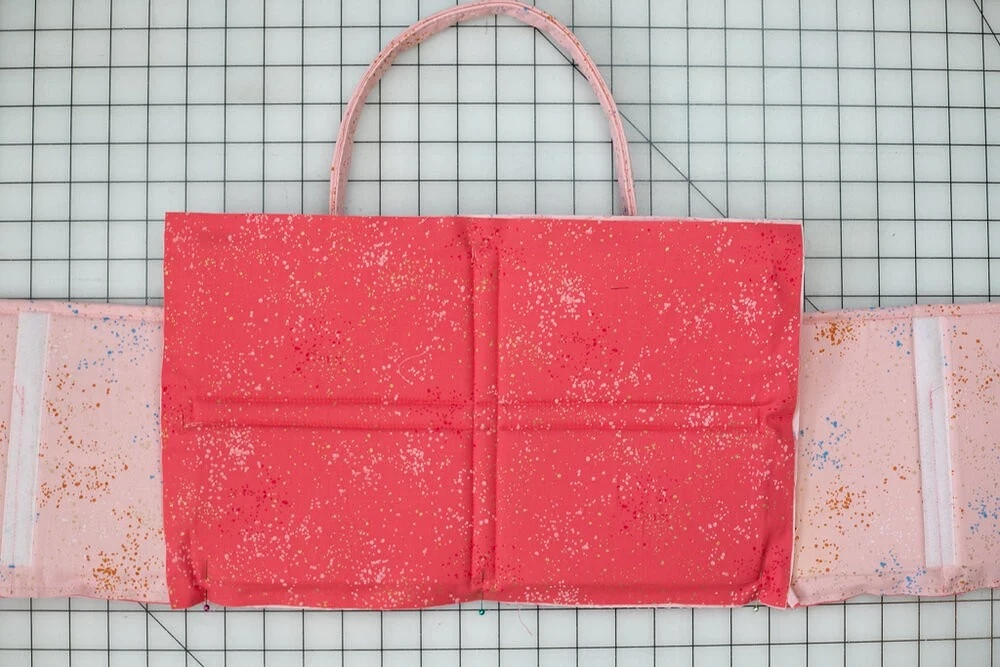
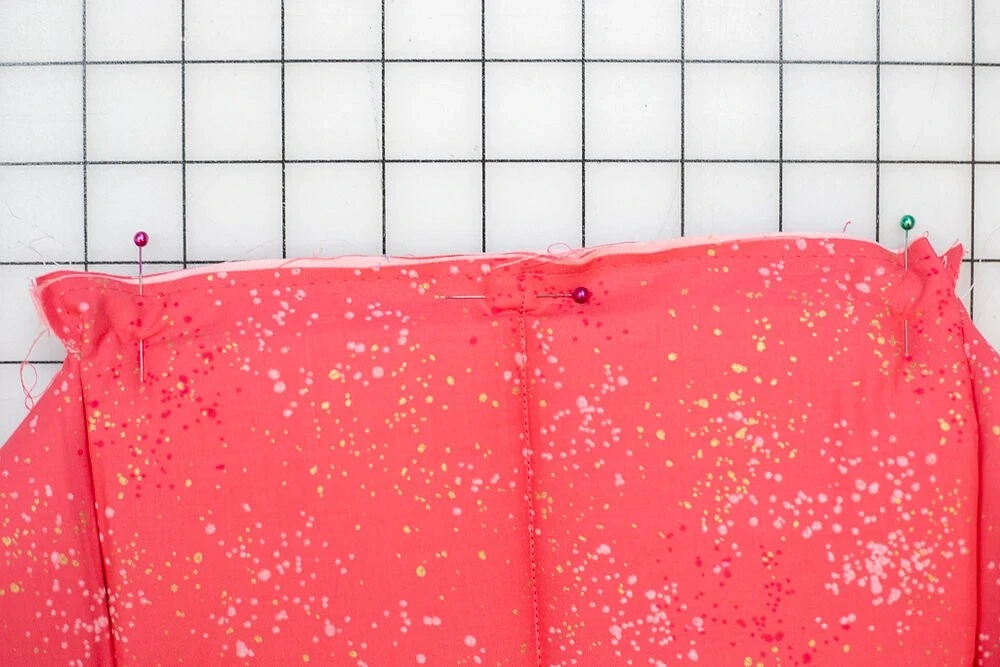
Short and long side walls sew with each other French seam. That is, the details fold out the main cloth outside, laying the seam with a 0.6 cm. Finish the line where the part is ends to strengthen (you can put the pin).
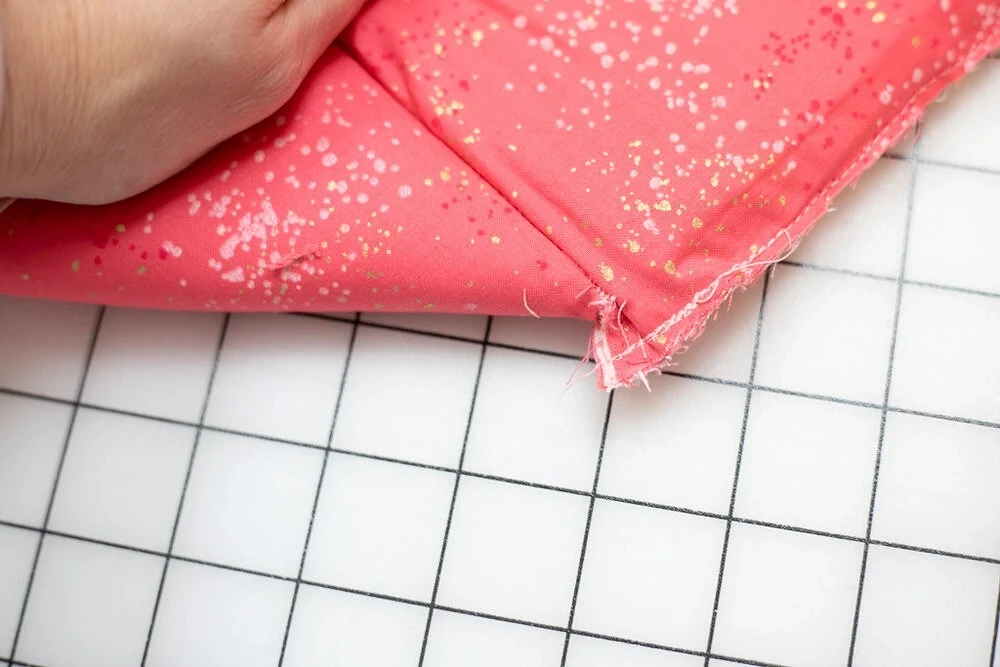
Cut the allowance to 0.3 cm.
We manage.
Soak on the side of the fabric-companion.
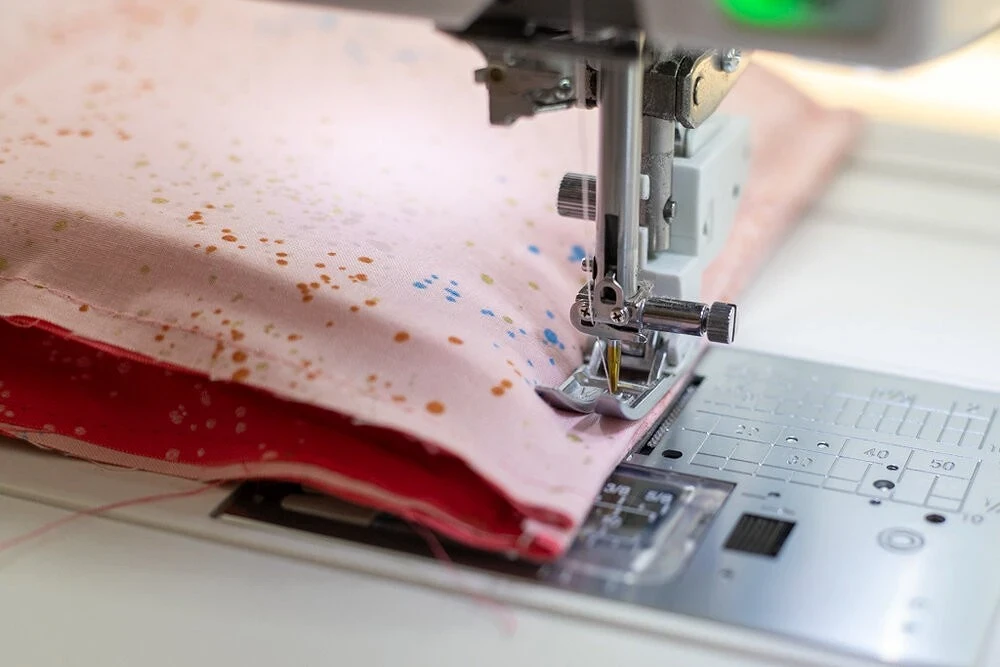
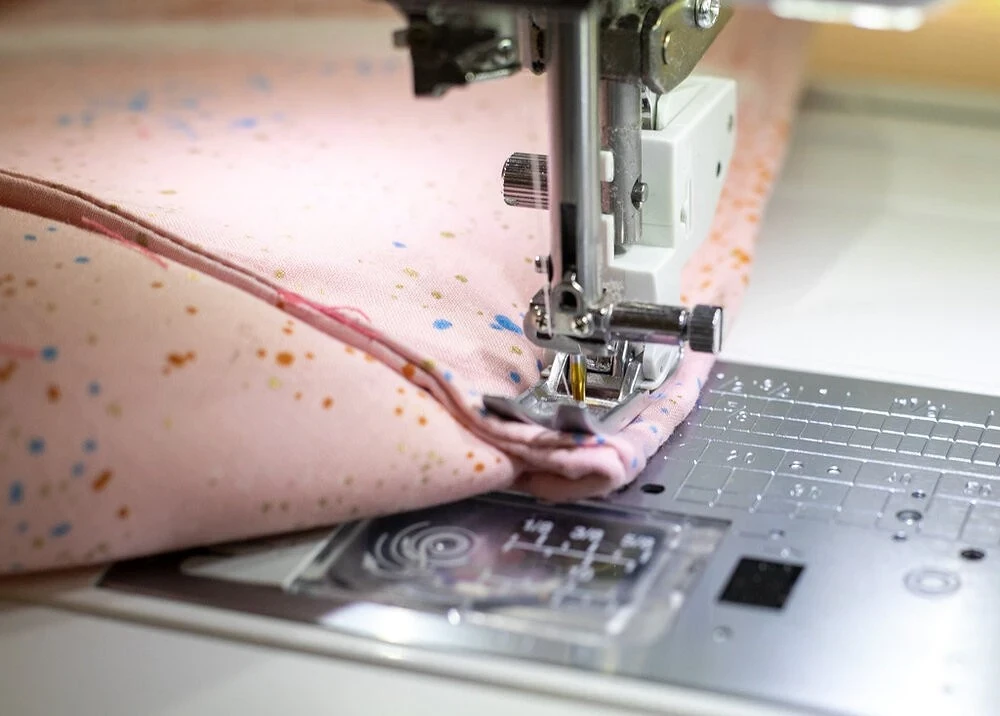
We deposit a line with a viscosity of 0.6 cm. Everywhere do not forget the leaps!
This is what should happen:
Also add another short side:
Then add a detail of the bottom.
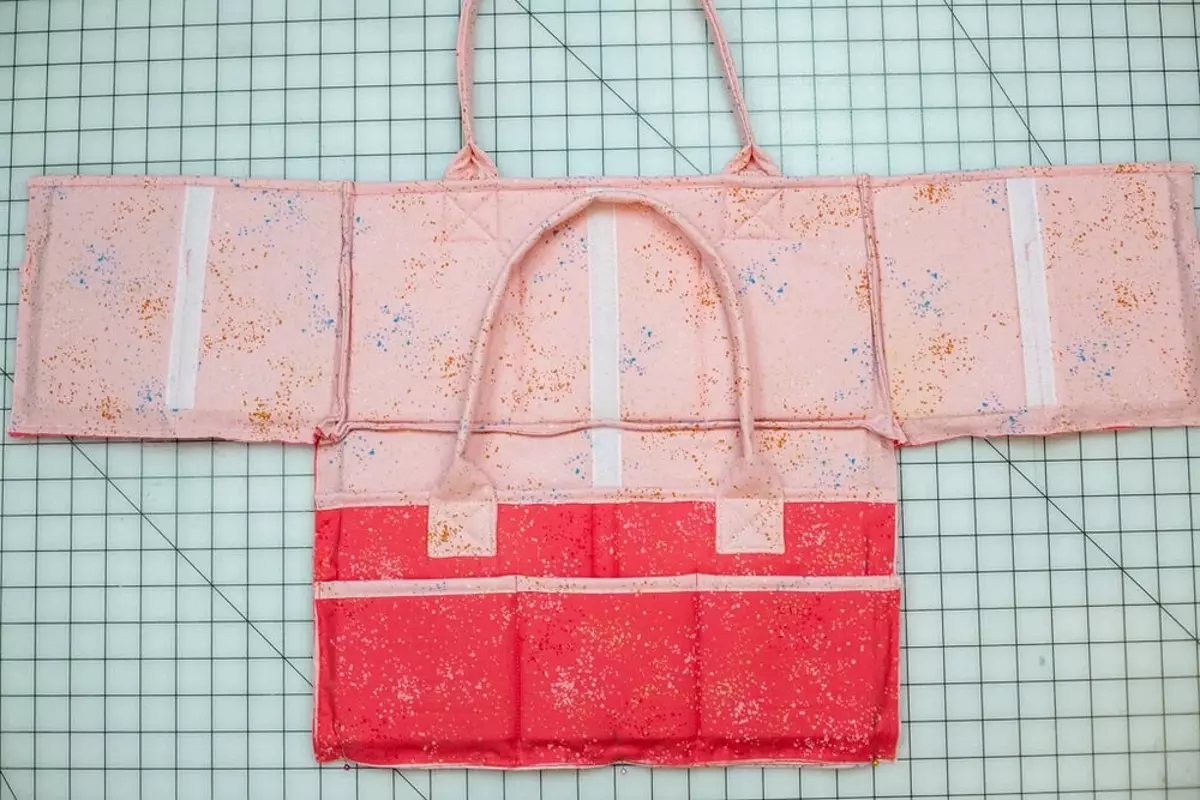
Add the last short side.
Also close the last unsympted hole below.
Step 8.
Fissure details for separators fold in half face inside and laid the line around the perimeter, leaving the holes for turning. Corners cut.
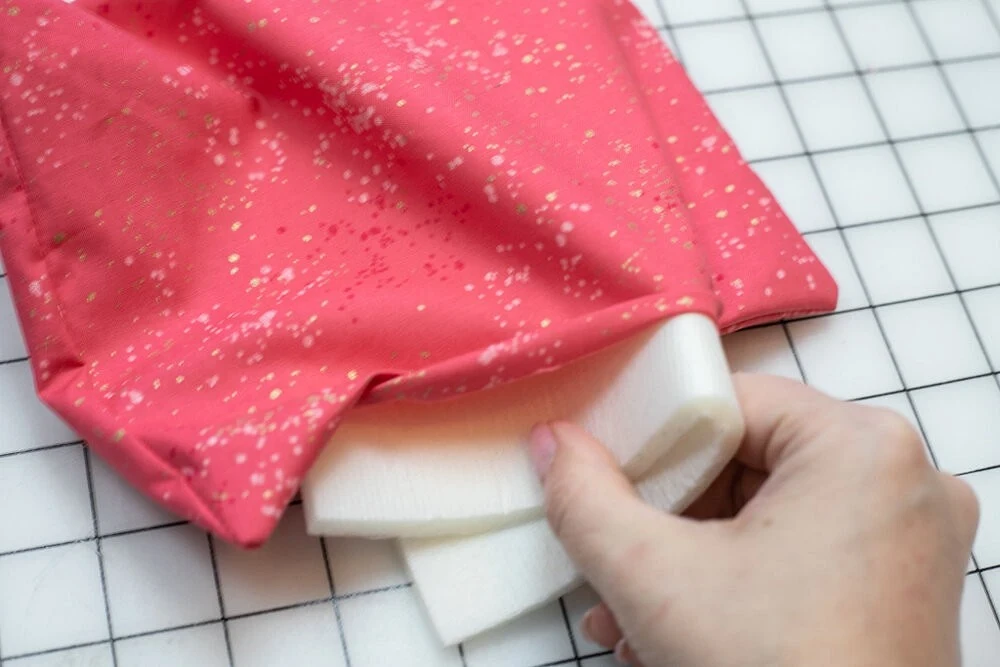
Remove the details and put the appropriate parts from the seal material.
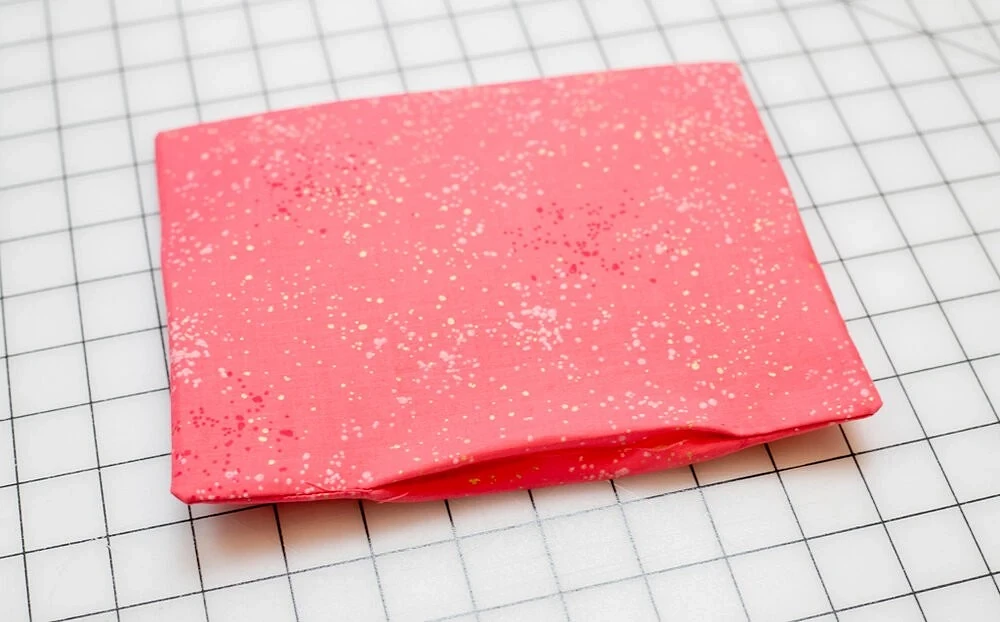
Scatter, wrap your allowances inside.

Mustle.
And squeeze the hole.
For separator 1 Cut a piece of a piece of velcro with hooks with a length of 17 cm. Print it in the center vertically and detect around the perimeter.
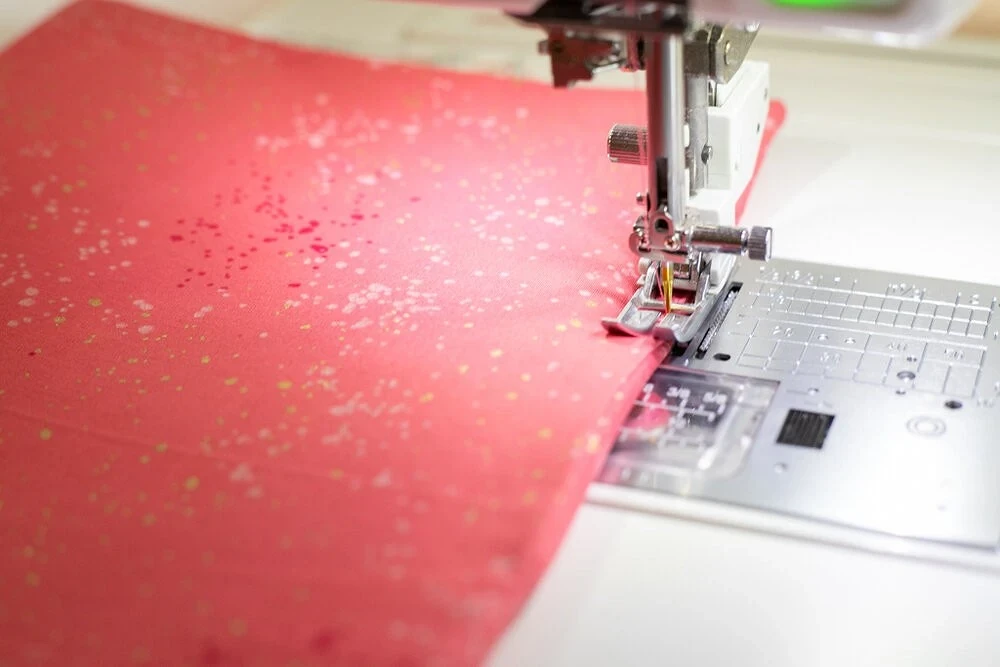
All small details for separators fold in half along the face inside and laid the line around the perimeter, leaving the turning hole (0.6 cm allowances). Cut the corners, remove the parts, straighten the allowances and affect.
For each detail, cut the strip of the velcro part with hooks with a length of 0.6 cm shorter strips. Print, retreating 1-2 mm from one of the long sides, and take the perimeter to the edge.
Side parts will be detail to the appropriate separators side sides.

Then add the bottom items.
Separators and organizer are ready!