

I want to share my small experience of a small alteration of the locker and the table.
A small story. I started the repair and replacement of furniture at home, but the money, as always is missing. Who did repairs in the apartment, I will understand me. It seems that everything considered and the estimate was, and during the repair everything would not provide, unforeseen expenses will necessarily need. So during the repair, I solved the rack and a table from the children's room, to give to the country to relatives. I ordered a new furniture in the nursery, all the more unnecessary to give mother-in-law (her grandchildren constantly live there), thought that the racks would make it possible to make toys, and the table for drawing would be the most. Well done, then done, you will not take it back. After that, I just thought, and whether I could remake something from this children's furniture. I will paint the tables, drawers, doors to reorganize cloth and it will be very pretty. So I did. The main thing is that children are satisfied, the mother-in-law is grateful, and I also gained experience in terms of alterations, for the future it will be useful.
So, to business.
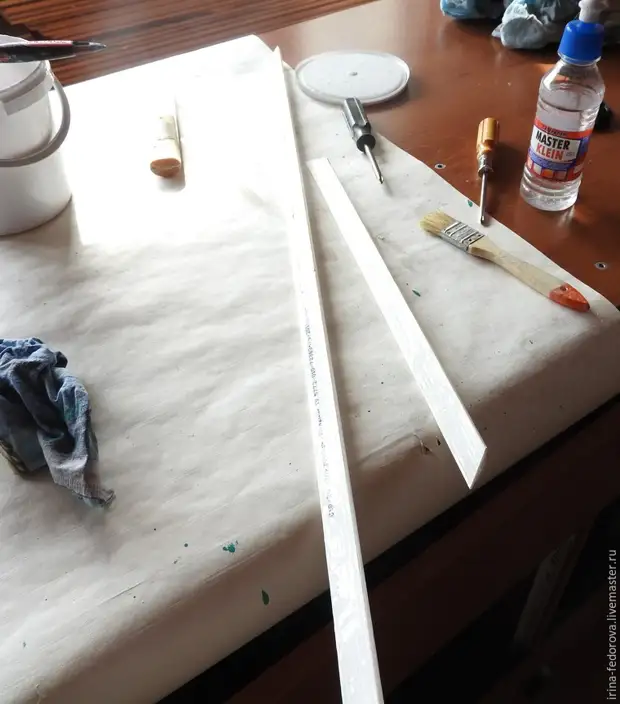
We need:
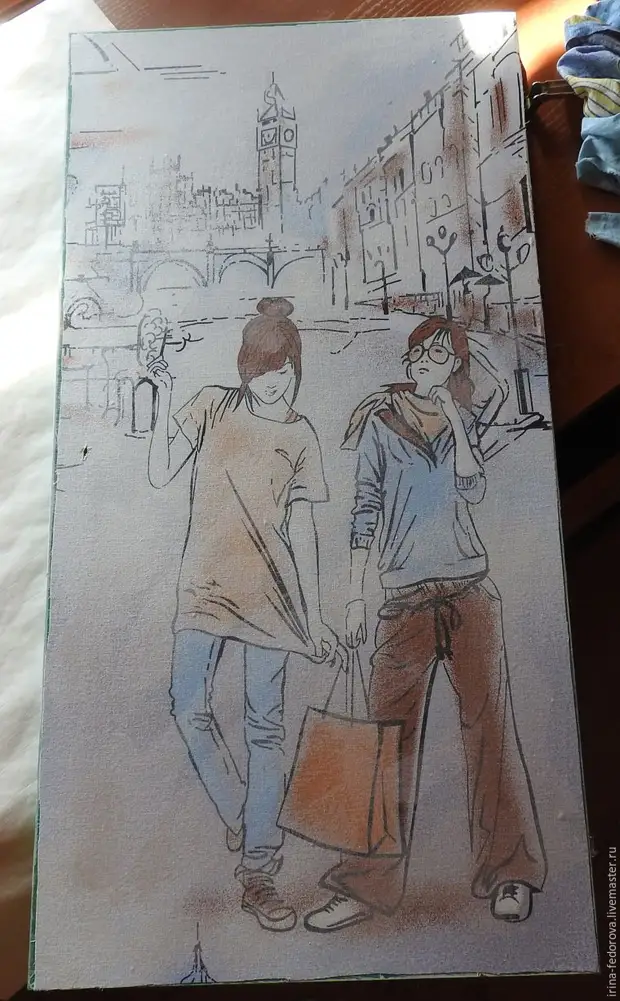
1. Fabric (I used a hawk).
2. Acrylic coolant lacquer (who wishes can be used and glossy).
3. Enamel Turquoise.
4. White spirit (for washing brushes).
5. Molar tape.
6. Scissors.
7. Brushes.
8. Line, pencil.
9. Stack (large and lamb).
10. Glue PVA.
11. Decor of foam (it turned out to be very cheap).
12. Emale pearl acrylic.
13. Luck is yacht.
14. Pens (for drawers, but you can leave both old).
Work is very interesting!
Of course, in view of the fact that painting accounted for several times and dry each layer turned out to be about 3 days.
And now the actual work itself.
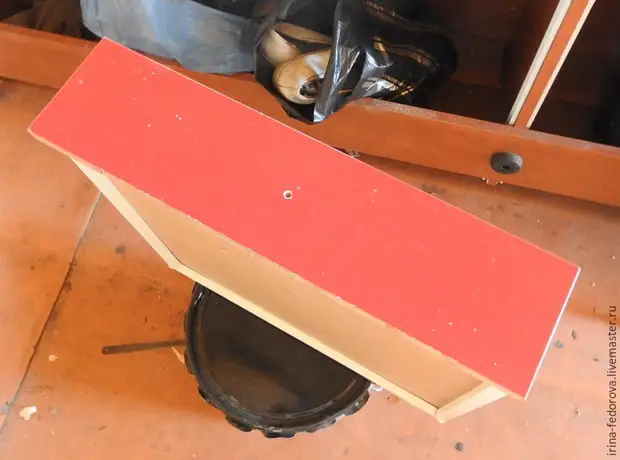
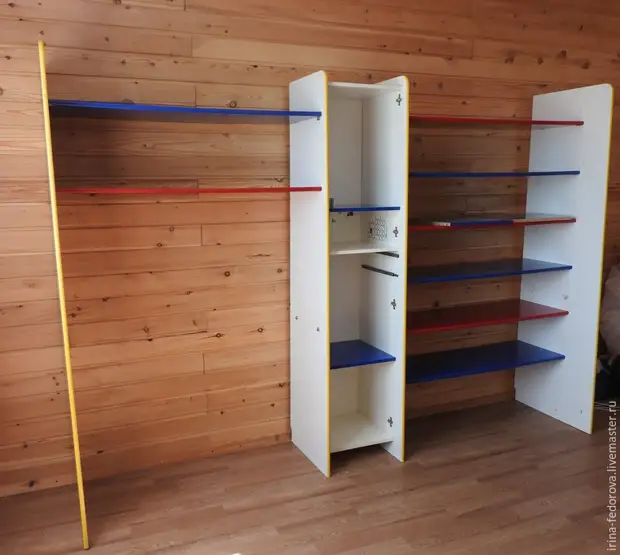
1. Remove all parts from the furniture (I pulled out the boxes, removed the doors from the cabinets and disassembled tables, removing the table top).
2. My furniture was painted paint and I decided to remove a little top layer so that there was a better adhesion of glue with a cloth, which I was going to decorated the doors, the tables were also with chips and scratches (this furniture for 16 years already). I took the sandpaper and went to her for those details that I did not like. Initially, a large sandpaper, then shallow, so that the surface is smoother.
That's what happened:


3. Everything thoroughly bold a brush and rubbed with a damp cloth, waited when he dried.
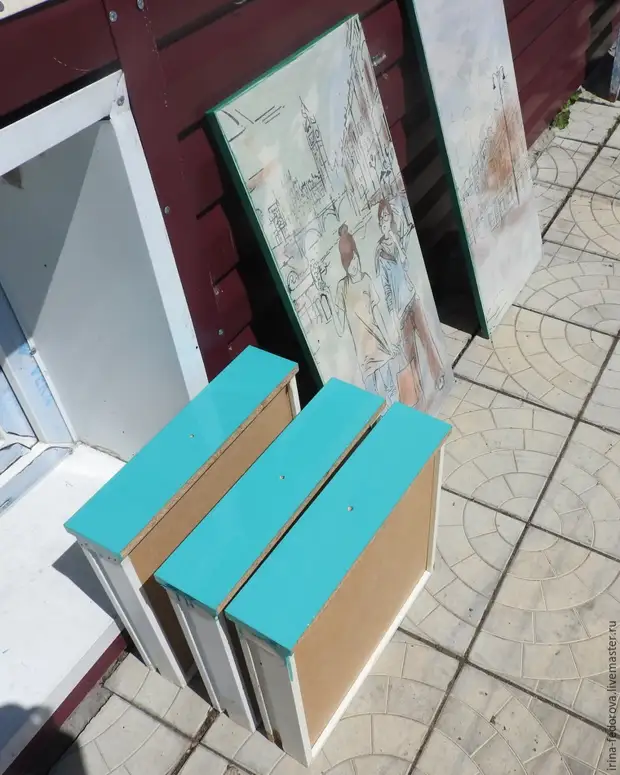
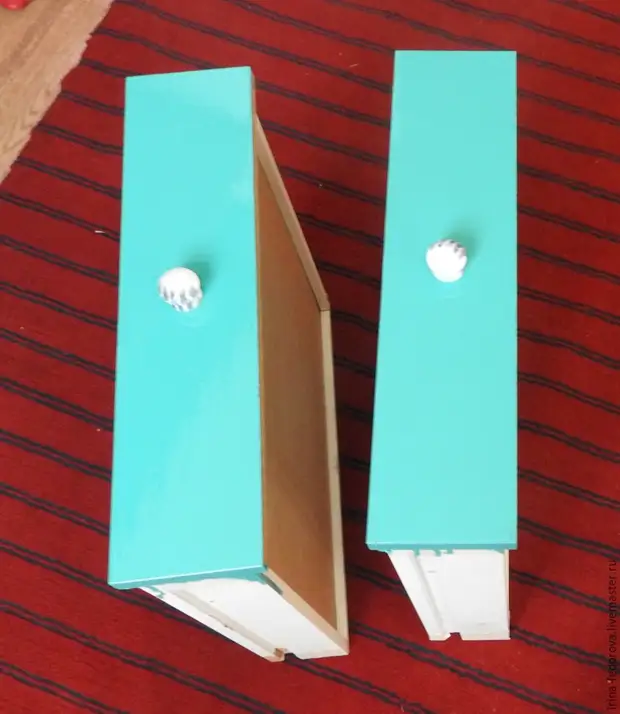
4. One table top and both doors from lockers were white, the second table top, which is built into the rack itself - green, and here are 3 drawers bright red. I had a turquoise enamel, she decided to paint all these parts. On the tabletop defects there were more of them painted them by 2 times, and the boxes at once. My paint turned out to be very thick and laid a thick layer, so after such staining - defects were painted. Do not forget to flip those parts with molar scotch that you are not going to paint. Scotch came in handy for the boxes. After all, I only stained, as they say, the "face", without affecting the sidewalls and inside the boxes.

That's what I did:
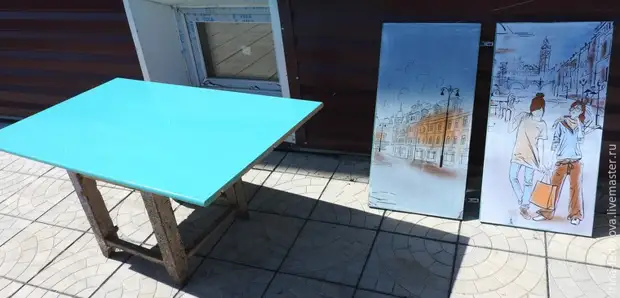
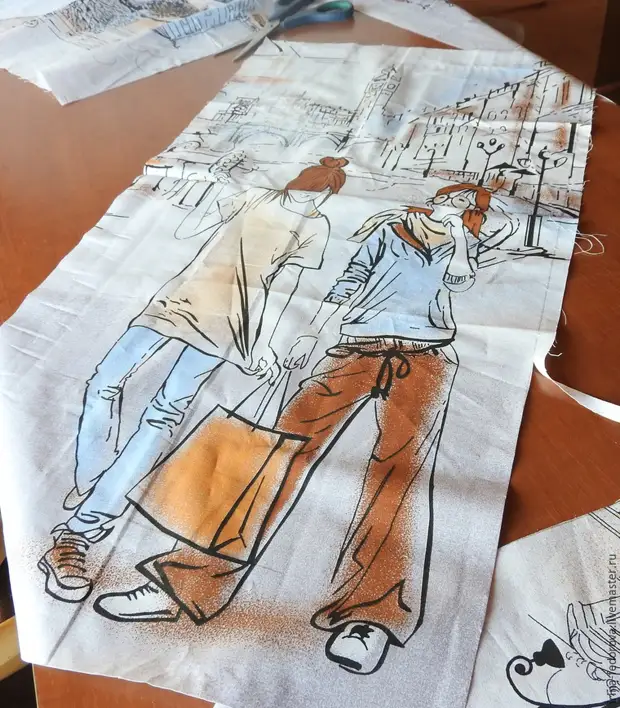
5. Between the dryer and the boxes, I had another job. I measured the doors (width and length), for these measurements cut the necessary pictures from the fabric, the picture cut out slightly less, about 5 mm from the initial measure. Made it, because during the wrathing of the tissue with glue, the fabric is slightly pulled out and the trimming of doing after the stickers is not very convenient.
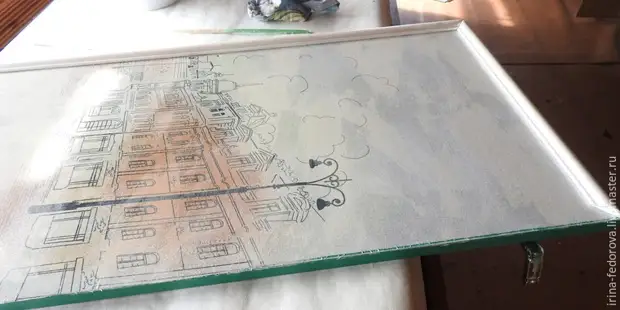
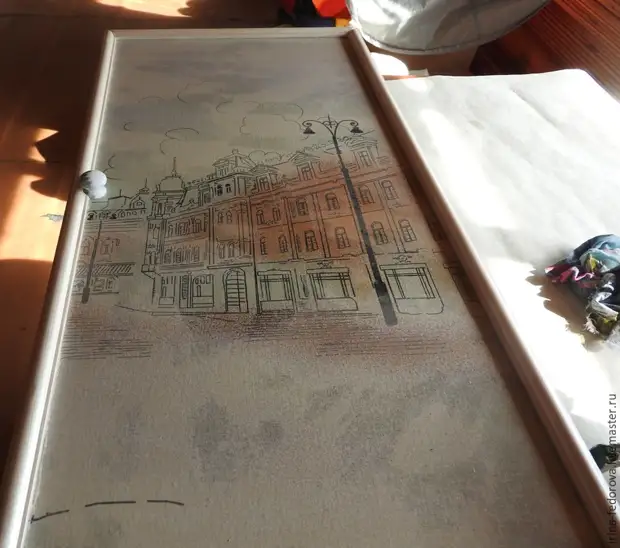
6. Abundantly smeared glue (PVA - universal) on the doors and left the fabric, over the fabric was still glove with glue and spread the fabric so that there were no wrinkles, after which it was put on the street (it was very warm) for drying.
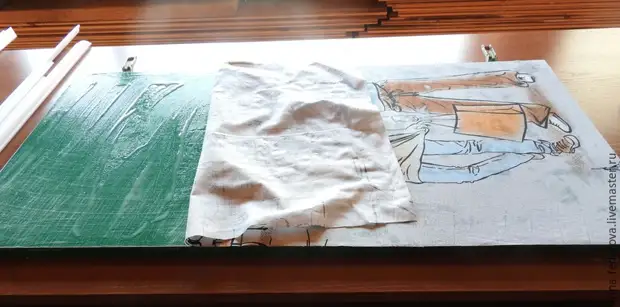
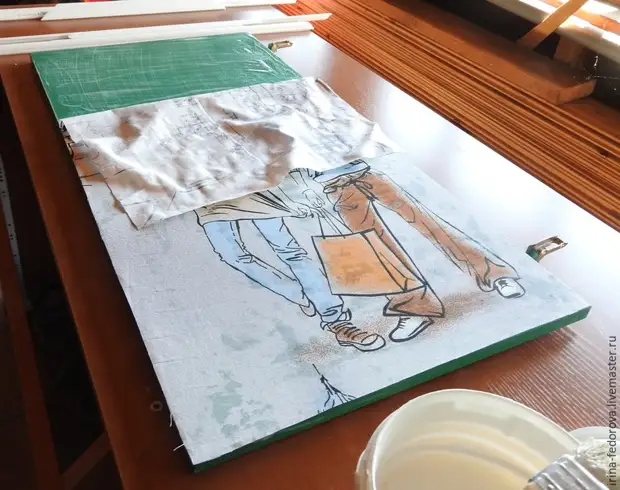
That's what happened:
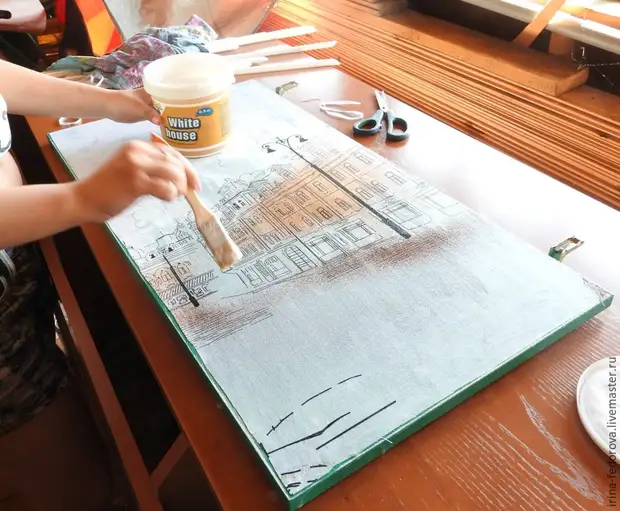
7. After drying the glue, I cut the decor and painted it with pearl paint, the acrylic paint dries very quickly. He painted 3 times and began to glue the decor on the doors.
8. On the doors hit one layer of alkyd varnish for yachts, dried, and then acrylic lacquer was applied. Applied 7 layers. On the street it was, as I said it was hot, so in the evening I coped with this work. Screwd new handles on drawers and doors.
9. Collected furniture.
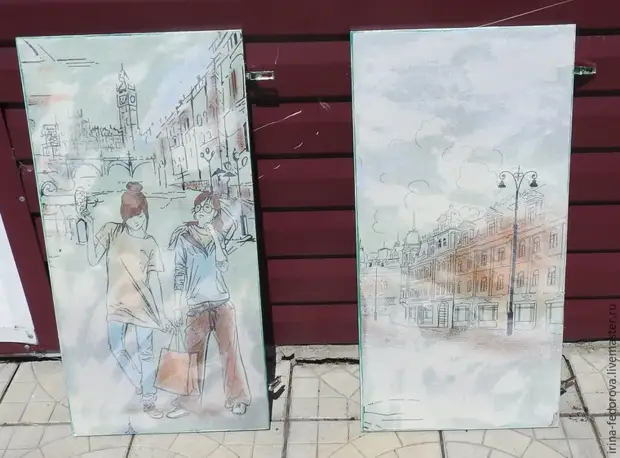
That was what:
That's what happened:
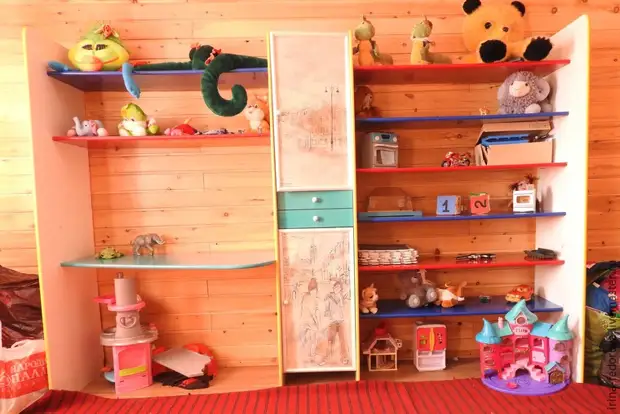
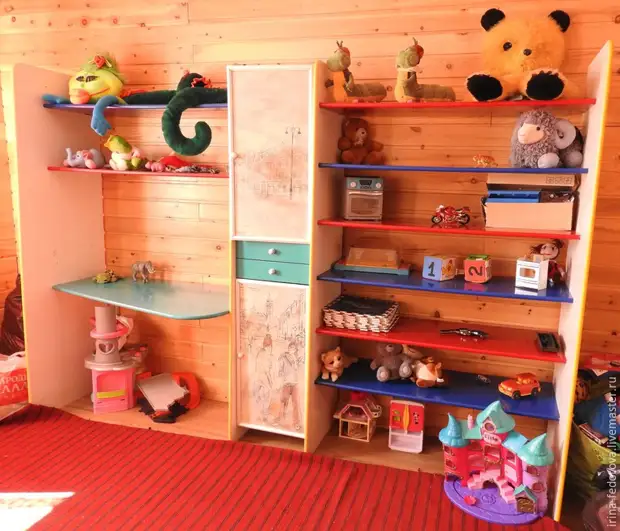
I did not photograph separately the standing table, he stands in my other corner and did not get into the frame. But the embedded curly table in the photo is excellent.
A huge request not to judge too strictly. I will be very glad if someone comes with my master class.
The main thing: Do not be afraid to experiment. It's great to watch what happens, but it turns out, I'm confident, great!
Tip number 1: Do not throw away the old furniture, which you do not need.
Tip # 2: There are many ways to update it and remake, thereby save money.
Tip # 3: Be creative and do not be afraid to create, redo, experiment, because it will still get a completely new thing and believe me, you will like what you have happened!
A source