
Did you think to make repairs? How to arrange the walls unusual? Boring wallpaper with a repeated pattern is already tired and left out of fashion!
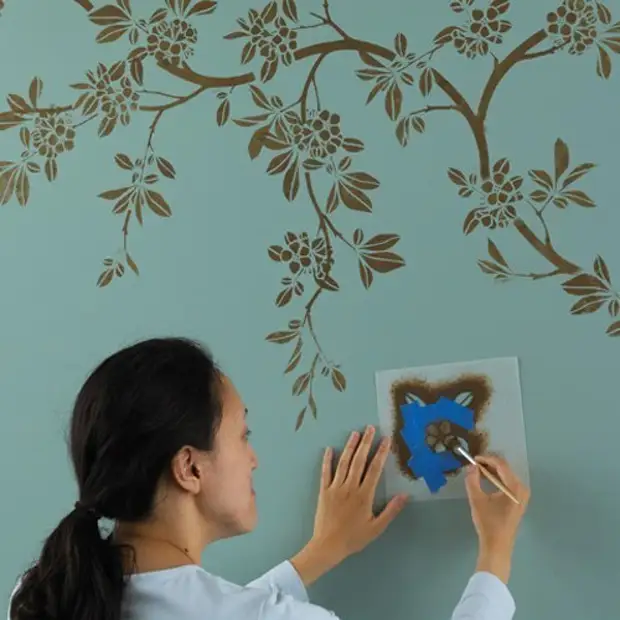
I present you an option to decorate walls with stencils!
Even without the skills of the artist, with the help of stencils, you can create any picture!

For drawing, use acrylic paints for thin lines. For a large drawing, use any bed waterproof paint or paint from the canister. Apply paint with tassels, sponge or roller. Light for large paintings, smooth lines make a plumb and level.
Types of stencils:Monochrome
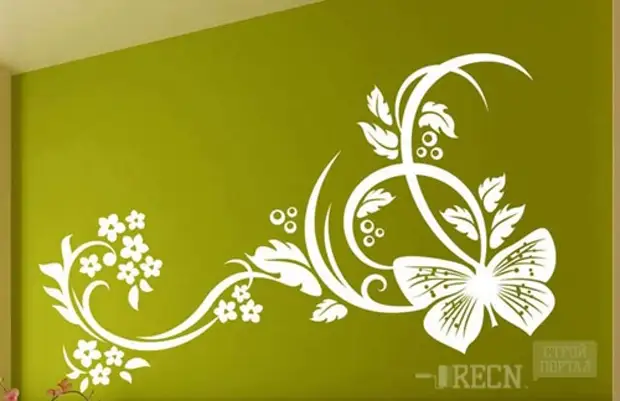
The easiest view of the stencil, performed only by one color of the paint.
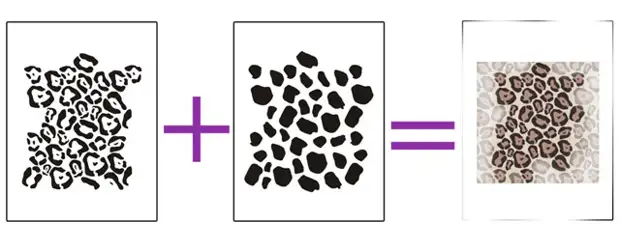
Multicolor
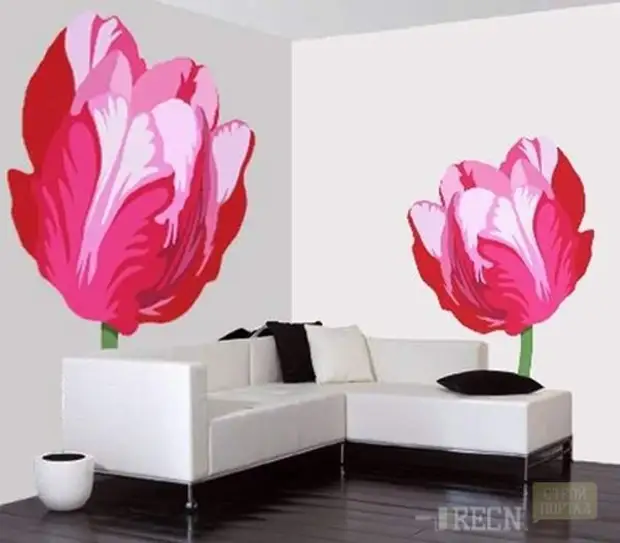
When staining, several colors of paint are used. The result is a color "applique" with a clear distinction of colors. The number of stencils used is equal to the number of colors.
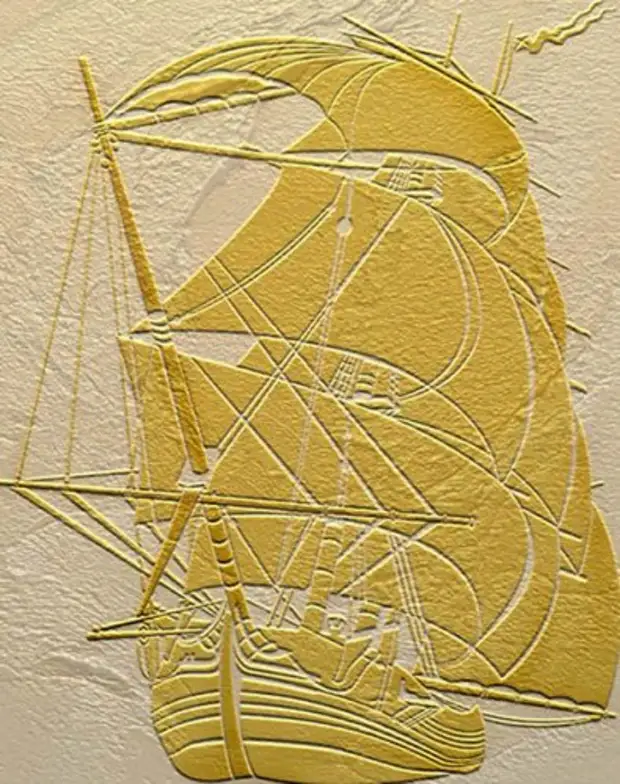
Volumeful
The drawing is performed using a putty. The picture will "speak."
After drying, such a drawing can be painted, thereby highlight it even stronger.
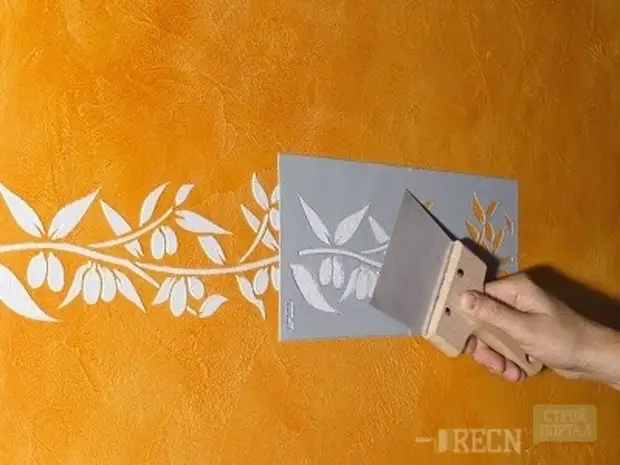
Anti-Defafaret
The paint is processed only by the stencil border. As a result, we get a silhouette of the pattern.

The market is replete with a huge number of ready-made stencils for the decoration of walls, for every taste and wallet. Pretty each construction store, especially large network of retail sale of building materials, offer a wide range of ornaments and drawings. But the more valuable will be a drawing created by their own hands.
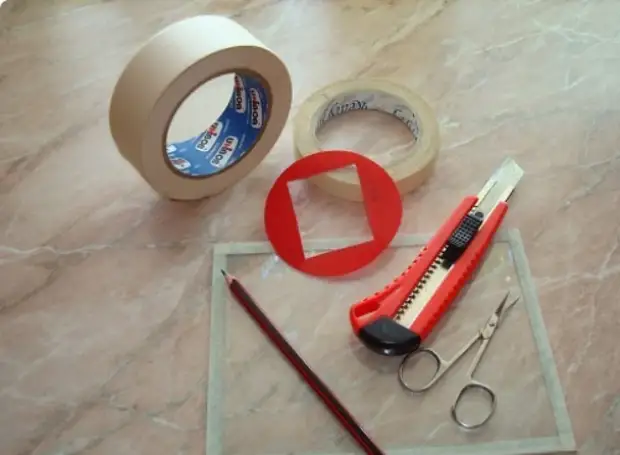
For self-making, the following tools will be needed:
- source pattern;
- material for stencil (film, plastic, cardboard);
- stationery knife;
- marker, pencil;
- Scotch;
- Glass (or other) surface on which it is convenient to cut stencil.
First of all, it is necessary to determine the drawing on which the stencil will be made.
Those who possess artistic abilities can develop it and draw it.
The same, who was not lucky to have a talent for drawing, invented, in what style they would like to make a wall or ceiling, can search for a suitable image on the Internet and print it on the printer. If the drawing is selected large, separated into parts, and then fasten the parts between themselves.
The next step is the choice of material for the stencil.
It may be simple paper or cardboard, self-adhesive film or thin plastic, depending on the type and size of the ornament (for example, a plastic folder for securities). To simplify the task, you can contact any advertising agency, where you will help create stencils in the image and print it.
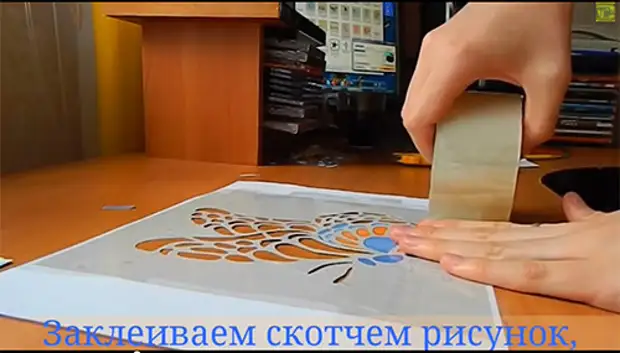
To transfer the ornament to the material, You need to use copier paper, or if a transparent plastic is used for the stencil, simply circle it over the contour with a marker. So that the picture is not "leaving", it is attached to the stencil with scotch or paper clips.
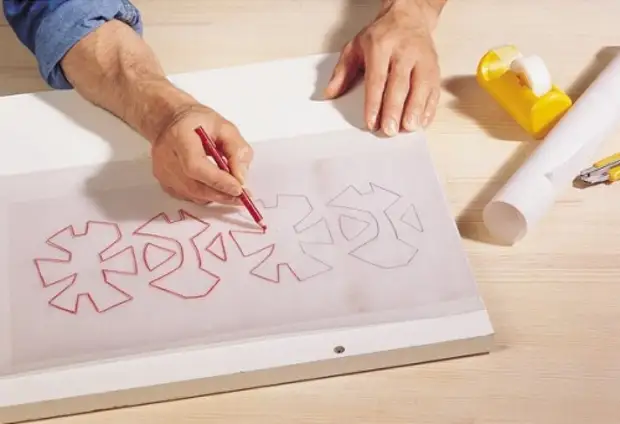
When the picture is transferred, in some cases it is required to doof it, looking at the lines and jumpers by which it is cut.
If the stencil is depicted on paper or cardboard, then it is better to be caught in scotching from two sides or illuminated So that the paint does not absorb, and the jumpers do not twist. This will allow to extend the life of the stencil.
It is important to cut the stench in such a way that cuts and bursowns are not formed Otherwise, the final drawing will look untidy.
Another subtlety - all small details must be attached to the larger, Otherwise, when cutting, they will disappear. Only those areas that will be painted are cut. To do this, use a stationery knife or blade, and under the stencil there is glass (or any other solid material that is not sorry to cut), then the cutting lines will be clearer and smooth.
Working with stencilRequired tools:
- stencil;
- stencil glue;
- brush, roller or sponge for paint;
- Acrylic or aerosol paint.
First of all, it is necessary to prepare the surface on which the stencil will be inflicted . Clear it from dust and dirt, if you can wash, if not, wipe with a clean dry cloth or spelling.
The second step is to apply markup. If possible, it is better to use the level, with it will be the confidence that the drawing will not be selected or crookedly applied. An extreme point for the stencil is marked with a pencil to attach it smoothly.
It is recommended before the responsible application of the wallpaper on the wall first stretched. This can be done on a piece of wallpaper or great Watman. The preliminary sample will be practiced in the technique of applying and Select the color of the ornament. It is advisable to make several options for different shades, and try on how each of them will look in the future, applying the resulting pattern to the wall.
Also, there are already ready-made reusable stencils for wall decor. They are made of a polymer film that is easily clean and does not break, allowing you to train on paper the required number of times.
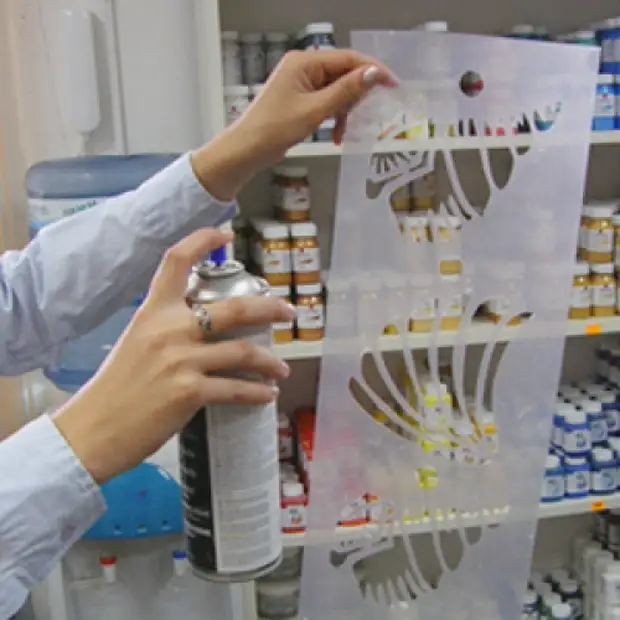
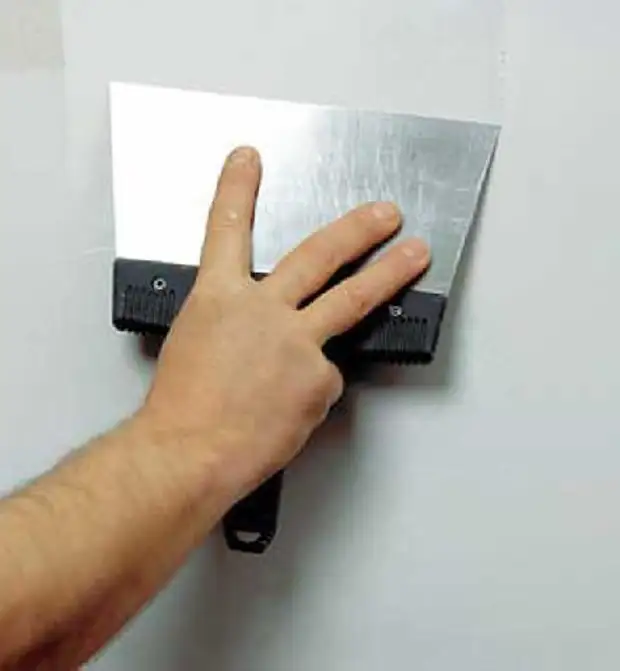
Fixing the stencil on the wallIn order to secure the stencil on the wall, it is best to use special aerosol glue. It absolutely does not leave traces, and when it is used, you can not be afraid that, together with the stencil, the wallpaper or paint from the wall will be found. The glue is sprayed with a smooth layer on the stencil, which is then carefully pressed against the surface, especially in the places of thin jumpers.
What is important to know about working with glue:
- On different surfaces, it retains stencil differently than a more smooth surface, the better the adhesive properties of glue;
- After removing the stencil, the glue does not remain on the wall;
- The glue is applied to the stencil, and provides maximum clutch with it;
- After washing the stencil, glue can save adhesive properties, so if reuse is planned, then the glue can not be flucked off;
- than the stencil is more and harder, the more difficult it is to hold it only on the glue, in such cases it may be necessary to need "Safety" in the form of painting tape;
- He does not save from the pillage of the paint under the stencil.
Staining is an occupation, not tolerant fuss.
For stencils, it is recommended to use acrylic paint It will dry quickly and is suitable for any types of surfaces.
Paint is applied with a brush, sponge or roller. It is important when working with a stencil, paints should be the minimum amount to eliminate the possibility of leakage.
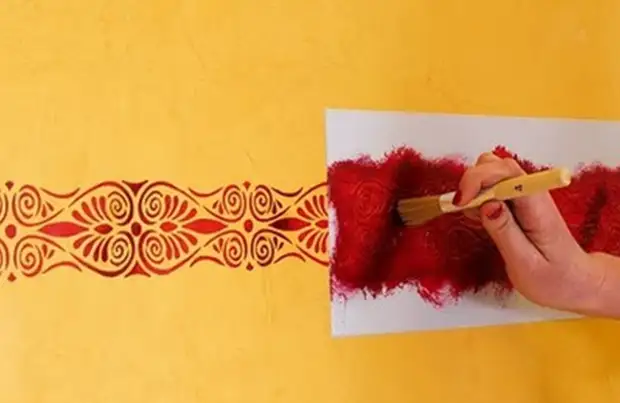
When working a tassel, it is kept directly perpendicular to the wall, the paint is applied by packing method, To prevent prying or paint for stencil.
If staining is performed using a sponge, the first prints are better to do on another sheet of paper, This will allow to remove the surplus paint.
When working with roller, It is necessary to ensure that the paint is distributed evenly, especially in the corners and small parts of the stencil. It is more convenient for them to work with large stencils.

To spray the aerosol paint, the canopy can be kept at a distance of about 30 cm from the wall . Perhaps the surface will have to additionally protect the paint from the random hit from the stencil.
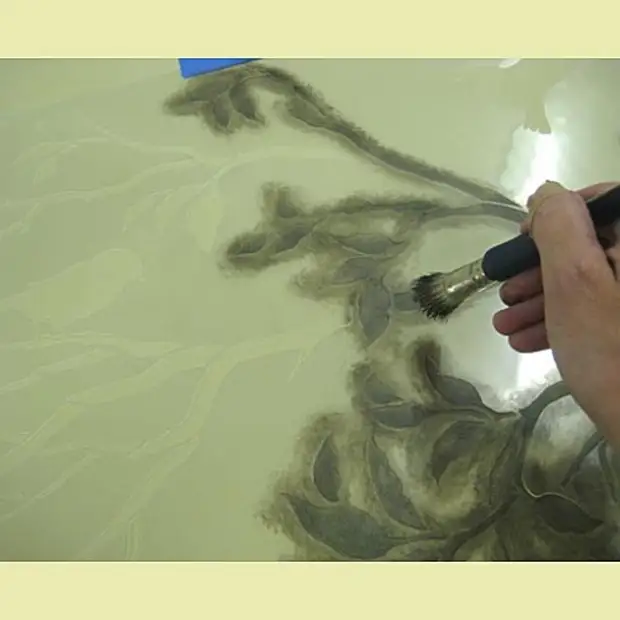
Figure saturation Color occurs gradually, in several goals. If its boundaries were not clear enough, they are drawn with a thin tassel after removing the stencil.
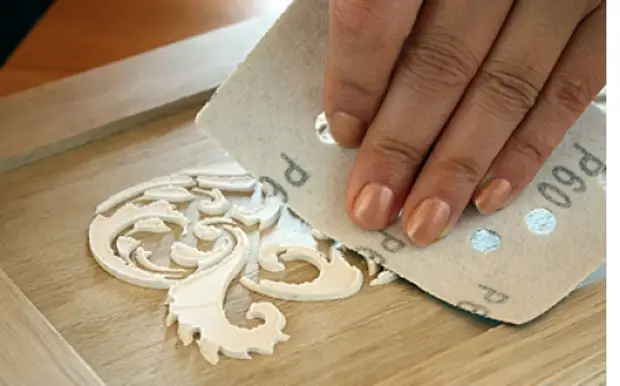
Creating a bulk figureFor the application of the volumetric pattern, a special acrylic putty will be required.
We buy an acrylic putty for walls in a bucket. The consistency of it should be like a soft ice cream or thick sour cream. However, it is usually so it is.
And put the spatula putty layer behind the layer, making the entire surface of the film until it reach the desired thickness. Too discover drawing will not look beautiful, it is enough to achieve 1-3 mm thickness. (If you want a more voluminous effect, it is worth resorting to the modeling.)

Then we wait exactly one minute. This is enough to put the putty grabbing, and Careful movement remove the film!

If the layer turned out not very smooth - nothing terrible, after complete drying of the putty, it is easy to align it with shallow skin.
Then the picture can be painted or toned.
When the work is completed, the stencil must be rinsed and dry, if possible, for reuse.
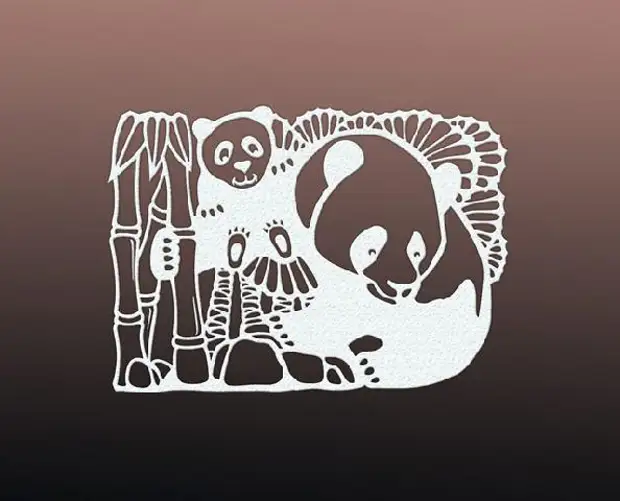
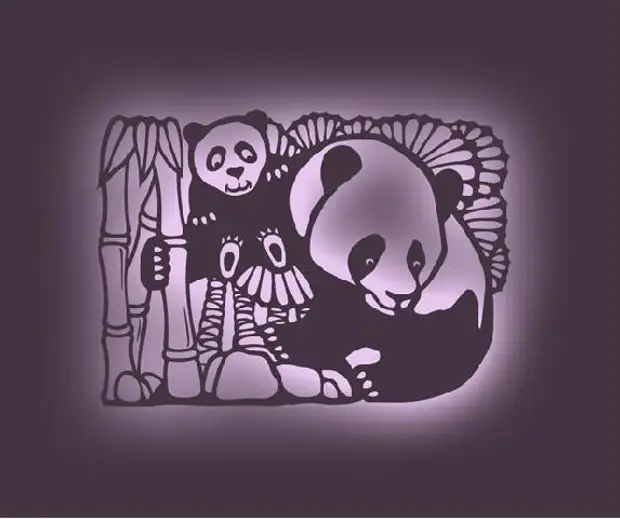
Anti-DefafaretVery beautiful is the image, with the effect of the glow around the main drawing of the same color as the wall. This stencil on the contrary.
Putting down to the wall, that is, the fact that the ordinary stencil is ejected . Use mandatory glue and paint spray. Spell with a colorful layer as much from the film, how wide the halo will want to get. Be sure to make a trial on paper of the same color as a wall to achieve the desired effect.
For him, several films are created from one drawing, each for its color. We work with each in turn, waiting for the paint completely in the previous layer. Stencils we combine on the marks made. Therefore, the work is simple.
The most common mistakes that happen when working with stencil is:
- displacement of the stencil;
- Fake paint.
To avoid such trouble, you need to securely fasten the stencil, the aerosol glue here is the perfect assistant. And also dial the minimum paint. Accuracy and patience will undoubtedly help achieve an ideal result.
Practice shows that studied the production technology of the stencil and carefully familiar with the instructions for use and staining, always remain satisfied with the result.
If you do not have time to make a manual stencil, go to a specialized store or online, where and buy a decor. You can purchase a finished carved pattern, or order yours for cutting. Together with a big stencil you get a little test, instruction.
How to work with a purchased stencil?Watch the place for sticking, remove the protective film from the back and attach it to the wall. In the gluing process, carefully smooth the stencil so that there are no air bubbles left. In the end, remove the protective film from the front side and you can start painting.
On the wall, you can draw not only drawings, but also numbers. It is enough to take a beautiful digital stencil and "write" room at home or apartments in an unusual way.
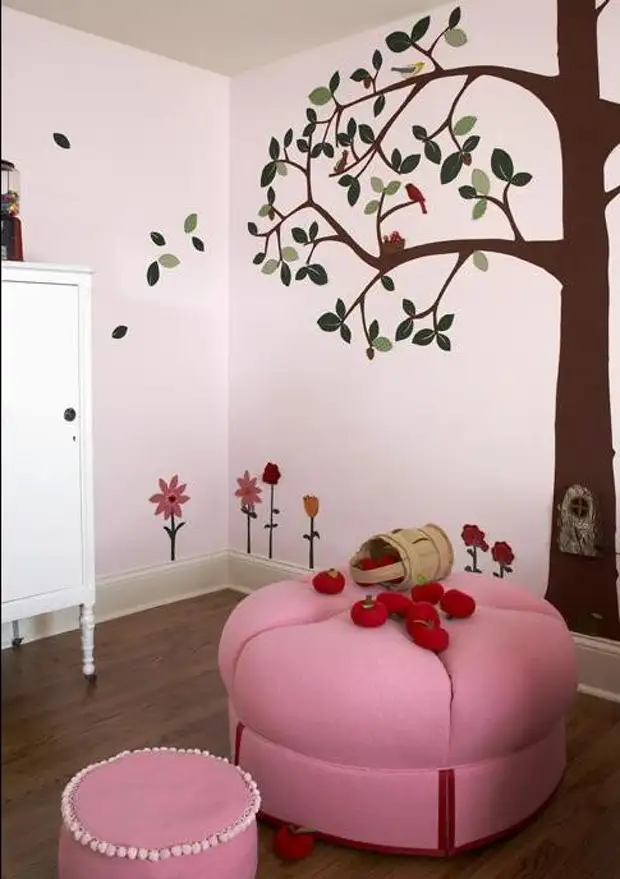
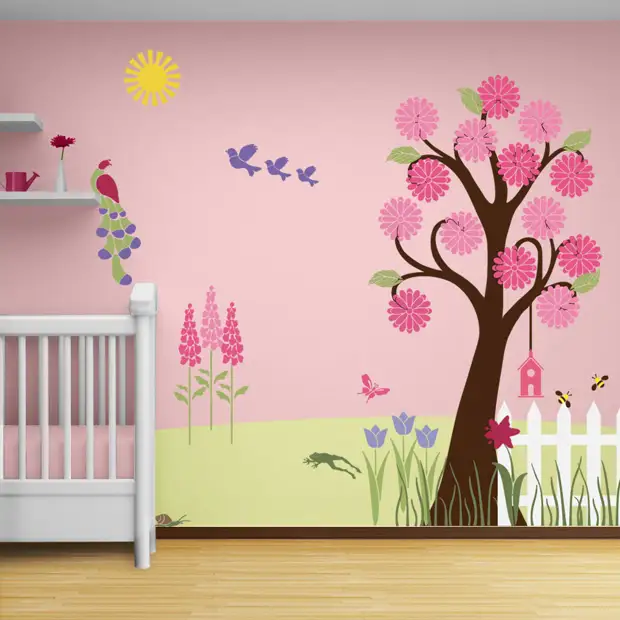
Ideas design walls by stencilsMaking up a children's room, release fantasy.
Make walls, ceiling or wardrobe heroes from fairy tale, favorite cartoons. A child can do "coloring" walls under your supervision. Be sure he will love his room, because he did the decor himself!
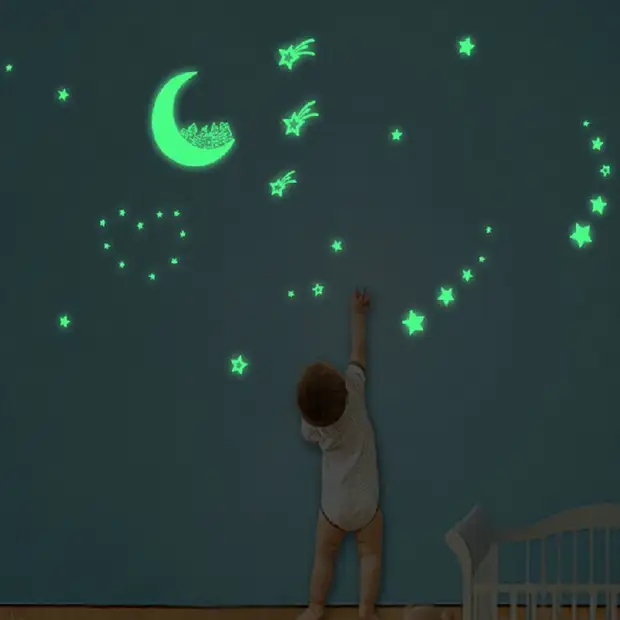
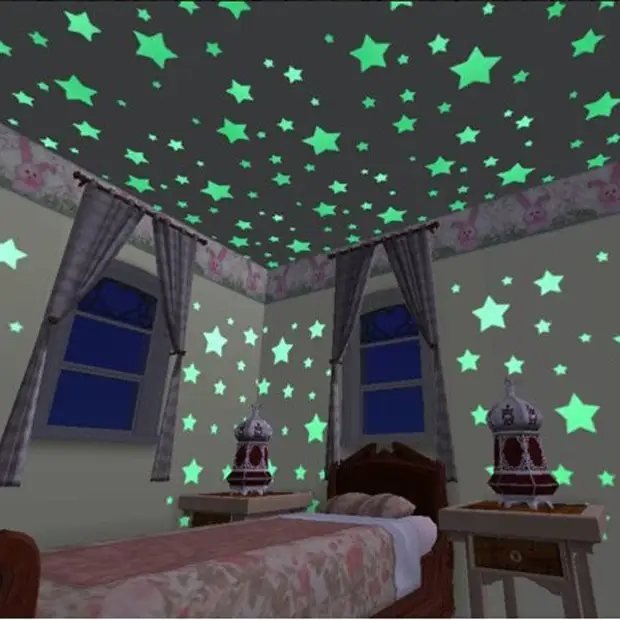
All the magical manitis of children. Create a starry sky on the ceiling. For this you need a stencil with stars of different sizes, constellations, moon, planets, comets. Collect them with phosphoric colors. In the afternoon, the drawing will "collect" light, scatter at night, creating the impression of the glow.
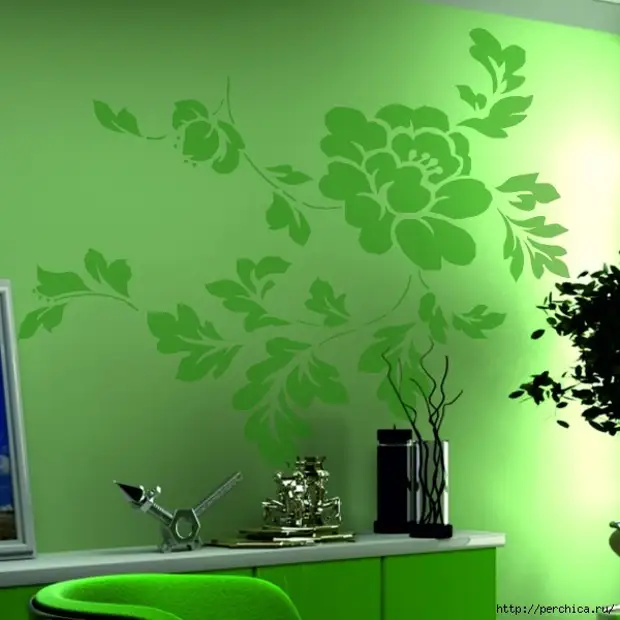
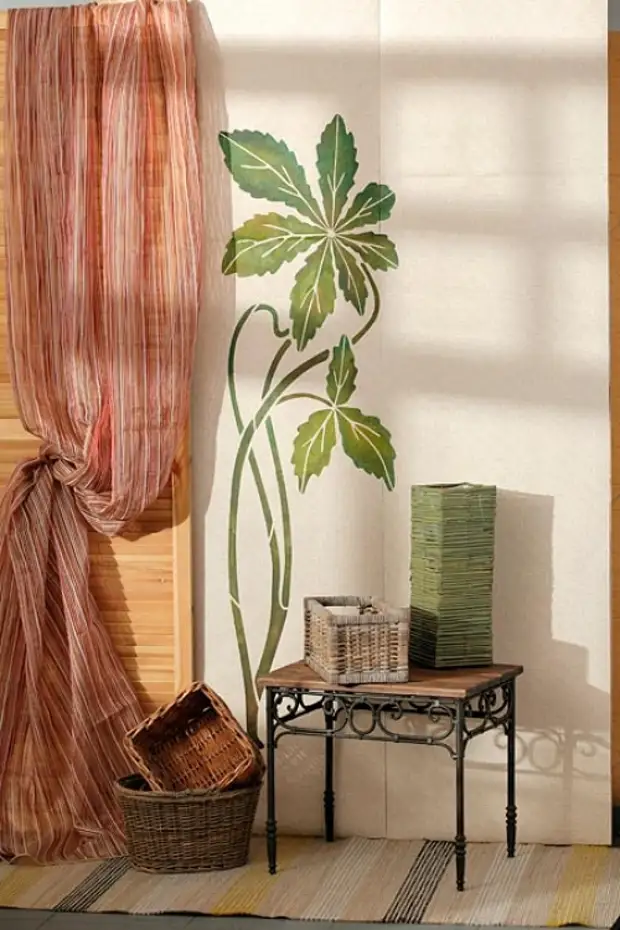
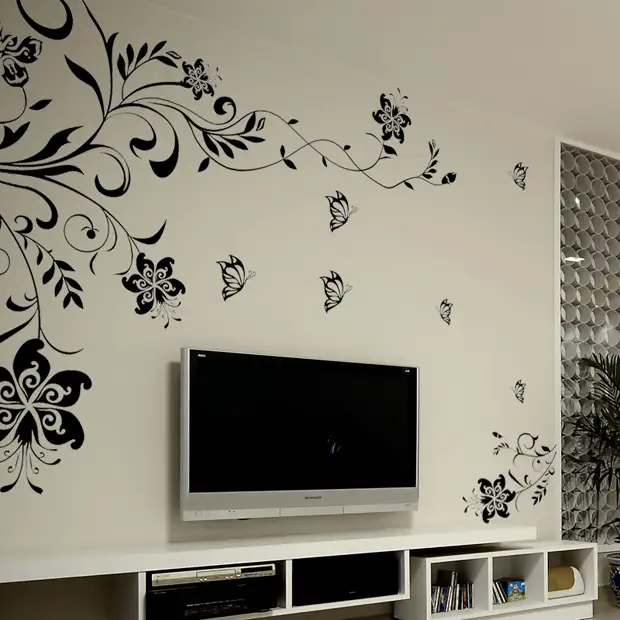
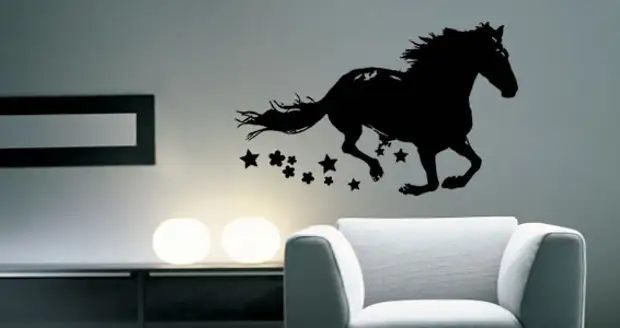
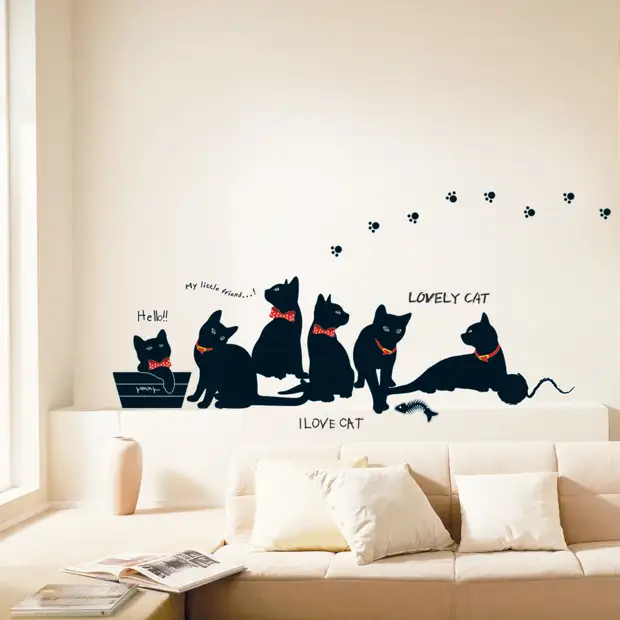
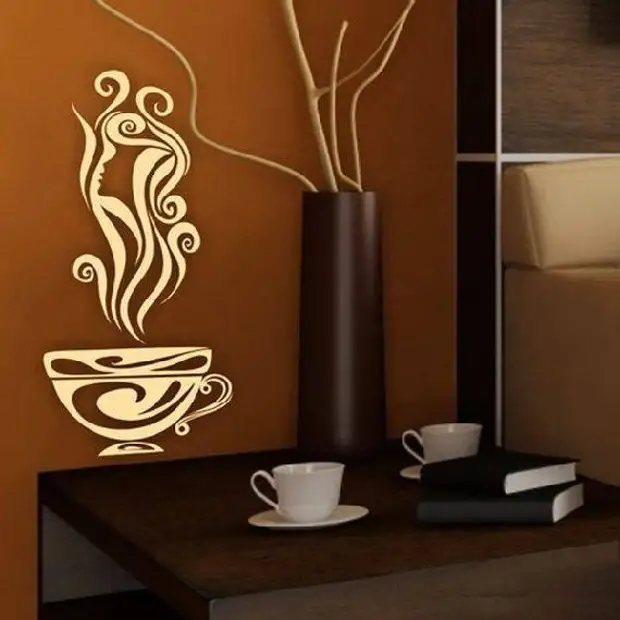
Living Room Decorate Birds, Flowers, People, Animals, Trees ... The choice depends on the main style of the room. The drawing must comply with it and complement, be sure to combine the colors used in the interior.
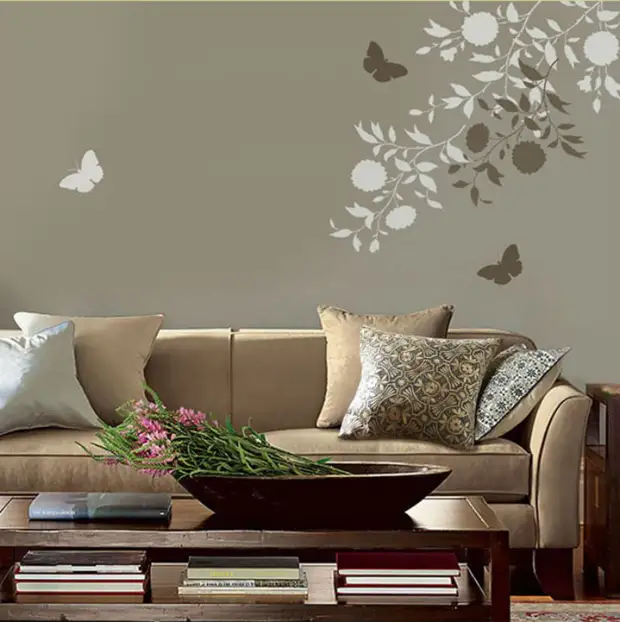
Winning looks drawdown of wood stencil on the wall , smoothly flowing on an embroidered similar pattern on sofa pillows.
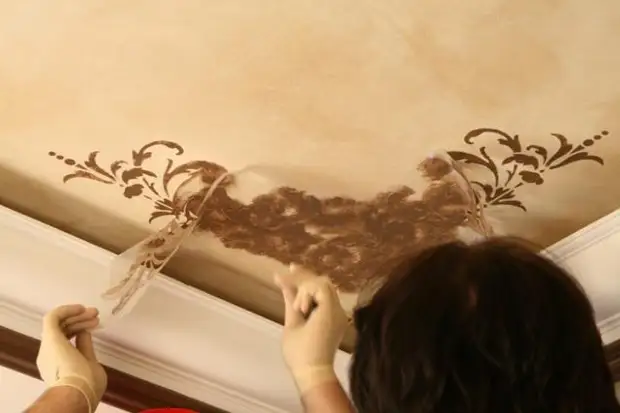
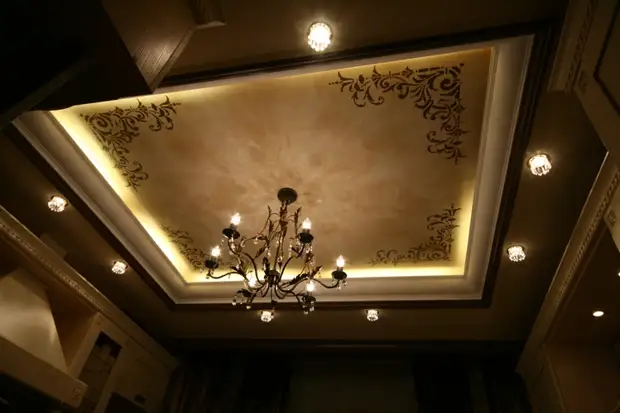
Corner drawings will highlight the ceiling and make it volumetric, And the framing of the rosette chandelier will add chic.
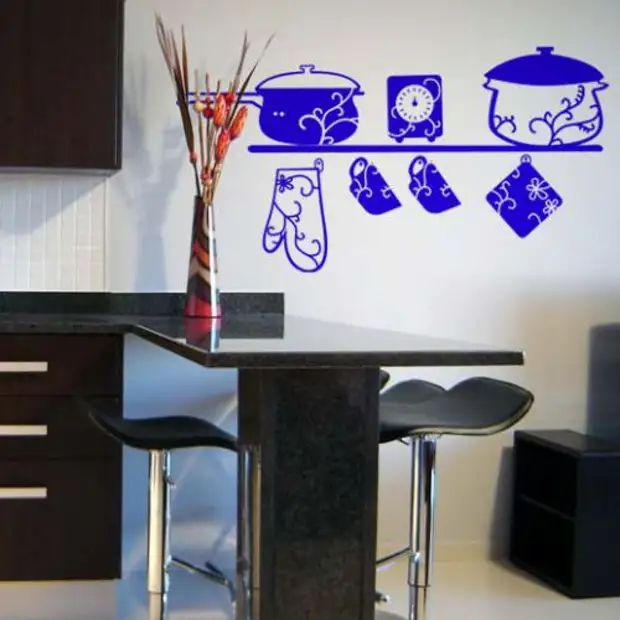
"Embossed" on the walls of braids from colors, modest bouquets-cutting of the kitchen. Observe minimalism. In the kitchen there are always a lot of equipment, dishes, different lockers, shelves, so the motley repeated drawings are unnecessary.
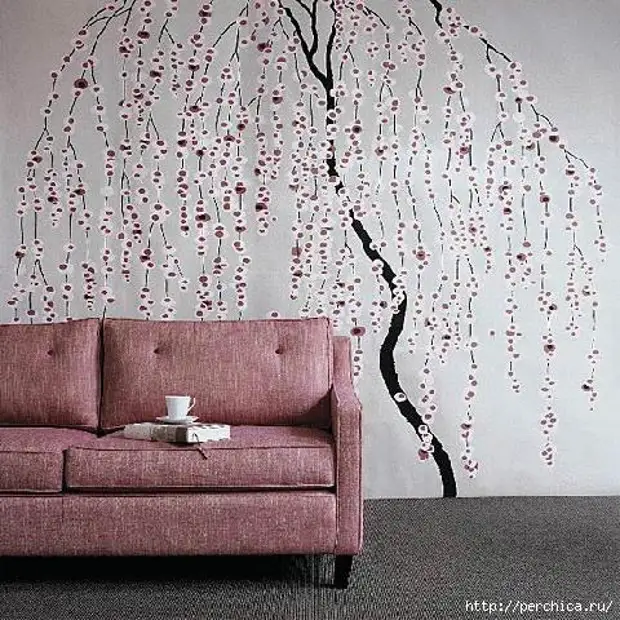
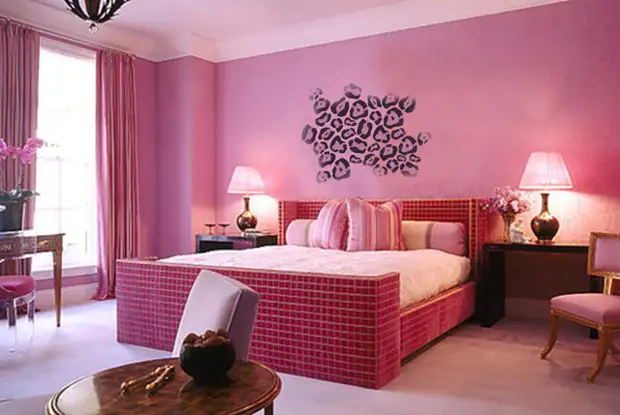
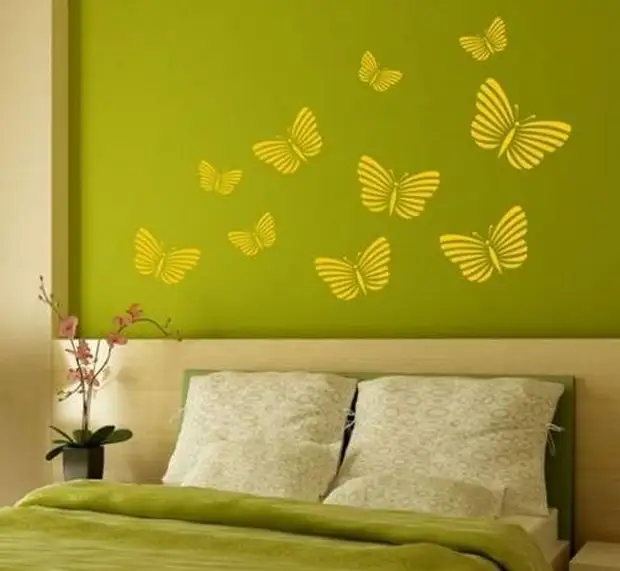
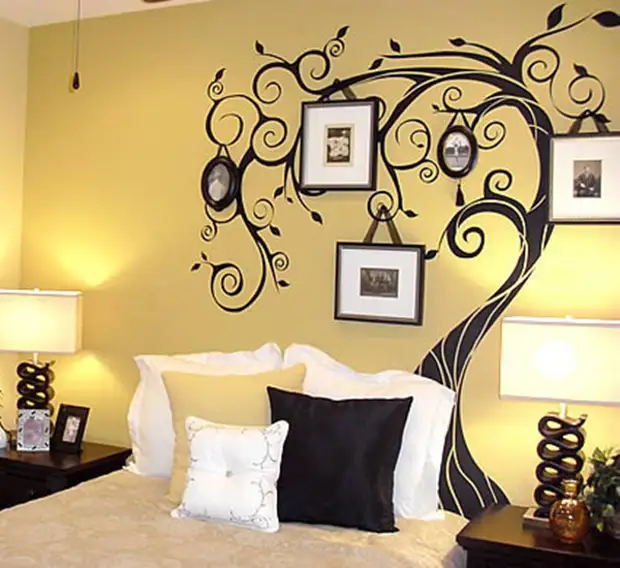
In the bedroom are appropriate insellular monophonic pictures of animals, angels, flowers, trees, fairies. Place the tree drawing at the head of the bed, preferably the same color. The impression will be created that the bed is in the branches. Angels "will take you" to the clouds.

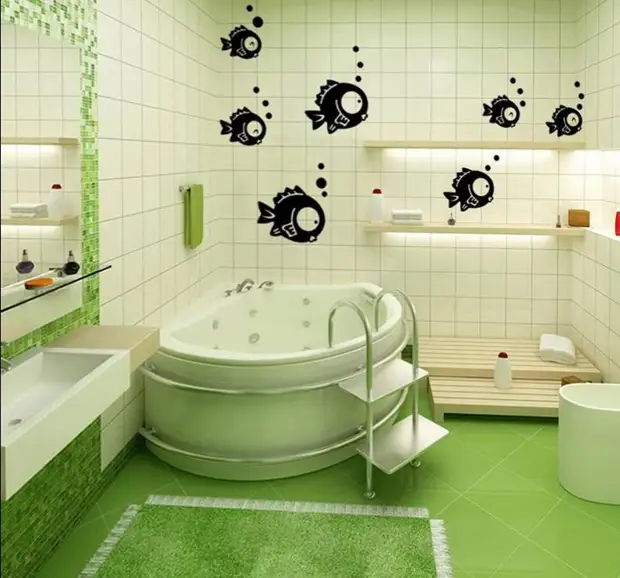
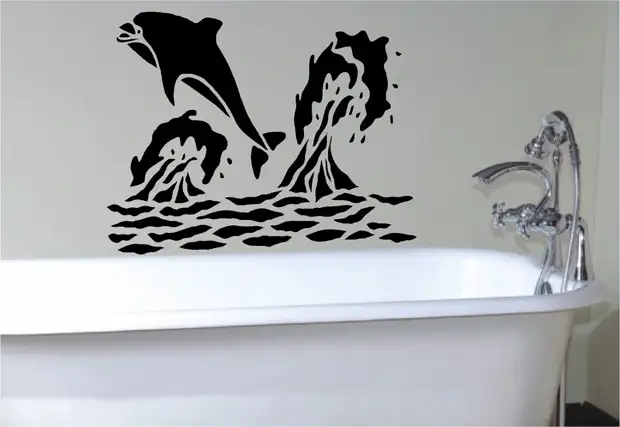
Making the bathrooms, prefer the drawings of marine animals (dolphins, fish), swans. Request paintings in the entire wall. Coloring all the walls and ceiling, so enter the bathroom, you will fall into the fabulous world of fantasy, where you will relax after the working day.
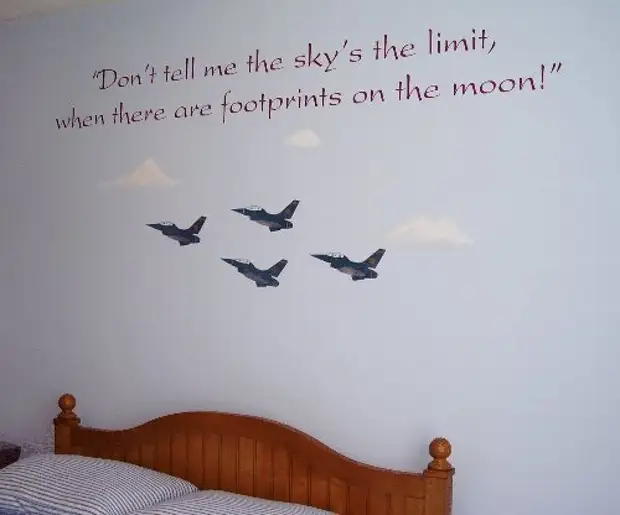
Why not use alphabet stencils in Russian? Write a beautiful phrase, the name of the baby, excerpt from your beloved fairy tales ... It will make the interior unusual. An alpoint stencil can be used to decorate the facade (writing the title of the street).
Today, hieroglyphs remain popular in foreign languages, placed around the perimeter of the room at the ceiling. The letters are decorated in such a way that the impression of the pattern is created, not the inscription. Only watching you can see letters and words.

Highlight one wall in the apartment for a flight of fantasy. First draw a simple drawing on it. Then, over time, it can be improved by adding some elements. Thus, you will change the appearance of the room, without reworking anything. Draw the tree branches, then leaves, flowers, birds. Add lights, sky, people, bridge, etc.
Do your home unique! Create a joy!