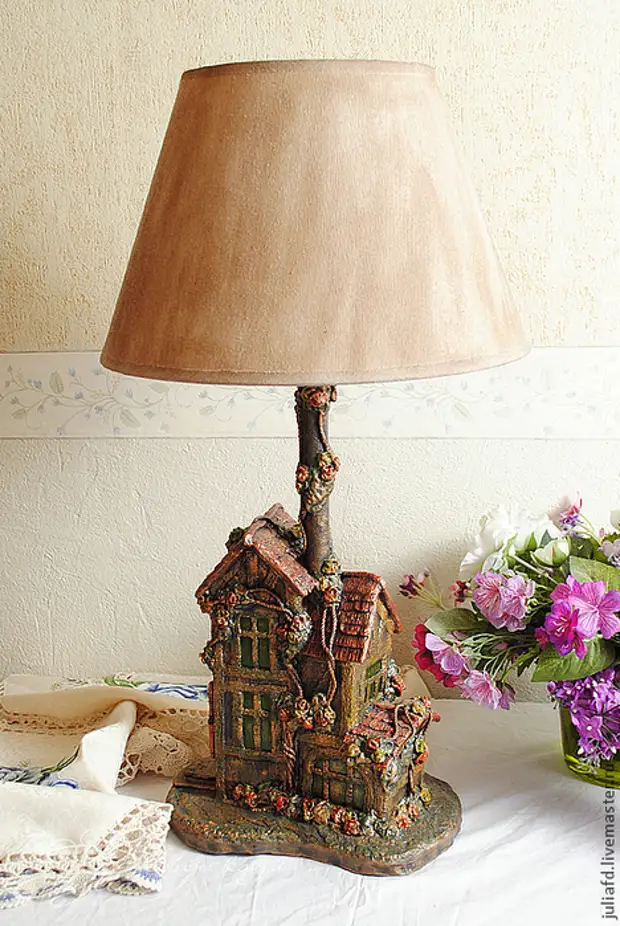
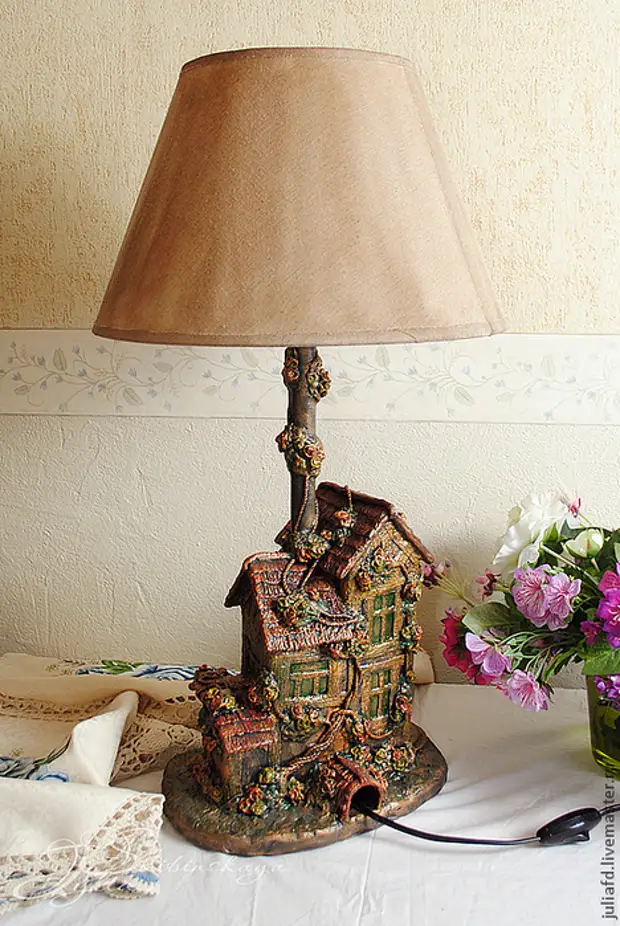
Just amazing what they just do not come up with and what beauty for the bedroom can be made with your own hands from the cast material! Wonderful work - Lamp-house from Master of Julia
These are empty packages from juice and milk ... Do you know?
To work on the lamp-house "From the fact that under hand" we will fit:
-Wasy packages from juices or milk
-Malary tape or ordinary tape
-Gype (alabaster)
-stutature which remained from repairs or specially acquired (in my case ready acrylic plaster)
- Fulging the tube of any diameter and material, the main thing that the cord is undergoing inside it. (In my case, a plastic piece of a small diameter pipe is a fragment of the old exhibition cage for cats)
-level
- Modern cups
-Gype bandage (quantity depends on the size of the future building)
- Picture plastic bottle (in my case of green)
-Clastilin scissors
-pish film
-Fa
Elastic rope
-Works and stack (you can improvised from wooden sipes, for example) for convenience of working with plaster and gypsum bandage
-Mysochka with water for soaking bandage
-Cryl paints for final finishing of the building
-Lak (in my case parquet matte)
In terms of production - they are individual, in many respects depend on your skill, the size of the house, and the degree of "liquid" of the gypsum base and bandage. On all stages of the construction of the house you inevitably wrap it with water. And after a new operation, it will have to wait for its drying for, for example, painting and finishes. While you work with plaster, bandage or plaster, you can move to new stages without waiting for complete drying. But the finish is possible only completely dry products. My home is big and sorry for a long time.
Ideally - 1 day on the assembly of the whole design (if the house is not large), one and a half days per drying and 3-4 hours on painting.
Recommendations for accelerating drying:
Finishing work at any stage to painting, leave your blank on a thick layer of paper towels or napkins. Gypsum is very hygroscopic. And since the water always seeks stech down, you are inevitable and sometimes long (a few days) can be a wet gypsum base and the lower part of the walls. Napkins will speed up the drying process.
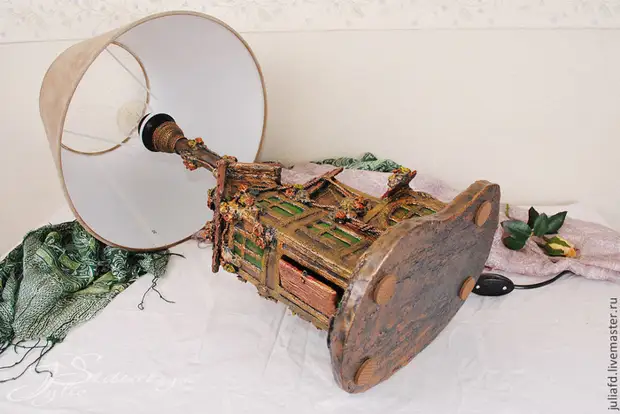
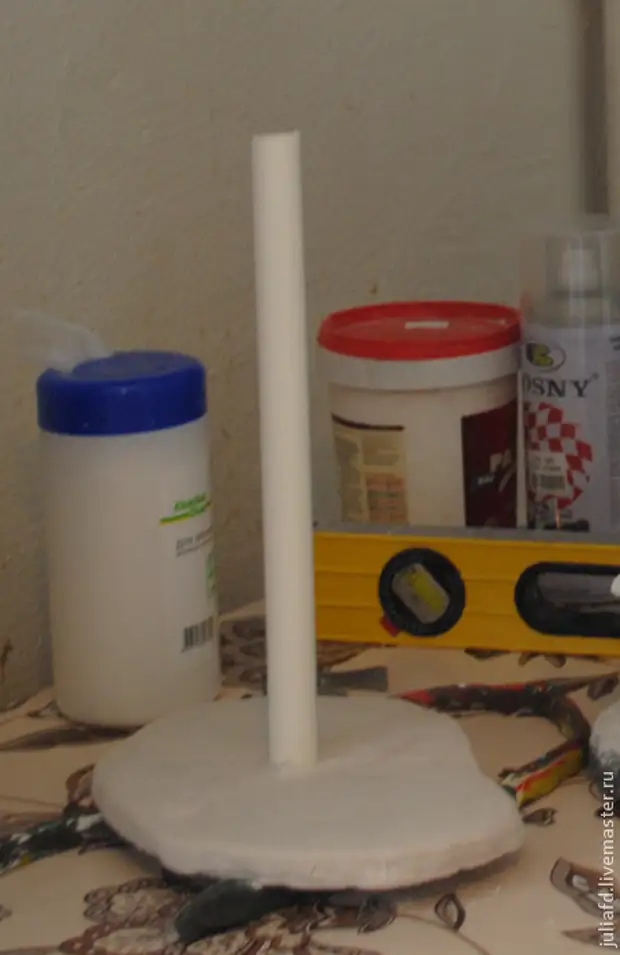
1. Make the base of the lamp
For this stage, I do not have a visual photo, so I will explain the essence of words. From ordinary plasticine perfectly any color make a long sausage. The sausage we flatter, closer into the ring and from this circle form the perimeter of our future gypsum fill base. This will be our base form, it is installed tightly on any even base, I use a conventional food table, covered with food film, for the convenience of separating the base from the surface of the table top.
After we installed our contour of the fill on an even base, we divorce the alabaster in the cup and the resulting solution fill the mold. At the same stage, I fastened the plastic tube, simply lowering it into another liquid gypsum and aligning it in terms of the level, fixed until complete drying.
Gypsum freezes very quickly, but the tube is still not securely fixed on the ground, it is additionally strengthened by strips of a gypsum bandage, lining it in a circle.
Next, we wait when the base will dry and you can build a house. Drying depends on the size, thickness, and how much liquid you divorced plaster. You can build a house in principle and without waiting for a complete burden, you can wait for a sufficient fortress. When the workpiece cools down (the gypsum is always heated during solidification) you can remove the plasticine side and continue to work. In the photo, the billet grabbed and stands on a plasticine side, which was removed from it.
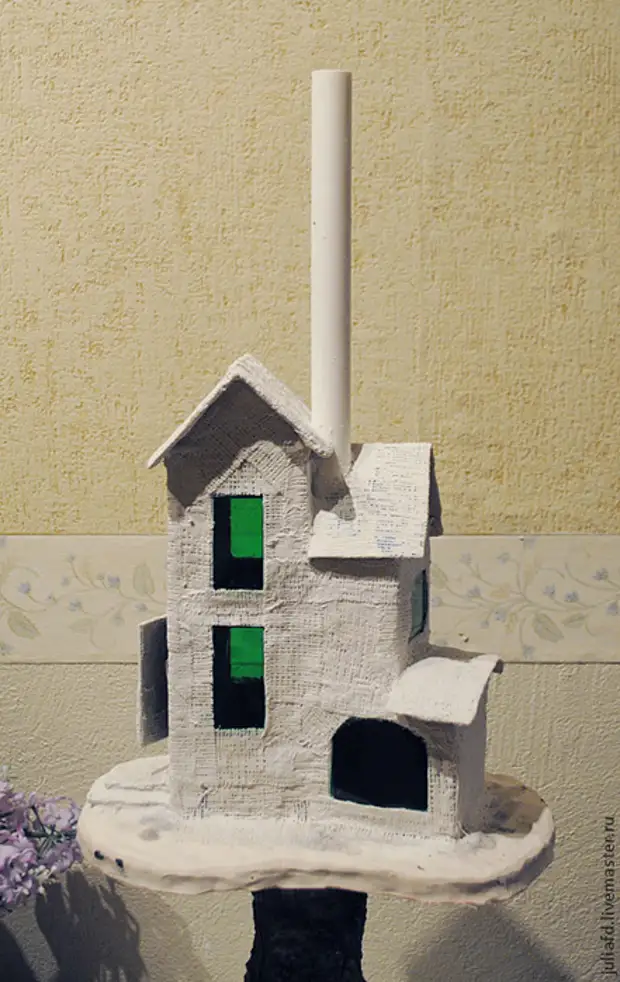
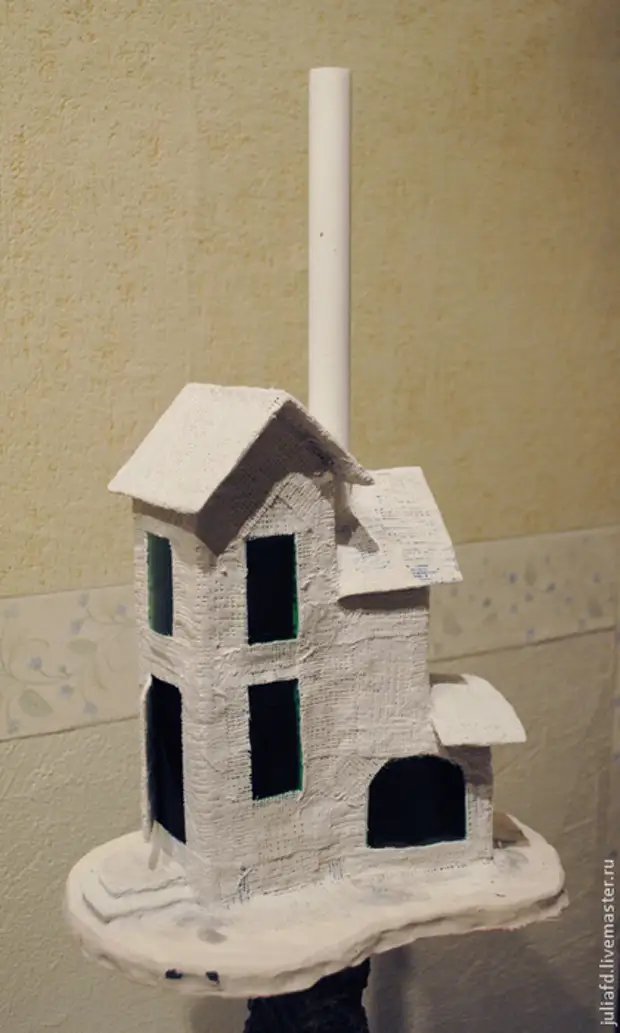
2. Walls and roof - Build a frame of the house
For the framework of the building, we will need empty packaging from juices or milk, greasy or ordinary tape for bonding design.
On the package, there are windows and doors, cutting on our taste roof and collect all the parts on the tape, checking the level of design level.
Walls are attached to the base using a gypsum bandage strips.


Next, outside of our design, we glue on the tape pieces of a plastic bottle into window openings and glue our entire design by the first layer of plaster bandage
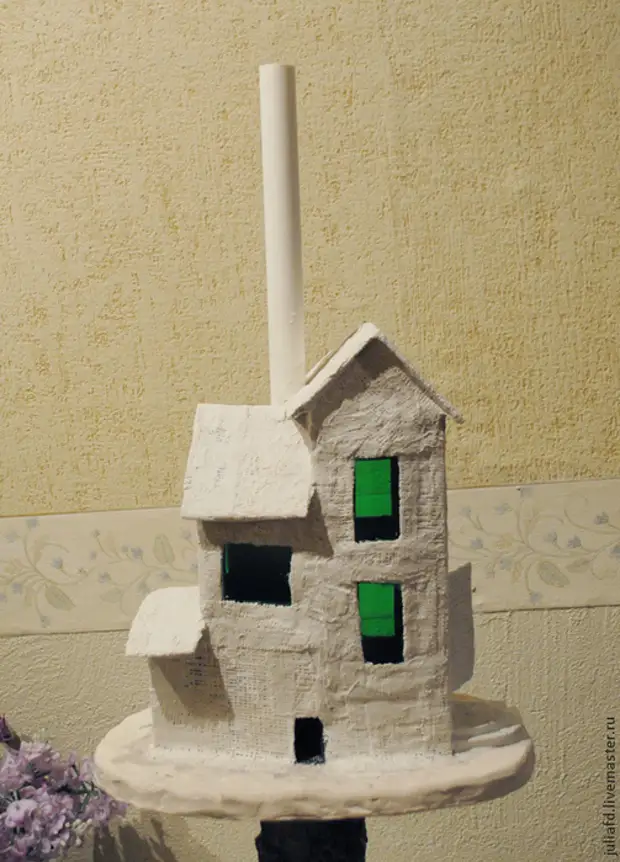
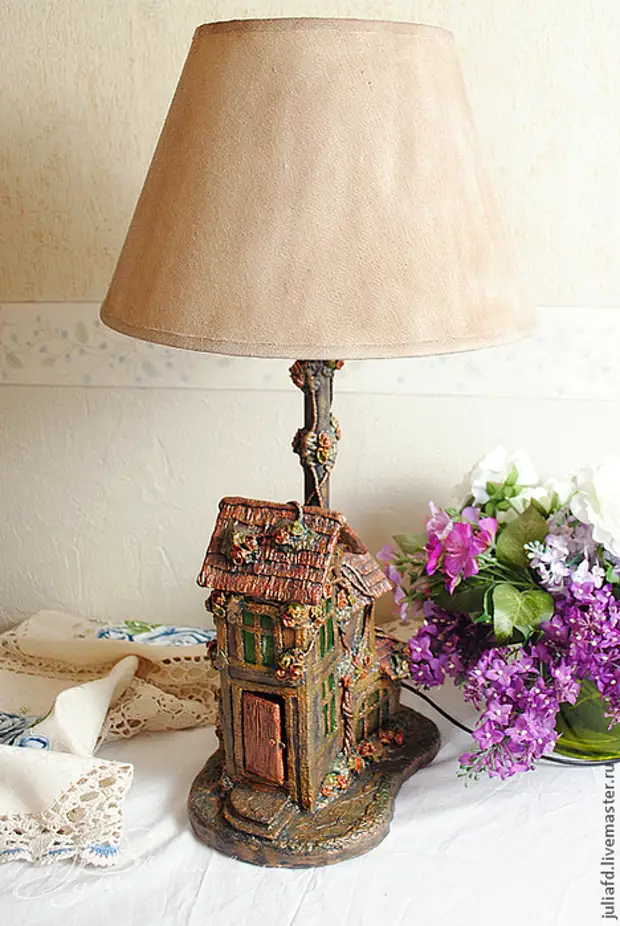
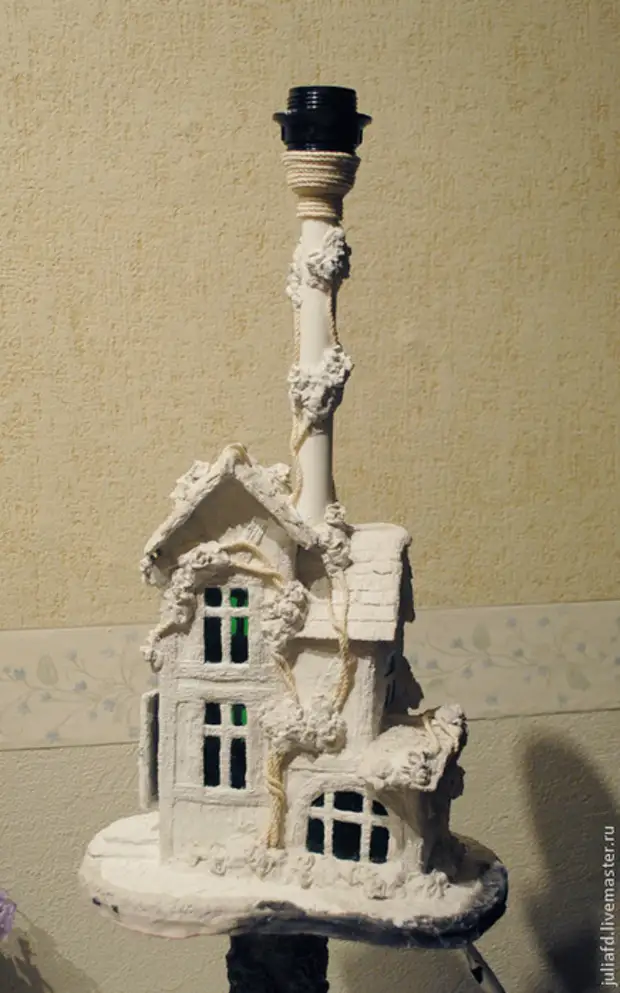
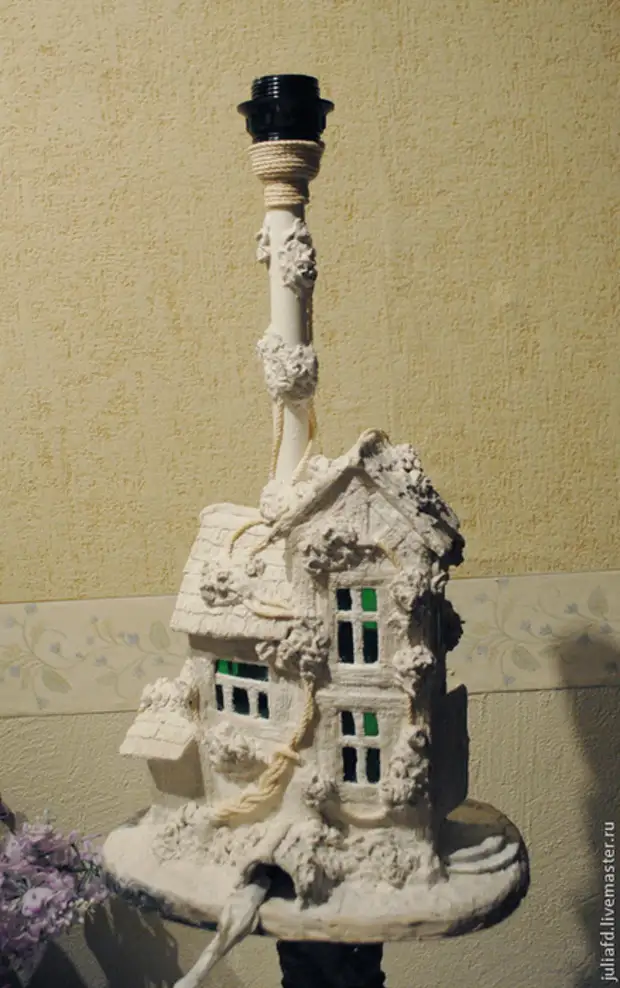
3. Finishing at home. My house in the style of Facrow, so at the next stage of the folded strips of the gypsum bandage, I form a characteristic type of half-timbered home. We make the layout of the frames as of the subtle bands of the gypsum bandage. At this stage, I stretched the cord, because My way out for the cord of this lamp side and after the decoration was the risk that I could no longer see him. The cord is fixed with scotch and wind by a painting scotch, so as not to get dirty.
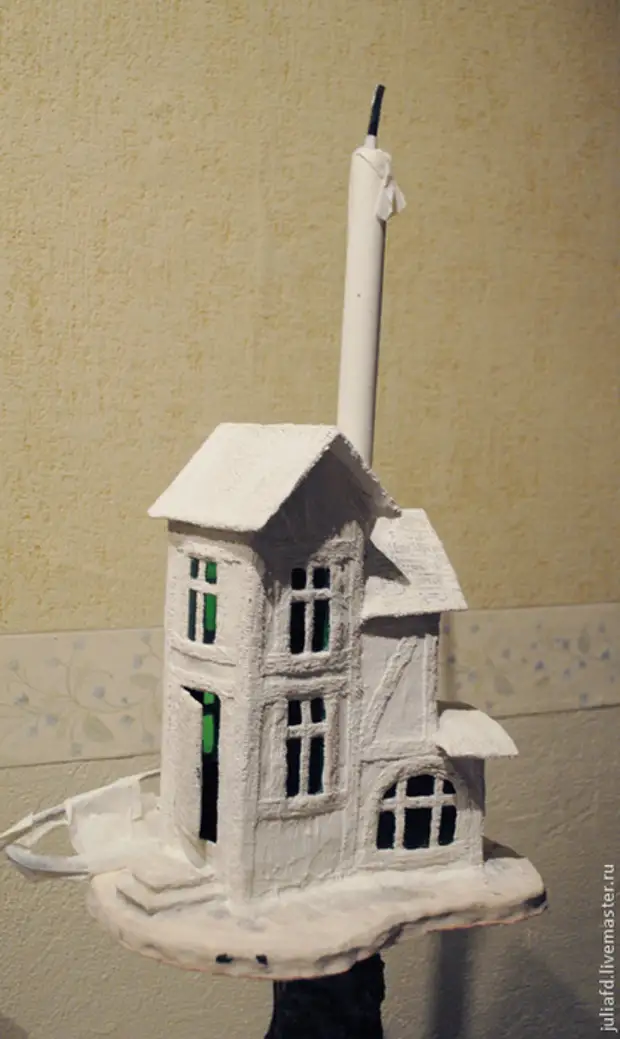
After the starting outcropping wall layout is plaster. I use a simple soft tassel for this. Stucco Aligns wall background. And on the layout of wooden beams, I applied longitudinal stripes to imitate wood on raw gypsum.
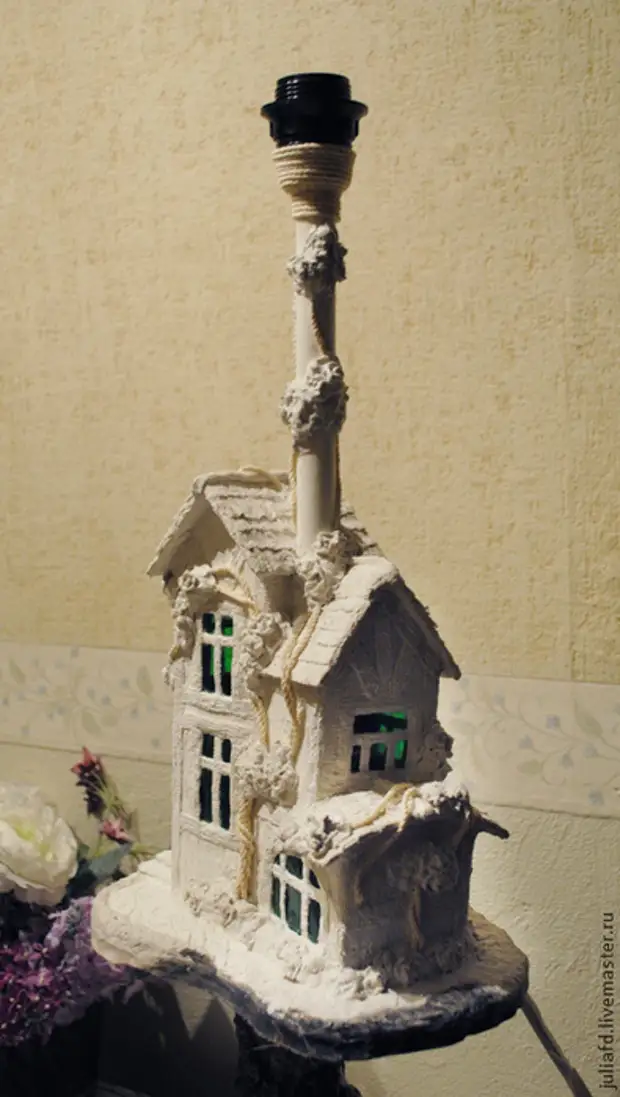
When our framework is ready, you can make a roof. She is also of the gypsum bandage. Material plastic, you can imitate tile or reeds to do the most in different ways.
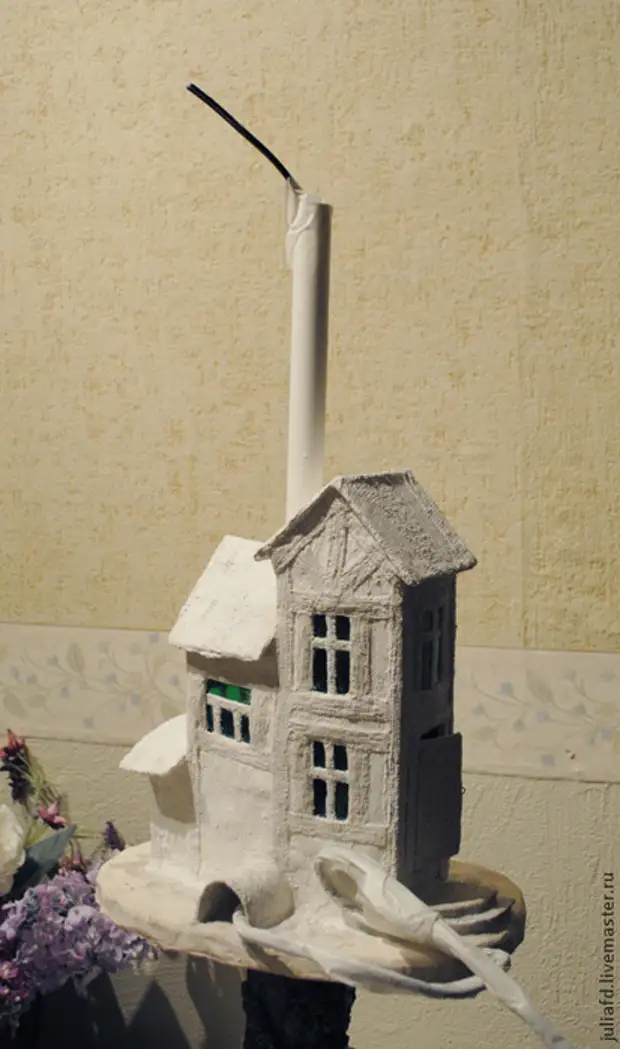
4. Garden BORE
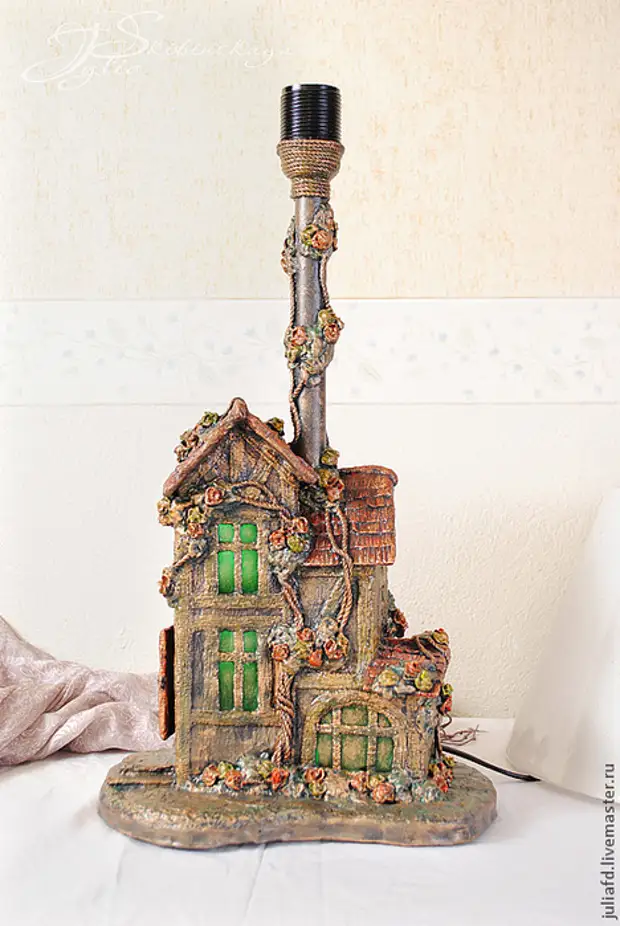
When our house is ready, we need to decorate with flowers, make a path from pebbles and grass around the house. I see my home roses. For branches, I take a twisted economic rope. On PVA glue glue pieces of rope, imitating plenty roses, to the walls of our house. Next, from the gypsum bandage forming greens, rosets, grass around the house. For the track, the plaster will come in handy again. We assign it with a thick layer, spread and applied notches in the form of individual pebbles. Now we are waiting for complete drying. At the same stage, I mount the electrician, fix the cartridge on the tube, decorate its base.
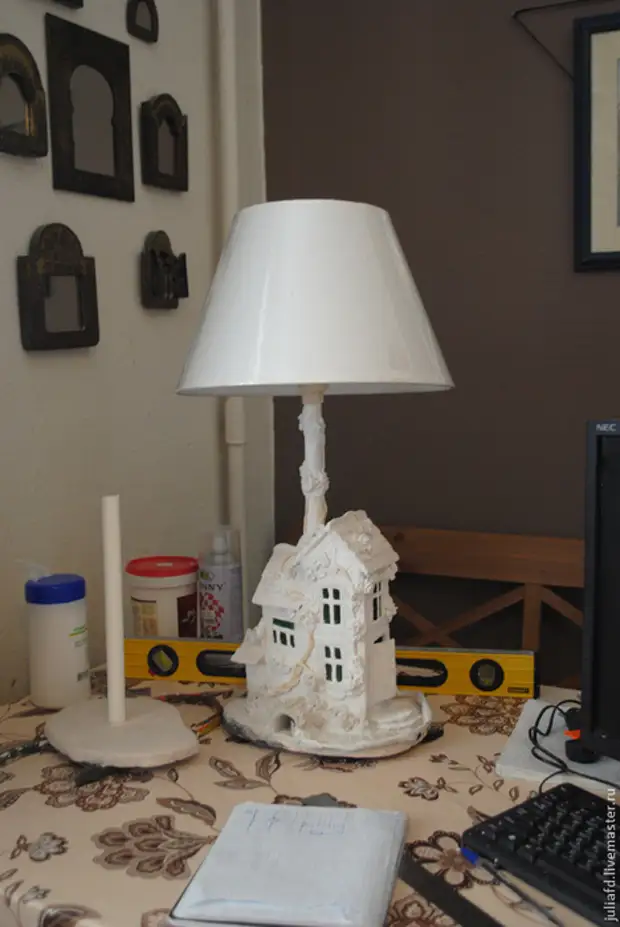
And we make the first fitting of the lampshar.
5. Painting and final finish.
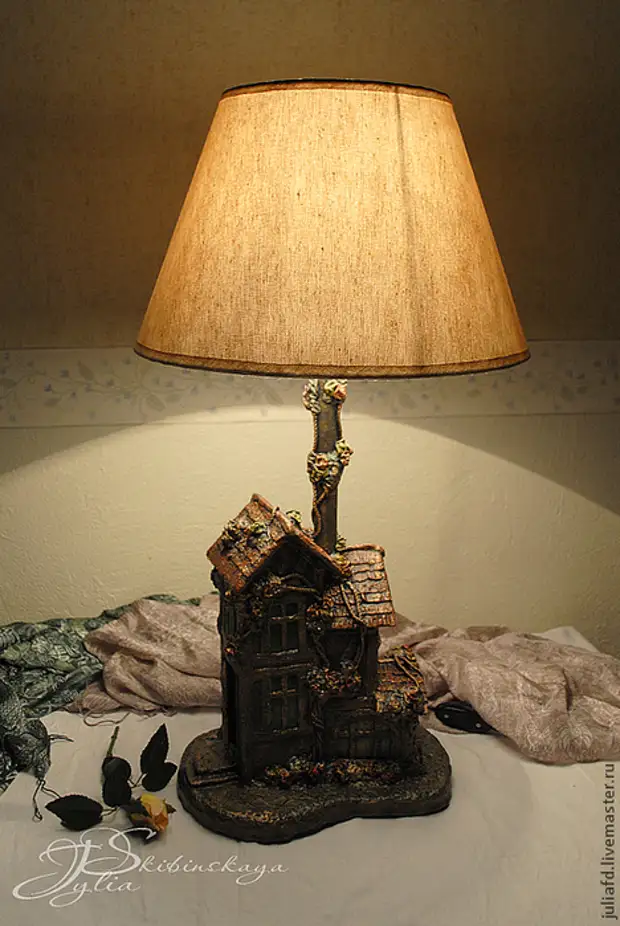
I liked my house at all final stages. And in white color with a white lampshade. Further, it was painted black for subsequent scenery. But in black with a silver-steel lamp, he looked great.
For coloring, I use acrylic paint for internal works and kernels. Artistic acrylic paints are suitable for small sections. The finishing decor was made by bronze acrylic paint with the help of a sponge of a sponge for washing dishes. After complete graze, the house was covered with parquet matte varnish
Fabric lampshade I toned with a coffee solution with PVA. Now the lamp shade is not only the desired tone, but also works by the flavor.