Today, things are increasingly popular with Handmade style, that is, made by hand. They feel warm and the love of who did them. Today we will tell you how to make a bread maker from a plastic bottle. And I also like that even the simplest and cheap materials can be transformed into beautiful and useful homemade things.
You will need:
- five-liter plastic bottle
- Newspapers
- PVA glue
- Termoklay
- ordinary napkins
- three-layer napkins
- Acrylic paints (black, lilac and golden color)
- acrylic lacquer
- 100 g of pea (halves)
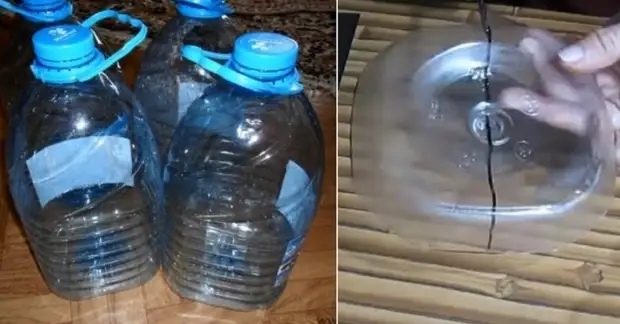
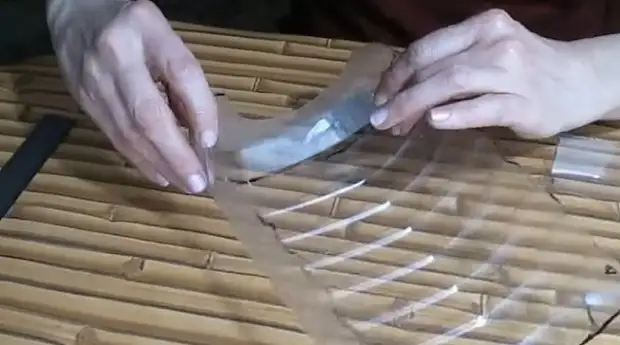
To begin with, take a five-liter plastic bottle and a revenue of the bottom and neck. Then put it on the side, to note the bottom of 8 cm and doomed horizontally from the same side to divide the workpiece into two halves.
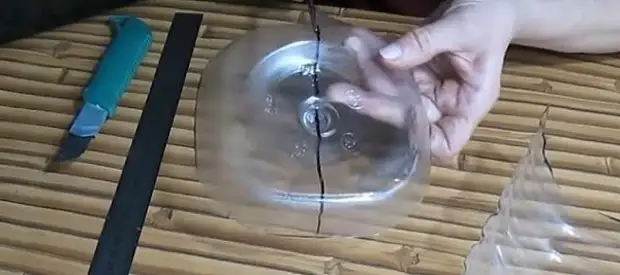
The bottom of the bottle should not be thrown away - cut it in half.
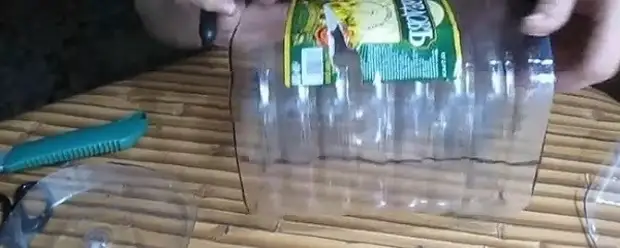
And now these two semicircular details must be glued on both sides to the main billet. Having scotch across, covering the part to the half of the bottle, which will soon turn into a mince.
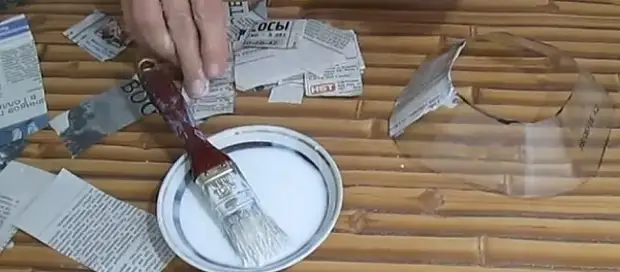
Now you will need old newspapers, they must be cut into stripes. After that, the PVA glue with water in the ratio of 1: 2. Previously perch in the glue of the strip of the newspaper, winds them plastic blank. More than two layers outside and from the inside.
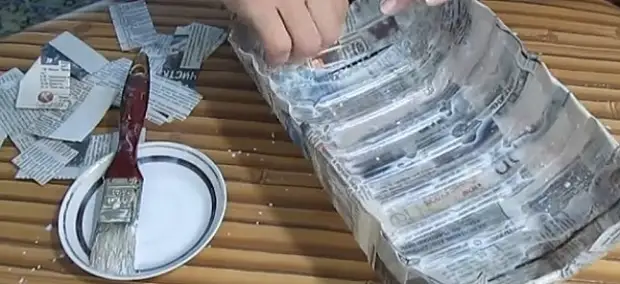
Abundantly lining this paper surface on two sides by PVA glue with brushes. Now go to the neck, which also needs to be saved by newspapers.
Wait until all parts of the future bread mines are dry and go to the gluing of two parts with a hot gun.
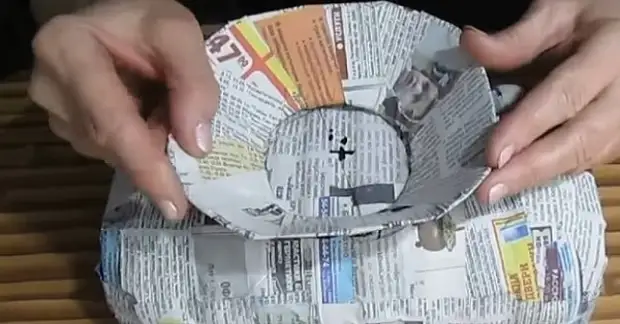
On the edge of the shelter and rounded part of the leg, which will be a stand, draw wavy lines. It is convenient to do with a coin, applying it next to the previous outline.
Rebuilt plow glue with water, missing the workpiece with this mixture to glue thin napkins to two layers throughout the perimeter.
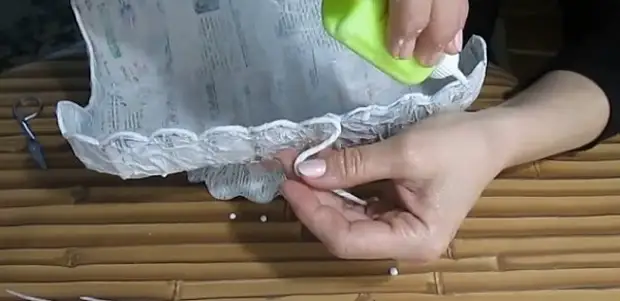
And now we go to dense napkins with a pattern. Color part you will not need, so postpone her aside. From the bottom white part you need to twist a thin tube, for convenience wetting it with water. In such elements you need to make a kant, sticking them along the wavy edge of the bread bedding.
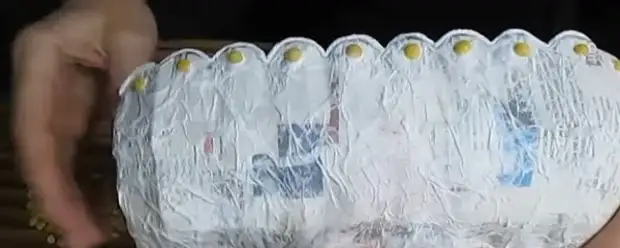
Now it is covered along the edges of the halves of dry pea, placing them with a convex side outward.
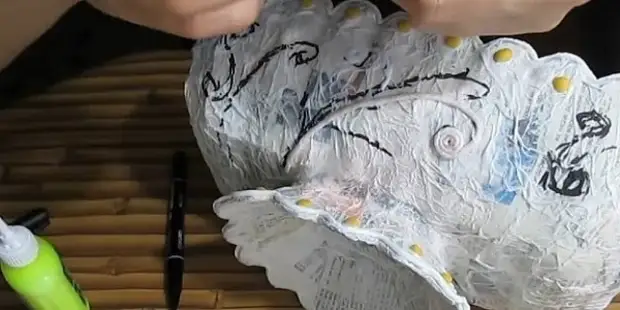
Draw a marker patterns on the workpiece, and then glue through the outlined lines of various curls from the napkins in advance.
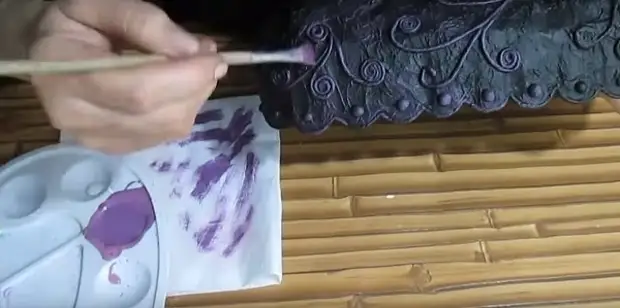
When all decorative elements are ready - go to painting. First of all, you need to cover the black box of the acrylic paint.
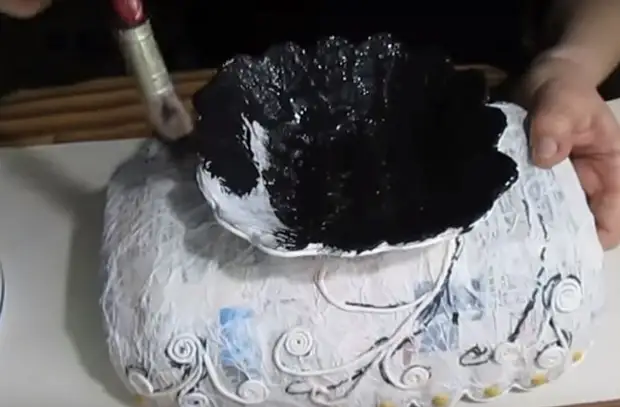
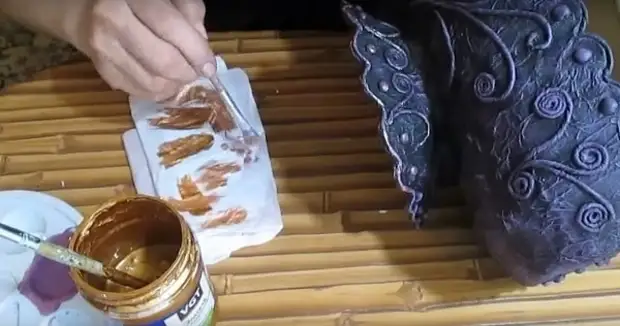
Then I apply to curls and other decorative elements of lilac paint, and then passing on the convex parts of golden paint. When the paint is driving, you can cover the breadcrumb with acrylic varnish.
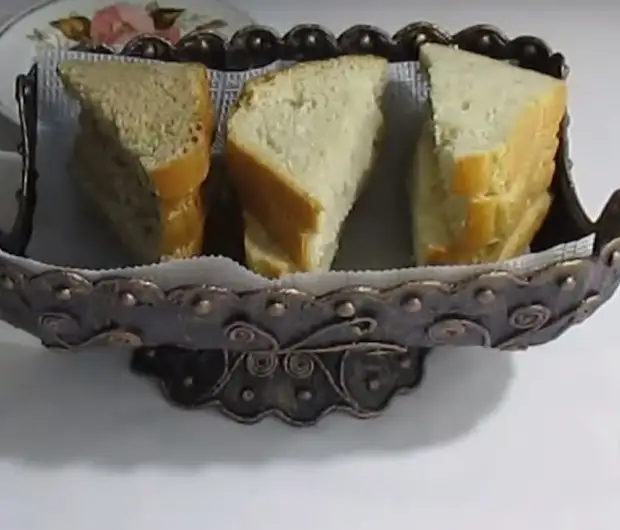
That's all, the breadnight is ready.