
We place this master class to clearly show how it is easy and simply you can create masterpieces with your own hands, even without having "needweller" skills. Today, the master class is brought by embroidery with ribbons and threads based on the image printed on fabric. Today, you can print any of my own image, any photo and so on, so the space for creativity is open.
We will proceed to our work :)
We need:
- printed on a gabardine print;
- Frame-hoop;
- Satin ribbons, thread-Moulin;
- Embroidery needles (№20 and №24).
Legend:
Nm - threads Moulin;
2N - embroider in two threads (the numbers indicate the number of threads)
Several tips that will be useful to us as work:
Work should be soldered into the frame-hoop in the size of the picture.
So that the tape does not hoister at the end and it was more convenient to dry in the needle, cut the tape tip at an angle.
Ends of ribbons on the wrong one, cross the strings into tone tone or transparent lavsan threads.
Keep track of tape tension during embroidery, stitches must be free.
Do not make the tape of long stitch-transitions under the wrong way, it is better to dry the tape tips and susht them.
Threads Muline (NM) usually have six addresses that form the so-called pulp. From parley Separate the right amount of threads for embroidery, according to the instructions. Passbands are better alone for one so that the rest is not tied. Having covered with two fingers (index and large) right hand to escape, separate one thread and pull up from the beam. At the time when you pull in one thread from parcel, in your right hand, you will be charged with a roll. After pulling out the threads to the end, the roll is easily straightened, and you can pull the next thread.
Wash and iron embroidery at the end of the work can not, ribbons can politicize.
Stages of work:
1. We take our wonderful, beautiful and bright print and refuel into the frame-hoop in the size of the picture.
2. First of all, we will embroider on the basis of Moulin's threads. We begin work with fastening the filament on the fabric.
Nm embroidery in this work is performed in 2 threads (2N). Pull one thread from the parcel, fold it in half and both finish in a needle. On one side of the folded thread is formed by the loop. A needle with a waterfront of the fabric (on the stem line) and output it through 2-3 mmcani. Stretching thread so that the loop remains on the fabric, pick it up with a needle and stretch to the fabric . It will turn out a small stitch that fasten the thread on the fabric.
Photo №1: Fighting (nm) fastening on fabric


Photo №1 (a) photo №1 (b)
2. Go to the embroidery of all stems Lily of the Lily of Moulin (NM) in two threads (2N) using the "stem" seam.
There are 2 ways to embroidery with a stalk suture: narrow and wide. In both cases, the seam is performed from left to right to spit stitches "back needle." Thread should always be above the previous stitch.
In our work we will use both narrow and wide seam. Embroide the stems from top to bottom, as the top of the stem is thin, it embroidered Narrow stalled seam (Photo number 2). Some lilies from the middle of the stem gradually expands and embroidered Wide sbelly seam (Photo number 3).
Narrow suture. Securing the thread on the fabric from the inside, output the needle on the front side, make a small stitch, undermine the needle to the cloth (along the stem line), output from the inside to the front side in the middle of the stitch, on top of it. The second and subsequent stitches are made as the first, the needle on the front side is displayed into the puncture of the previous stitch, be sure to be the same. Then the seam will be smooth. From the wrong side of the seam looks like a line. On the stitches are made short, and in the line can be more authentic.

Photo №2 (a)

Photo №2 (b)
Wide seam. First, a narrow stabble seam is performed. And then, as the stem expands, subsequent stitches are outlined not in the middle of each stitch, but slightly higher. Stitches are made longer and covered and on the front side look equally.
Photo number 3: Wide stabble seam

Photo number 3 (a)
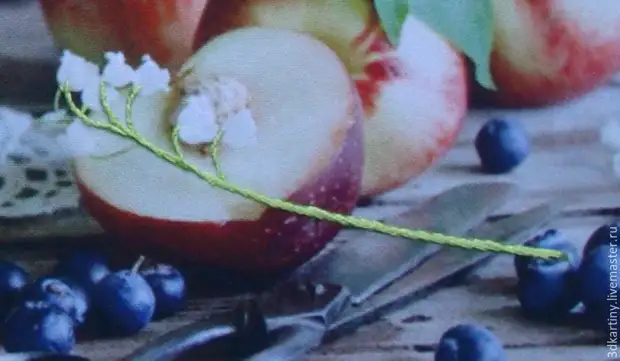
Photo №3 (b)
Focusing photos general view of finished stems (Photo number 4).
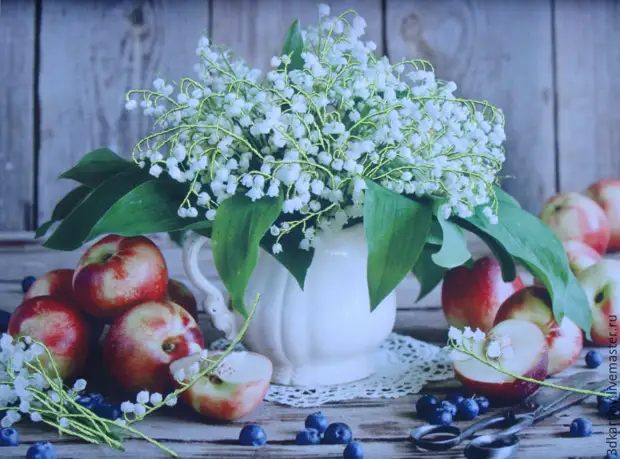
Photo number 4.
We finished with threads :)
3. Go to the embroidery with ribbons.
Before you begin to embroider lilion flowers, look Our master class
How to consolidate a tape in the needle;
how to make a nodule (to start working with inside);
How to secure the tape at the end of the embroidery of the element (from the inside).
I draw your attention to the fact that the tape is 3 mm wide on both sides of the satin (brilliant), and the ribbon is 6 mm wide on one side matte, and on the other hand shiny. In our version, all the flowers of the valley are embroidered atlas (shiny) side. Flowers in the center of the bouquet are embroidered with a ribbon of 6 mm, and along the edges with a ribbon 3 mm.
Lily flowers and buds are embroidered first French nodule (photo №5), followed by coating it direct stitch with curl in 2-3 stitches (photo №№ 6, 7, 8).
Read more about Stittech's performance technique:
French knot ribbon
Display the needle on the front fabric fabric in a place where the knot should be. Make one turn of the tape around the needle. Slide the needle next to the place where the tape came out on the front side. Tighten the tape slightly while holding it in a stretched left hand. Pull the tape inside out, without tightening a strongly knot.
Picture №5: French nodes
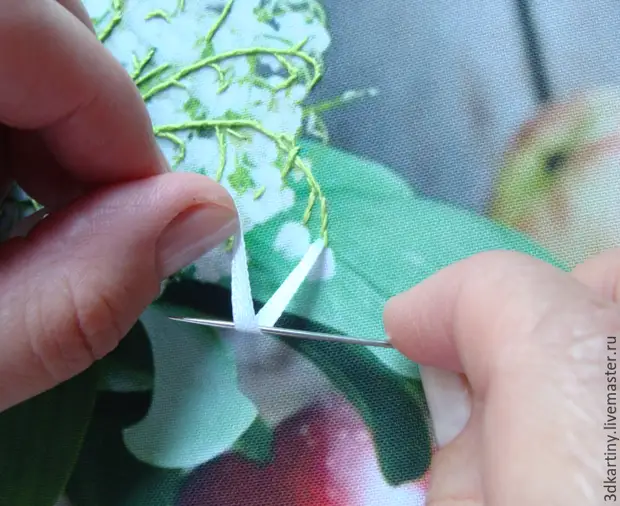
Photo number 5. (but)
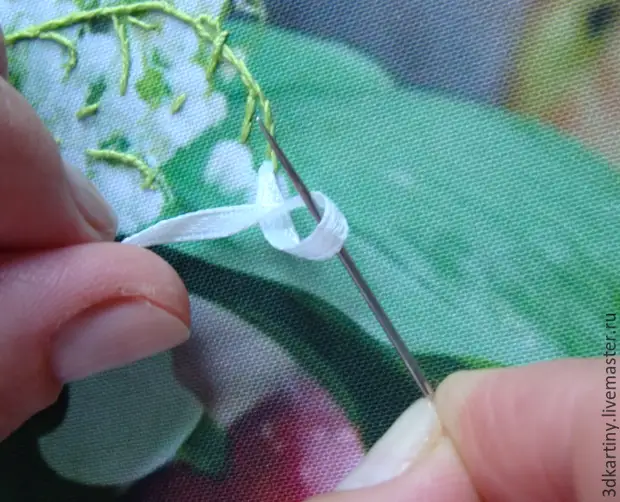
Photo number 5. (b)
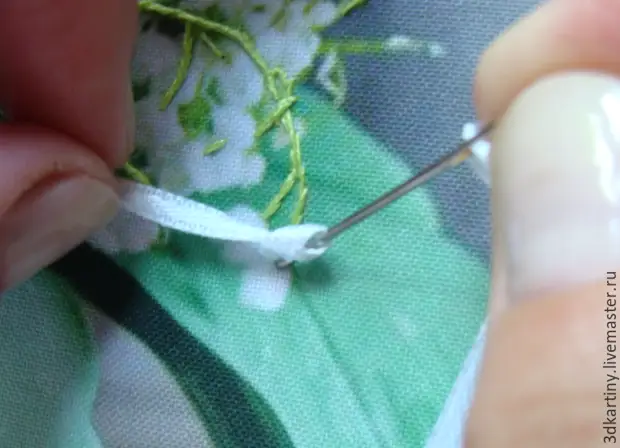
Photo number 5. (in)
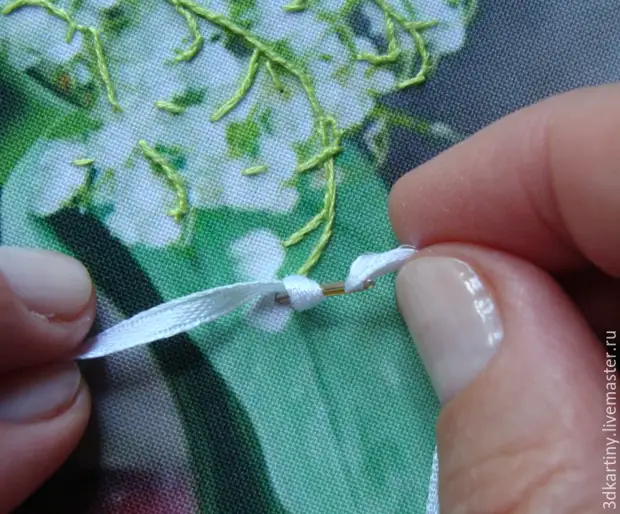
Photo number 5. (d)
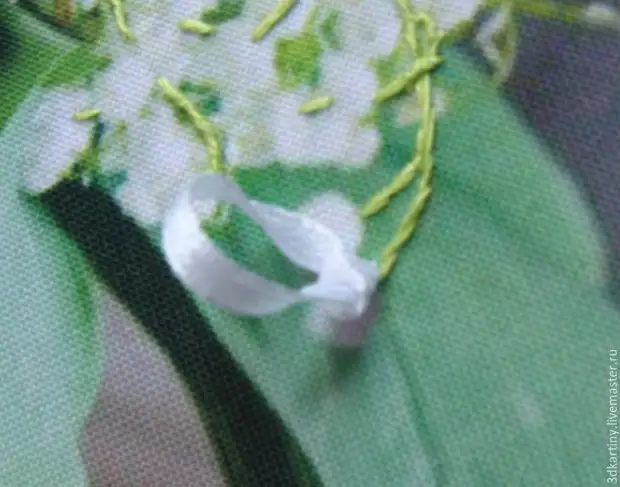
Photo number 5. (e)
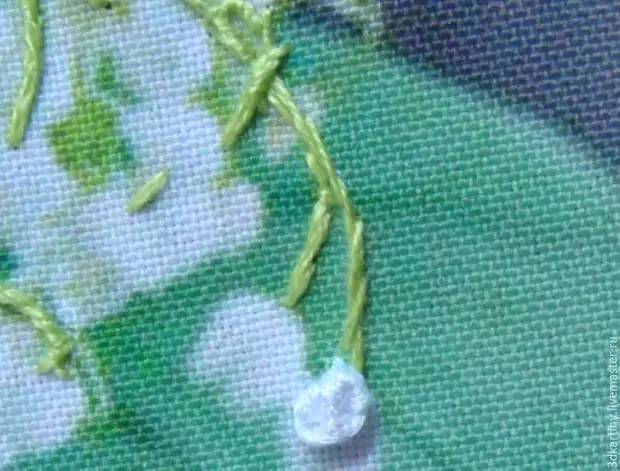
Photo number 5. (e)
Ribbon stitch (direct stitch with curls)
With ribbon stitch embroider, we will be buds, flowers (large - 6 mm tape and small-ribbon 3 mm).
We bring the tape on the front of the fabric and make stitches in the middle of the tape for the length of the lily of the lilion. To achieve the effect of the blurred flowers, the tape is pierced at the edges, depending on which direction the petal turn is needed.
Bud Lrangess. First done French nodes (see above). Then the nodules are coated with two tape stitches (3 mm ribbon).
Photo number 6: Ribbon stitch (direct stitch with curl).
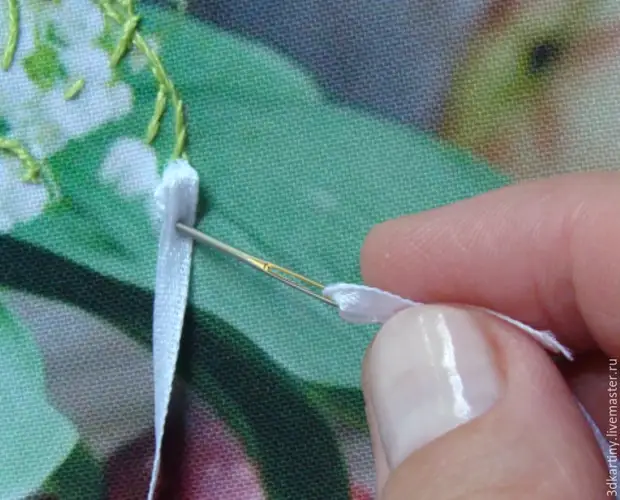
Photo number 6. (but)
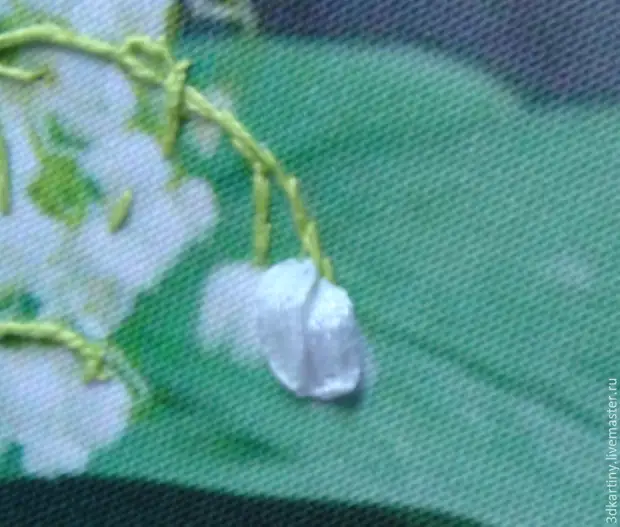
Photo number 6. (b)
Lardish big flower. Easale 6 mm ribbon. First done French nodes (see above). Then the nodules are covered with two ribbon stitches: the first stitch is made in the left edge of the tape, and the second stitch - to the right edge of the tape. Make sure that the nodule is closed, and the tape was stripped with a satin (brilliant) side on the front side of the stitch. The tape is stripped and form petals with a needle or sewn.
Photo number 7: Lardish big flower
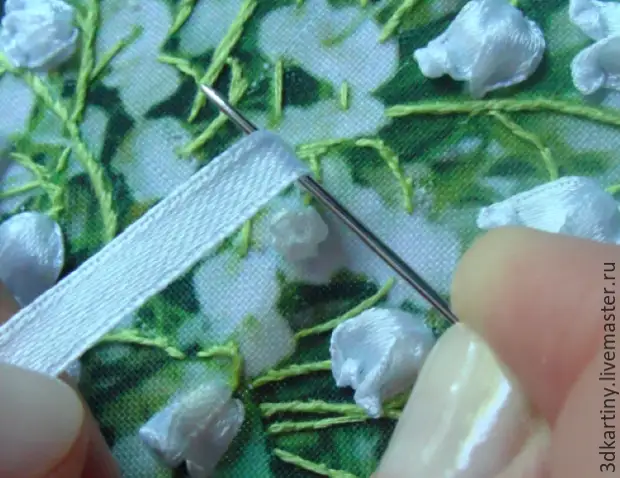
Photo №7 (a)
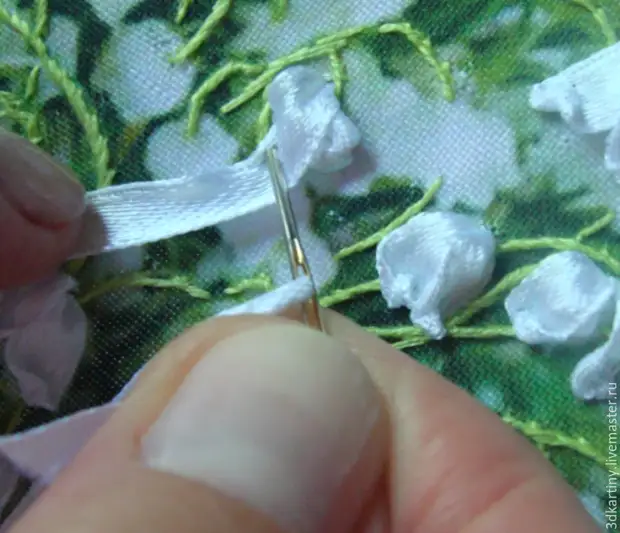
Photo number 7 (b)
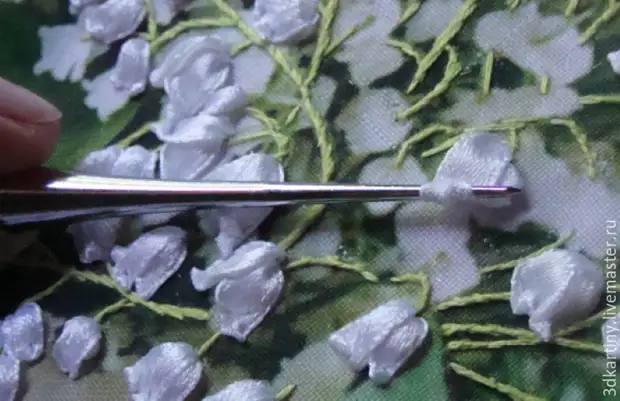
Photo №7 (c)
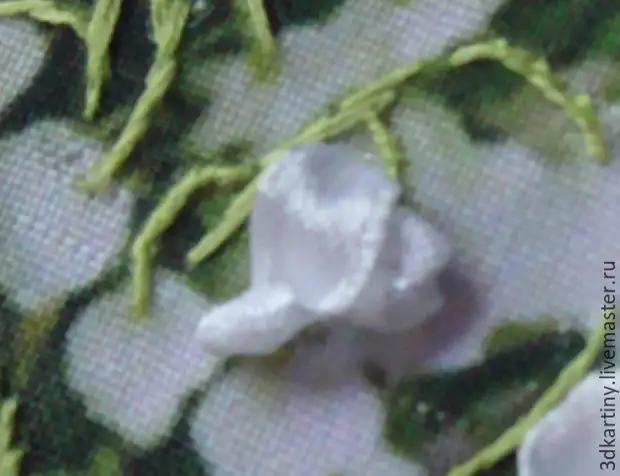
Photo №7 (g)
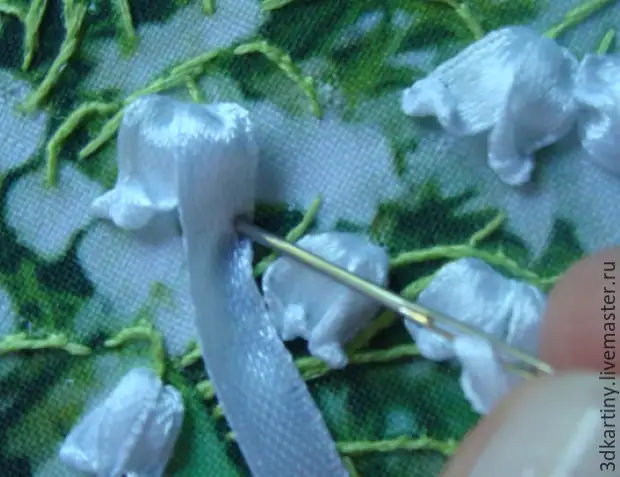
Photo №7 (e)
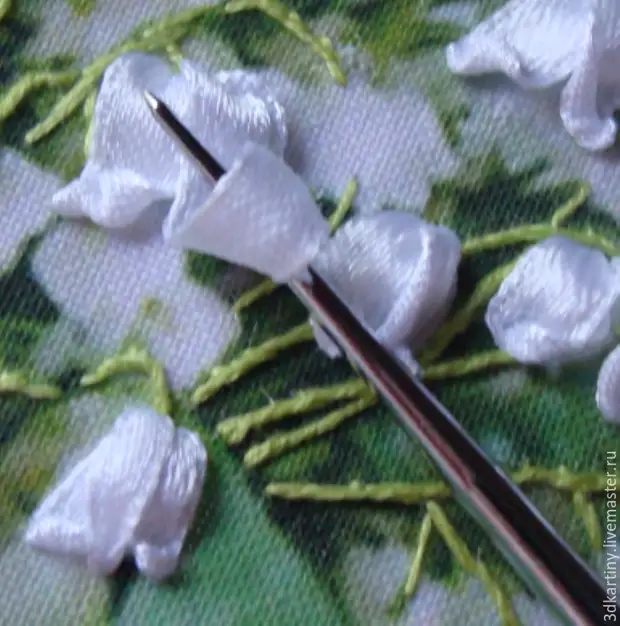
Photo №7 (e)
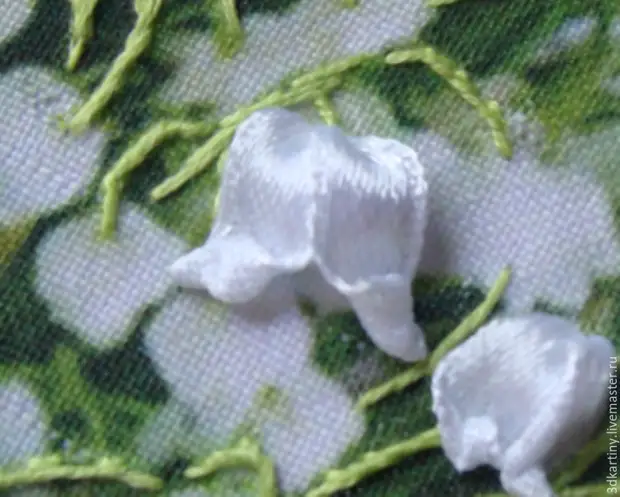
Photo №7 (g)
Little liliesis flower. Embroidery ribbon 3 mm. Made at first as Lardish big flower , and then in the middle, between the two finished petals, the executive stitch with the bunch of the needle in the middle of the tape (photo number 8).
Picture №8: Langules Landlock Flower
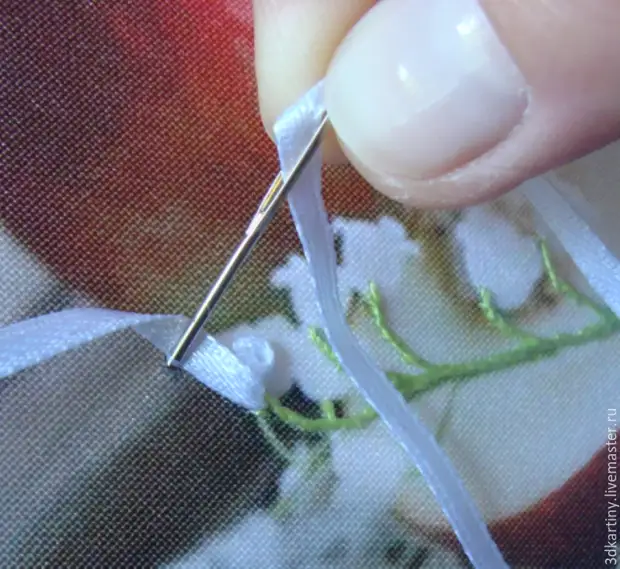
Photo number 8 (a)
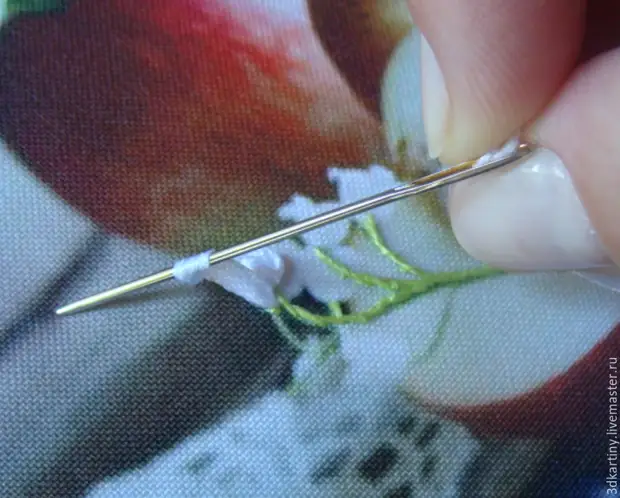
Photo number 8 (b)
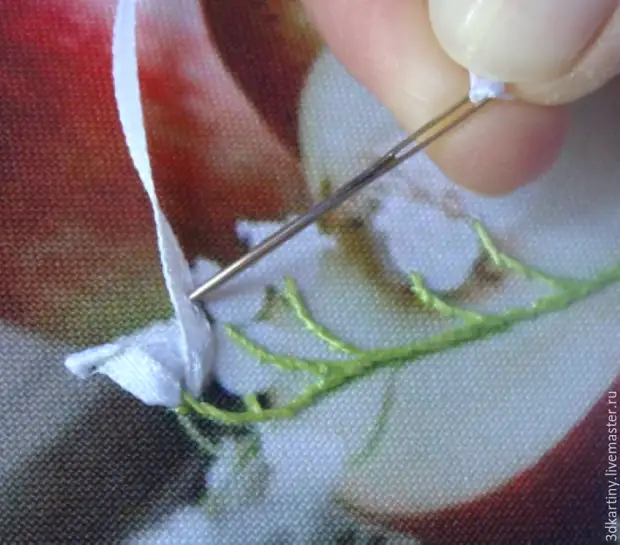
Photo №8 (B)
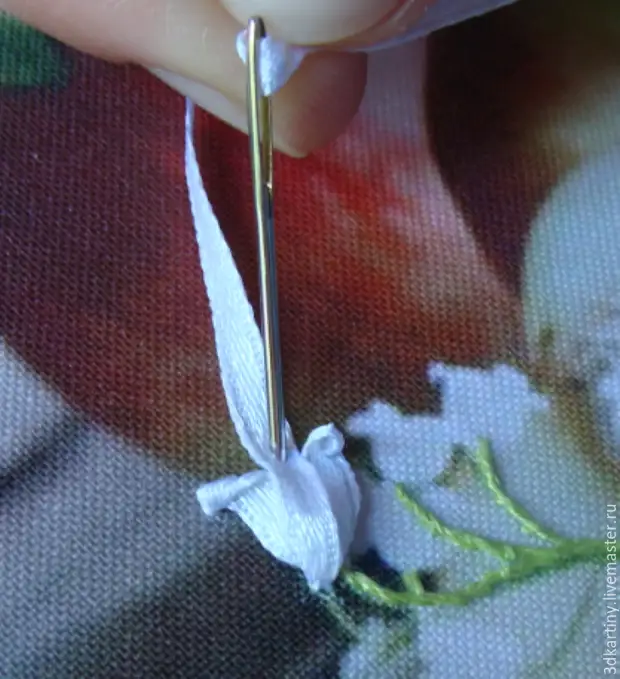
Photo №8 (d)
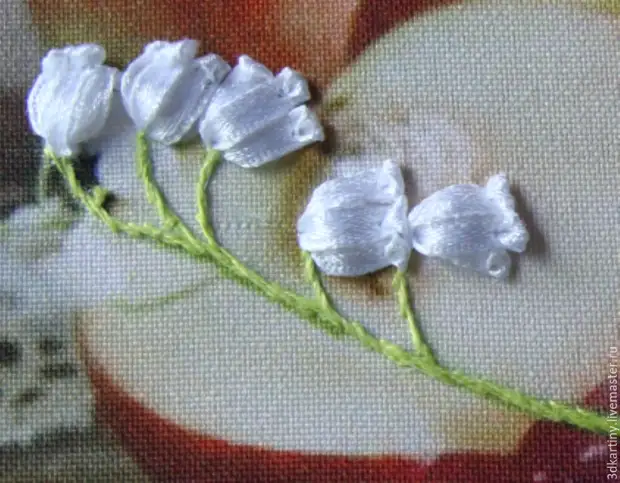
Photo №8 (e)
At the end of the work, check the involving side of the embroidery, let's see if all the ends are linked.
Ready work is recommended to arrange in a beautiful frame in a bagent workshop.
The work performed by you will delight you and your loved ones all my life.
Thanks for attention :)
And here is the photo of the finished work that forgot to add to MK)