
Today we will talk about the beautiful, more precisely about how inexpensively and relatively easily makes decorative plaster with your own hands.
Most people initially consider decorative textured covers with something fabled expensive. It is not always so.
Of course, there are all sorts of exclusive imported ready-made compositions, they cost serious money, and only an experienced master will be able to apply them, but in this lesson we will learn to apply the most affordable covers on our own.
My competitors are in full swing, I have this article, which indicates that I am talking about. And also the fact that they are chmoshniki shameful)) I have dozens of photos, video and even a video course. And they do not even have conscience ... But we will not be about them!
Here I will try to tell you about the two types of decorative plasters performed from a completely ordinary putty!
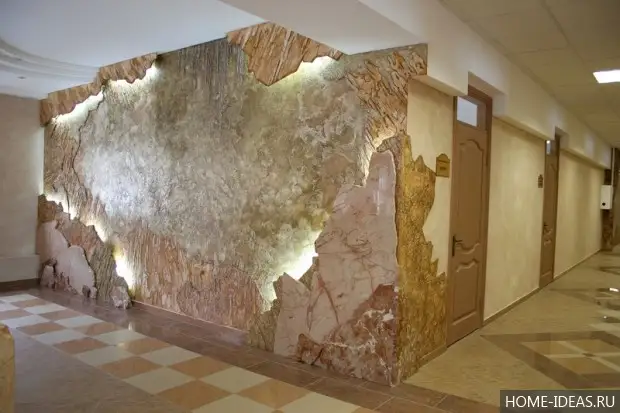
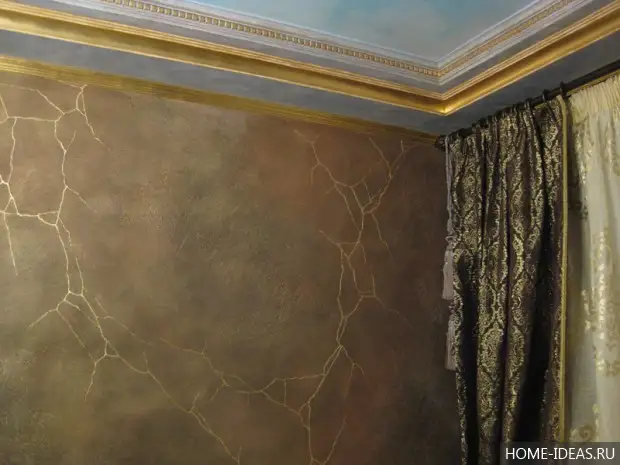
I call them "rock":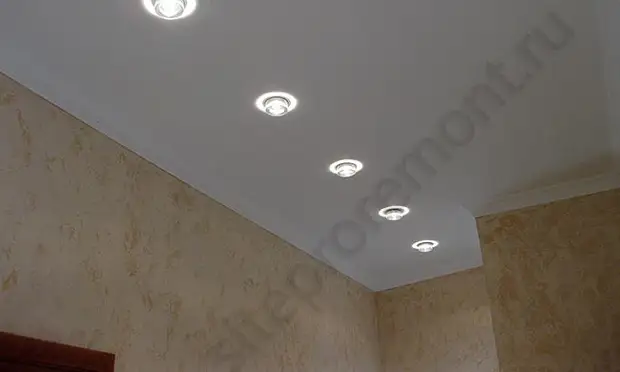
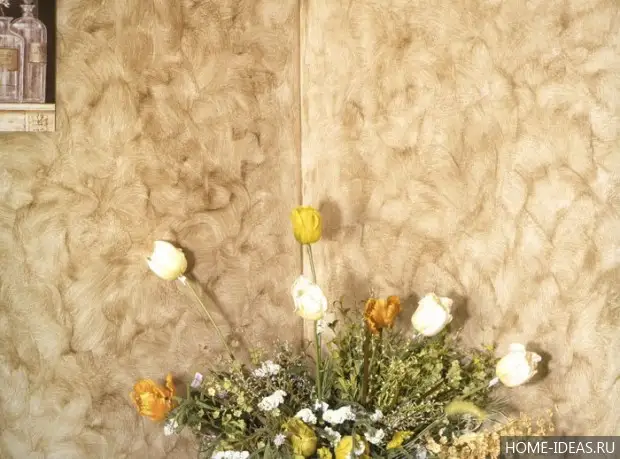
And "rain":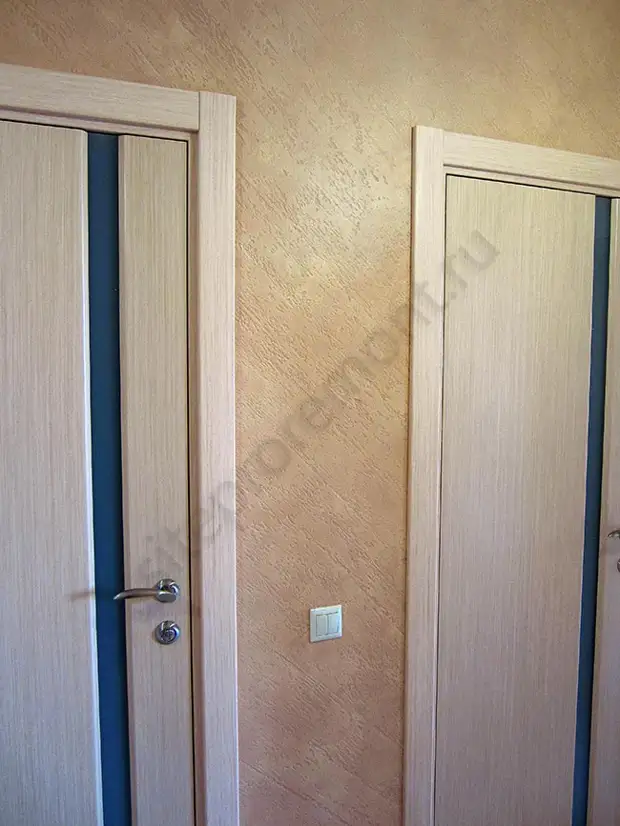
Coating type "rock"
Let's start with the "rock", as it is perhaps the simplest in applying. I just don't know easier. For both of the species under consideration, "structures" can be used by any finish putty, although plaster, even cement. By the way, the painting of these coatings is not easy, it is done in several stages, all this we will also consider it. In general, of course, it is best to use Sheetrock putter, it is sold in a finished form, it will not be necessary to stir anything. We use only it. Lazy.
So, we look at how the "rock" is applied. Affective thing - the surface must be braced well. I recommend before applying our ornamental plasters to pre-turn the walls at least in one layer so that there are no different kind of "gaps", and the quality will be better.
To begin with, we allocate for myself some area on the wall, about 0.5 sq.m. We will apply such sites, not solid. We recruit a little putty on the smooth and evenly to do it our square. The layer must be 2-3 mm than it is thicker, the richly the texture will look like; We try to smear the putty across the area as evenly possible.
As soon as it is done, proceed to structuring: it is a pretty smooth iron and sculpt it right on fresh putty practically plafhmy, without a difference, in what orientation, only barely raising her lower part - where the end of the handle looks. And immediately make a slight movement in this direction, centimeters by 15-20.
When we glue the stroke to a mixture on the wall, there are small cavities with air, which are "grinding" into the putty and give it the texture, we only additionally "deliver" it on the surface with their light movements. These movements are made in a chaotic order, they are difficult to describe, the essence is that to the ultimate point, the ironing should be gently down from the putty, so as not to leave clear traces, that is, the angle between the ironing and the "structural" should be gradually increased, but within 10-20 degrees, no more. It is difficult to do the first time, but it is enough to structure 3-4 sites, as the desired feeling comes, and the process will go more fun.
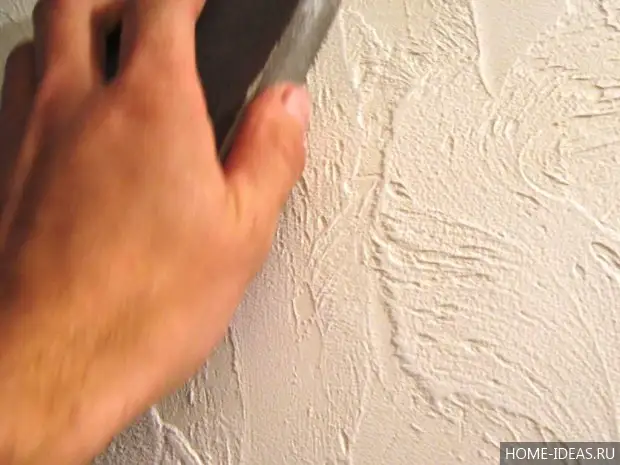
By the way, try to clean the smoothness after each such "slide" at least the first time. With experience you can do several "slides" when the movement will be well worked out. In the photo - just the process of applying this type of decorative by my father: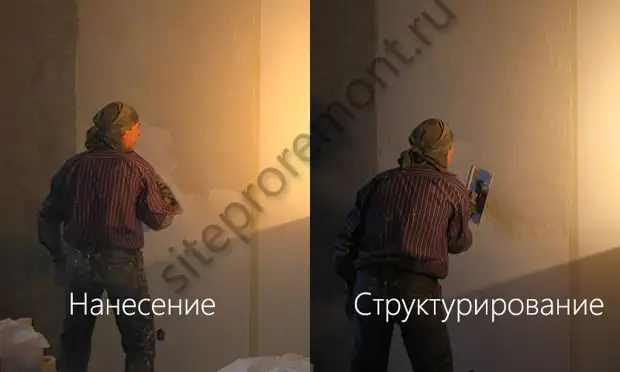
I, at first, the smoothness constantly jerked in putty, that is, I applied it completely plastics. By the way, to tear it after that - the task is not easy, sticking powerfully) you can also break the tool.
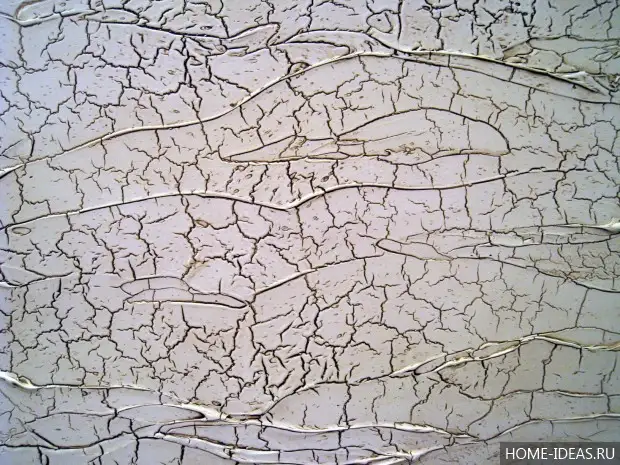
Made one plot - we put a putty to the neighboring, with a slight approach to the first, and repeat the actions. Ultimately, we must get approximately such a surface: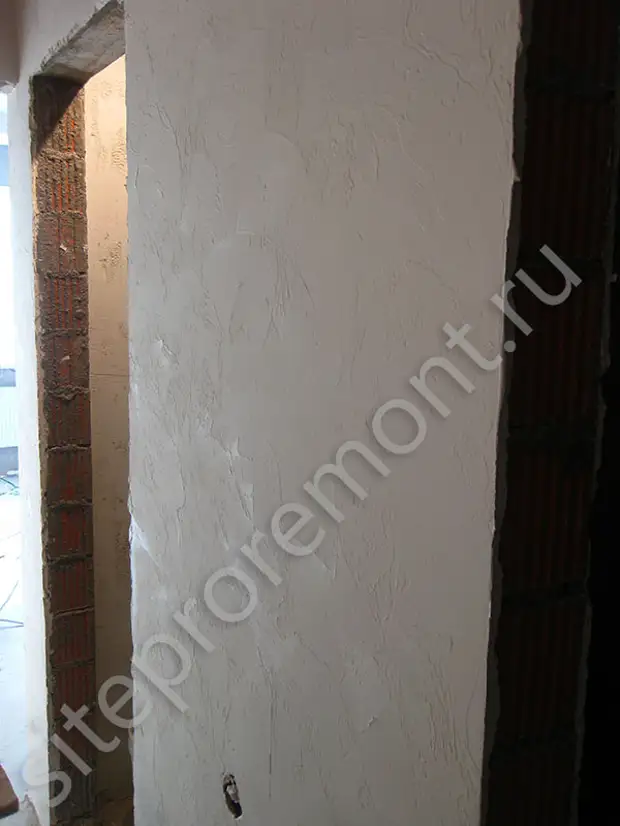
Ironing movement is not necessary to do it chaotically. It is quite eligible for the existence and options for the Christmas tree, cross-cross, vertical, etc. Experiment freely, choose your own version, here a large field for samples: I did not like it - I signed up and re-separated.
He dries the "rock", as, however, and "rain" is about a day.
After that, you can paint them, but I'll tell you a little later, but for now we learn how the structural plaster type "Rain" is performed.
Application of the type "Rain"
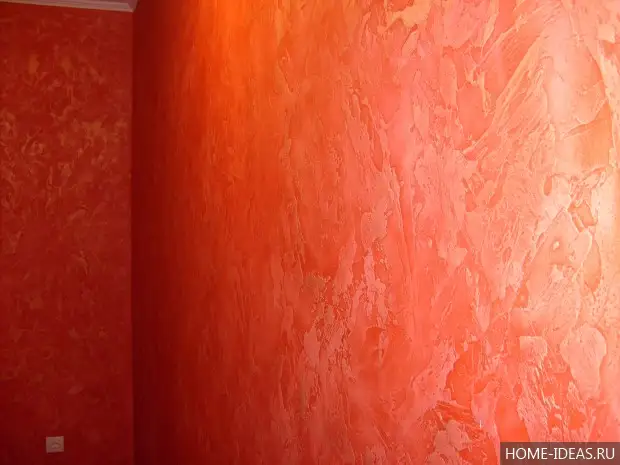
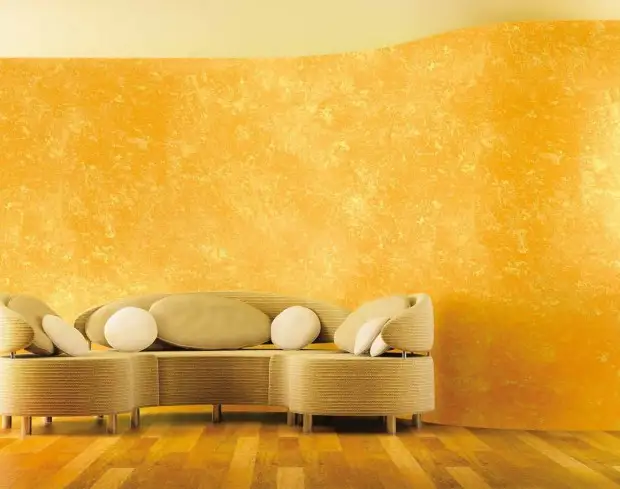
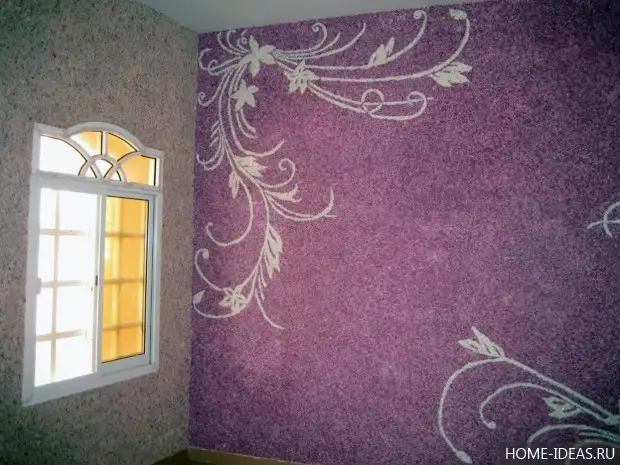
This method is perceptibly more difficult and takes much more time, but it also likes the result almost everyone and it is so much so that people really light up to do so at home. If there is also a good color to pick up ... mmmmm ... Divinely ... judge yourself, isn't it cool?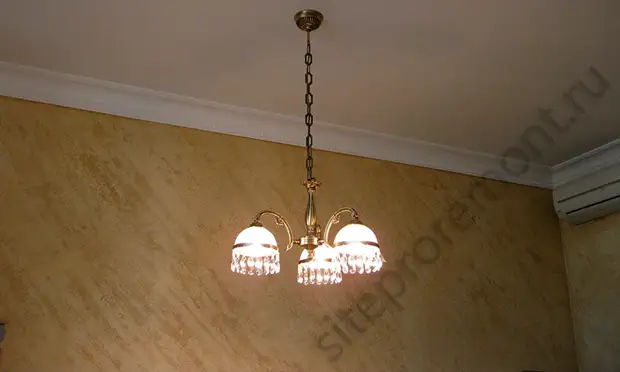
By the way, the photo shows the most driving color solution for this type of coating. Again, no one causes the direction of the structure under the tilt, you can send "rain" vertically or horizontally. Just a way with inclined texture is most interesting and universal, as you like most (well, so far just everyone). His and consider it.
We begin with marking - blacks in the south-east (you can also in the southwestern, taste) from the ceiling to the floor in the direction of the south-east) from the ceiling to the floor with a step, equal to a little less than three shirin ironing. For example, if the width of the tool is 18 cm, we make a step about 50 cm. It is advisable to draw lines continuously; This means that in the inner and external corners they will not break.
It is done long enough, but the result is worth it, so do not take the time for high-quality markup.
As soon as you draw all the lines, we stick for each of them the greasy tape. The top edge of the scotch must lie on the line. We will start from the right upper angle of any wall. This is done to exclude the risk of falling putty on the ready-made texture. We will be very small for the first working plot, we will put on the subsequent strips to put on the right-left, then it will be shown in the photo. I will describe the technology itself.
The putty is flashed with a layer of 2-3 mm on the bandwidth of a slightly less than the width of the ironing and the length of about 1 meter. After that, the smoothness is placed on it (without strong pressing) and flies; And so all over the lane is 10-15 times, the surface will remind something like hedgehog: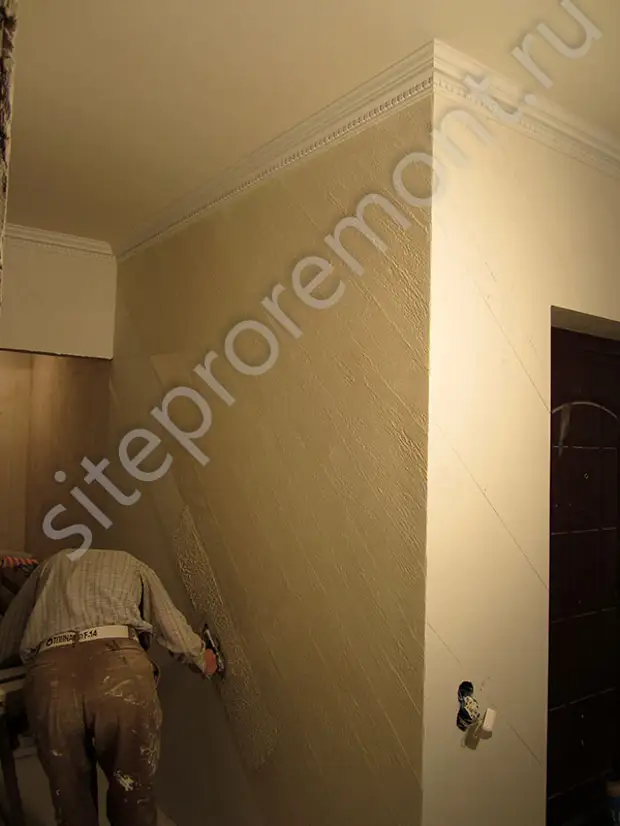
Then we clean the ironer and very gently and gently spend it almost plastics (slightly lifting the lower part above the surface) on our "hen" in the south-east direction, smoothing relief: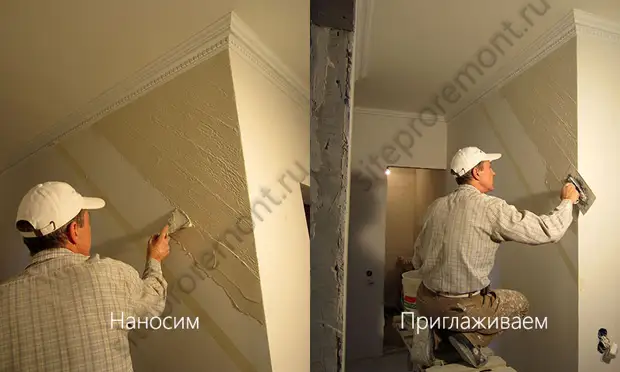
From the strength of the press will depend on the severity of the invoice: the weaker pressing, the brighter the texture. It also depends on the thickness of the layer than it is thicker, the more noticeable relief.
You can thus bring the strip to the end, and you can begin the following, but not bringing it to the end of the first one, as it is more convenient. The next strip is applied with a small (maximum 1 cm) in the allen on the already ready, the sequence of actions is repeated. The last strip of three will be a little on the tape.
As soon as she was finished, we fuck it and go on.
It is necessary for all this in order that in this place the layers of putty filled with each other is stronger, it has a positive effect on appearance.
In addition, the scotch helps not accumulate with an angle of direction of drawing.
Immediately after applying the finished surface looks like this: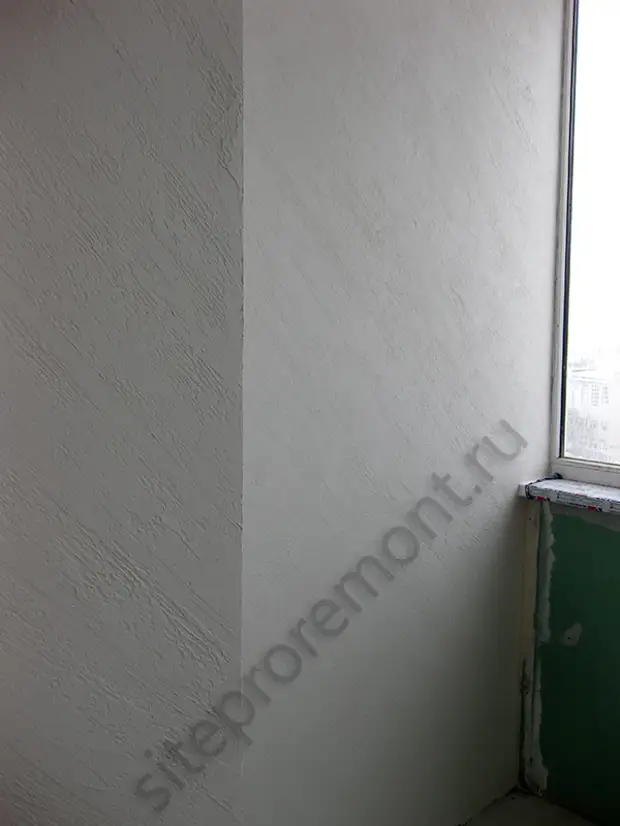
After drying it, it is desirable to handle the abrasive mesh or skin to remove all sorts of flaws.
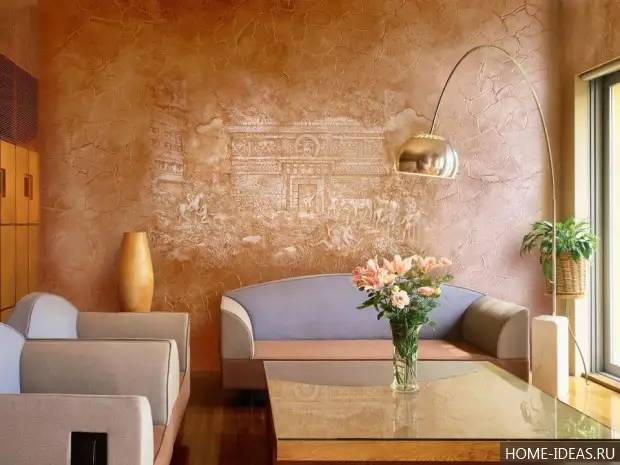
The main difficulties that may arise when applying "rain" are the same as for the "rock" - the sleeves of ironing, clear tracks from it, the uneven relief. In principle, if it is not possible to achieve the heterogeneity of the texture on the entire area of the wall - nothing terrible, it is even plus, we imitate some fantastic rock formation, it cannot be completely uniform, so to speak. The main thing is to try to avoid sharp textural changes in the small area, otherwise it will immediately be brought into the eyes.
After applying and complete drying of both described species of decorative plasters, they need to be pretty pricked. All, go to the technique of painting.
Coloring textured plasterer
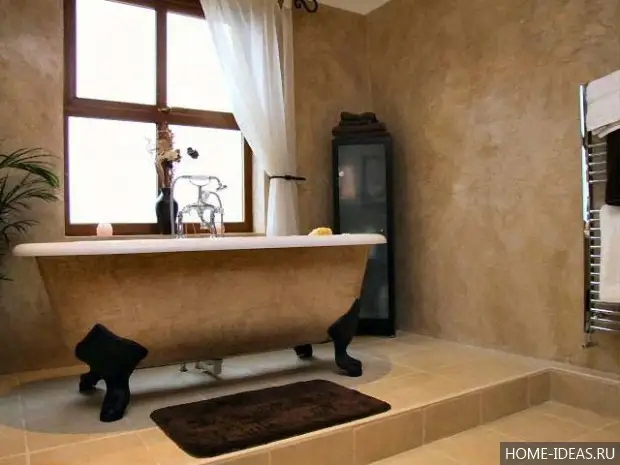
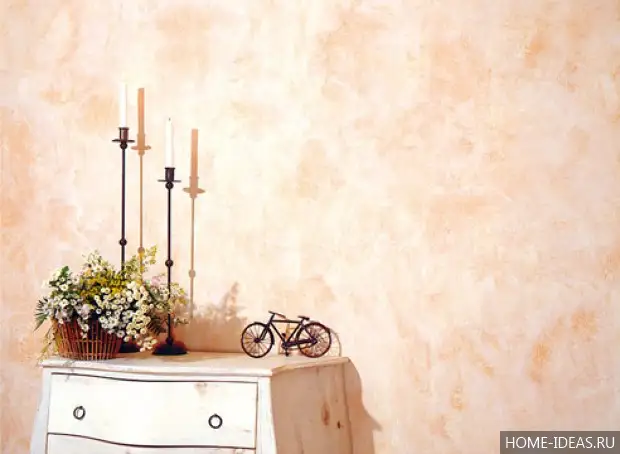
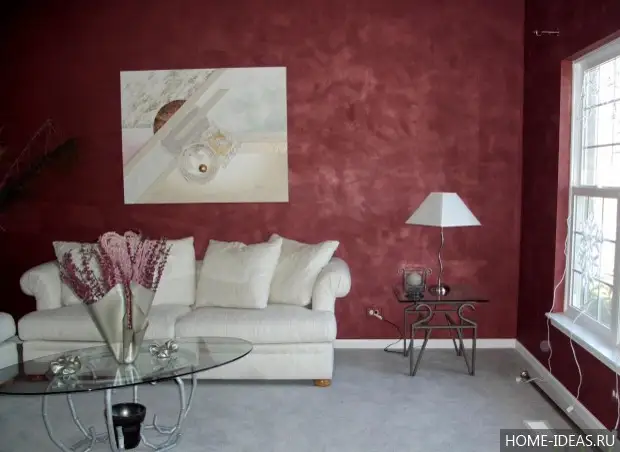
If you just roll out our structural plasters in one color, it turns out a dull crap. The texture is simply lost. Therefore, the sly surface is a tricky painting! We most often use two methods: "Dry brush" and "Spot". Both techniques are well suited to the "rock", since the relief of this plaster is equally directed both inside and out. The dry brush emphasizes the bulges, and the spindle - the depressions. The color of the dry brush for the "rock" is depicted on the first corresponding picture at the beginning of the article, and the erosion in this case looks like this:
It is difficult to say where the result is better, this is just a taste, although I will say in advance - to paint with a dry brush is much easier and faster than purred.
Only the erosion is suitable for rain, since the main surface relief is directed inside. Both types of painting suggest the initial application of background color, preferably in two layers. To do this, use the usual roller with a long pile. It should be noted that, since the surface is textured, the paint consumption will be a lot.
For painting background under the erosion, you need to choose a good resistant paint, steady to wash. For the technique of "dry brush" will go any. It is important not to overtake a stick with a layer of paint, too fat layers can affect the severity of the invoice. There is, by the way, I have an article where the difference is explained between expensive and cheap paints.
As a rule, the relief at paint dry brush looks better, if it is emphasized with brighter paint, and it should differ significantly from the background, otherwise, again, the texture will remain unfinished. In the case of blur - on the contrary, it is better to take paint to the underscore.
So, consider the technique of painting decorative plasters with a dry brush. Do not forget to pre-primed our coating. We will need flat wide (centimeters 20 or more) brush, painting bath and several clean pieces of cardboard or something like that. Pour a little paint in the bath, immerse your brush into it and carefully wip it first about the bath itself, and then about the cardboard. It is necessary to ensure that only the minimum paint remains on the brush.
Now with light movements in different directions, keeping the brush almost parallel to the wall plane, as if we wipe the paint on the tassel about the protruding part of the relief of our decorative. Here, the main requirement is expected to be the absence of sharp transitions in color on a small area. In addition, you need to try to paint in such a way that it would not be markedly traces from the brush - strips, so painting is performed by chaotic movements. But, in principle, there is nothing difficult in this technique. It should turn out something like this: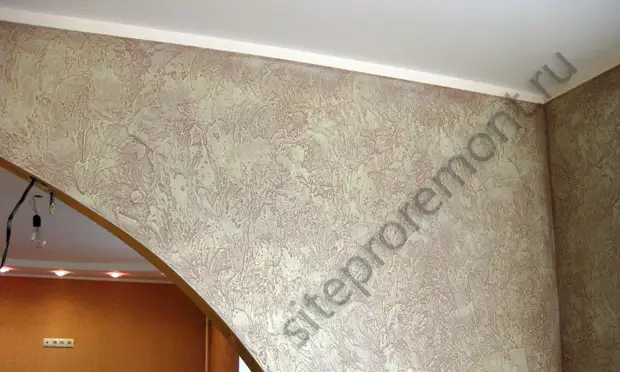
It is much more difficult to paint with a blur. Its essence is that another additional layer of paint is superimposed on the background (darker). He is given a little time to dry, after which he ruthlessly wiping his wet rag, while driving after that only in the recesses.
The technology itself is very simple, but requires large temporary and physical costs. But in this case it is easier to control the result. If somewhere we were larger than you need, you can re-paint and wipe again. Here is an example where white color was used as a background, and "omelet" as aggregate: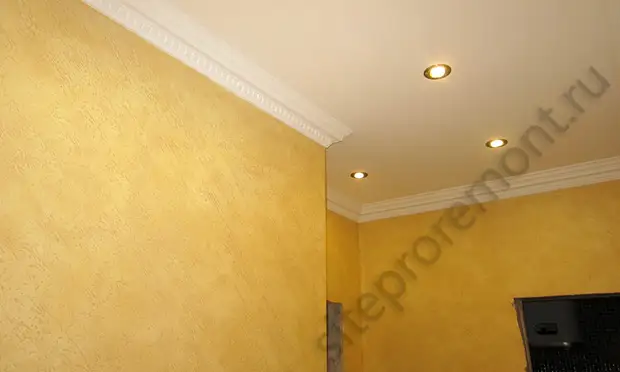
For the aggregate, it is better to take the paint in cheaper, non-fatty - it will be easier to break.
But this does not end, it is not yet enough to apply decorative plaster and paint it. The obligatory point is its lacquer coating. It will give the surface a noble glitter, makes the colors richer and facilitates the care of plaster. For these purposes, it will be suitable in principle, any normal water-based lacquer, say, from Alpina or Tikkurila.
Moreover, it should not be applied directly from the bank, first need to be diluted with water.
We usually use a 1: 1 ratio. Without dilution, the varnish is too thick and penetrates poorly into the coating structure.
Nail polish well pressed with a wide brush, light chaotic movements, not allowing outers. Again, one wall is better to do entirely, without interrupting. It is usually enough to apply 2 layers, but sometimes it takes the third one. Of course, the previous layers before applying should dry. Varnish, by the way, dries very quickly. In the photo the result of the varnish in two layers of Tikkurila Paneeli Assa varnish: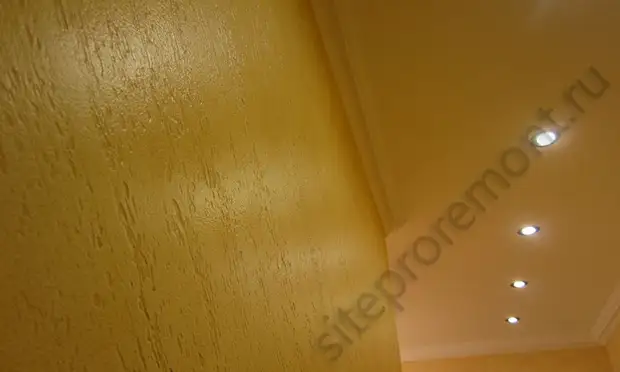
It is quite another thing, right? It looks amazing, especially live, believe me. Now the surface can be wiped with a damp cloth without harm, the varnish will protect it. Approximate consumption: 2.5 liters of varnish by 50 sq.m. Surfaces in the case of rain plaster.
Here, look what happens in the end after varnish (see better in HD-quality):
By the way, it is possible to calculate how much this splendor will cost us. We have 50 sq.m. The walls went about 3 buckets of Sheetrock to 1000 rubles. (You can take any putty, I remind you), 10-liter pot of white paint Caparol for 4500 rubles., 2.5 liters of FINNCOLOR chocatious paint approximately 1000 rubles. And Bank varnish Paneeli Assa for 1200 rubles. if the memory does not change me. Total pleasure was laid less than 10,000 rubles, and here are as many as 50 sq.m.! Moreover, we used far from cheap putty and paints. Even the wallpaper is many more expensive.
I hope I convinced you to try to make home decorative plaster with your own hands, it is really worth it. You will then invite to visit friends, and they will offer you money so that you do it the same way) on this today everything, good luck in repair!
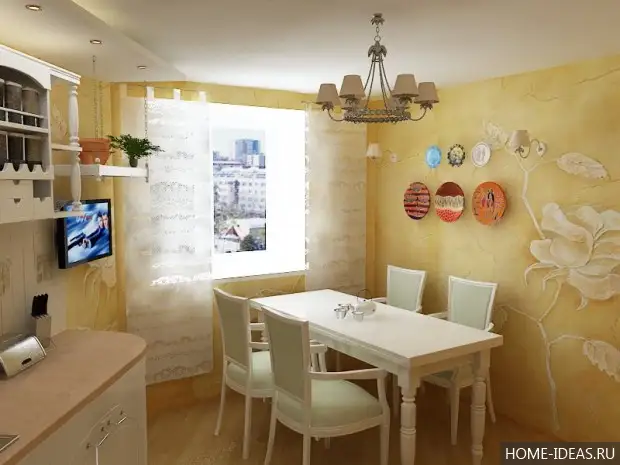
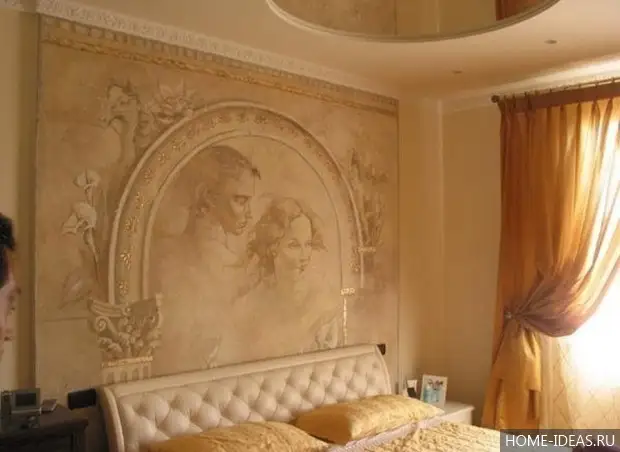
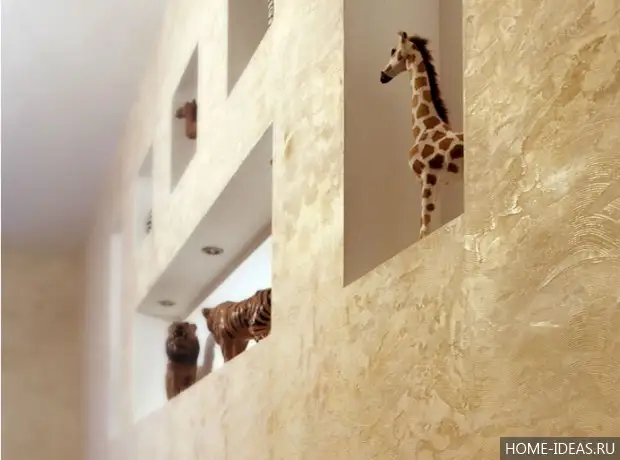
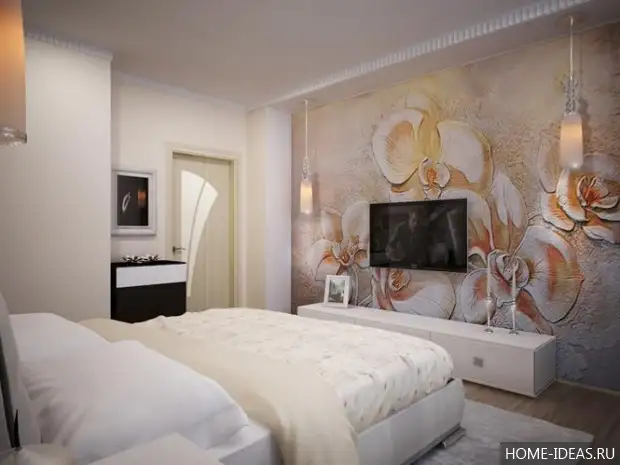
Decorative plaster in the interior - Photo

A source:
http: //siteproremont.ru/finishka/dekorativnaya-shtukaturka-s ...
A source:
http://home-ideas.ru/2015/03/dekorativnaya-shtukaturka.