
Reused to use your belongings - one of our favorite topics. Why throw out things that can be able to give a second life? Today we will discuss just about this case. We want to offer you two projects of original homemade wood stoves that are perfect for giving. To make a street oven with your own hands, you skills to different difficulty levels. For a simple stove made of concrete blocks, special skills are not necessary, but for a furnace from the gas cylinder will need the skills of the welder. However, these stoves are well suited for everyone: they will help to fill their hands for more complex projects.
Simple street oven for 5 minutes do it yourself
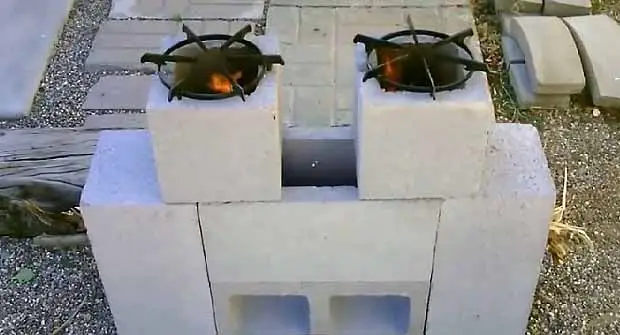
It is difficult to come up with a faster and simple version of the dacha stove. Folded from concrete blocks, it will help you in unforeseen situations, allowing you to prepare a full-fledged lunch on an open fire.
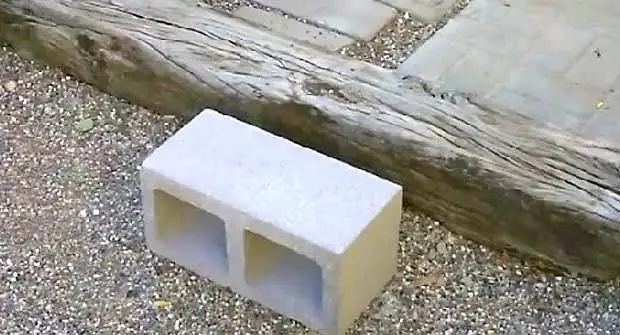
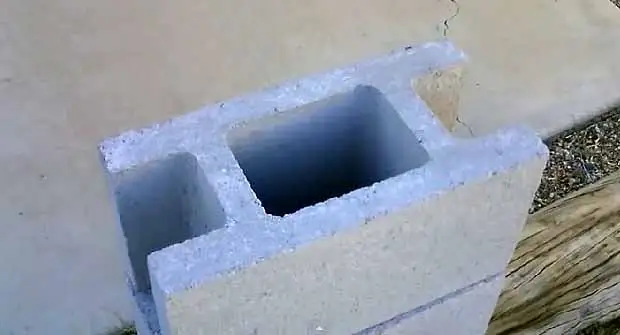
Required materials - three wall concrete blocks, as in the bottom photo.
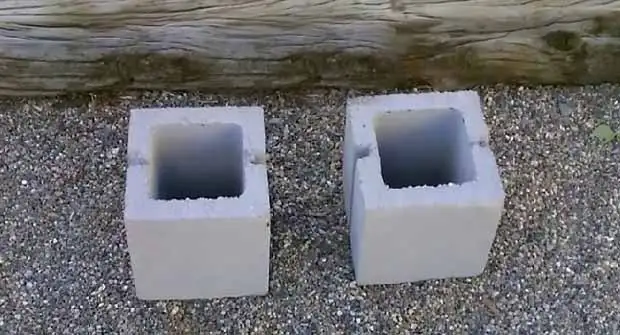
Two square blocks.
And one block for formwork with open edges.
We fold four rectangular blocks on each other without a solution.
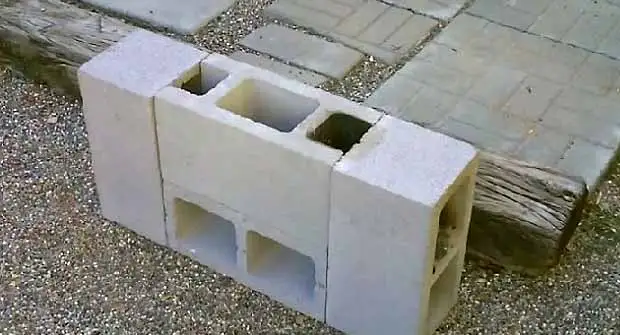
Top add two square blocks.
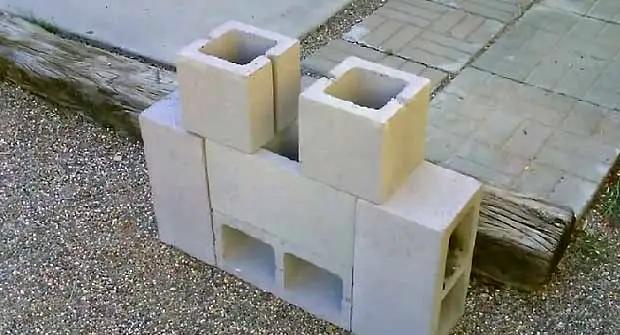
They put iron burners on them. And the stove is ready. It is rated by a rush of the scene and small branches on the side of the second brick level.
How to make a furnace from the old gas cylinder
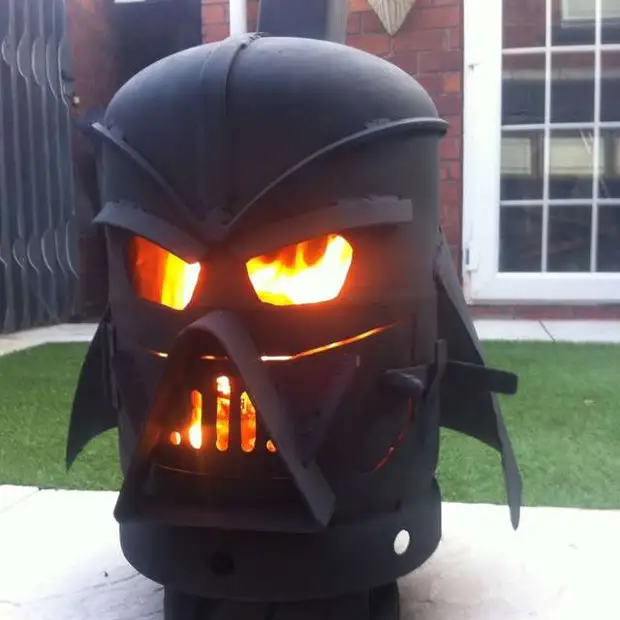
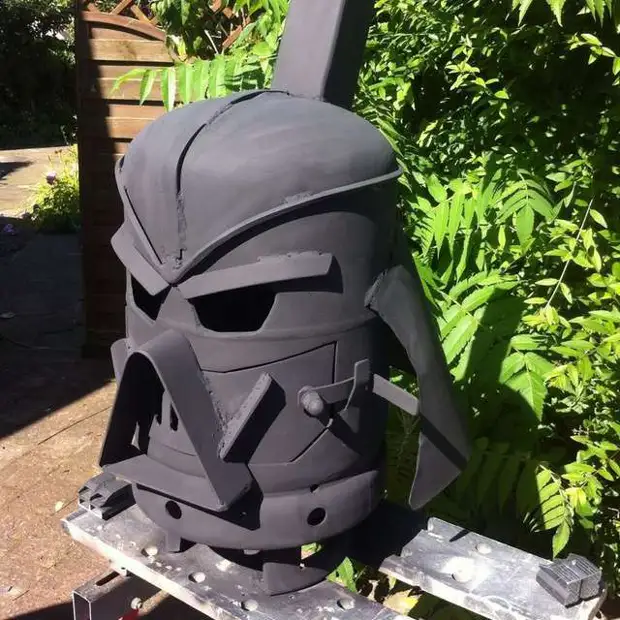
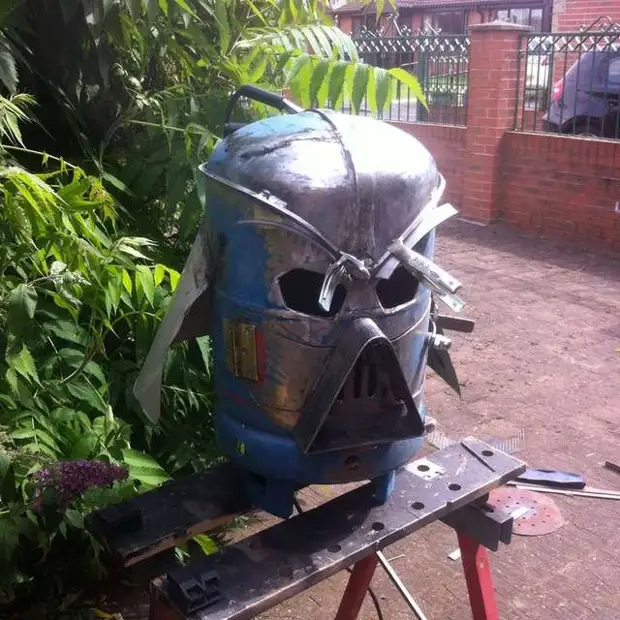
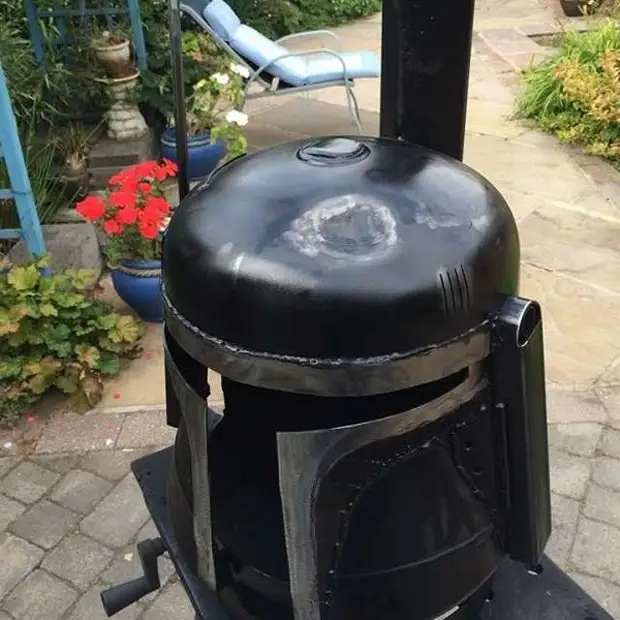
If you have an old gas cylinder in your farm, which is sorry for yourself and apply nowhere, then this project is for you. This furnace in the shape of the Wader Waider's helmet from Star Wars is able to hit even adults.
In order to make such a street oven, except the gas cylinder, they will also need some metal waste: trimming plates and pipes.

ATTENTION! Observe the rules of cutting containers in which combustible materials were kept.
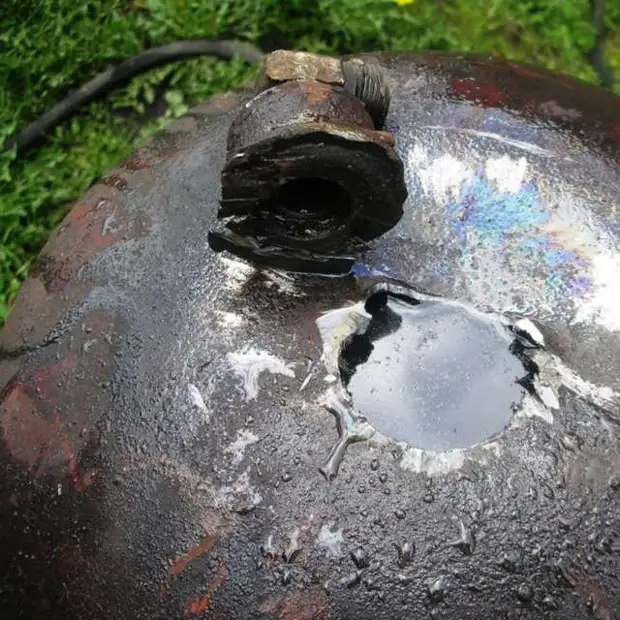
Give yourself aware that the cylinder must be cut, but before this it must be degassed, because An explosive fire hazardous spark may occur. Therefore, do it competently, consistently, without a rush:- To begin with, leave a balloon for several days outdoors with an open valve. Then it is necessary to clean the valve outlet to check that the entire gas came out.
- Get away with a balloon away from residential buildings, turn the balloon and try to drain condensate as much as possible (note that it is explosive and stinks).
- Remove the valve from the cylinder. If you fail to unscrew, you can carefully cut it with a hacksaw on the metal. At the same time, be sure to ask someone to water the place of cutting with water while you saw. This will help to avoid the occurrence of sparks.
- At the bottom of the balloon, there is often a substance similar to liquid soap, and it is also a fire hazardous. Therefore, the cylinder must be rinsed thoroughly to eliminate the remains of a hazardous substance. After you get rid of the valve, freely fill the balloon with water. The water will displace the remnants of the gas and mocks the condensate from the walls (take the balloon as far as filling). But rinse a cylinder a couple of times - not enough, the best option is to drill the hole in the right place below the water level, connect the hose and wash it for a long time Flowing water.
- Now the balloon can be cut by a grinder.
The next step is to create an image. Take the marker and mark your cylinder cylinder.
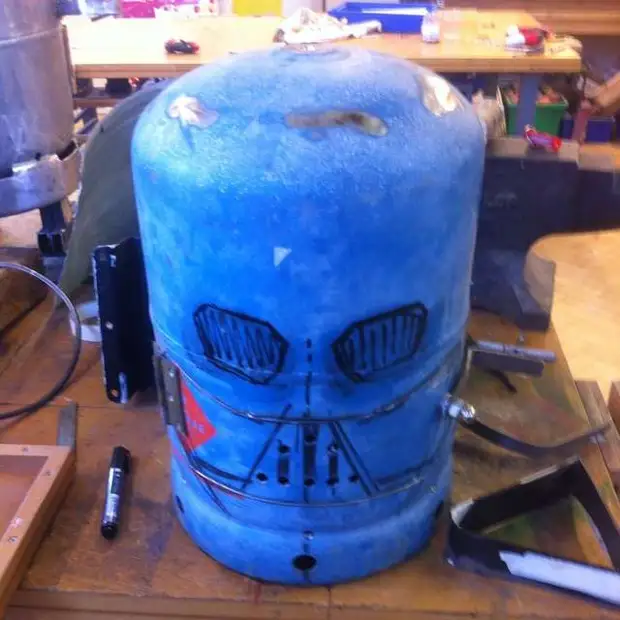
See what you have unnecessary trimming and count how you can use them to decorate your oven.
Collect all the details on Scotch, make sure that everything is done neatly and modify the nuances.
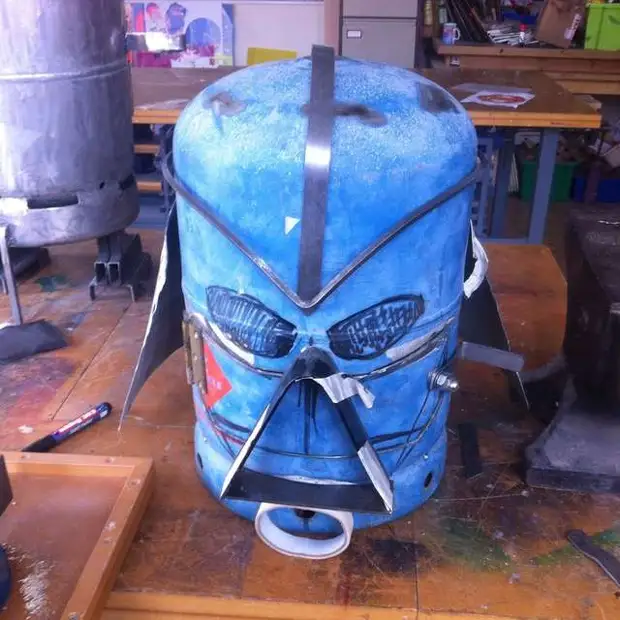
In places welding, paint must be considered.
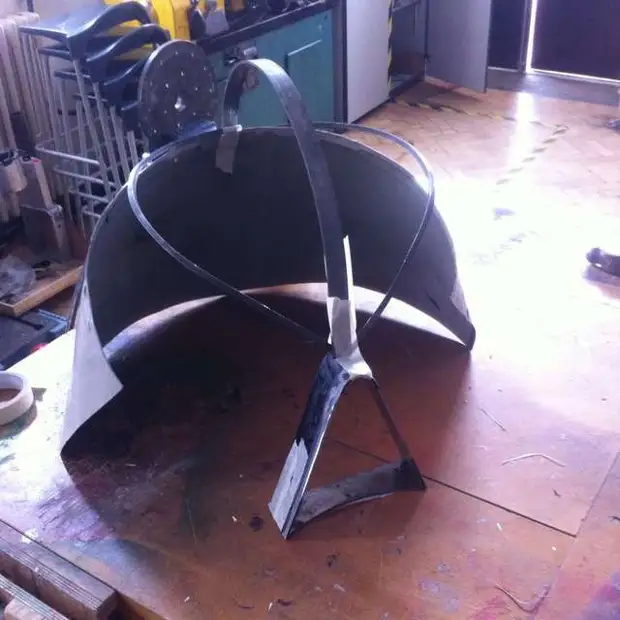
The pipe on the back of a dark lord is chimney. The higher it rises above the furnace, the stronger the thrust will be. Holes in the door and in the walls of the cylinder serve to inflow air. You can also drill holes in the bottom.

The front door opens to load fuel. It is important to provide a valve on it.
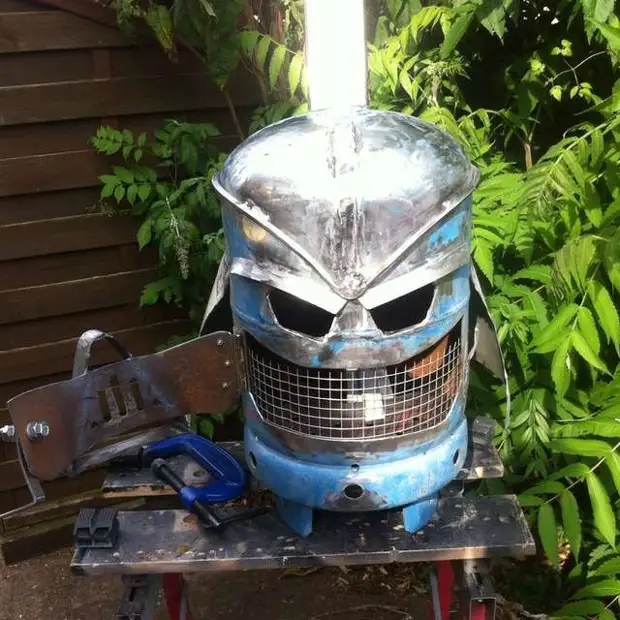
Before painting it is worth testing the oven. This will not only allow to identify and eliminate functional shortcomings in the design, but also help get rid of paint residues on the cylinder.
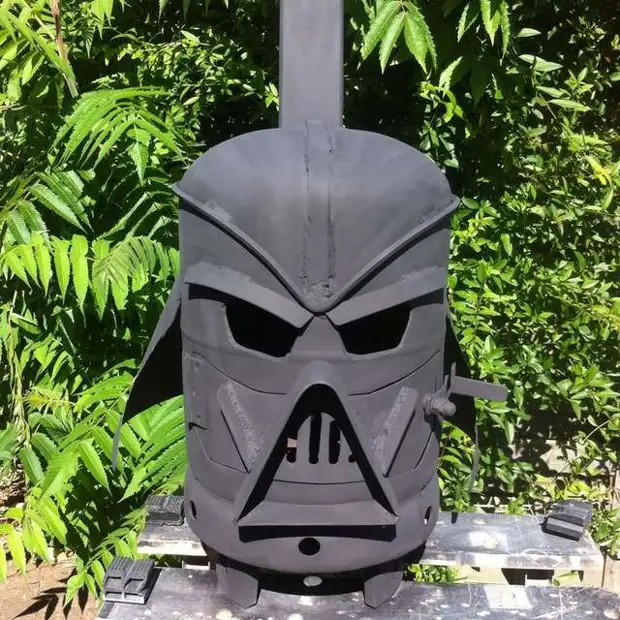
After that, the surface must be cleaned with a metal brush and paint with special stove in several layers.
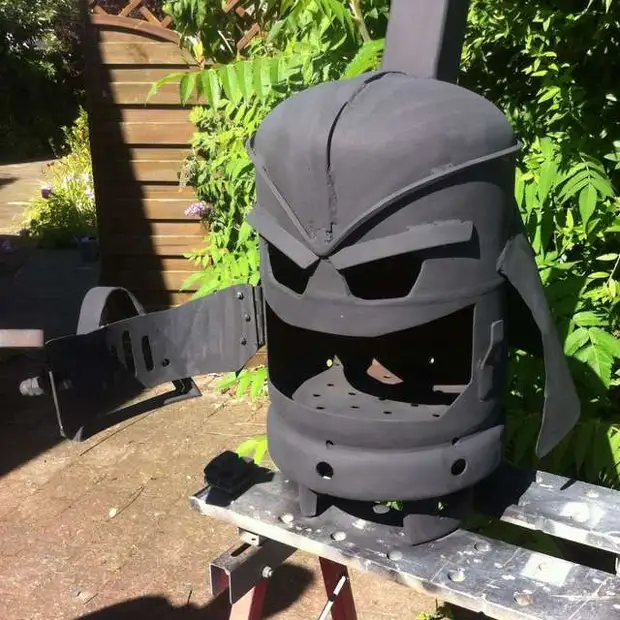
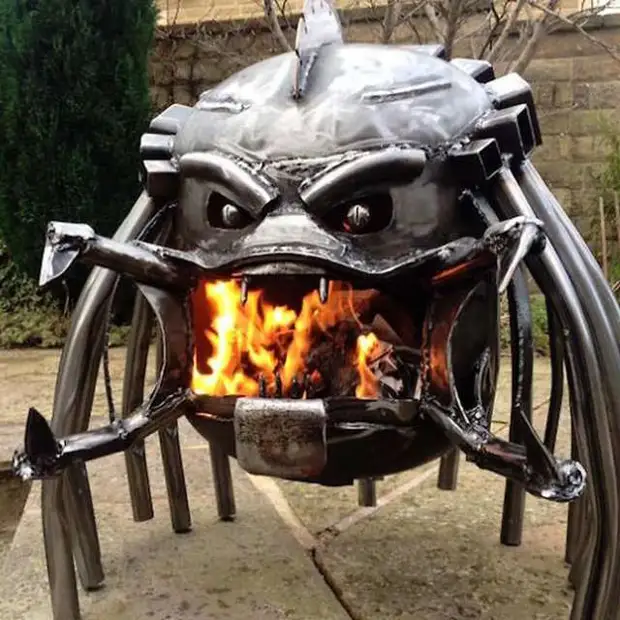
Our street oven with their own hands turned out to be impressive. You can repeat this design or recreate some other character. For example, an alien mercenary from the same Star Wars.
Or xenomorph:
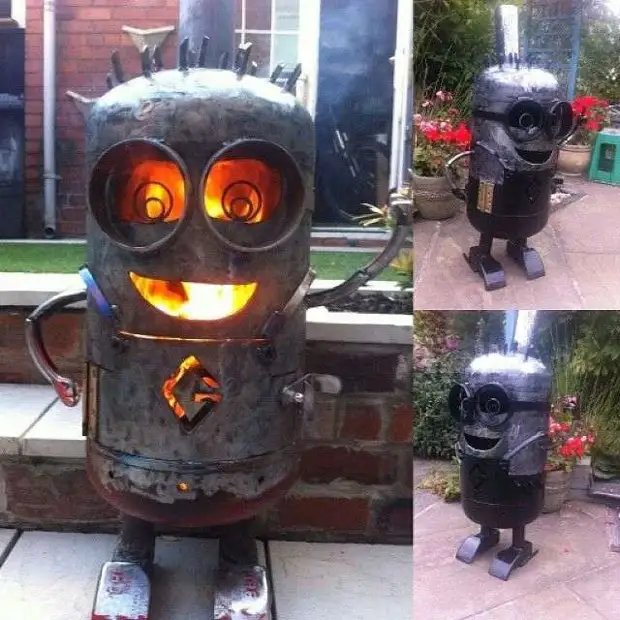
Or a character of some famous cartoon ... well, this is if you prefer a light side.
Simple street oven with your own hands from car drives
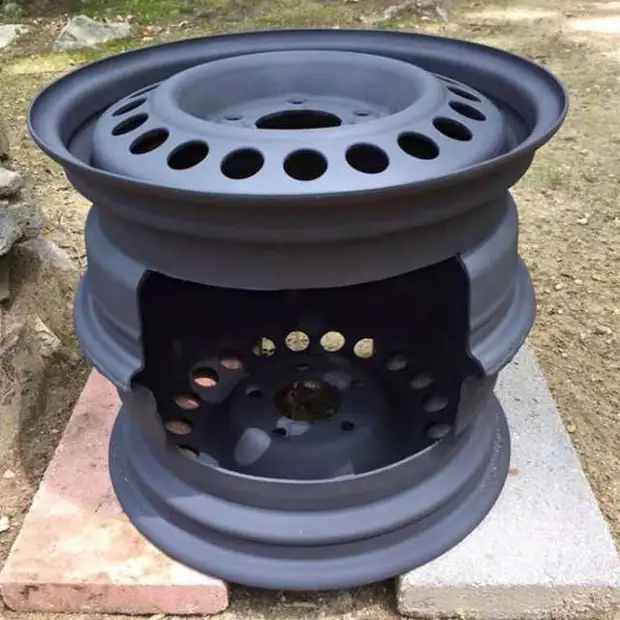
If all this is too extravagant for you, or you just do not want to mess around with art delights, then we can offer you a project of a simple and practical street wood-burning furnace from two car discs. If you are a car enthusiast with experience, it is not excluded that old discs were lit in the garage. You can easily breathe in them a new life, turning them into a street oven for your cottage.
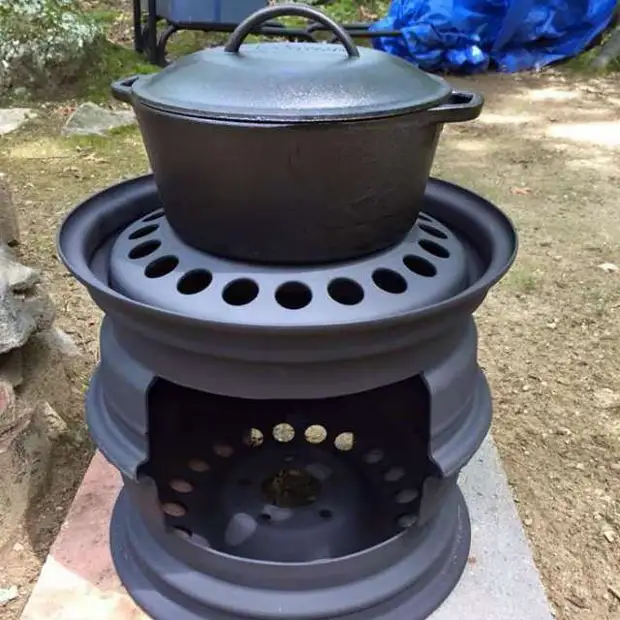
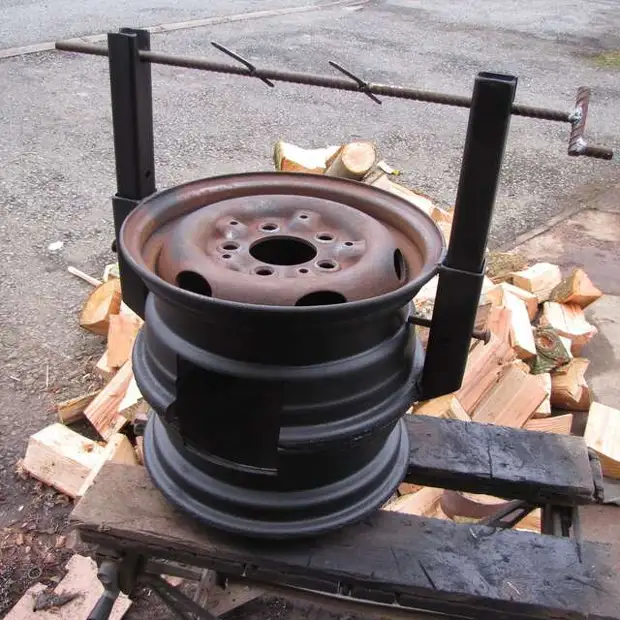
This furnace is extremely easy to manufacture. You just need to cut the grinder window to bookmark the wood, and then weld the discs with each other in a circle.
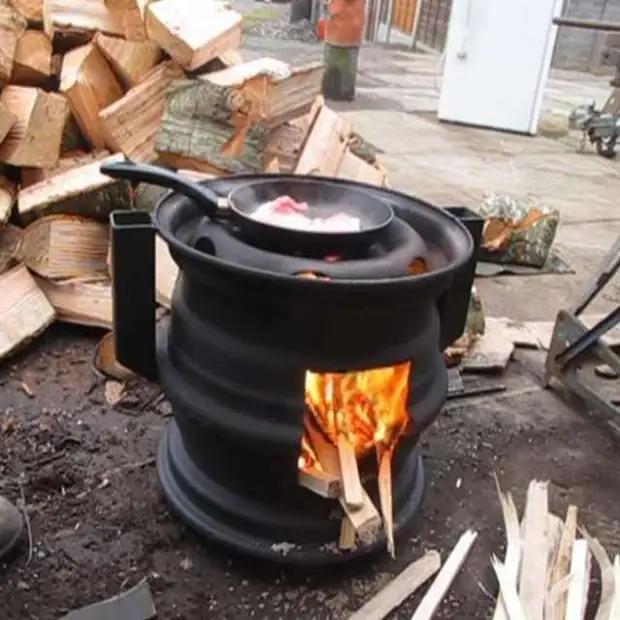
As with the first furnace, before painting, tests should be conducted.
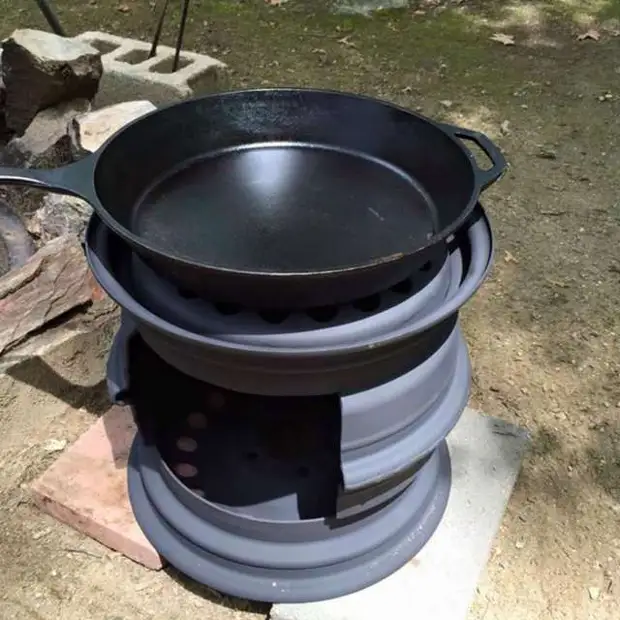
Maybe she does not inspire such horror as a star of death, but it can be comfortable.
And if you wish, you can easily add spit.
It is so easy to make your own hands to make a useful and interesting thing from the fact that most people consider nothing to be suitable trash. Street oven with your own hands for giving - a great project for a beginner welder. It is not complicated and provides a lot of opportunities to practice. And more experienced masts of welding work will find a huge space for the flight of fantasy. At the same time, if you make an error in work, it's not scary at all, because in the end - this is just a stove.
