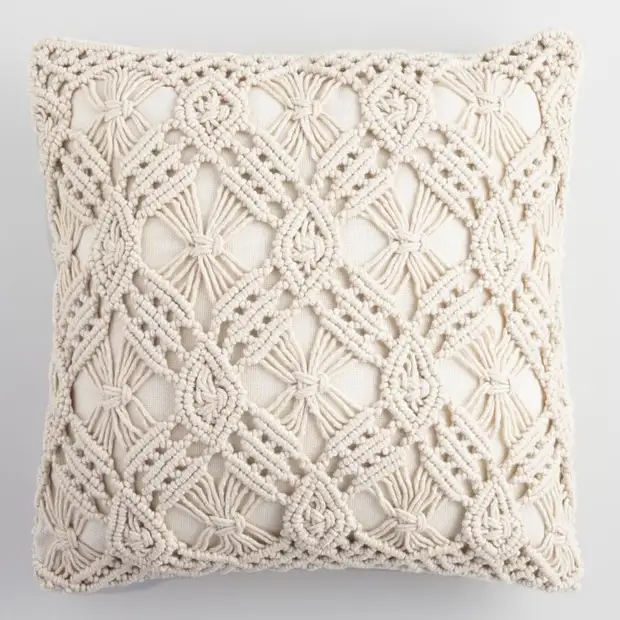
Products made in Macrame technique are becoming increasingly popular. In this technique you can make bags, accessories and even decorations for the house, for example, pillows. Such pillows made by their own hands will be able to transform any interior by adding heat and comfort to it.
Even if you have never done Macrame before, you can easily make such a stylish decor element. The main thing is to master the basic node weaving technique.
For the manufacture of the pillow, you will need 110 m cotton cord with a diameter of 4 mm.
The work process is described for a pillow of 40 cm x 40 cm.
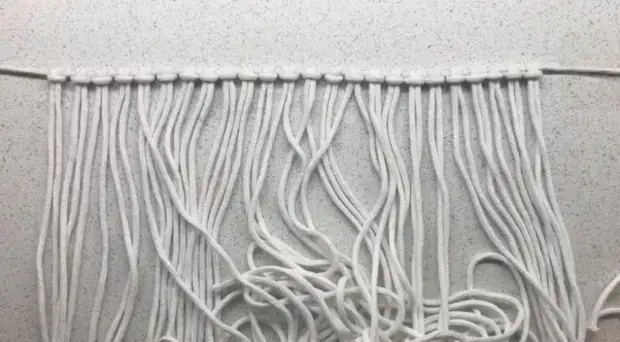
Before you start creating a pillow, cut the cord.
You will need:
- 24 cuts of 4 m;
- 8 segments of 50-60 cm (auxiliary cords);
- 2 segments of 3 m.
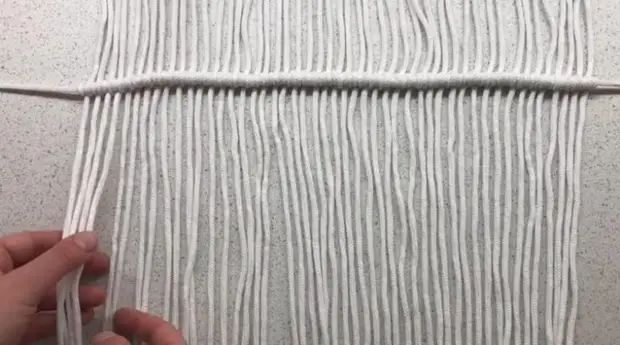
To start work, take a cord with a length of 50-60 cm and with the help of a tape attach it to the table. On this auxiliary cord, secure all 24 segments folded twice, 4 m long. For this, it is more convenient to use the method of fastening the "lock forward". As a result, you will have 48 working cords.
Go to the pillow weaving.
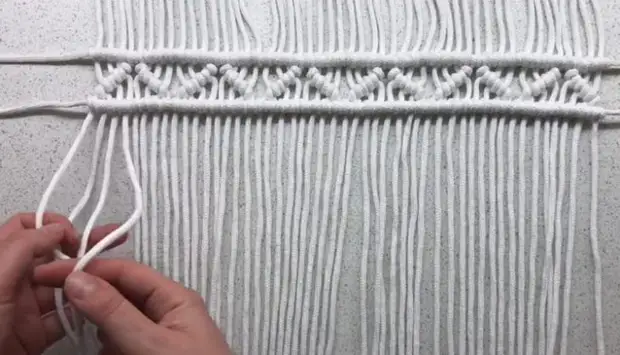
Take a cord with a length of 60 cm and secure it with a tape on the table at a distance of about 15 cm from the top of the product. Make a horizontal brida from the basic repition nodes.
After this series is ready to go to weaving the inclined brdine. To do this, separate the first 4 cords and make knots with a slope to the left, on the following four cords, make knots with a slope to the right. Take the whole range in this way.
Take another auxiliary cord and make a horizontal range of reps nodes parallel to the first.
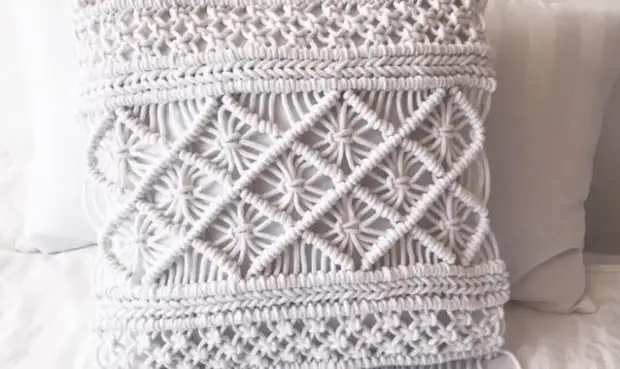
The following three rows will consist of flat knots braked out of every four threads. Climb the nodes in a checker order.
To highlight them, braid another horizontal range of reps nodes.
The next step with a cord with a length of 3 m braid a row-braid. Separate the braid by another near the reps nodes.
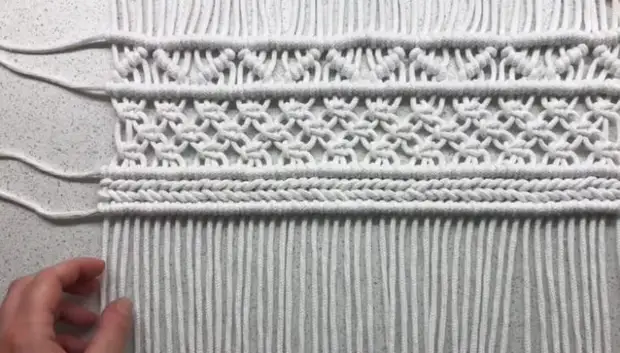
Next, we will braid inclined brdits on 12 cords (6 are inclined to the left, 6 right). In the middle of each half-liver of 6 cords, make a flat knot.
Continue weaving the inclined brdine repition nodes to get rhombus. In the middle of the diamonds again, make flat knots again and make another rhombus of the inclined reps.
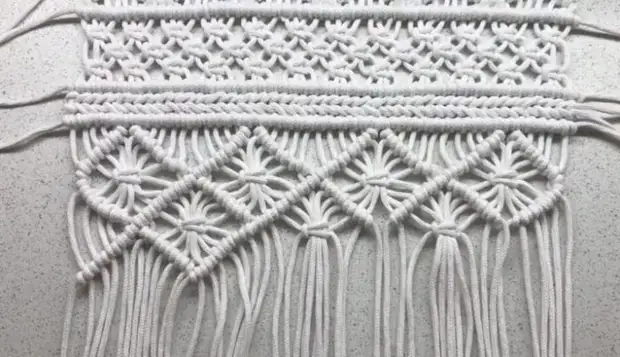
The remaining part of the pillow will be a mirror reflection of the upper part.
Removing the auxiliary cords from the top and bottom, and cutting the cord, you will get a bachromium with a length of 15 cm. The threads remaining from the auxiliary cords, with the help of the cord, gently stretch on the wrong side of the product.
The last part of the work is to sew the macrame decor to the pillow.
Such a pillow will become a real decoration decoration and can even act as a gift for a new school.
Detailed Macrame Pillow Production Process, you can look at the video below:
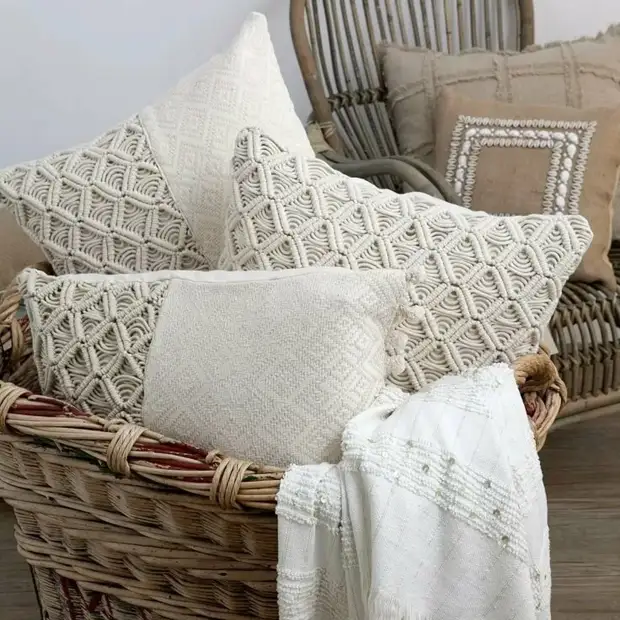
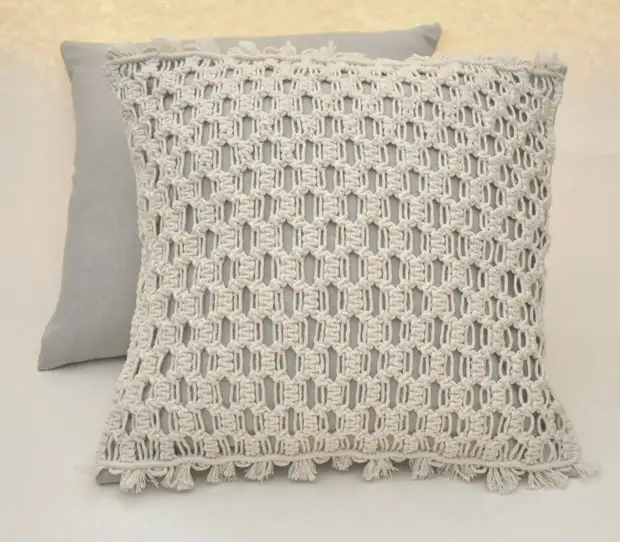
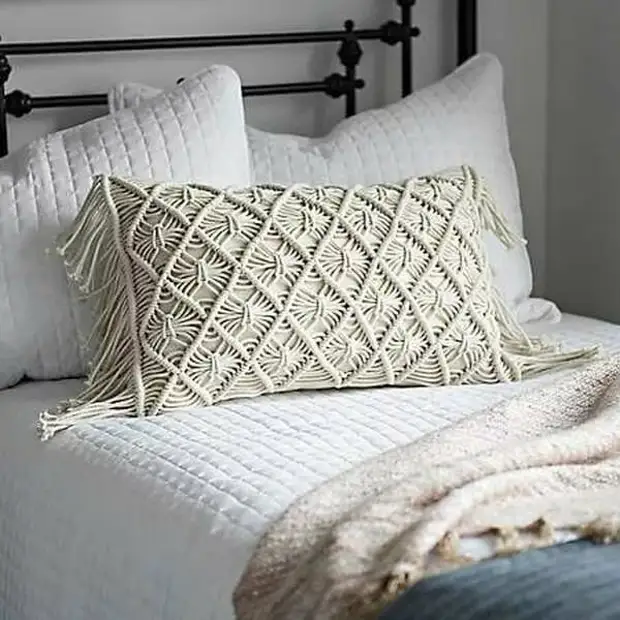
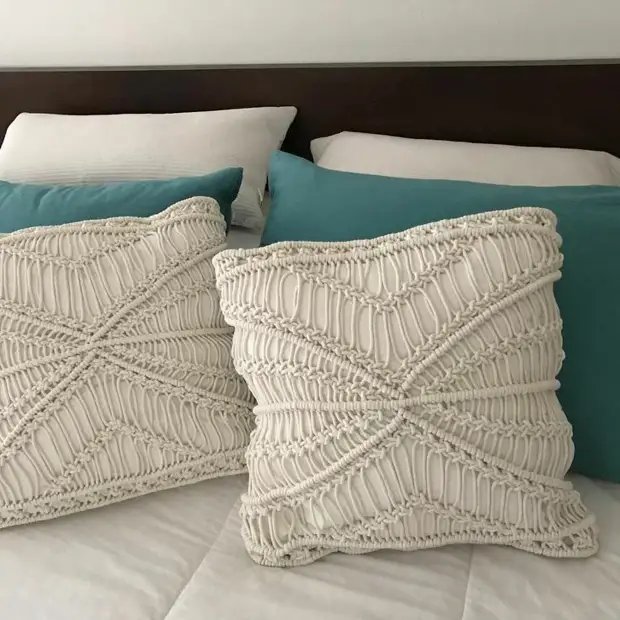
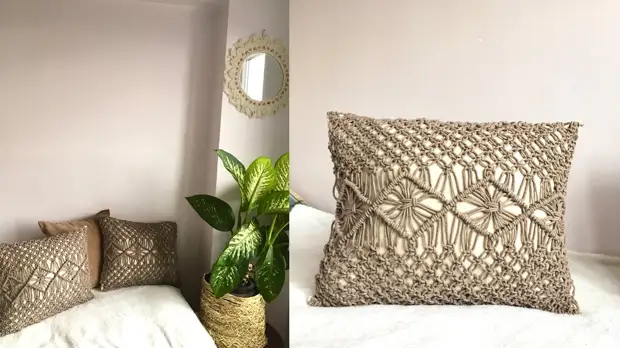
Here are some more visual weaving options for interior macrame-pillows:
Products from Macrame are cozy details that interior transform and fill it with warmth.