
I spent vacation at the cottage from my younger sister. Her children, her husband and her birthdays themselves one after another. So, I decided to give them on the birthdays my alterations. Their furniture is very old, everyone will not advise to buy something today. So I decided to make gifts to them. In this gift, I will tell you how I converted them a computer desk.
I drove to them for the cottage 2 weeks before the holiday, I looked at all objects for alterations - this in order to purchase everything necessary for my experiments with their furniture. I prepared a surprise for them, so I said nothing about your plans. On the day of the beginning of my vacation, I downloaded everything you needed into the car and my daughter took me to the cottage.
For rework, I needed:
- white acrylic paint;
- Color brown, yellow, peach (I mix it all);
- Acrylic varnish;
- sandpaper (large and lamb);
- scissors;
- Cotton fabric with a pattern;
- Gold acrylic paint;
- decor of foam;
- Acrylic primer;
- Synthetic brush with a blue handle;
- knife and screwdriver;
- Super glue;
- Acrylic putty.
Everything for your alterations I buy in the store Lerua. I really like this store, as it has everything you need and on any wallet.
We turn to the point.
1. To wash the table with detergents to dry it, unscrew the doors, worktop, remove the shelves, that is, everything that we will interfere with.
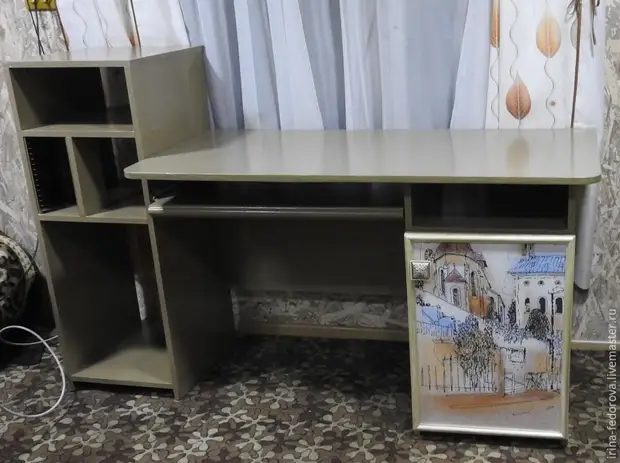
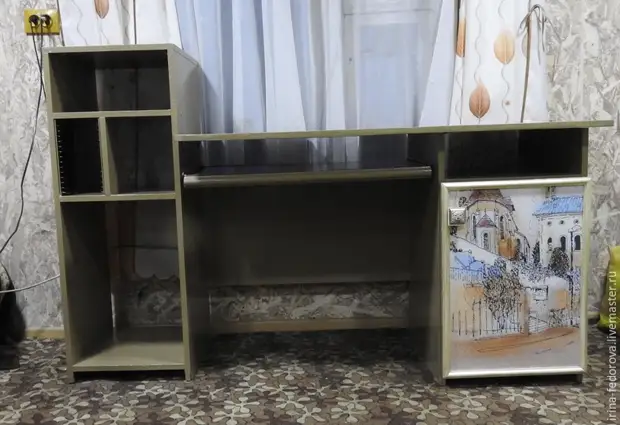
Here's how the table looked until the alteration:

2. My desk details were with different coatings, I all stuck them with sandpaper, from the ends of the countertops (main and for the keyboard), took off the old glue (was a very thick layer) with a knife, shed thoroughly these ends. Everything dare with a brush. Water all details with a damp cloth and dried. Moved to the next action.

3. At this stage, I stuck all the chips that I did not like the acrylic putty and primed all the surfaces. The primer was superimposed 2 layers. After drying, everything broke the sandpaper (shallow).


4. On the door, I decided to stick a drawing of cotton fabric. I measured the door, cut out the desired motive (cutting less than 1 cm), caressed the PVA glue very abundantly (for applying glue and primer, I use old brushes), put the picture, on top of the drawing brushed more glue, straightened the drawing with the help of Brushes or can be roller for smoothing wallpaper (as it is more convenient) and put drove. Drying took about 12 hours.

5. At this stage, I mixed paint with the collers. I got the color that I liked and began to apply the resulting paint on all table details. Applied 2 layers with intermediate drying of each. The color turned out to be a baw-olive, probably khaki.

6. That's all and dried. But so far everything is hurt, I did not sit back, painted and decorated jars under the spice and bulk.


7. From the foam decor cut the desired size, the ends were squeezed under 45 degrees, the decor was acrylic gold paint, painted the same paint the handle from the door. Painted 3 times. After drying, the decor was glued on the door super glue Master Klein.
That's what happened:

8. The final stage: acrylic varnish coating. All covered with 5 layers acrylic varnish. Each layer dried up to the middle of the third day, I collected the table.
That's what happened:

I would be very glad if at least someone inspired to alterations.
I liked the result. The household sisters liked very much.
All the creative mood and all the best!
A source