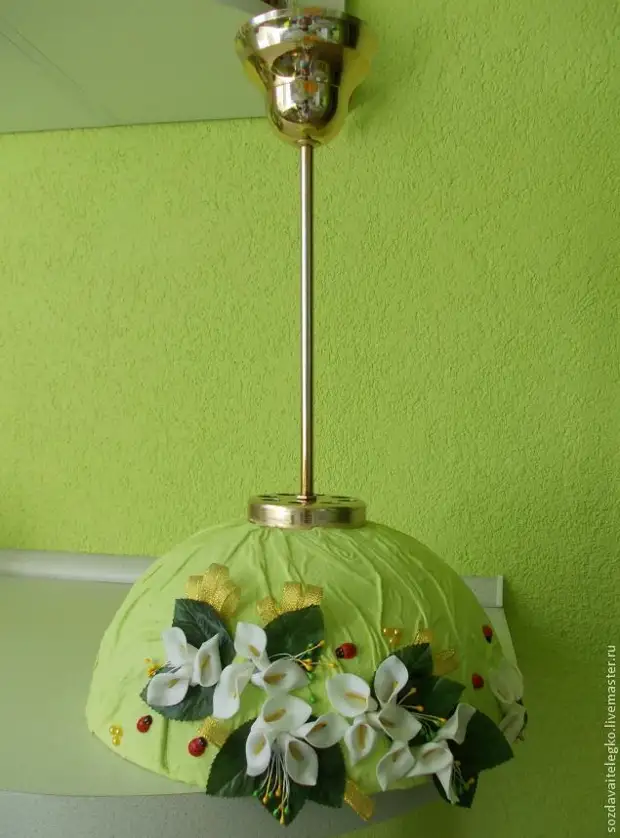
"I want to share with you how I made a chandelier for my kitchen.
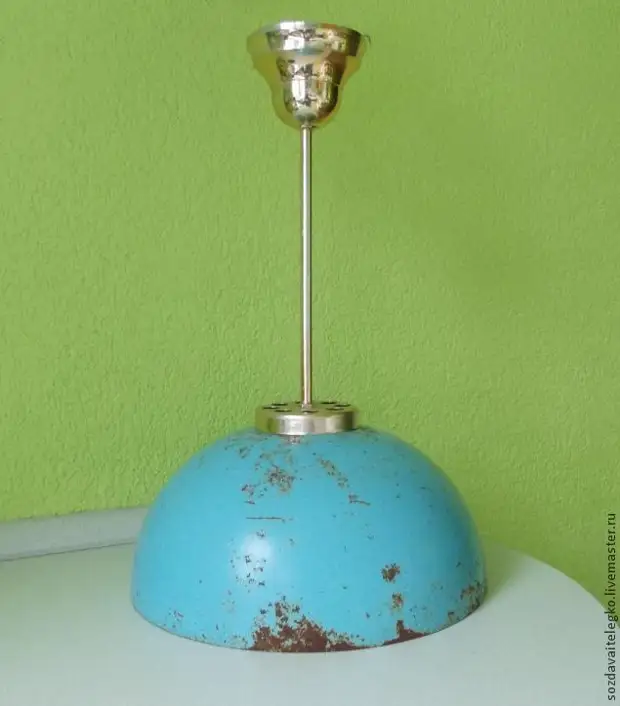
A little preside. During the move to a new apartment, I "safely" broke one of the chandeliers. It was a flaf in the form of a ball. The leg, of course, did not throw out and with the thought "in the farm will use everything" accustomed to the case :)
Here, actually she:
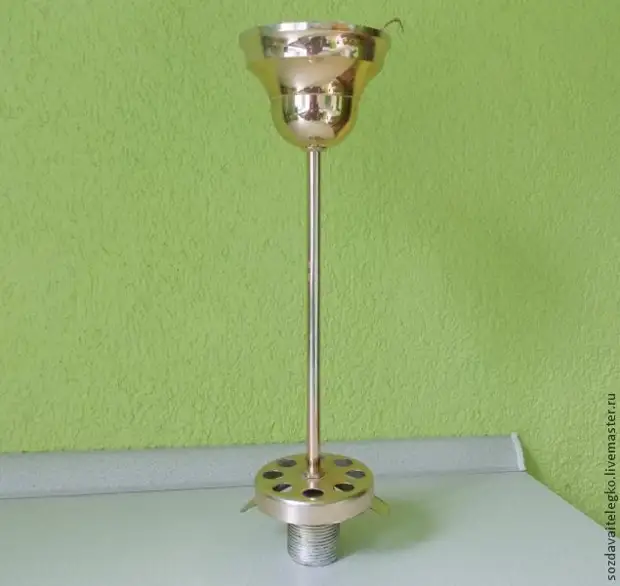
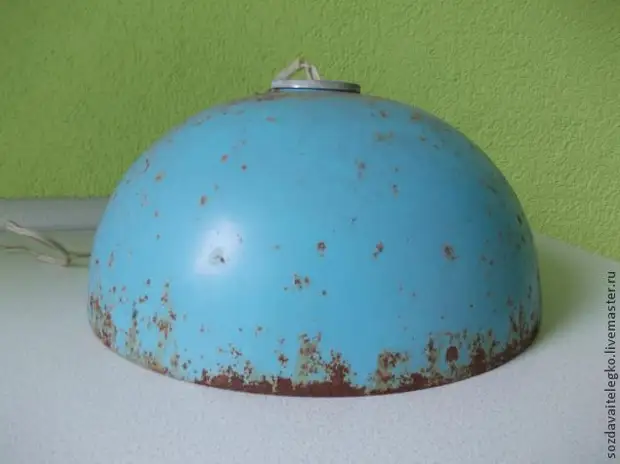
The case came, we needed a chandelier to the kitchen. In the stores, nothing appropriately liked and here I get into my hands here is such a "miracle" :) (they gave out something to make something).
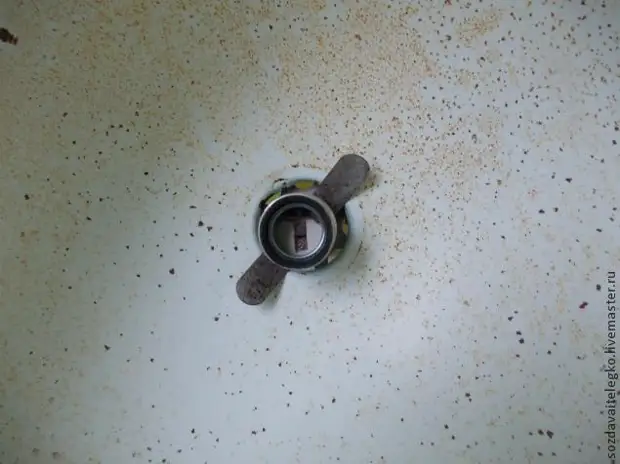
Inside view:
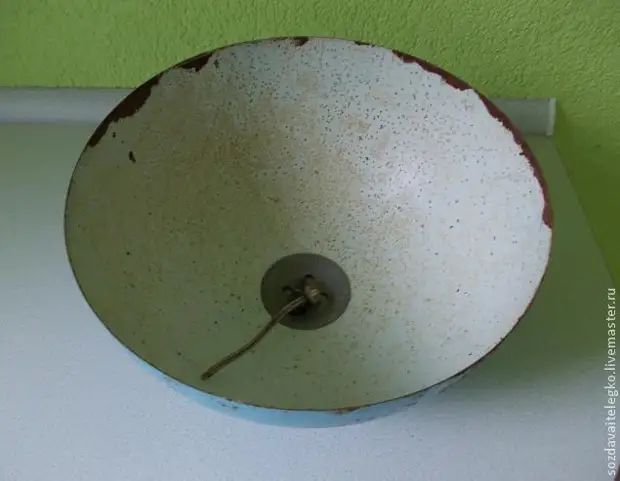
I do not know how to call it painful, but this thing was hung before the lamp at the factory or something like that.
And then I was visited by thought, connect my leg with this lamp, so that the chandelier turned out. Cut off the lamp all unnecessary wires and removed the fasteners.
They were so perfectly docked that I decided from this and "dance" :)
From the inside the leg with latches clings to the plaffon itself.
Since our kitchen is in the yellow-green color scheme with gold fittings, then the chandelier is made in the tone of the kitchen.
So, proceed.
To prepare for the decor of the chandeliers, we will need:
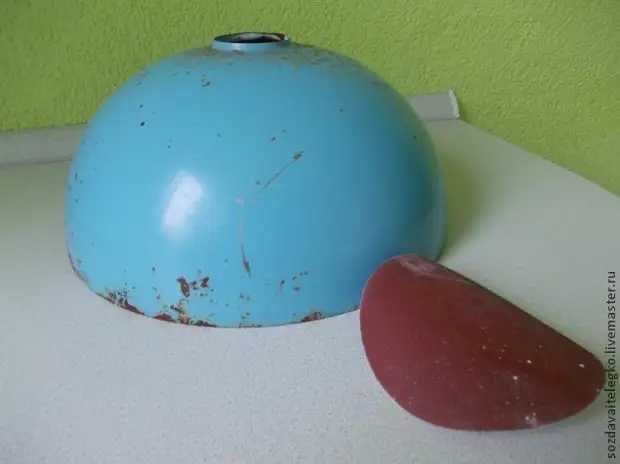
1. Emery paper (I used not the most coarse).
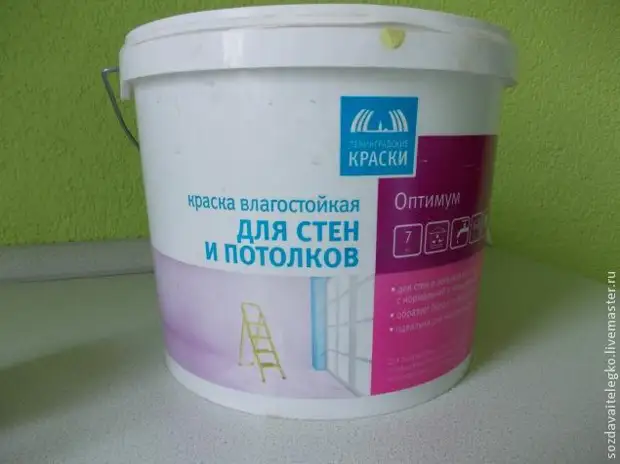
2. The primer on the old paint (this is if desired, it will dry 24 hours if there is a desire - you can apply, I did not apply, without it, everything is perfectly kept). Photo just in case someone interests:

3. The most common sponge for staining the surface of the chandelier.
4. Paint (I have this matte paint, which was used for walls when repairing the kitchen).
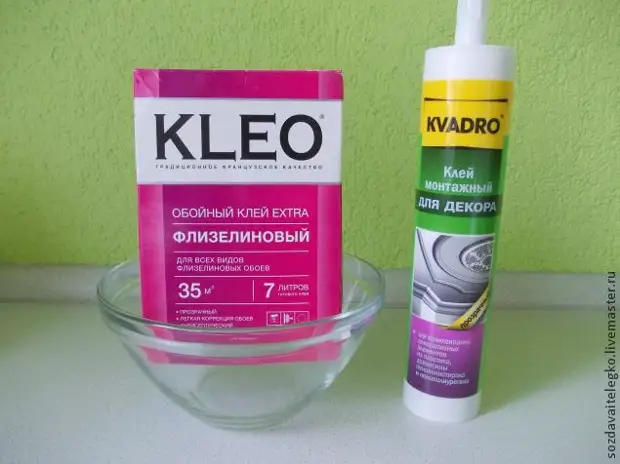
5. Clay wallpaper (in my case). I used it, since now we have it in excess. You can use PVA glue or some other, suitable for gluing the fabric for metal.
6. Bowl for glue.
7. Glue, for gluing decorative elements (one that I chose, originally white, after drying it becomes transparent).
On the photo example of the wallpaper glue and the one that I glued the decor:
For the decor we will need:
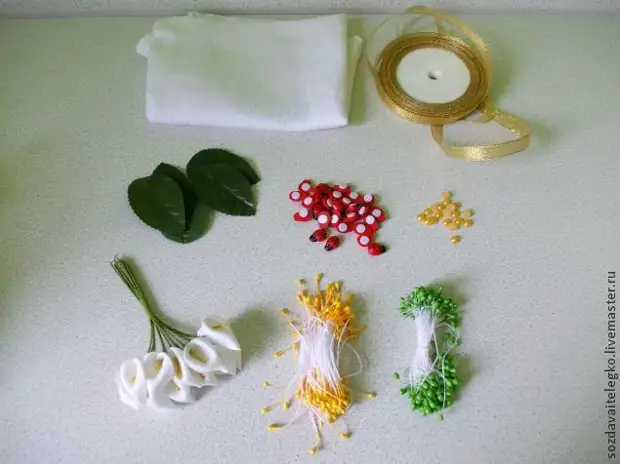
1. White fabric (I have cotton, you can use another).
2. Ribbon metallized.
3. Artificial leaves.
4. Wooden ladybugs (mine on velcro).
5. Polobusins (I have a diameter of 6mm).
6. Artificial flowers (in this case, Calla from latex).
7. Flower stamens.
Getting to work.
To begin with, we need to clean the surface of the lamp with sandpaper.
Next, cover it with primer in old paint (again, optional).
After a complete drying of the primer (24 hours), you can proceed to sticking our lamp with a cloth. I had an idea to make folds from the fabric.
We divorce the glue in the desired proportion (I had about 600 ml of diluted glue) and we wonder the fabric in it. The fabric is better cutting on the patchwork, it is more convenient to form folds.
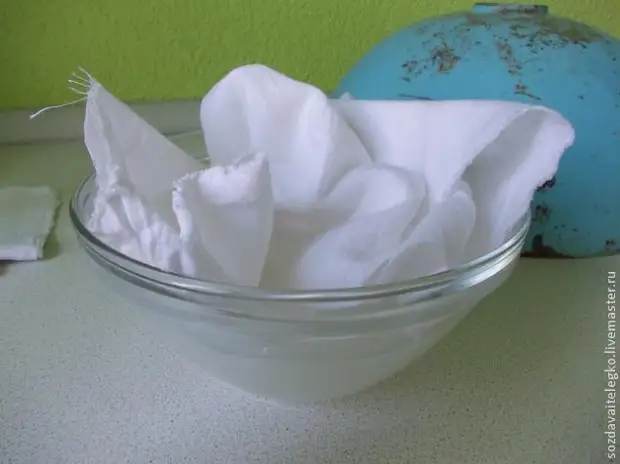
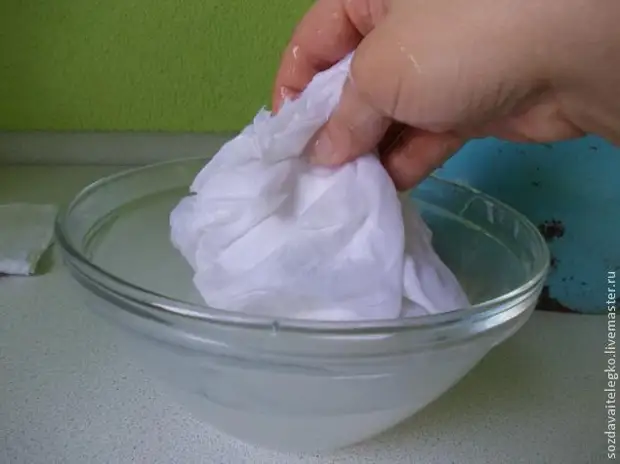
Next, lay the cloth on the lamp:
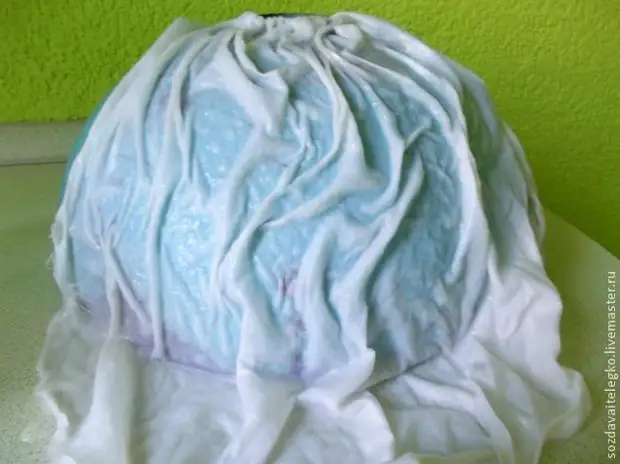
That part of the fabric that remains free, wrap inside, since we glue the entire lamp and outside, and from the inside.
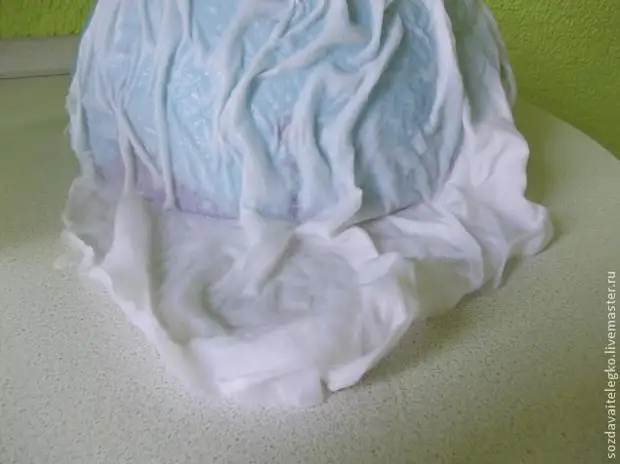
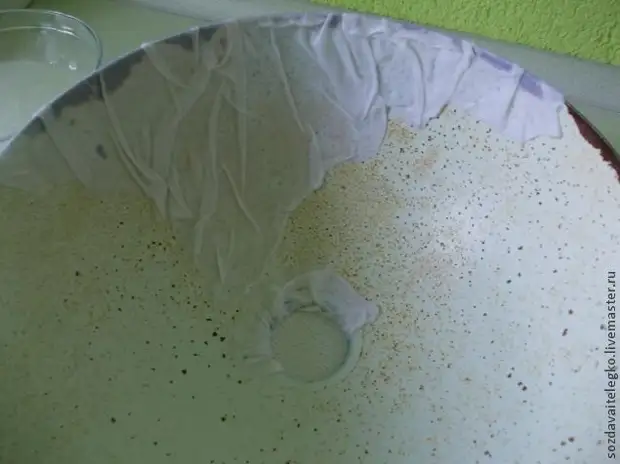
After punishing it turns out such pictures
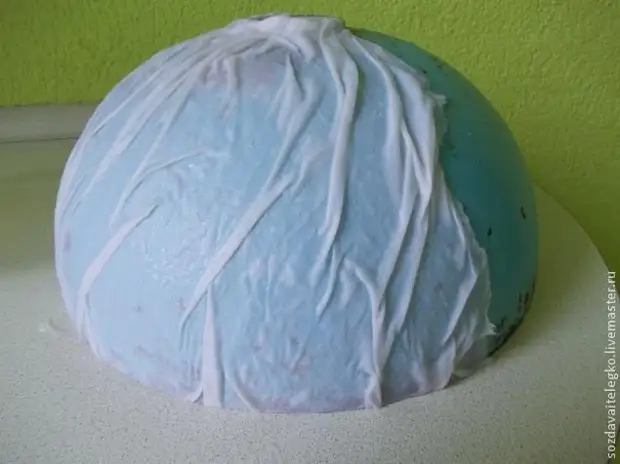
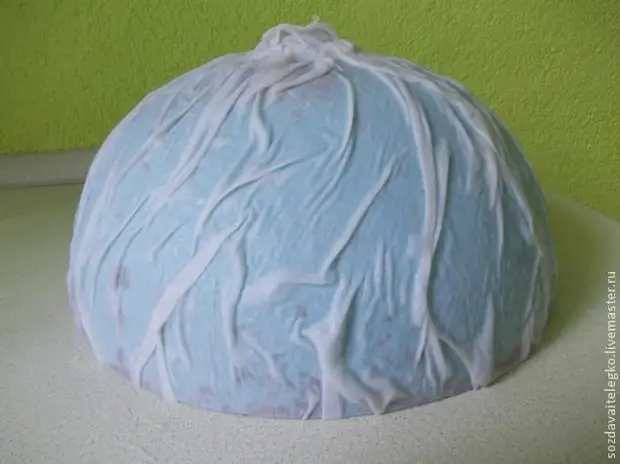
Air bubbles drive hand, smoothing the surface.
Next, put to dry. You can here in this way (I put the lamp on the mounting foam).
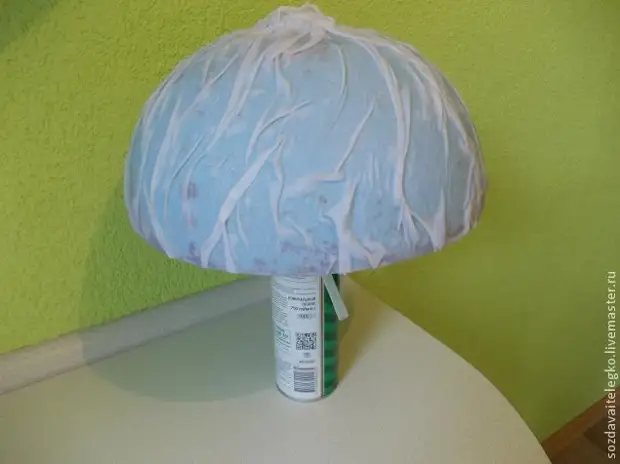
And you can speed up the process and the drying will take no more than 1 hour :)
We put our lamp in the oven, on the grille. I do not advise the bastard, otherwise it will not dry from the inside.
Heat the oven to 70-80 degrees and keep a lamp about 10 minutes there, then turn off the oven, we open it and wait for another 10 minutes. I have a total of 3 such approaches.
After drying, the lamp looks like this:
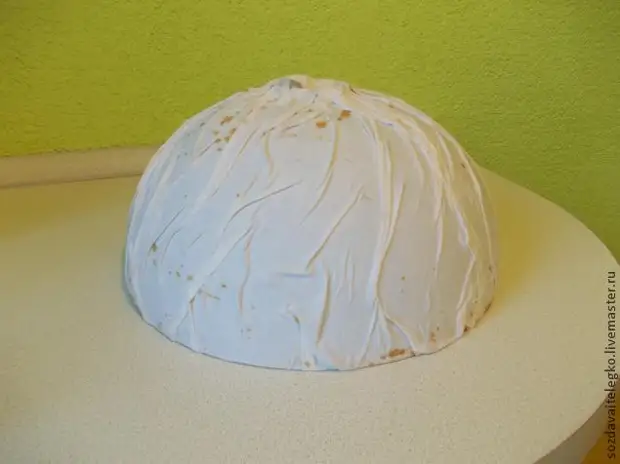
While it is not at all attractive :)
In the process of pasting the cloth, the upper hole, where the leg is mounted, closed, so it needs to cut through:
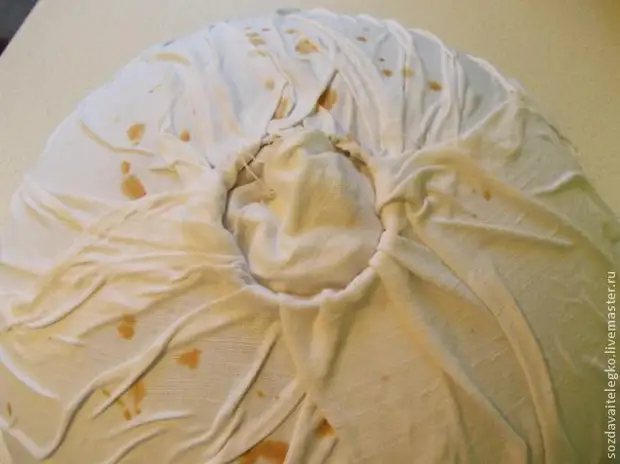
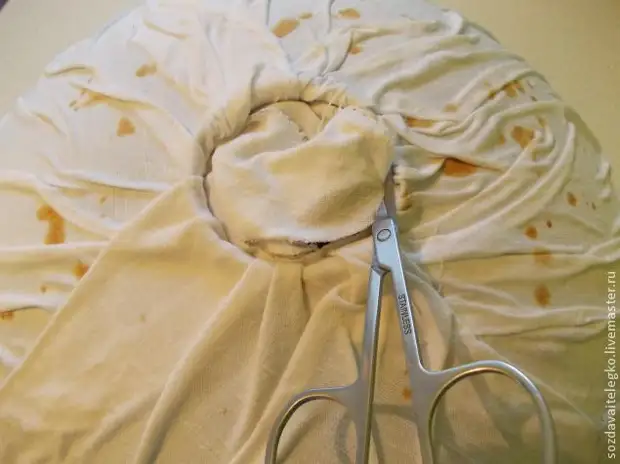
Everything is ready for the next stage - coloring.
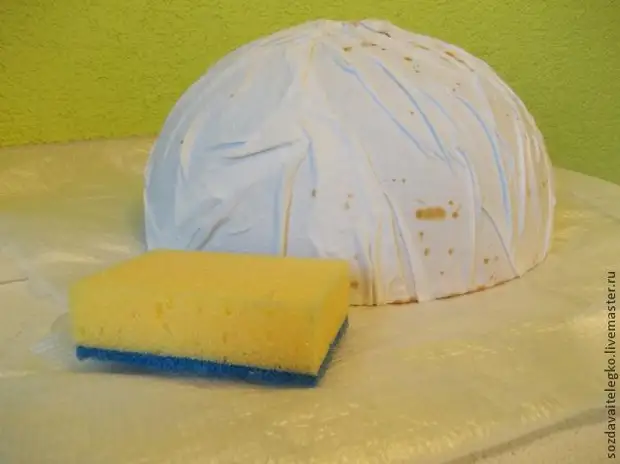
Do not forget to cover the table so as not to get dirt.
And we begin with a sponge, dragging the movements to apply paint on the entire surface (from the inside too).
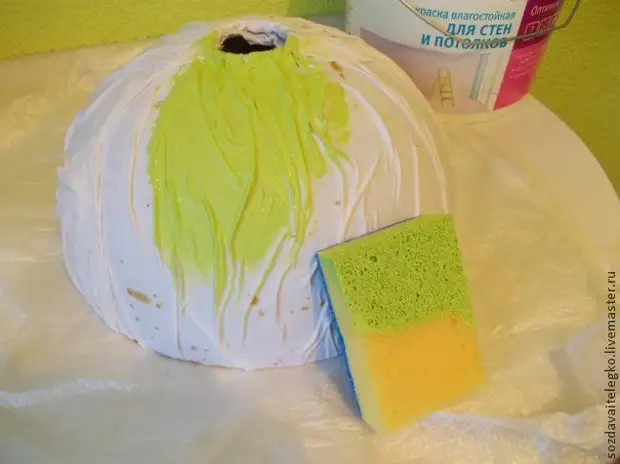
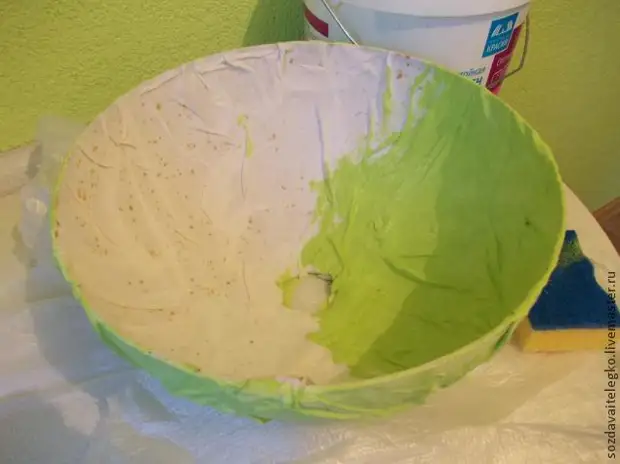
Fully painted lamp:
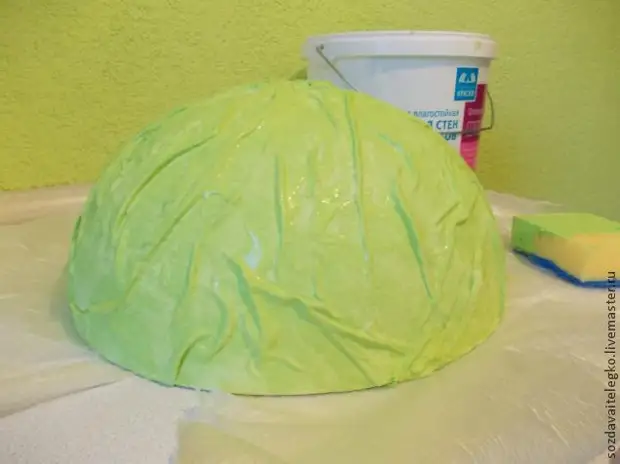
That paint, which I used, dries 1 hour. After drying the first layer, cover the lamp by another layer, because In some places, traces of rust still performed. We are waiting for complete drying.
Do not forget to paint the lower part of the leg into the same color so that it does not stand out in the overall picture.
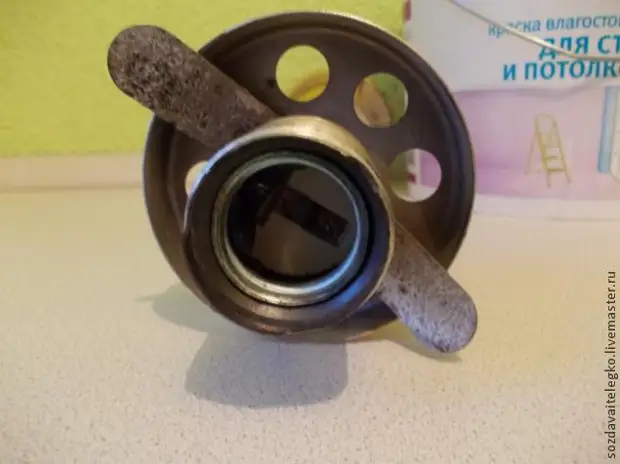
After the paint dried, we connect the leg with the lamp.
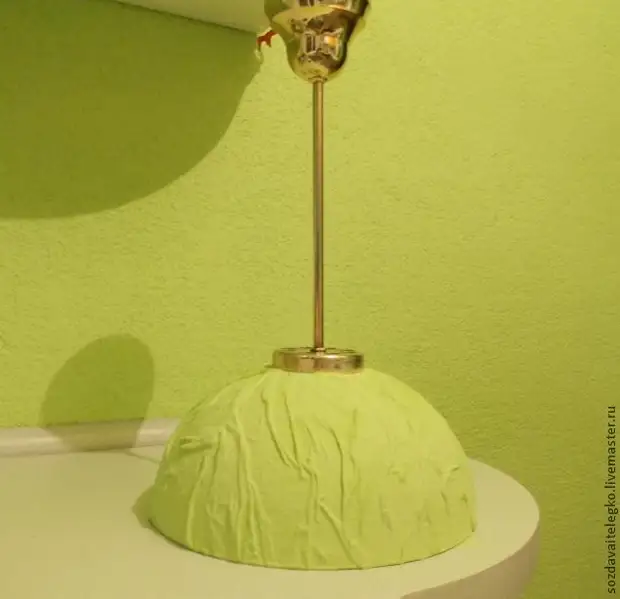
We left to add decor :)
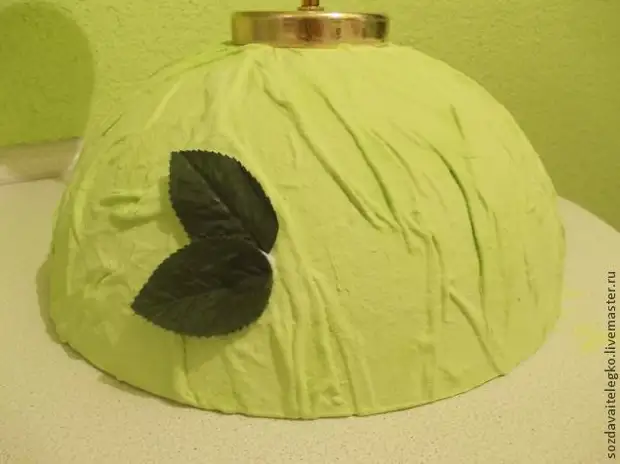
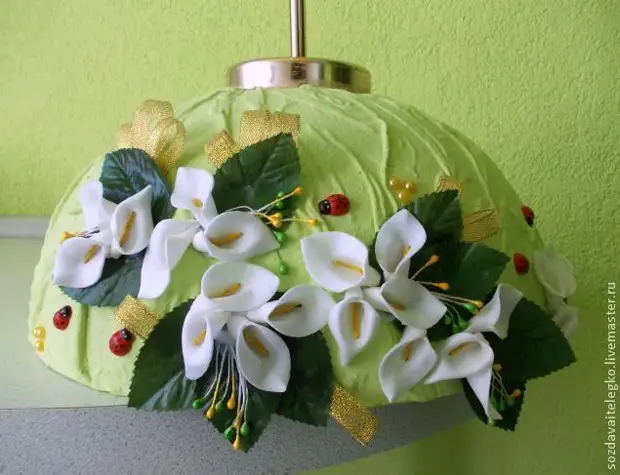
I placed the whole composition on one side, you, optional, can place the decoration to your liking.
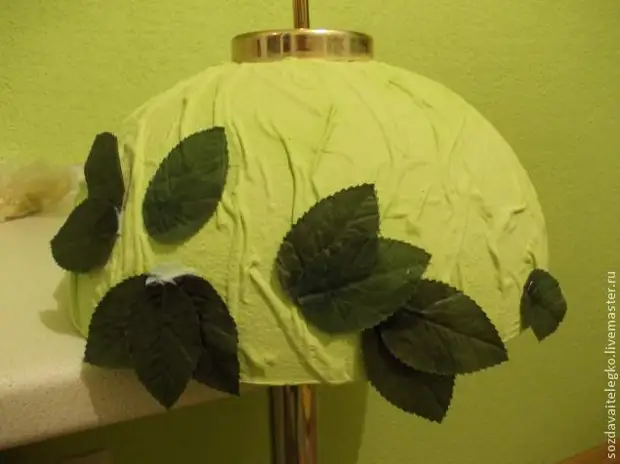
First, glue the leaves:
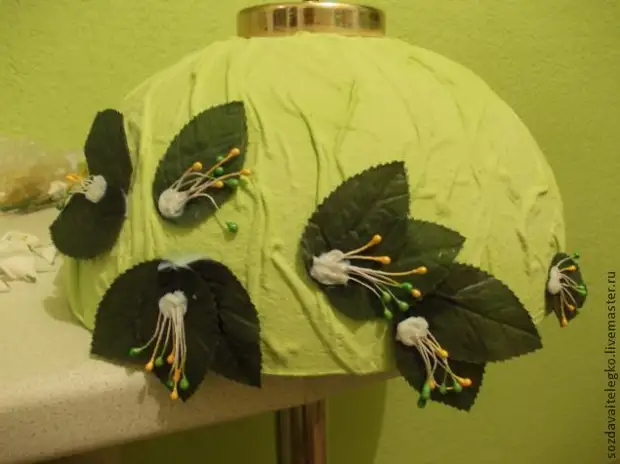
Then we glue the stamens. For this we fold them twice. I used 2 threads of yellow and green:
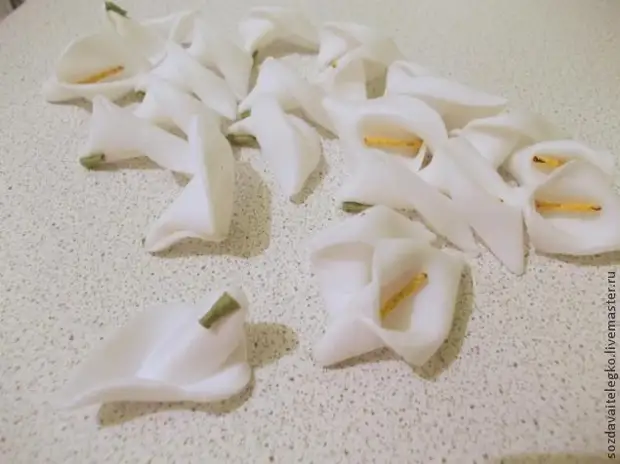
Then flowers.
Before glued - cut off the leg, leaving 3-4mm from the flower and bend it on the "back":
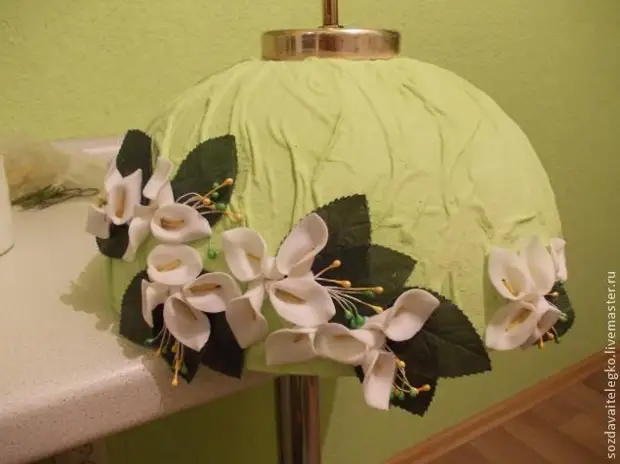
Adhesion do not regret.
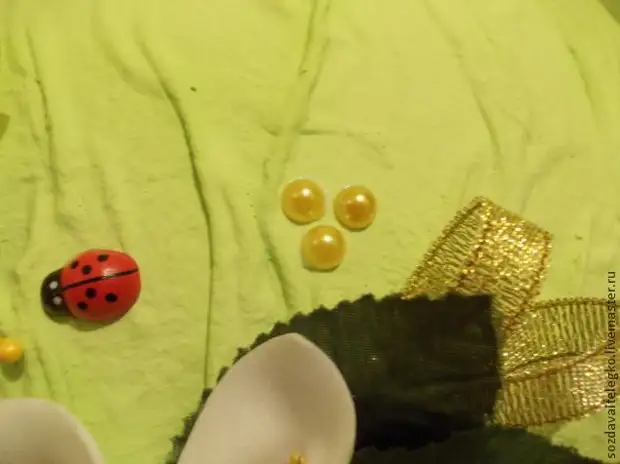
Now add ladybugs. I took the velcro from them and glued to the same glue:
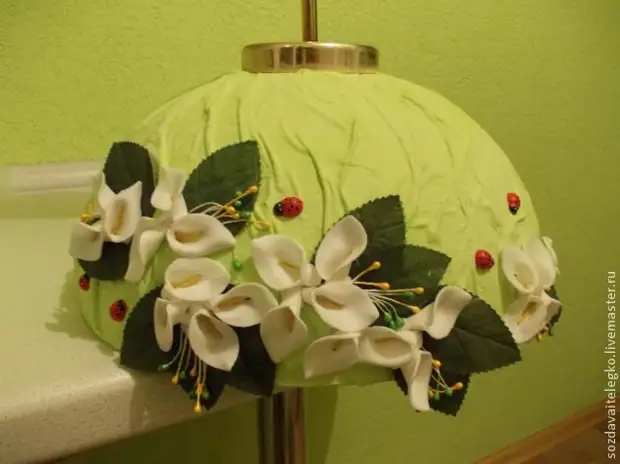
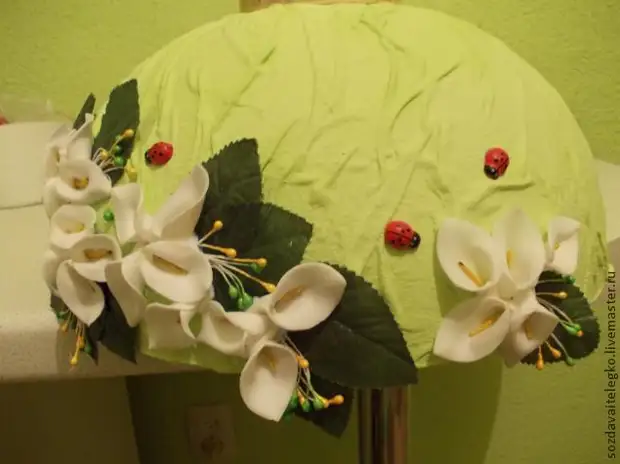
We decorate the ribbons (we stick them under the leaves):
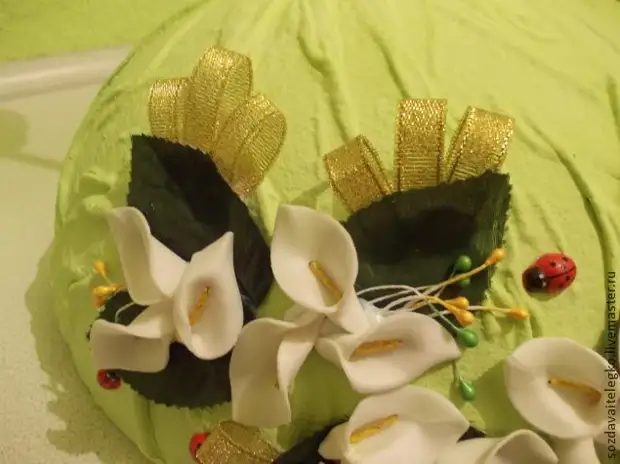
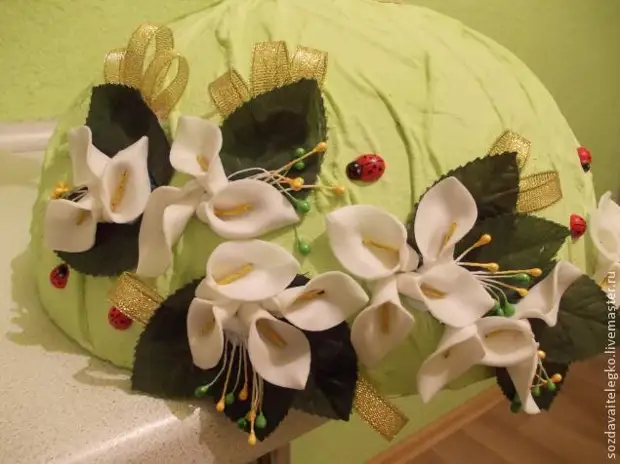
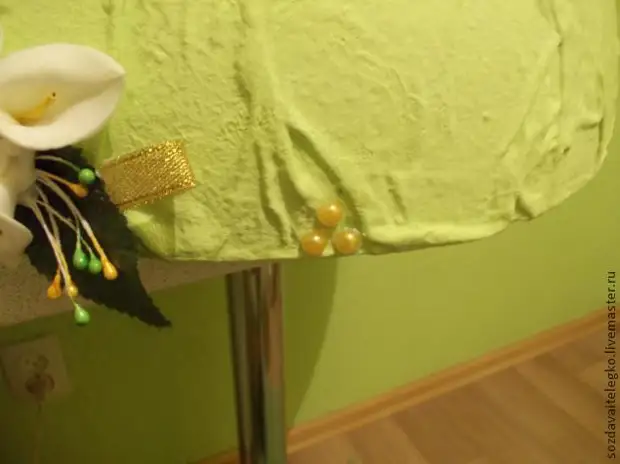
Last bar - semi-graysins. They take quite a bit, so as not to overload the common picture. I stuck 9pcs (3pcs in three places):
Final result:
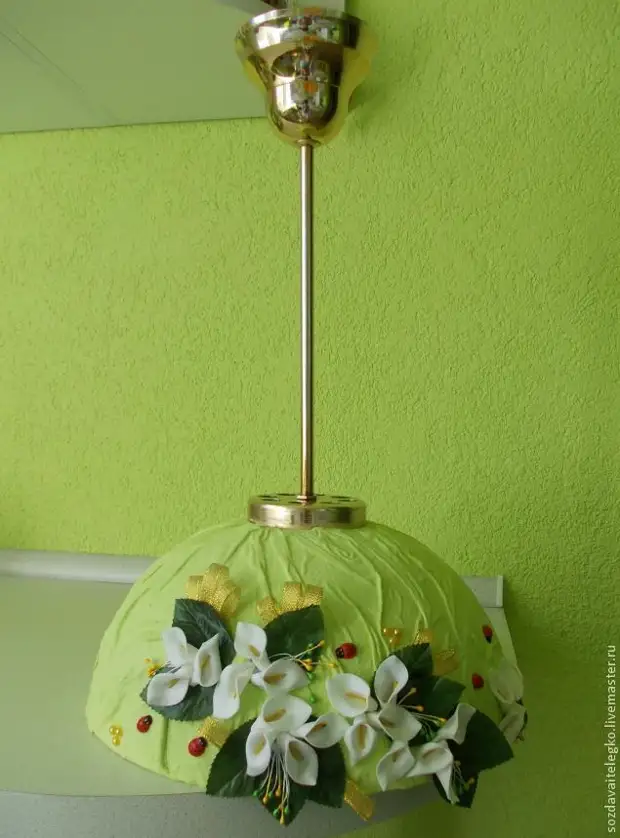
It remains to hang it in place
That's all, I really hope that my version of the chandelier is useful to someone!
(Author - Anastasia / Create easily! / from Ivanovo)
A SOURCE
