
Half of things in my house made by my hands. I love to make a mastery. My hobby does not understand everything, but I have a couple of friends who adhere to the same looks. If you found loved ones in the spirit of people who are ready to help in painting an old chair and will gladly share their ideas, take care of them.
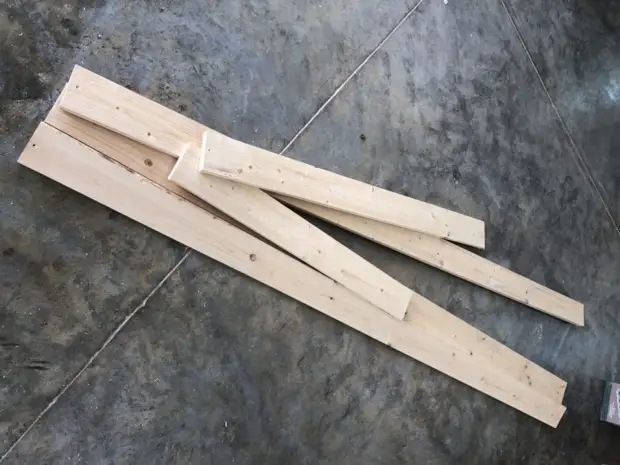
Recently, a friend suggested to build anything useful for the house from old boards. I happily agreed. I just had a little cropping, last week I changed the base of the bed.
We have not thought about what you can do from the remaining boards. The idea appeared thanks to the sawn sconce from the store on the contrary. They can also be used as a candle stand. I decided that this is what you need!
Instructions for the manufacture of rustic shelves
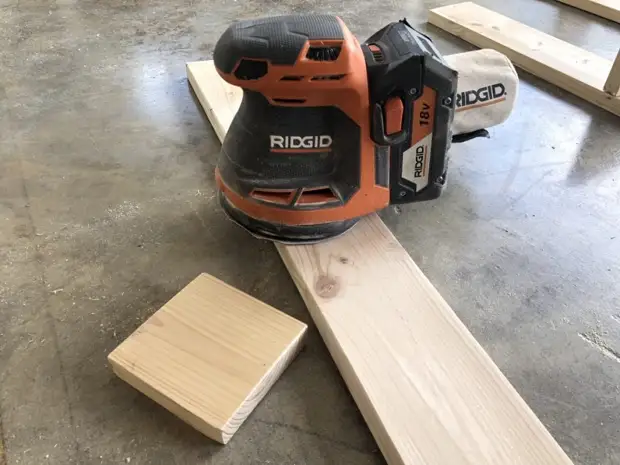
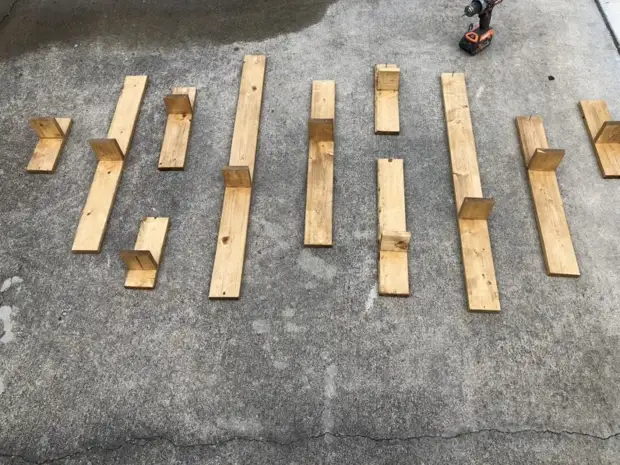
To begin with, I drew a layout. Nothing difficult. At first I measured the wall on which planned to place the shelves, and calculated the size and amount of material. Then cut the part of the desired size and, making sure that it is perfect, used it as a template, cutting out similar details.
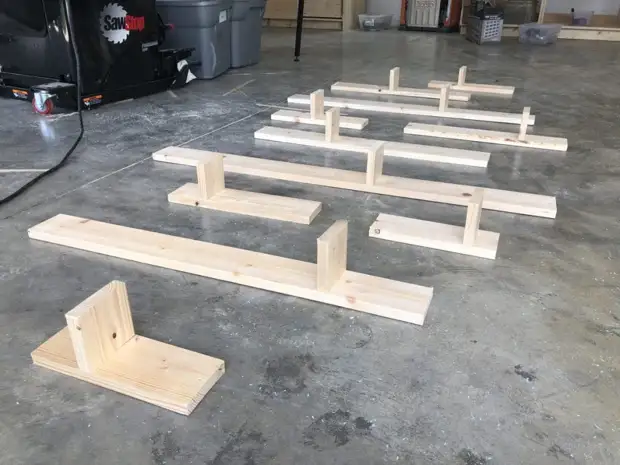
Arriving them on the floor, I tried to collect a future composition of them. Soon I managed it, but before that I had to cut some boards.
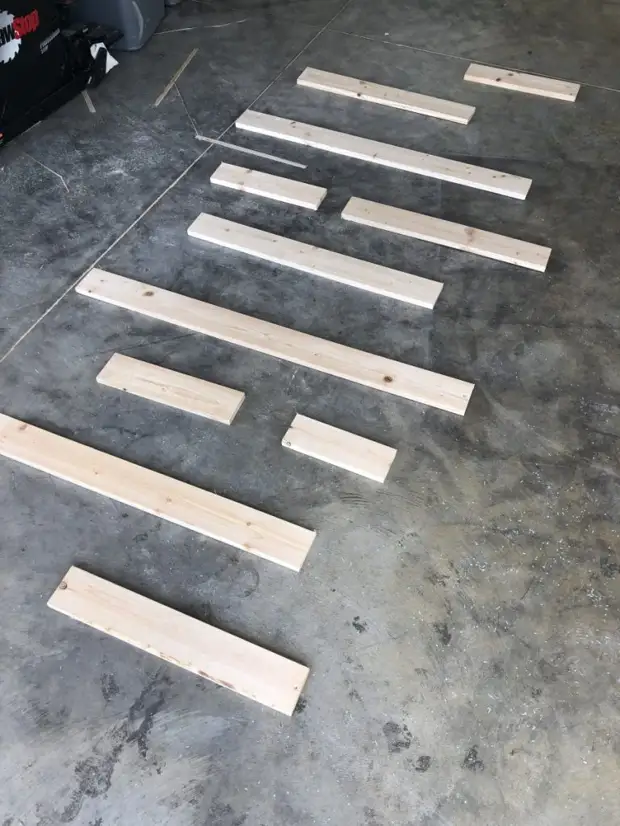
Then, from what remains, I cut out 3.5-inch pieces that were supposed to serve as a protrusion. I note that I had no formula for the assembly. I just started placing them randomly on vertical boards. I knew that on some protractions there would be tiny vans with flowers, so I tried to distribute accents properly. In some cases, the shelves were at the bottom, in others - at the top or in the middle.
In short, everything is arbitrarily and the final result will not spoil. There are no clear requirements - everyone is guided by its own taste.
Fastening protrusions
As soon as I had a common idea of placement, I began to prepare boards. To begin with, polished them, and then noted the points in which planned to attach the protrusions.
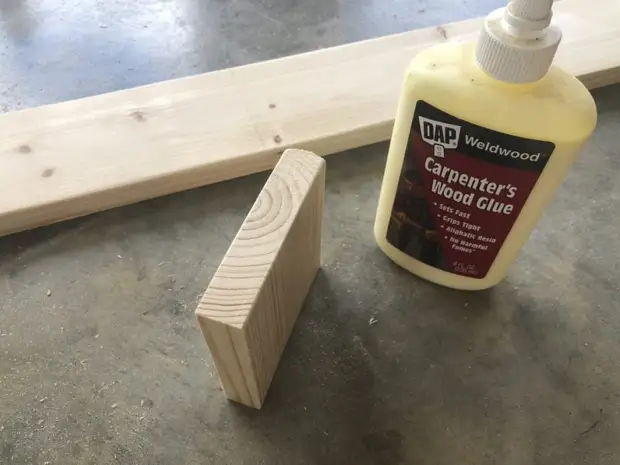
Then I used some of the glue for the tree to pre-bind the details. For small projects like this, this is an indispensable option. Glue works well as a retaining agent, so you do not have to ask for someone about help.
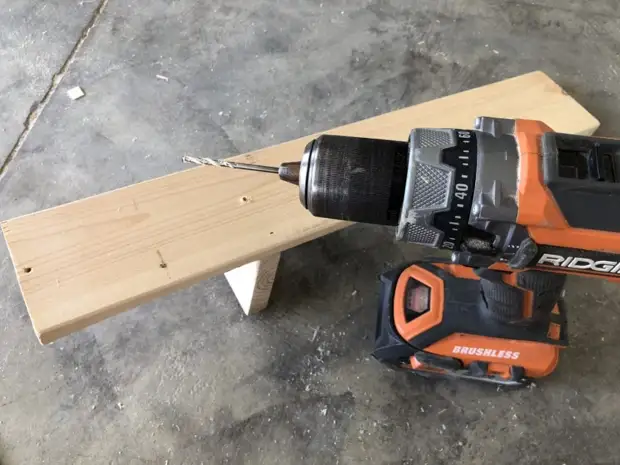
After the glue froze, I turned the board and prepared the screws. I recommend pre-drill a hole in the board to prevent wood cracking. After that I screwed 2 screws. Keep in mind that they will be able to keep only very light and small pots with minimal land. Therefore, it is better not to use them for something like books or heavy statuettes.
Painting and mounting
When I graduated from this stage of work, I immediately started painting. I used the color of the color "Golden Oak", carefully impregnating the wood. As soon as the surface dried, drilled the hole at the top and at the bottom of each board in the center.
Remember that the shelves are very lungs, so they will not be able to withstand a lot of weight. If you feel that they need additional support, it is better to use brackets.
After drying, the morli shelves were ready for installation. I once again decomposed them on the floor to visualize the location. I had to adjust my layout 3 times before I liked his appearance. In our reality, you need to achieve a sample and error method, fortunately, it works!
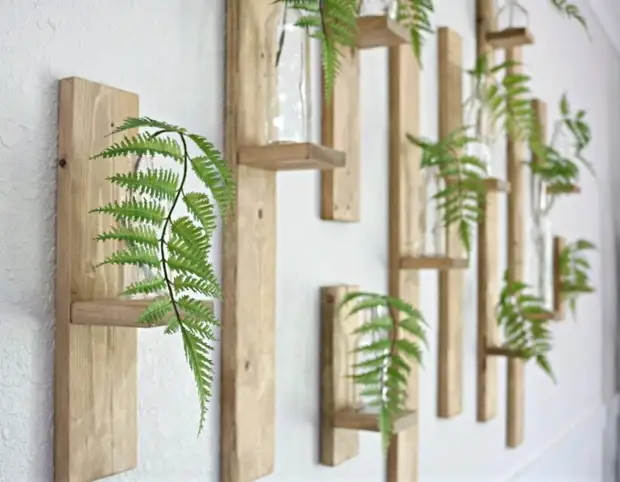
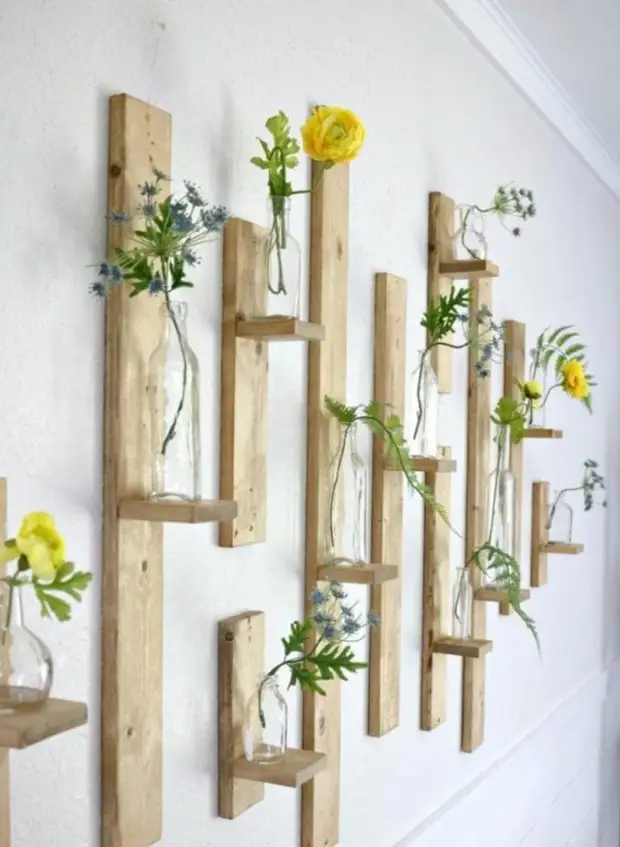
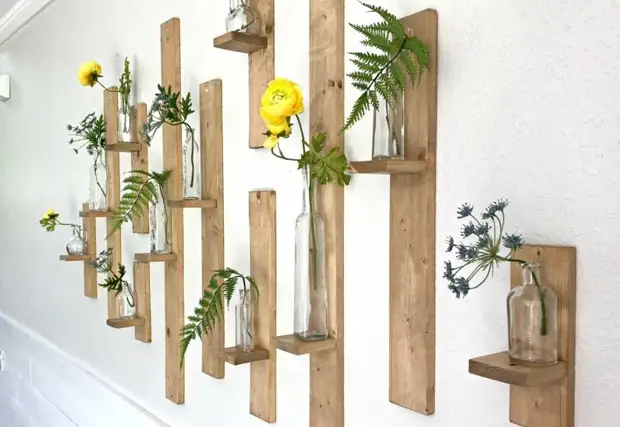
After placing the shelf on the wall, I decided to complete the composition and put on them a few transparent vases with flowers collected in the garden: fern, buttercasters and daisies. It seems to me that this is a great way to update the interior. Filling the VAZ can be changed depending on the change of season. You can completely change the atmosphere in the house, just replacing the flowers! And if you do not like the option with plants, you can use candles, posters, paintings, postcards and other decor.
What to do if there are no necessary materials
If you have nothing left in the house after repair, do not worry! You can buy 2.5 x 10 cm boards. If you take birch or pine, then your project will cost you a ridiculous amount. Not bad, yes?
I am happy that I did not spend a penny on this challenge. The fact is that I really love small glass bottles and various containers, so I never throw anything. If you do not have such a habit and you will go to the store for real vases, I will not judge you. Usually, such things are inexpensive - 50 - 100 rubles.
I also like artificial flowers, so they replace real in winter. But if you do not have anything suitable, you can choose dried tips or beautiful dry herbs, leaves. For each miniature vase, only one tiny twig is needed, a maximum of two.
RESULTS
Isn't it surprising that from waste of building materials and verses can be made like beauty? Well, if you need some more ideas, then do not be afraid to experiment - make your home crafts for your hobby. And soon you will notice how much your home is more beautiful.