
I work in the office and in my free time I fond of the joinery.
I have long wanted a beautiful writing desk with a classic design instead of already scorched from chipboard. To and with the boxes, and with the keys, and with secrets.
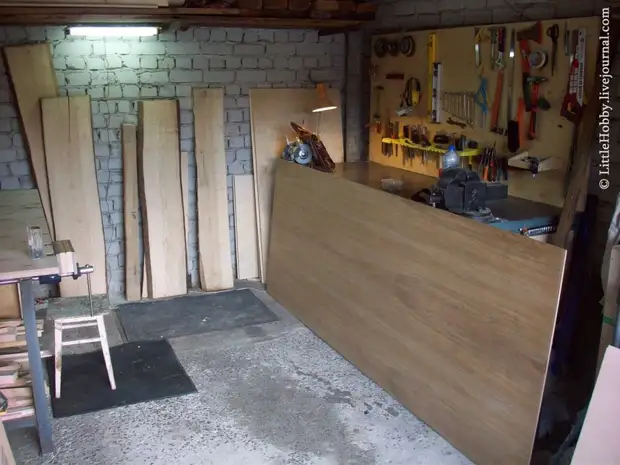
My workshop is a standard garage in the usual garage cooperative fifteen minutes from the house. For a couple of years, his passion accumulated some park of machines and tools.
It is impossible to say that the same table can be gathered at home on the knee, but after some time and after some investments it is under the power of many, if not everyone.
Everything starts with the project. I made it based on your favorite tables from the Internet. Even before the work began, you need to consider all elements in the most detail: their design, sizes and fastenings. At this stage, Gostom 13025.3-85 was guided by GOST, the rule of the golden section, its own dimensions, individual knowledge from the science of ergonomics and common sense.
Next, the purchase of material, after which there is no way back. An array of ash, from which most table details are made - quite expensive material. Therefore, it should be done to the end so as not to spend the money is wasted.
The first thing is the dissolution of the unedged boards on the slave.
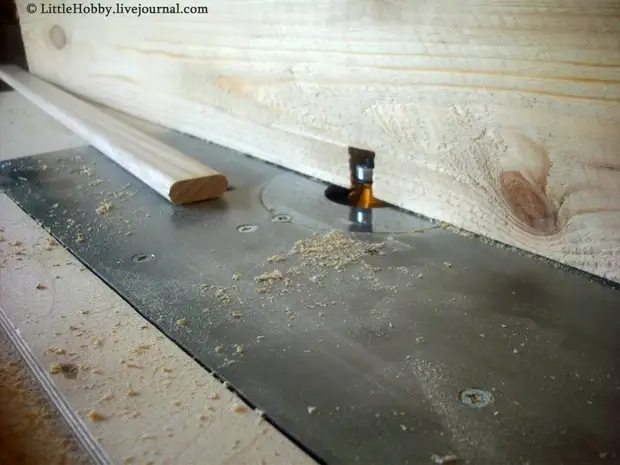
After the dissolution of the boards, we obtain curves and coarse blanks. In order for them to use them in the joinery of them, they need to sfig (i.e., align the planes and angles) and remove the thickness (that is, align thickness). There are different methods for performing these operations, such as a manual milling and a handbank inserted into the table. On the Internet are full of different ideas.
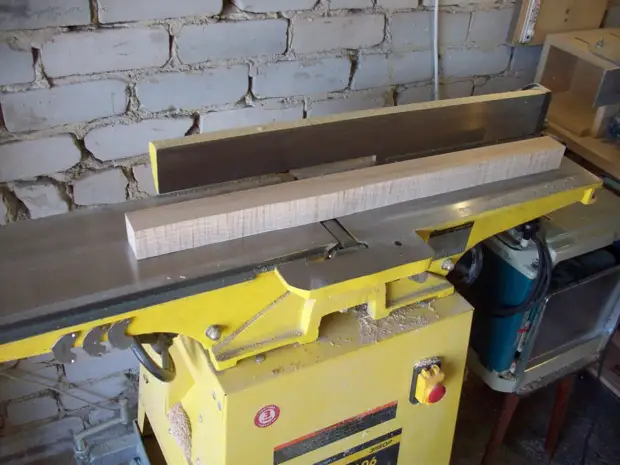
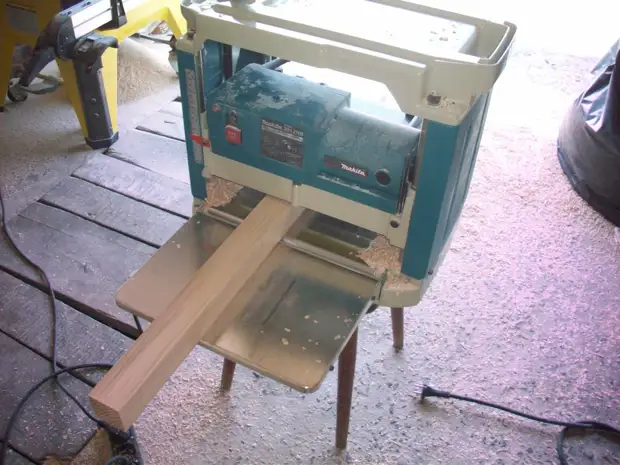
At this stage, simply incredible amount of waste is formed.
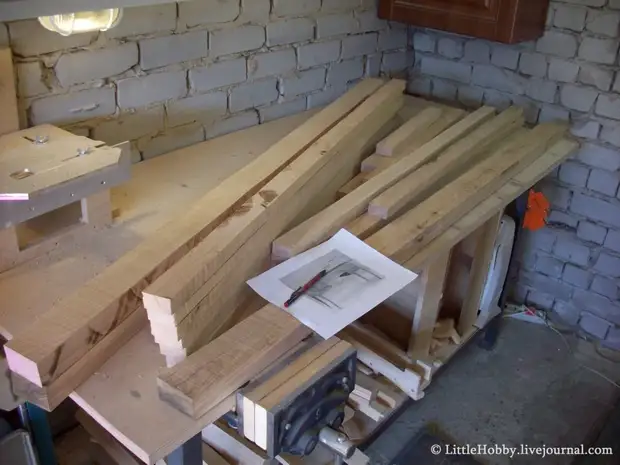
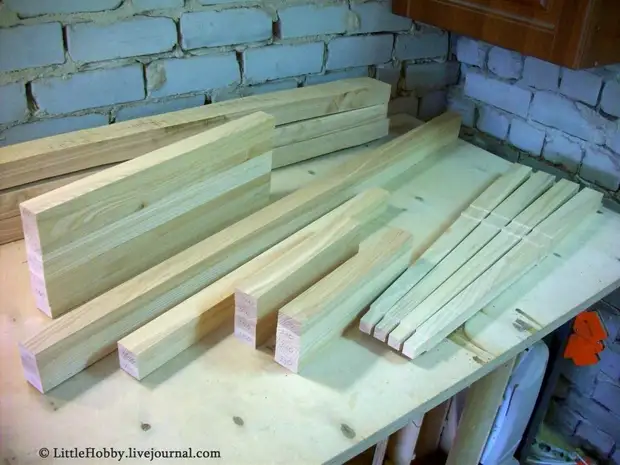
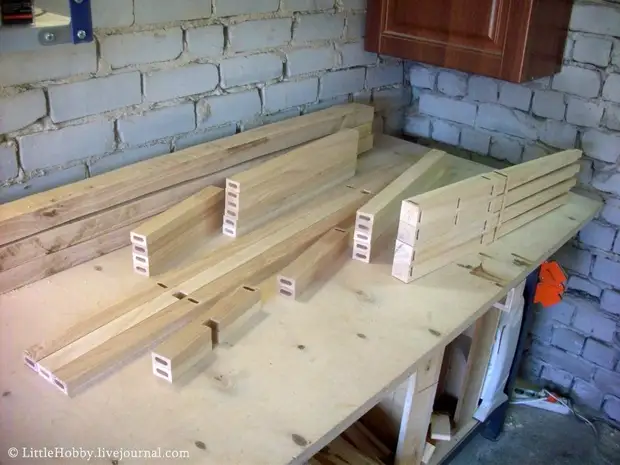
Now the rails began to resemble more on the workpiece for a joinery
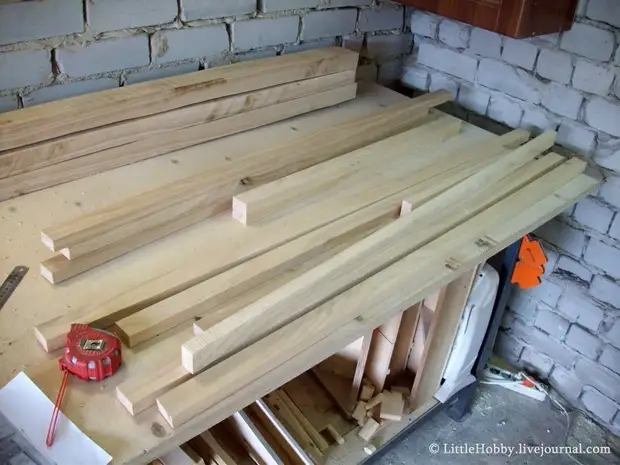
However, on the workpieces there can still be bits, chips and cracks. Therefore, the next stage lies in cutting blanks for individual parts of the table frame bypassing these flaws.
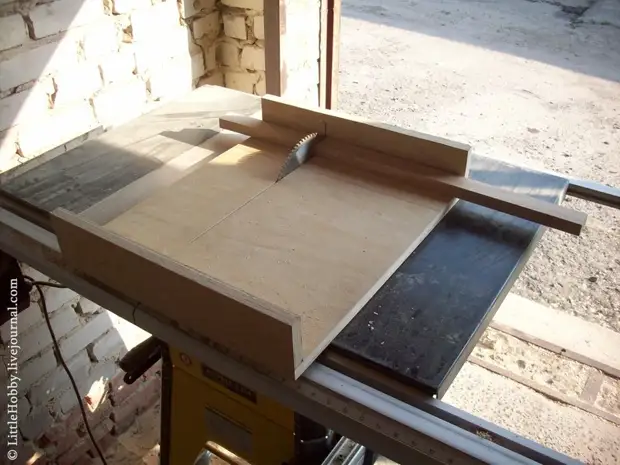
Since the ending saw in my workshop is not, I use a specially assembled carriage. Production of such a carriage is described in a post dedicated to oak boxes: http://littlehobby.livejournal.com/17767.html
Thanks to such carriages, it is possible to precisely position the place of cutting and fighting the chips on the blanks
Using a milling cutter inserted in the table and a special template, curly feet for the table: http://littlehobby.livejournal.com/22084.htm
Finally! The preparation of the material went eight hours.
The table frame is decided to collect on plug-in spikes.
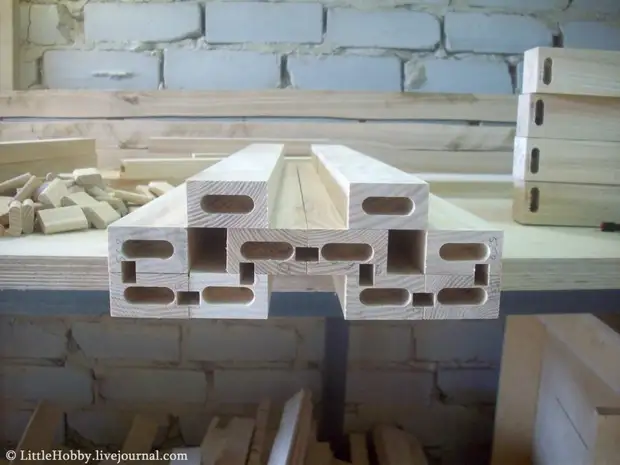
Total in the 38 compound frame. For them had to make 76 grooves. Stainerars who worked with a manual instrument required a fairness! But now, thanks to the power tools, the task is simplified.
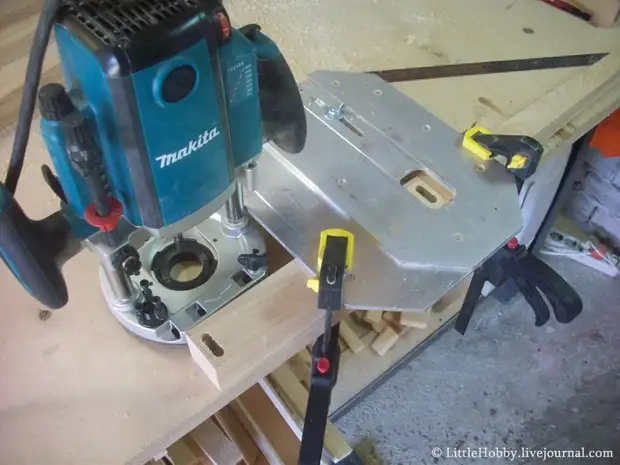
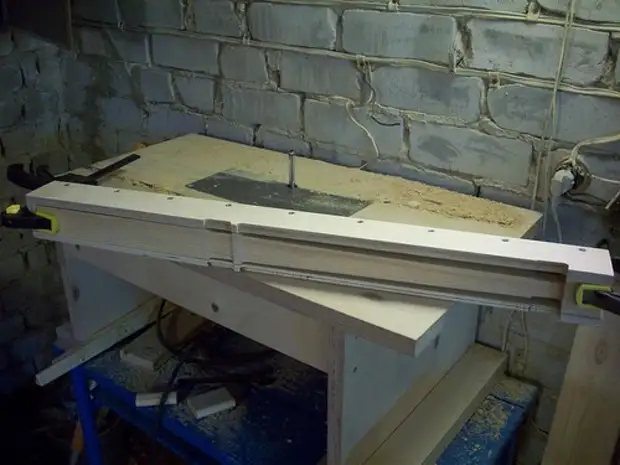
Further preparation of grooves in the details of the frame for fillets. At the same time, it is advisable to make grooves in all the details without changing the settings of the milling table. This is due to the fact that after the permutation it will be extremely difficult to catch the lobe of the millimeter and return the old position of the stop or departure cutters. Therefore, when milling the groove in different parts, I had to be slightly minted with different restrains and limiters
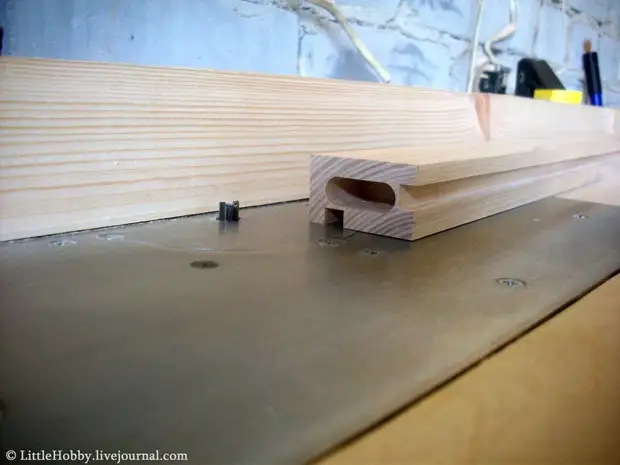
But managed to achieve good accuracy
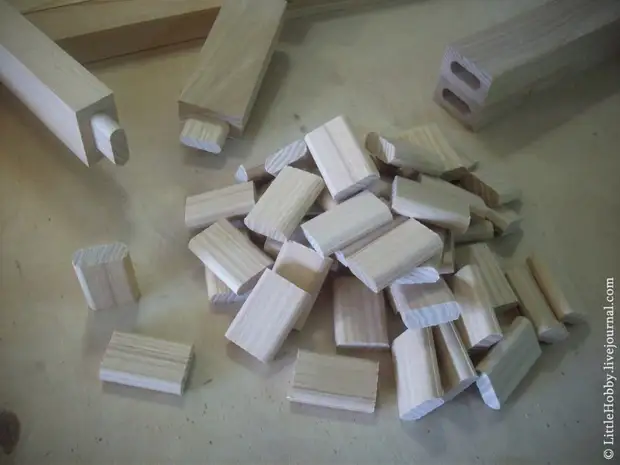
The next important frame element is directly inserted spikes. The spikes are made of ash residue. Edges twisted with the help of the same homemade milling table
After a couple of minutes, we have so many plug-in spikes as you need. It is important that the spikes are not included in the grooves too tight. There should be a small gap for glue, otherwise it will simply be squeezed
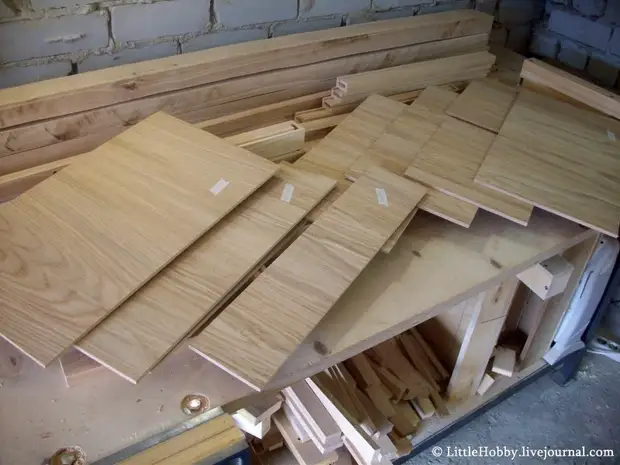
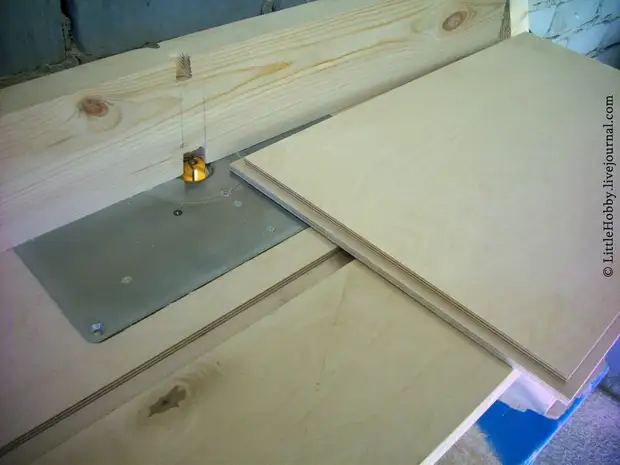
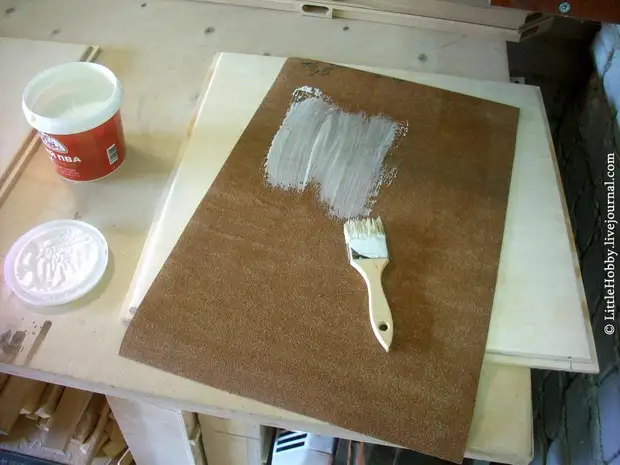
The next stage is drinking panels. Pilenks are sealed with natural oak veneer. Each pailer marked a piece of painting tape with the size of the sizes
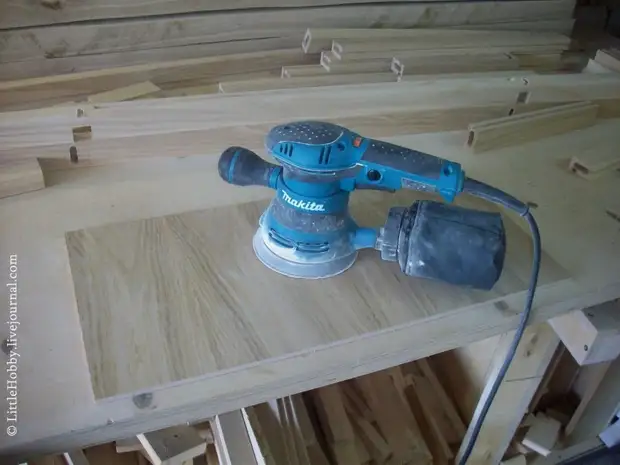
An important stage is grinding. I used emery paper with graininess 180. At the same time, it is more convenient to grind the parts before gluing, because Grinding accounted for straight bars without having to penetrate the corners and the cat. So grinding does not take much time
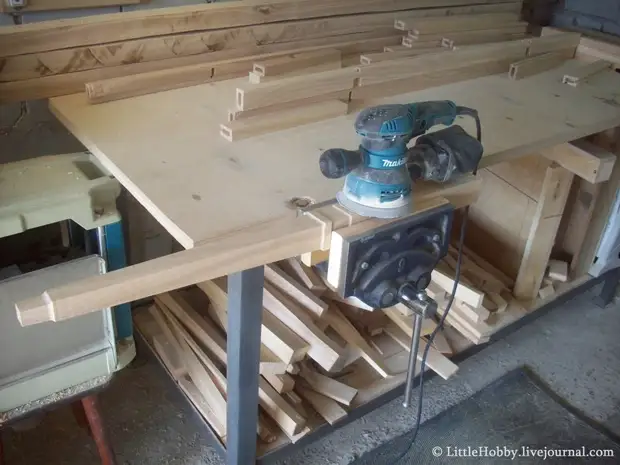
Also concerns veneered fillets
Here it is necessary to make a slight retreat.
The fact is that in order to strengthen the entire design, I decided to glue into the ash frame, and not just to invest, as is usually done. Here, experienced masters, with the word "Pilenka" in the head, the trigger will immediately work in the head, and it will break with a seasonal change in humidity. "
So let's understand and lay everything around the shelves.
The size of the heatheck and swelling of the wood depends on the direction of the fibers. At the same time, if you believe the books, the change in the size of across the fibers can be from 3 to 12%, and along the fibers - from 0.1 to 0.3%. Those. The difference is more than thirty times! True, it is with a change in humidity in the range of almost 50%. In the conditions of seasonal moisture change, the range will be significantly less. But the difference is thirty times saved.
And now we will imagine that the width of our door in the closet made from the massive shield, depending on the season, walks by 10-15 mm. That is, in the autumn door clinically tightly, and in the summer it hangs out. Not good.
That is why, not just for beauty, hundreds of years ago, smart people invented the scribed structures, when a wide breathable panel was inserted into the frame of the narrow strips of wood (with longitudinal fibers and stable sizes). At the same time, the sealer simply lies in the groove and not fixed.
What does it give? Thanks to the stable dimensions of the door, it is perfectly closed in winter and in the summer. And thanks to a free panel in the fall, when the fillety swelling is thirty times higher than the scattering of the frame, the door does not break into pieces.
Based on this, if in my table breathing massive china replace with stable veneered MDF, then there will be no thirty-fold difference in scamping frame and sealer. And there will be nothing to tear my table.
In confirmation of this, the whole MDF and plywood countertops completely successfully tie into gloves on glue and nothing anywhere is breaking anywhere, in contrast to the shields from the array. Many such examples can be found on thematic forums.
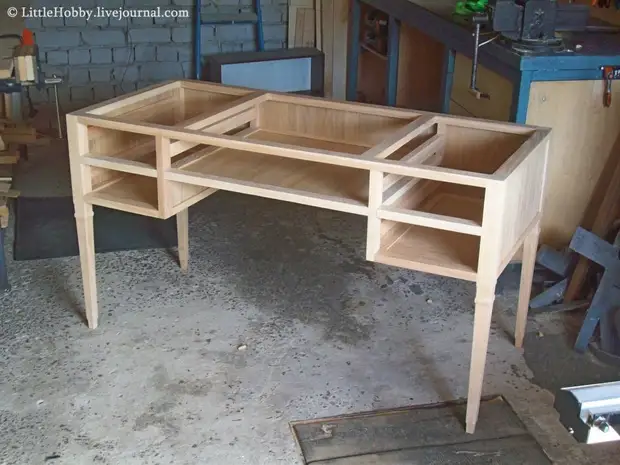
Therefore, I, without a shadow of doubt, insert my veneered MDF-pilenks into the ash frame. Facade frame and back table ready
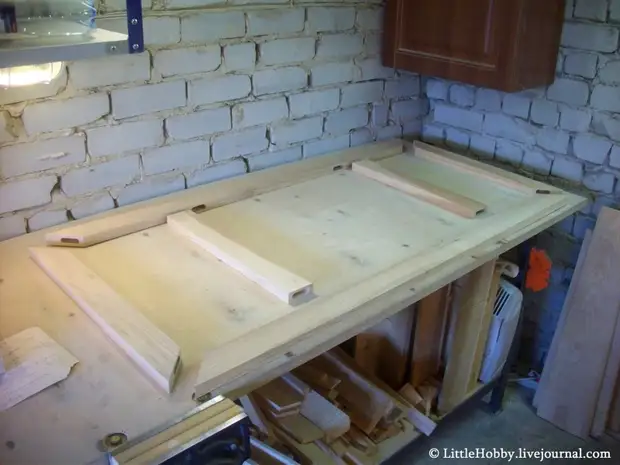
An important step is to assemble the product "on dry", that is, without glue. This stage is important because the time between the application of glue and the application to the glued parts of the pressure should not exceed 10 minutes.
When dealing with such large products, it would not be bad to clarify the assembly process, to determine its sequence and possible nuances so that it does not have to disassemble the glued parts already. In addition, when assembling complex products on separate details, some minor shortcomings and errors that may make it difficult or to make gluing impossible. Such shortcomings are easily detected and eliminated with dry assembly.
So this rehearsal helped me. Some details had to finish a little at the place.
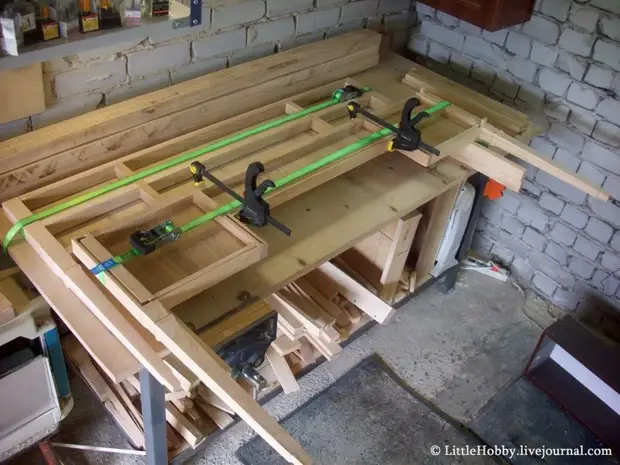
The glued parts are fixed with tie straps. At the same time you need to not forget to check the diagonals.
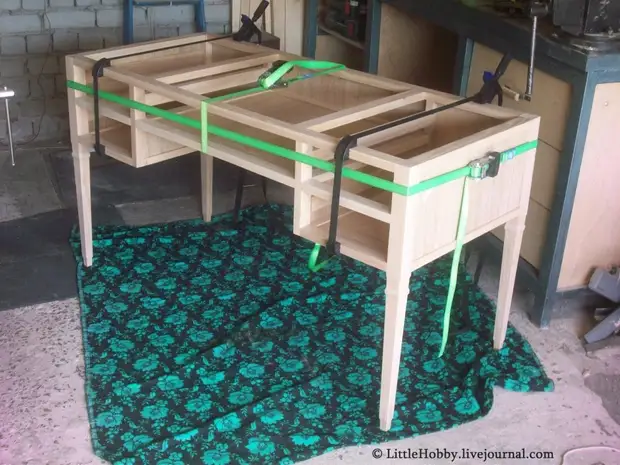
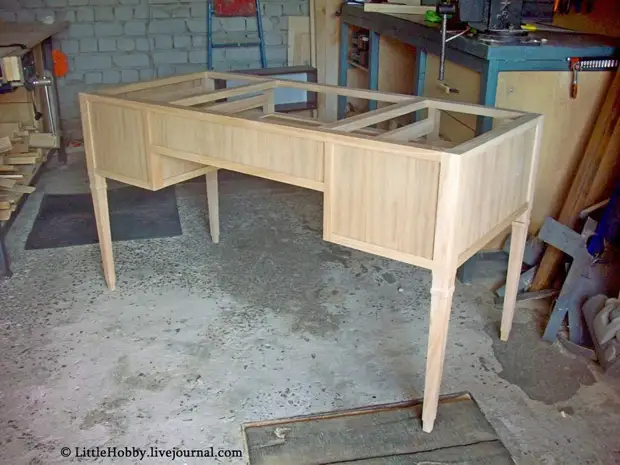
The next day, remove the screeds and get something similar to the table
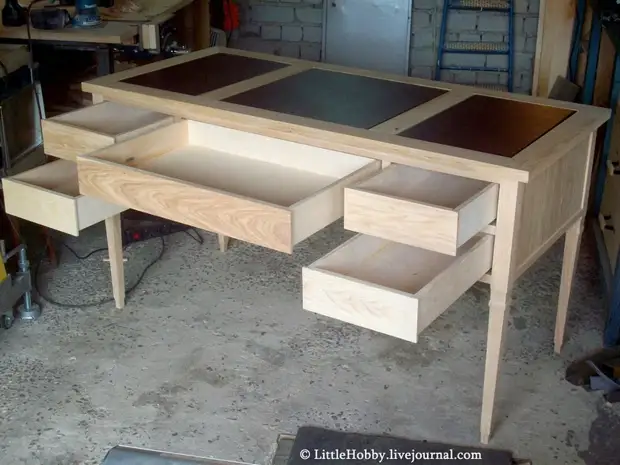
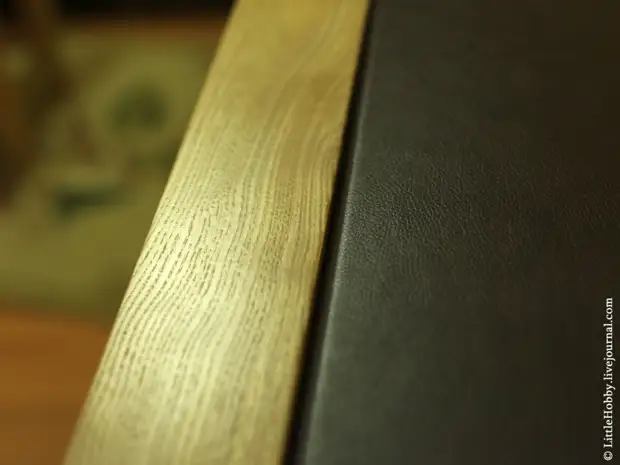
Next, the manufacture of table tops. I wanted something unusual. Therefore, chose an option with leather inserts. Next, several photos showing the process. For more information about the choice of materials and the manufacture of the leather countertop, you can read by reference: http://littlehobby.livejournal.com/23079.html


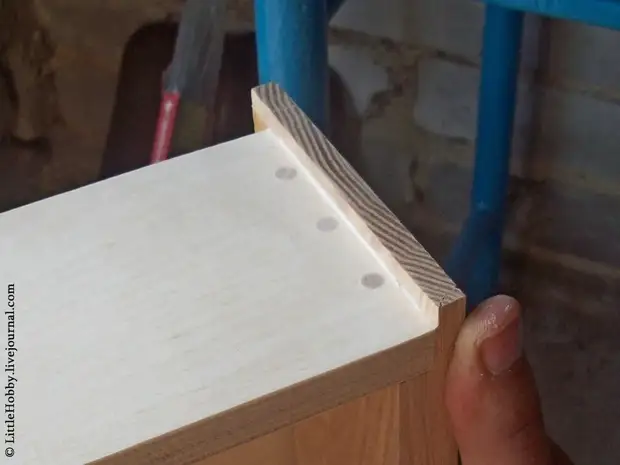
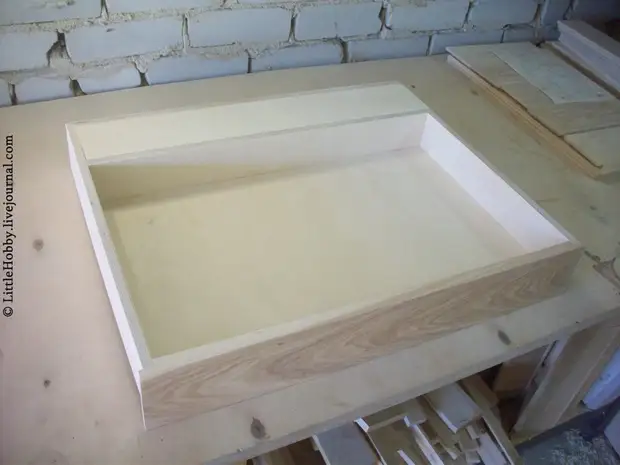
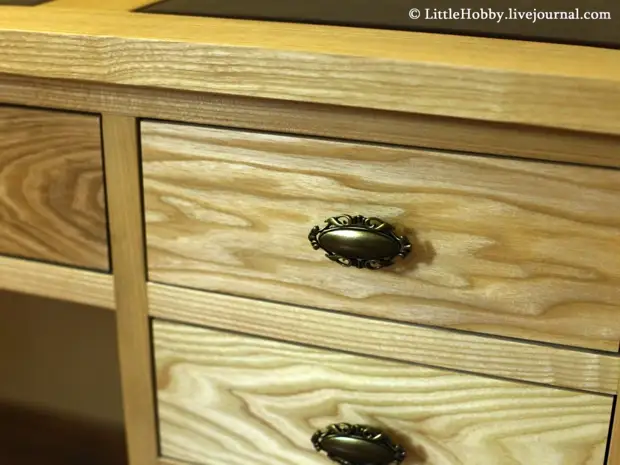
Blucked out drawers.
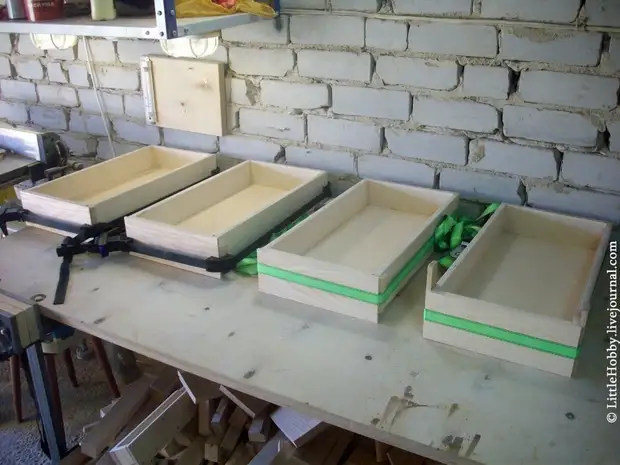
For fastening the facades, one of the compounds described in GOST 9330-76 was used. It is called "angular box connection to an open round plug-in spike."
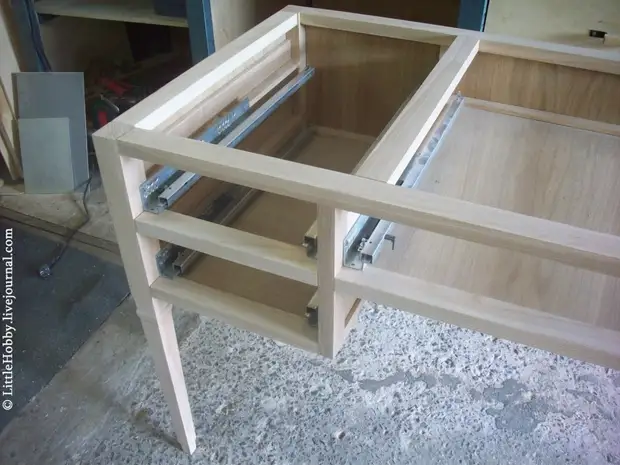
For mounting, the boxes used the guides of the hidden edge. Moreover, for the sideboxes bought guides with the closer, and for the central one with the Push-2-Open system.
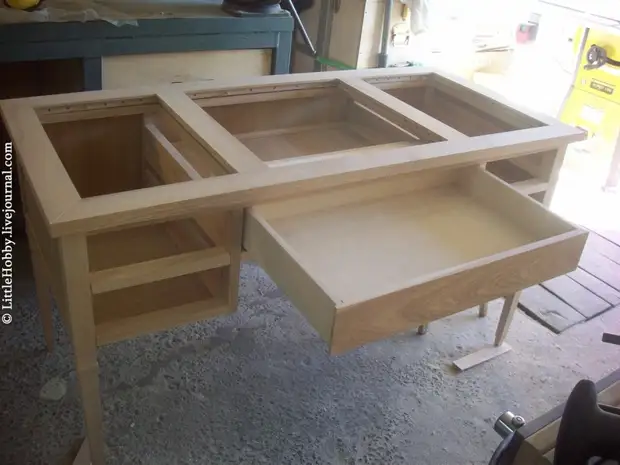
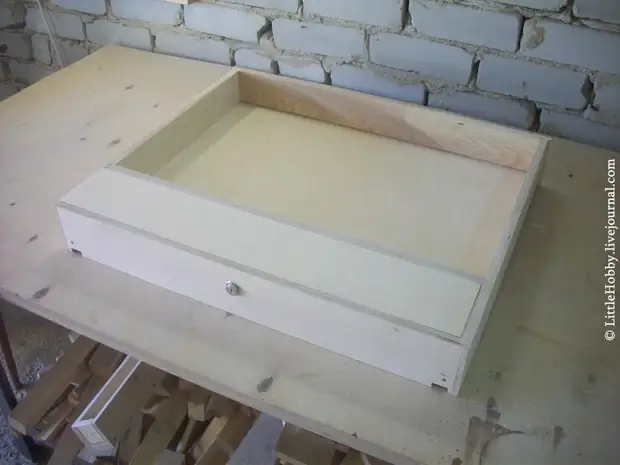
Well, a small raisin of my project. What can be a carpent table without a secret drawer with a double bottom? So I provided such a secret.
For this, I intentionally bought guides with partial extension. If you push the central box until it stops, you can see the long wall of the drawer, which nevertheless does not go beyond the facade frame and we cannot see what is behind it
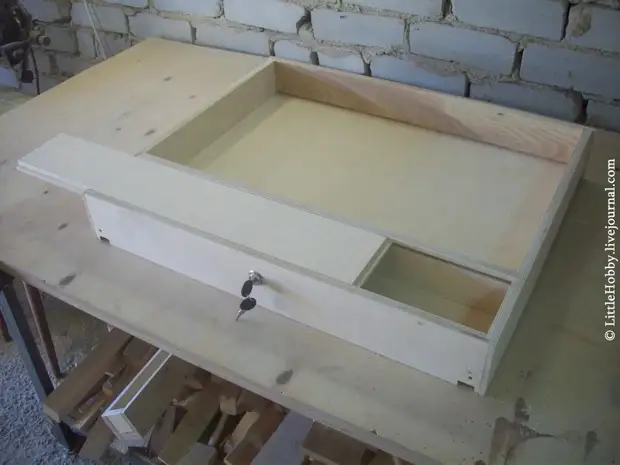
However, if you remove the drawer from the table, then at the distant end we will see boxing
And if you turn the box with the other side, we will see a locking well on this box
Using the key, you will unlock the sliding lid and voila!, Secret boxing reveal our secrets
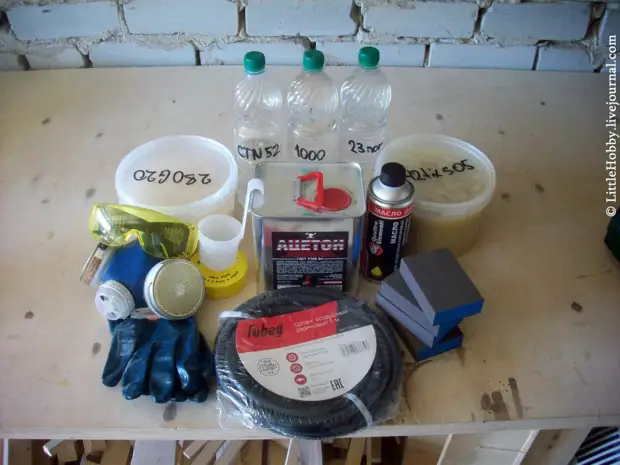
The manufacture of the table comes to completion, there were still some finishes and the most complex and dangerous stage - coating.
The final stage - the coating of the table varnish. It was decided at the beginning to cover two layers of polyurethane soil, then two layers of acrylic varnish.
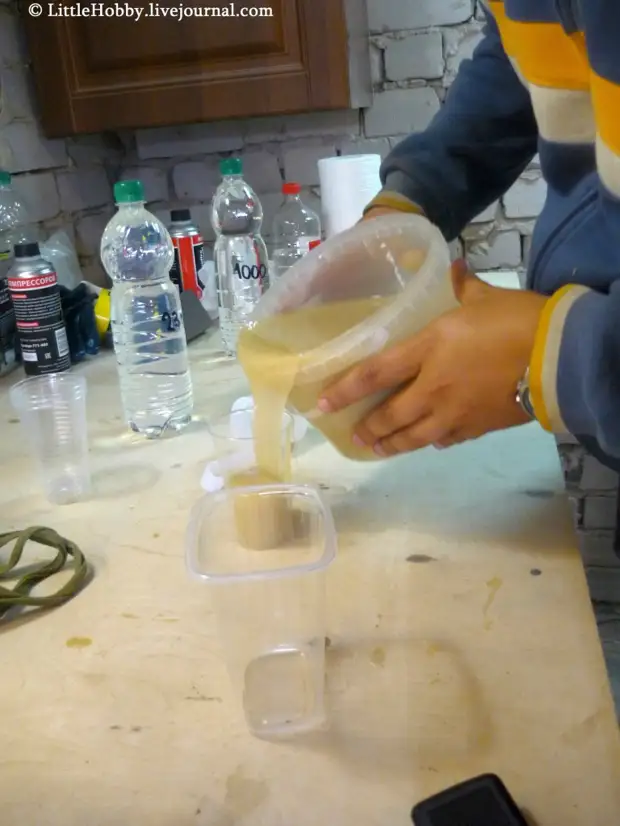
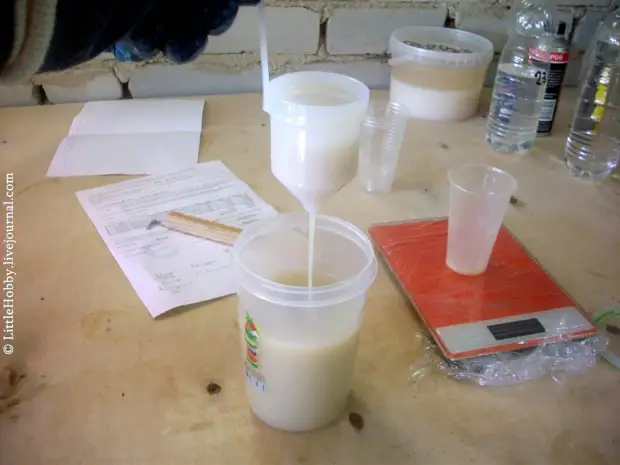
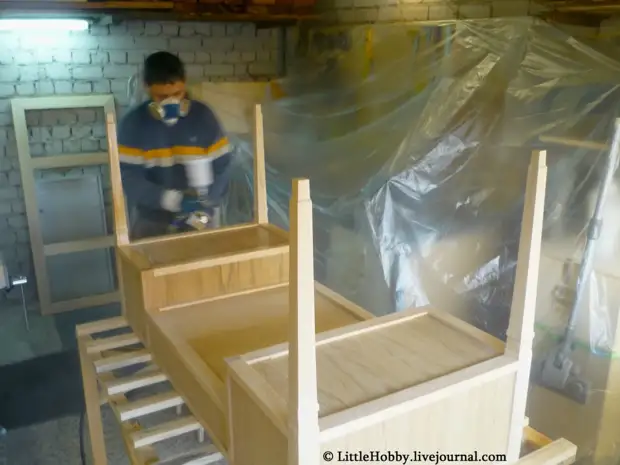
There are four coating layers. After drying the next layer, it matches the abrasive sponge, after which a new layer is placed.
After the final drying of the plane layer of the lacquer transported the table home.

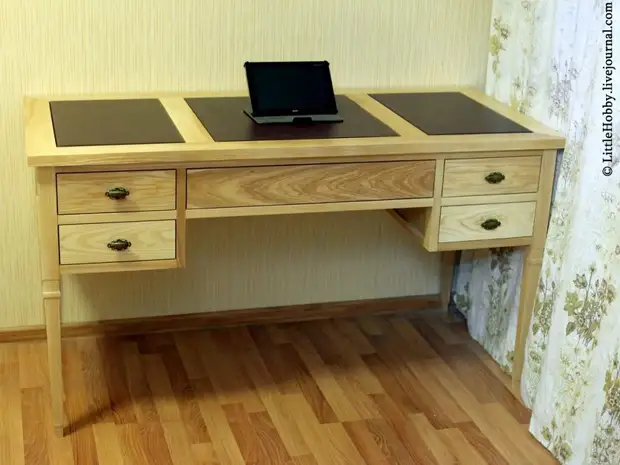
On this construction of the table is over. I hope he will serve our family well.
Already after the end of the work it turned out that the prototype, which I just chose on the Internet and based on which I did my desk - this is not just some kind of faded piece of furniture, but the product of the Italian factory Morelato, model art.5069 Scrivania Direttorio.
True, the prototype is somewhat smaller than my desk (W-118 G-63 B-80 cm against the W-140 G-70 V-85 cm).
In different furniture mages, it is offered to be made to order. On average, the time from the order before delivery to Moscow is 80 days.
Well, the most interesting is the price. This table is sold in many places, but everywhere is the "price on request". I requested the price from several stores and call me from 2500 to 3000 euros. Even somehow awkward.
A source