


Indoor flowers - an integral attribute of home comfort. In order for them well to grow, you need to think about the location of the pots.
Therefore, the stands for plants should be bought in advance. You can make them with your own hands. Some designs are made from the primary means in a matter of hours.
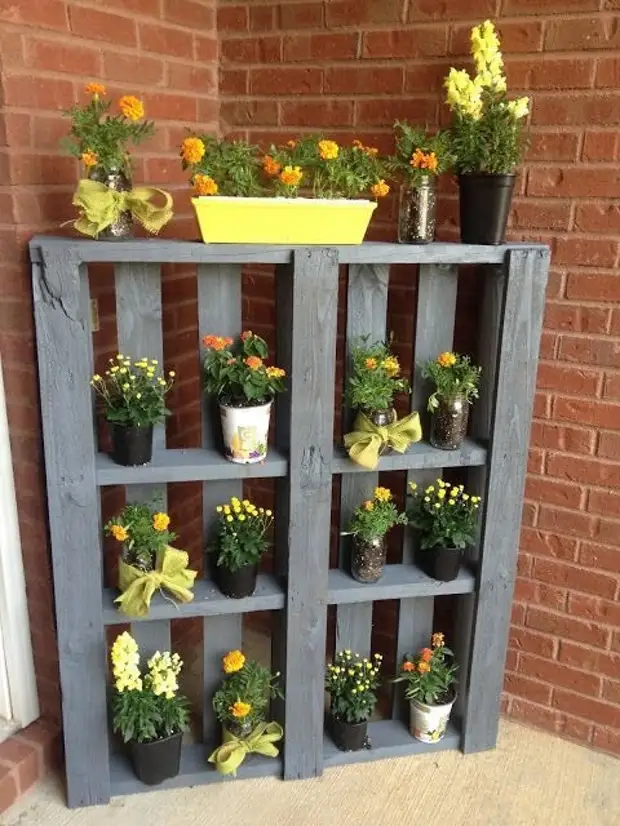
What could be the flower stands?
Flower stands are divided into 2 types.
They are outdoor and walls.
The latter must be particularly durable.
With a strong load, the whole design can simply collapse on the floor.
Therefore, if you have a few big pots, it is better to stop on the 1st form of the stand.
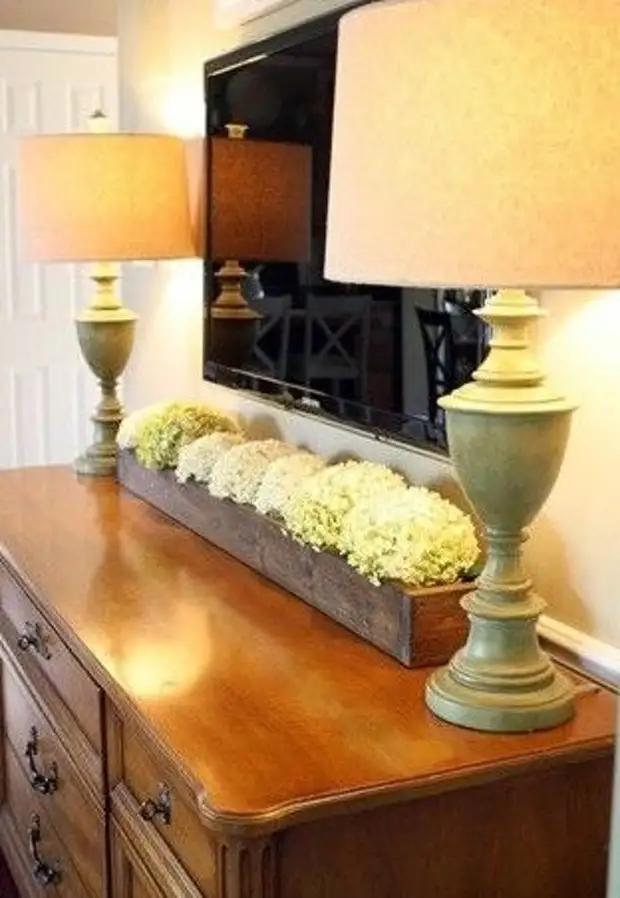
A more rational approach when creating such structures can be considered the manufacture of light decorative options.
Stand from cans you need:
Wooden plank
Acrylic paint white and brown
Fastening for pipes
Selfless
Beautiful cans of the same diameter as the fastening for pipes
Spatula or iron brush
Preparation method:
Board need to pre-decorate
For this degrease it.
After a while we cover the more dark acrylic paint. It should be chosen instead of alkyd, as it is less toxic, does not smell and relatively quickly dries. Three hours cover the dry white paint board. Again, leave the workpiece for several hours. We constitute a surface with a sharp edge of a spatula or an iron brush.
For this in chaotic order, short and long scratches are applied throughout the board. The billet in the final form should be performed in the style of Shebbi chic. On the chalkboard pencil, take the place of installation of cans. To do this, take fasteners for pipes. They look like a sliding rings with a hole for fastening.
Attach them in the right places. Then, holding each one with one hand, secure them on the self-tapping screw.
Decorating banks.
They can also be covered with acrylic paint of any color. Choose a jar for the size of the future flower. After painting in her, the earth falls asleep and plant a flower. It remains only to attach the board to the wall.
For this we plan on the wall of the point under fastening. Then drill their drill.
Insert a dowel to the hole. After that, we plant a board on a self-tapping screw. Banks with planted plants insert into metal mounts. Their upper part is possible to reap the twine. It is best to use a similar stand for teothelubil plants. In the event that it is located near the window, you can plant violets in banks.
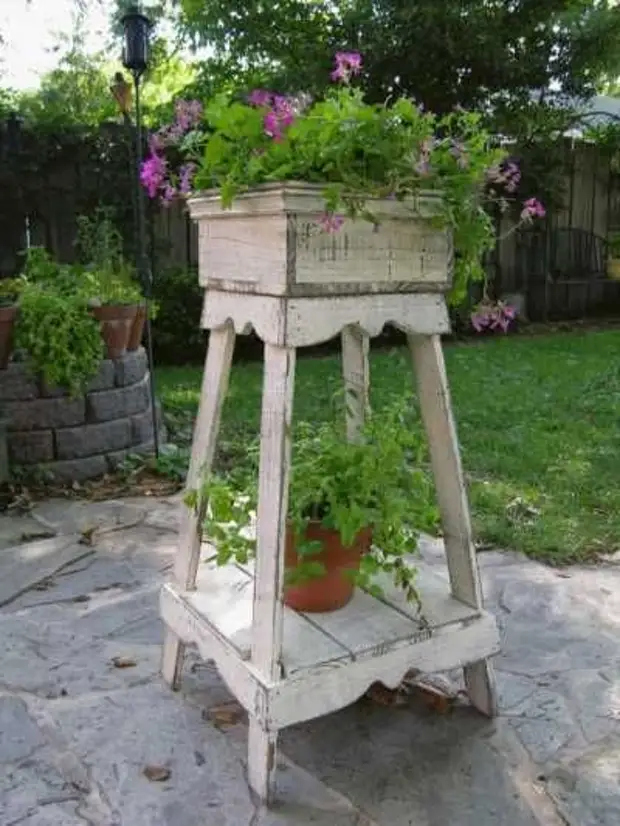
Wooden floral baskets: master class

Stands can be made from a treated wood array, plywood or MDF.
In the last cases, the main material should be moisture-resistant, as it can be spoiled due to periodic spraying of plants. A sufficiently convenient option is the stand-stand under several pots.
You will need: MDF Lobzik Drill Linee Dowels and Selflessness
Manufacturing instructions:
To begin with a stand template. It consists of 9 details. 2 circles will be the bottom-base and riding, and several rectangular blanks - carrier support. The approximate diameter of the circle is 40 cm. The height of rectangular parts is 50 cm. With such sizes, the flower stand will be released quite stable with their own hands. First, transfer the desired dimensions to MDF. After that, drink 3 identical circles, 2 narrow rectangles and one wide. One of the circles cut the jigsaw perpendicular to the central point. We should have 4 sectors.
We take 2 large circles and a wide rectangle. We plan tags for fastening and drill them. Then gently plant the details on the self-tapping screw. They should look like this: 2 Circles and between them diagonally a rectangle. Go to the embedding of other rectangles. They need to be located at an angle of 90 degrees to wider. Details are also attached to the self-tapping screw. Sold sectors will need to be located at any convenient level in the details received after the intersection.
Best of all, they look at different levels. Sectors also plant on a self-tapping screw. After drinking billets, you may notice that the edges remained untreated.
They can be fascinated independently or hand out the part of the future stand on the furniture base, where the specialist will do.
How to make colors for flowers on the windowsill?

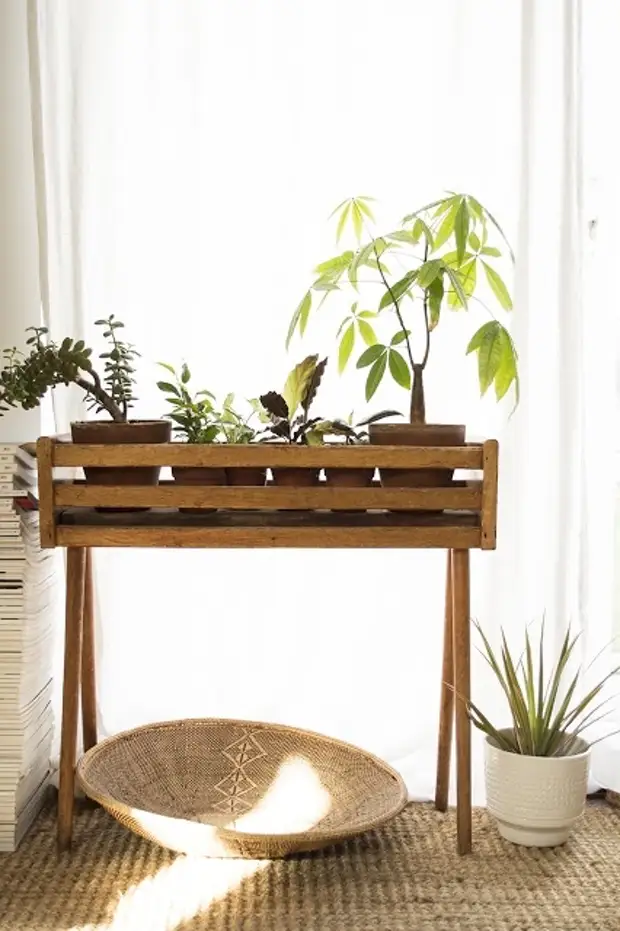
Many hostess face that the sides of the windowsill becomes the only bright place in the apartment for growing flowers. In this situation, it is simply physically can not accommodate all indoor plants. Solving the problem will help the suspension stand for flowers. You can make it for walls. In this case, they are equipped with additional lighting.
You will need: a few boards of the same width and length
Durable ropes
Lobzik
Acrylic paint
Anchor bolts
Potted trees
Manufacturing instructions:
This setting for colors is designed for a certain amount of the same type of pots. The design is essentially suspended. Therefore, it is necessary to pay special attention to the attachment. To begin with, we define with the length of each shelf and the number of pots. If we make a stand for the window sill, then it is possible to put it along the entire space. Then we plan on the places of the location of the pots. To do this, put one of them by bringing up the bottom.
We supply it to the diameter of the upper part. Then retreat from the circle the adjusted distance and result in the following colors location. With the help of jigsaw drinking these circumference.
It is easier to do so. In one of the points of the line we drift the hole of the drill. Then we insert the pubsik pylon into it and cut down in a circle. If the resulting hole came out with chips, then we pass along it with sandpaper. Perform holes for fastening. To do this, we drill their drill with a large diameter at the corners of each board.
Holes should be located at the same distance. Then form two large cast cuts (about 2-3 m.). It should be cleared and strong enough. We stretch one of them through the left holes in the boards. It is better to do it from the bottom up.
Under each hole and over it, the rope is tied by a node.
This will help hold the boards. Start clutching the shelf better from the upper holes. Then you need to leave a little rope for hanging the design and let it down again through the bottom holes. The same makes the same with the other cut and the opposite side. On the top of the window turnout, we plan points for fastening the stand. The distance between them is equal to the length of the boards. Drill their drill, and then mounted an anchor bolt into the holes. Make sure the mount is reliably sitting in the concrete.
Almost the finished stand is painting any acrylic paint. If your flowers require a periodic spraying, the surface should be covered with waterproof varnish or any means to protect the wood indoors. After the boards are dried, hang it for anchor bolts. At the end, planted into the pots, for which the holes, flowers were wound.
Gently insert them into the holes of the stand.
A source