
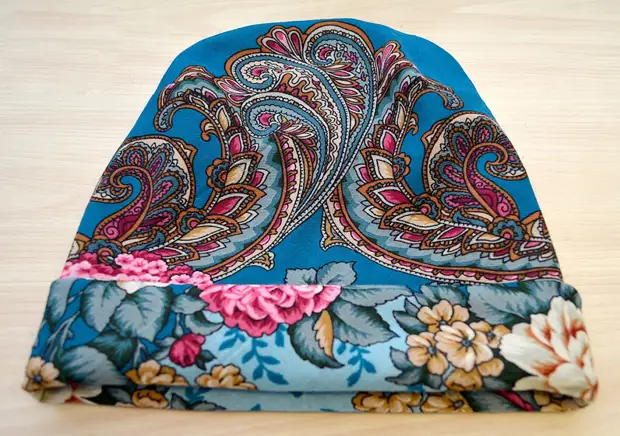
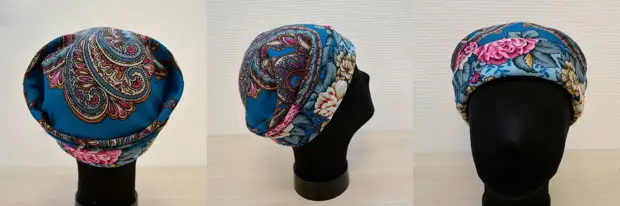
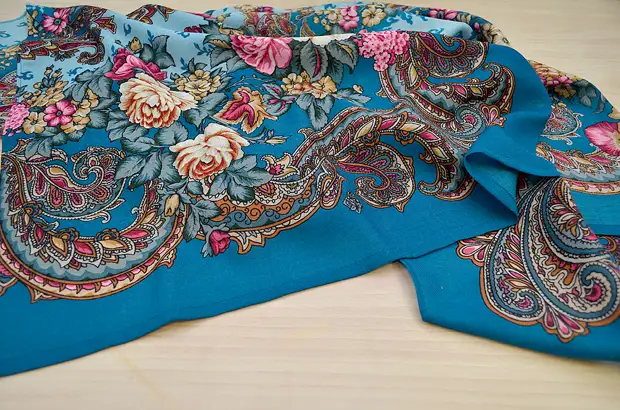
From the Pavlovoposad Calya, you can sew various accessories, clothes, bags, toys and much more. Today we offer to sew a set consisting of a cap and palatine.
The cap and Palantine from Pavlovoposad's Shawli will become a bright addition of your image or a pleasant, warm and stylish gift for your loved ones.
YOU WILL NEED:
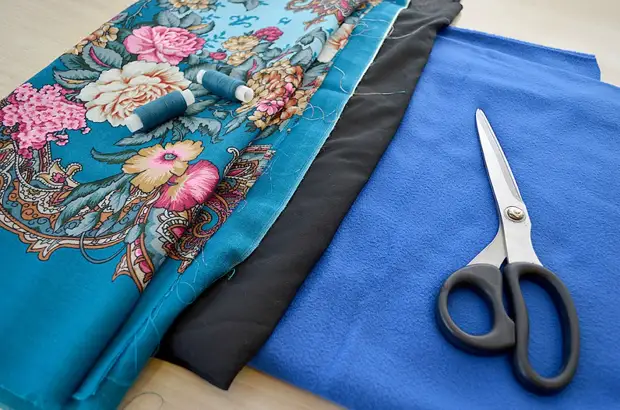
- Caps pattern
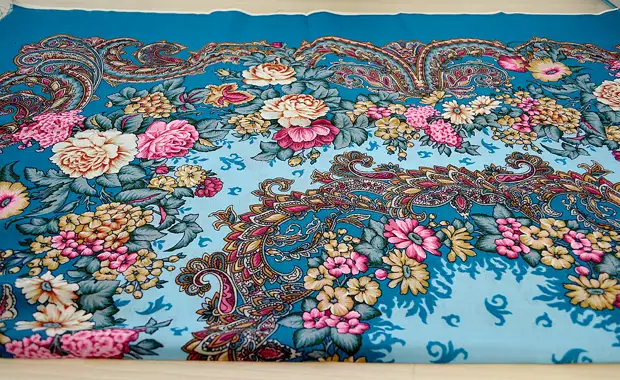
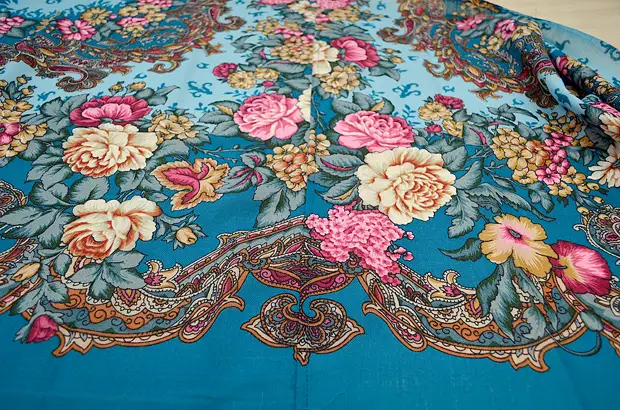
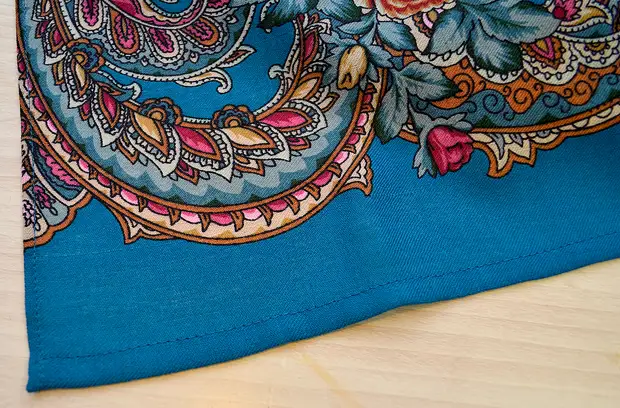
- 2 Pavlovoposad's flaps
- Knikotny Dulin
- Fleece
- Threads in tone
- scissors
- sewing machine
- iron.
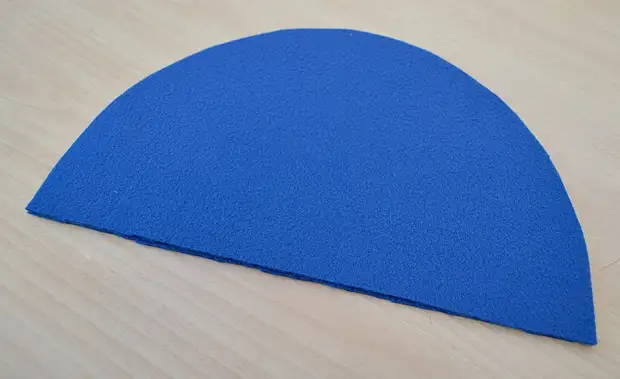
CAP
PATTERN
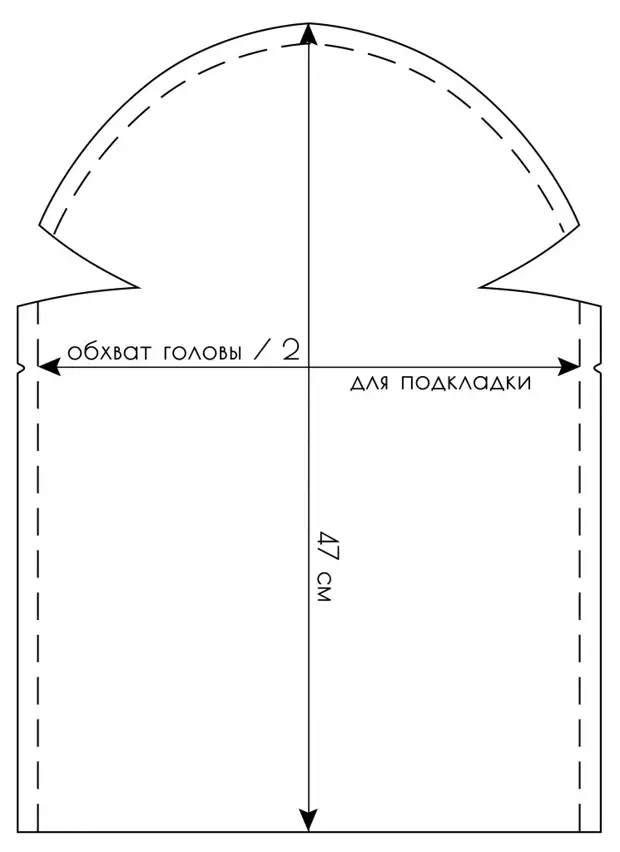
Pattern is given without taking into account points on the seams.
STEP 1
Before proceeding with the work, we glue our handkerchief from the wrong side with a thin knitted dublin. This is done in order to slightly stabilize the cloth's cloth and increase the service life of the product.Step 2.
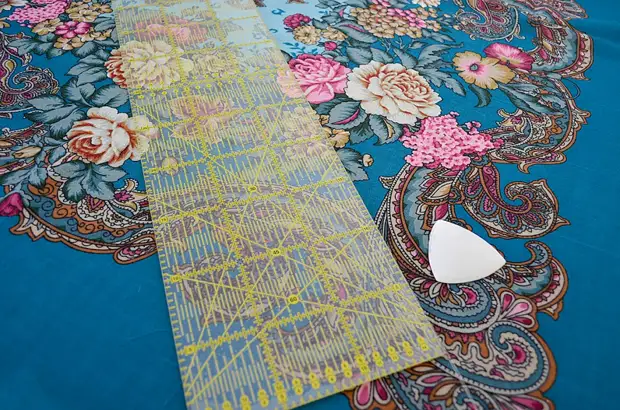
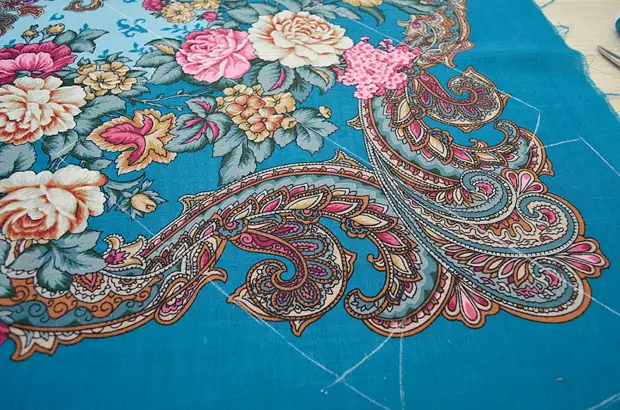
We declare a pre-duplicated handkerchief on the table, choose the part of the figure that we would like to see on the header. Circling will be on the front side. The self-defined chalk note on the tissue of the strip at an angle of 45 degrees relative to the equity thread.
Step 3.
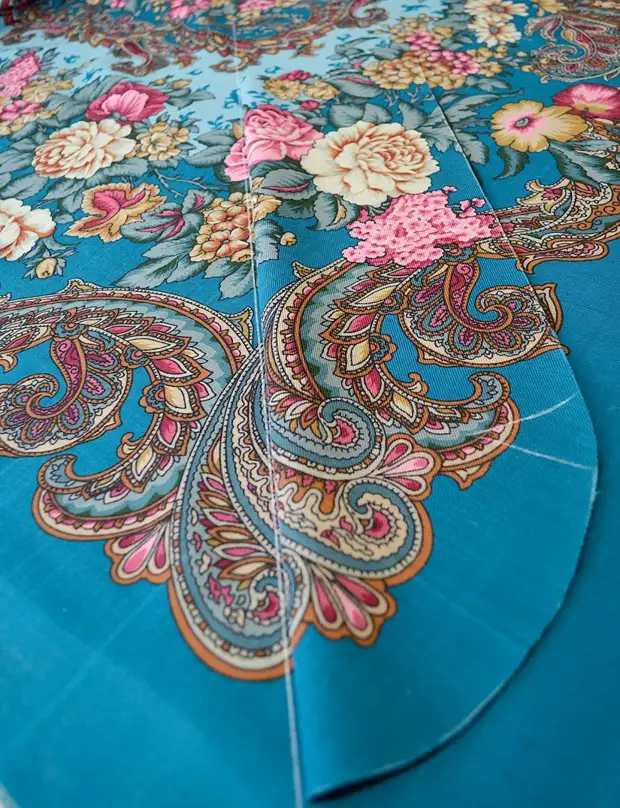
Put the pattern on the fabric, combining the middle of the pattern with the planned oblique guide.
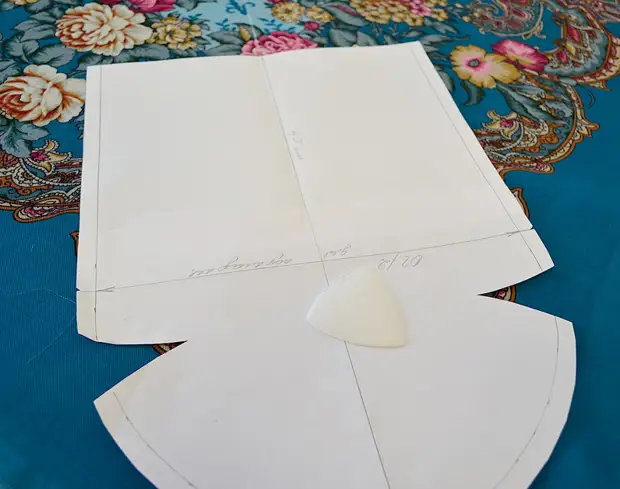
Step 4.
Cut the first part of the header. In the opposite corner, the handkerchief also places the oblique guide line.
Step 5.
With the guide we combine the middle of the first part of the cap, trying to combine the drawing as accurately as possible.
Step 6.
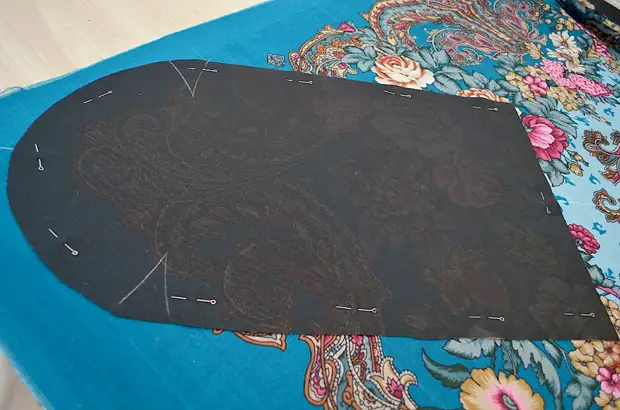
I spare pins first part with a patch around the perimeter and cut out the second part.
Step 7.
From the fleece cut the lining details.
Step 8.
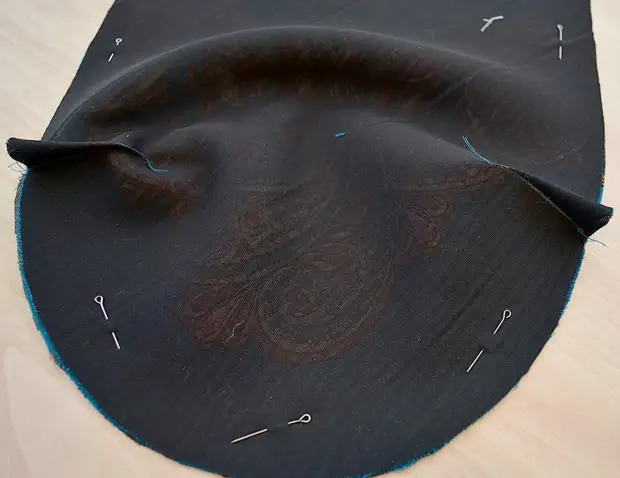
Stead the castings.
Step 9.

We connect the parts of the caps and lining (do not forget to leave the hole for turning on the lining).
Step 10.
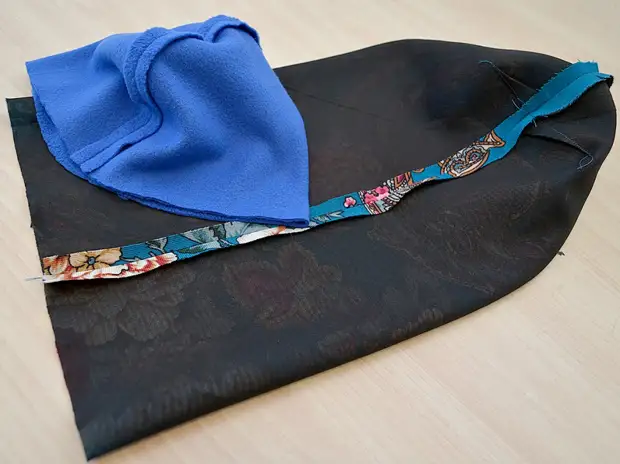
We have seams.
Step 11.
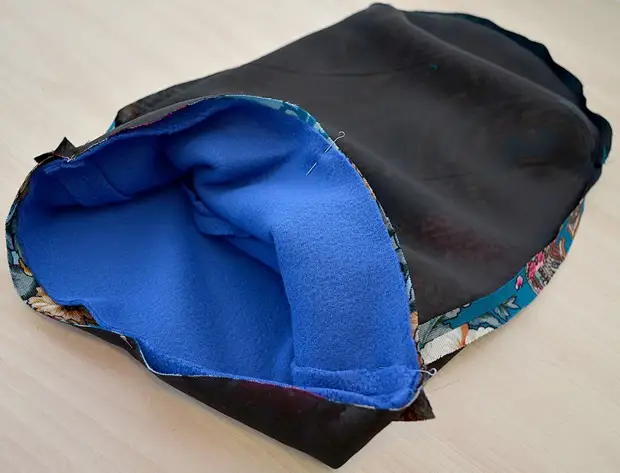
We combine the part of the cap and the lining part of the front sides to each other and stepping.
Step 12.
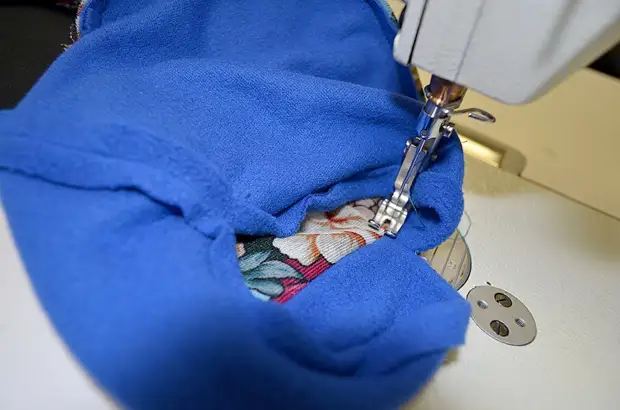
Through the hole in the lining on the front side of the caps, we lay the line at a distance of 1 mm from the edge, while having dripped into the side of the front of the header.
Step 13.
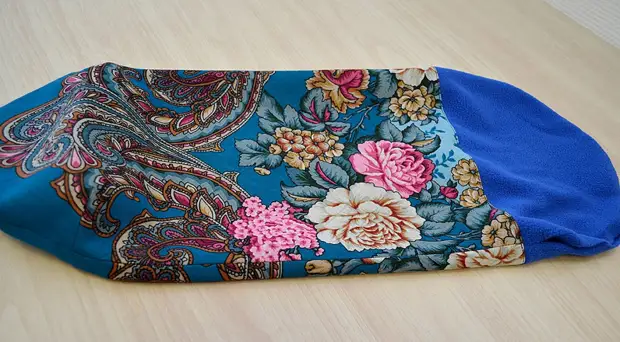
Soak and get such an oval.
Step 14.
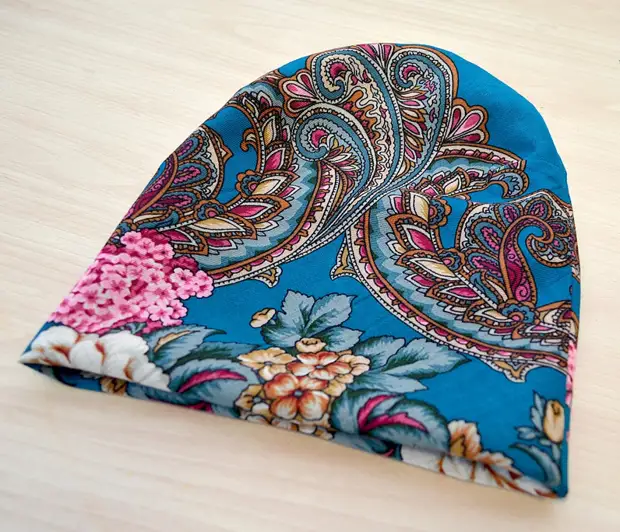
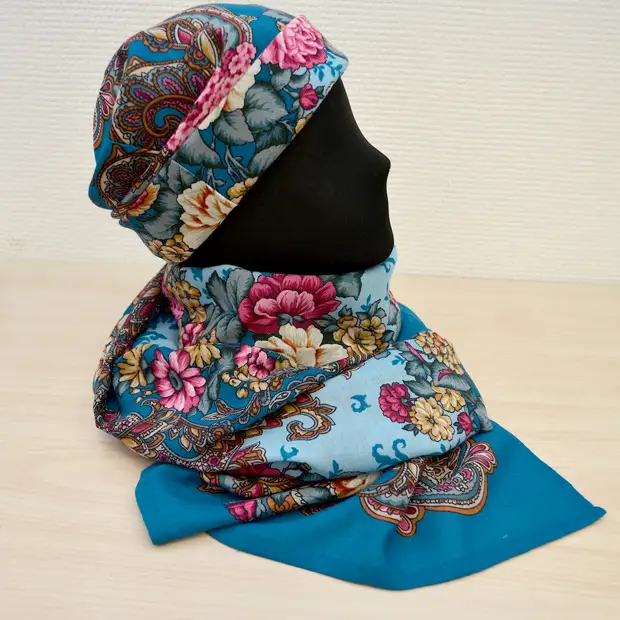
We sew a hole in the lining, and the hat is ready!
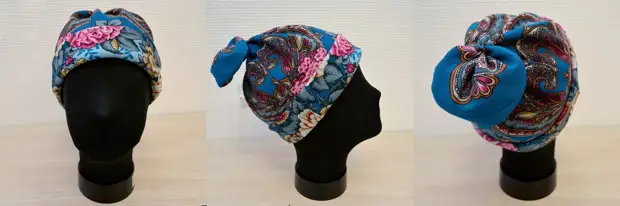
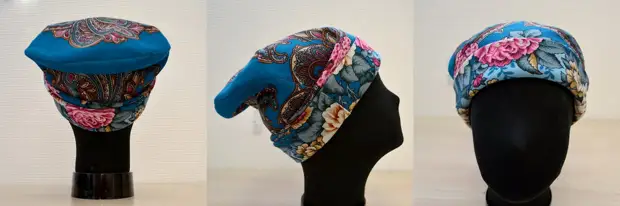
How to wear a hat
And now the most interesting thing: the hat is good because it can be worn in different ways.OPTION 1
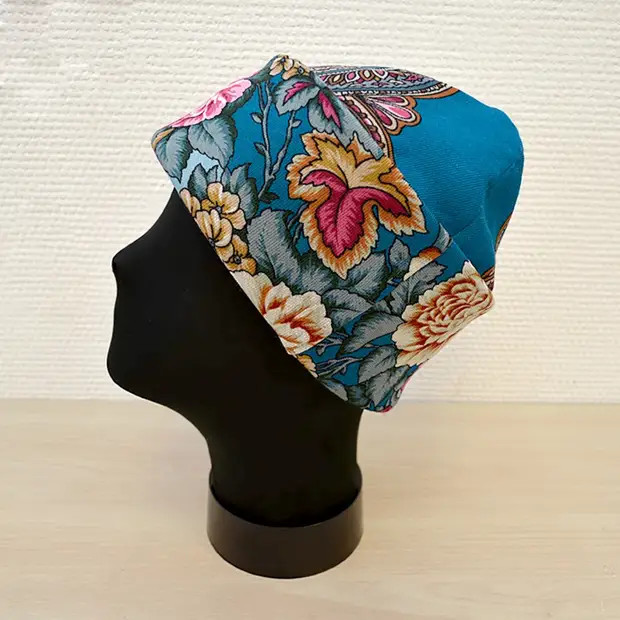
For example, as a conventional hat with a wide lapse.
Option 2.
And it is possible to launch the top of the header stronger, to make a small outstand, and the "extra" part from the top to bandage with a ribbon, as if creating Pompon.
Option 3.
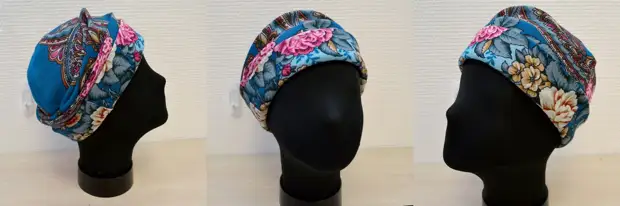
Another option: you can shift the wilk "excess" part of the cap, laying the folds and creating an asymmetrical drapery.
Option 4.
We continue to experiment. Layout an additional fold on the back of the head, and the rest of the cap freely hangs on the principle of a stock hat.
Option 5.
Well, on the last, we reduce all overcaps to the back of the head, laying it into the folds under the crowd.
STOLE
From the second flap to the set to the header of the savory palatine.STEP 1
We cut the flap into two symmetric parts relative to the pattern.
Step 2.
In the center we connect the details of the shawl.
Step 3.
The edges process the seam apparatus with a closed cut. Palantine is ready!
Now the wonderful set of accessories in the Russian style appeared in your wardrobe.
Author of master class Lilia Iva.
A source